- Prioritize “Site Access” over “Tower Access”: Most historic lighthouses have narrow, spiral staircases; focus on sites that offer ground-level museums or accessible coastal boardwalks.
- Verify Real-Time Mobility Infrastructure: Always call ahead to confirm the condition of “accessible” paths, as weather and erosion often degrade trails that were listed as accessible in older brochures.
- Manage Stamina Through Micro-Breaks: Plan your coastal visits for the early morning or late afternoon to avoid peak heat and crowds, and prioritize locations with frequent, shaded seating areas.
Lighthouses are iconic symbols of coastal history and maritime heritage. For many mature travelers, visiting these beacons offers a sense of tranquility and connection to the sea. However, the rugged, remote, and often vertical nature of these sites can present significant challenges. Selecting the right lighthouse tour requires a strategic approach that balances your desire for exploration with your personal mobility, stamina, and safety requirements.
Assessing Your Personal Mobility and Stamina Needs
Before booking any tour, you must conduct a realistic assessment of your physical capacity. Unlike urban museums, lighthouses were designed for lighthouse keepers, not tourists. They were built for utility, often featuring steep, uneven terrain and narrow, winding stairwells.
The “Rule of Three” for Assessment:
- Walking Surface: Is the path to the lighthouse paved, gravel, or sand? Even a short distance of 200 meters can be exhausting if the surface is loose sand or jagged gravel.
- Incline and Elevation: Check if the path involves significant elevation gain. A path that is “accessible” by local standards may still include a 5% grade, which can be challenging for those with limited knee or hip mobility.
- Vertical Access: If the tour includes a climb to the lantern room, verify the staircase specifications. Are there handrails on both sides? Are the steps uniform in height? If the tower does not have a lift, assume the stairs are a high-risk zone for those with balance issues.
If you have any concerns regarding your balance or cardiovascular health, it is prudent to consult your primary care provider before planning a trip that involves significant hiking or stair climbing. Keep a record of your typical daily walking distance and share this with your travel companions or tour operators to ensure your itinerary aligns with your capabilities.
Categorizing Lighthouse Site Accessibility
Not all lighthouse experiences are the same. To make an informed decision, categorize potential sites based on their infrastructure. Understanding these categories helps you avoid disappointment and ensures you remain safe.
| Site Type | Accessibility Level | Ideal For |
|---|---|---|
| Urban/Park-Based | High (Paved, flat, frequent seating) | Travelers using canes or those with limited stamina. |
| Natural/Coastal Trail | Moderate (Gravel, uneven, potential slopes) | Active seniors with good hiking boots and balance. |
| Remote/Island Site | Low (Requires boat, steep docks, no amenities) | Travelers with high stamina and no mobility aids. |
Most travelers find that urban or park-based lighthouses provide the best experience because they are managed by local municipal authorities who are often required to maintain ADA (Americans with Disabilities Act) or similar international compliance standards. For example, in many European countries, look for the “Blue Flag” or local accessibility certifications which indicate that the site has been audited for ease of access.
Logistics: Transport, Seating, and Restrooms
The “last mile” of your journey—getting from the parking lot to the lighthouse—is where most accessibility issues occur. Even if a lighthouse is described as “accessible,” the parking area might be a quarter-mile away over unpaved ground.
Checklist for Pre-Trip Verification:
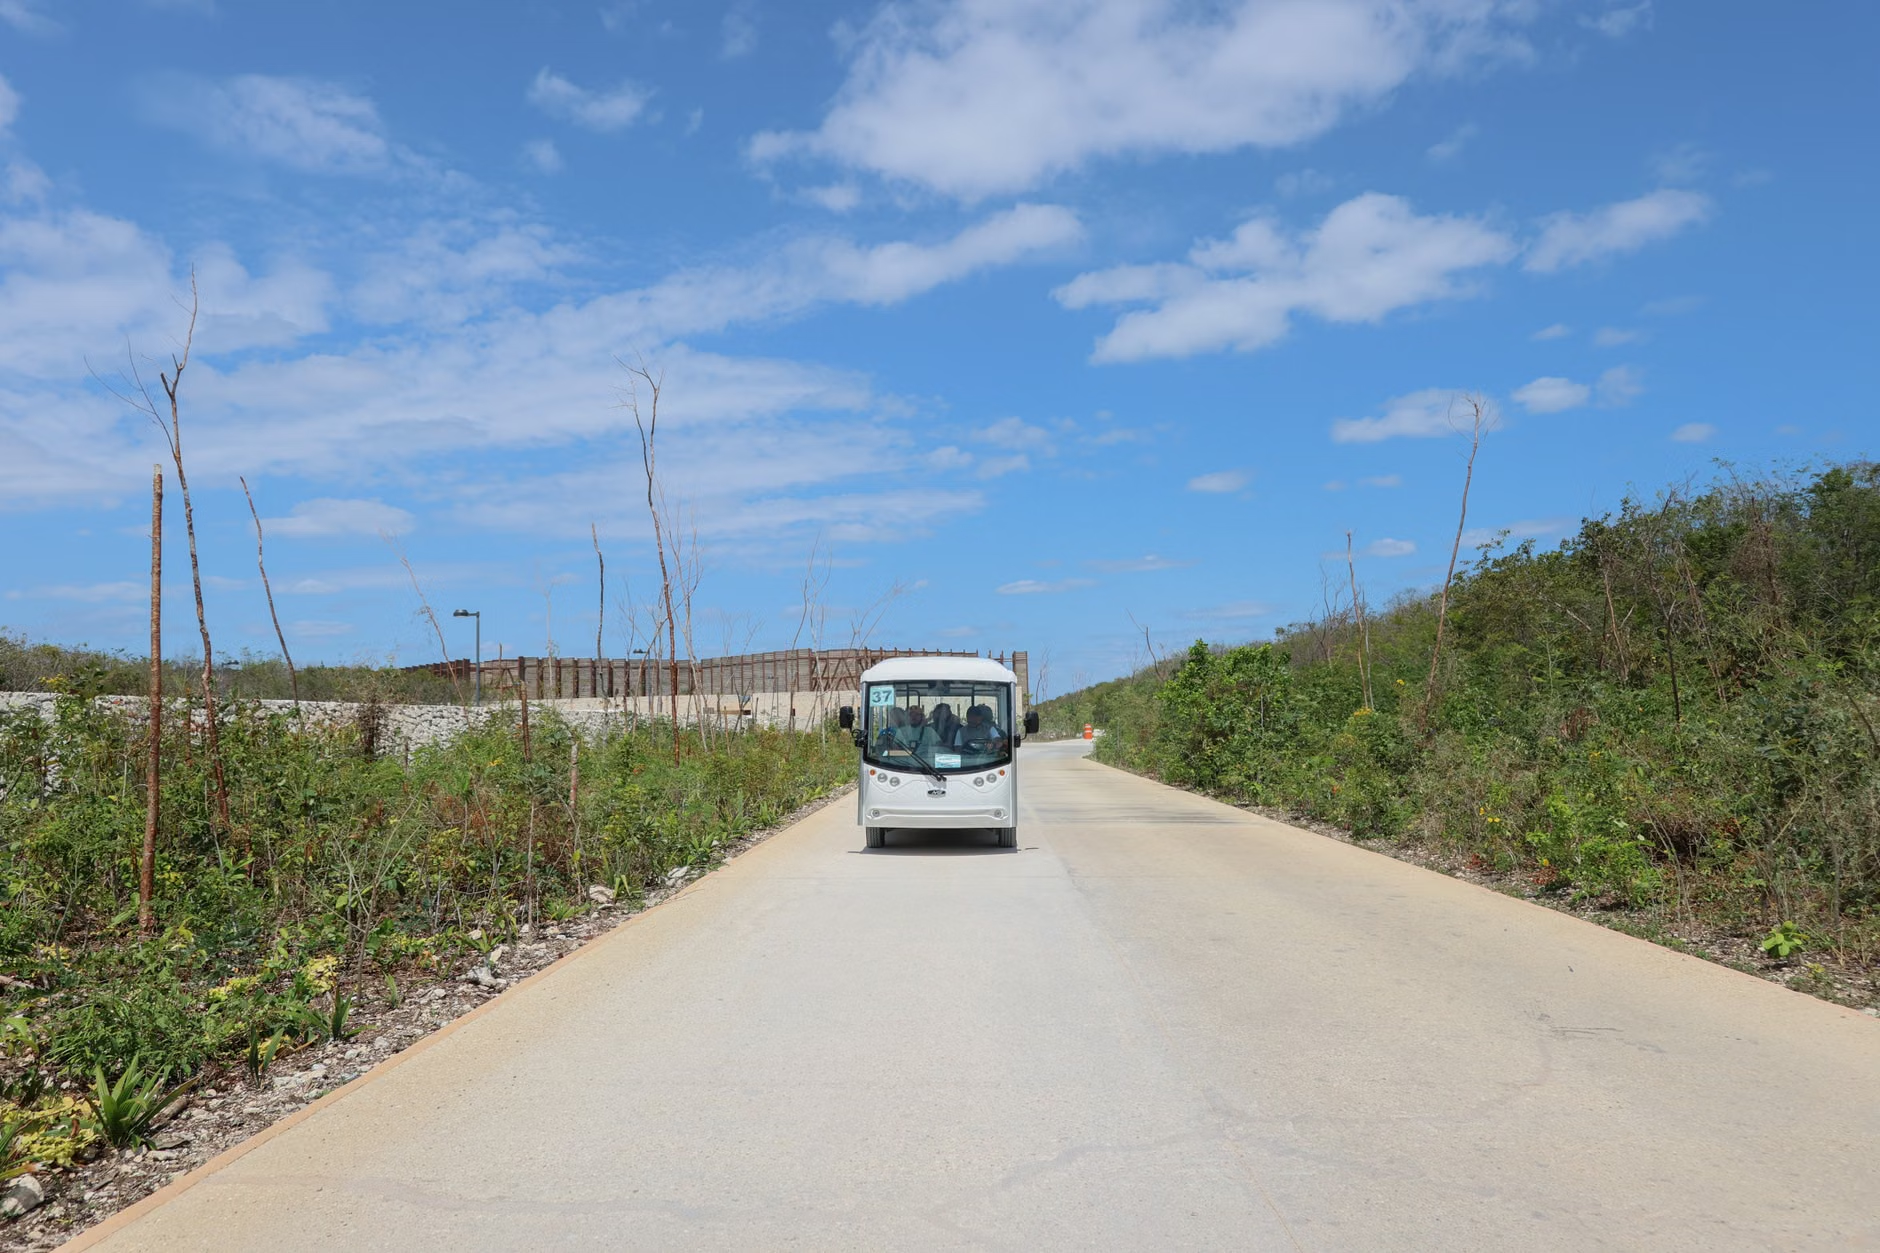
- Shuttle Services: Does the site offer a shuttle from the parking lot? If so, is it a high-clearance vehicle, or does it have an automated ramp?
- Restroom Facilities: Never assume restrooms are nearby. Check if the site map clearly marks “Accessible Restrooms” rather than just “Restrooms.”
- Seating Frequency: Look for sites that offer benches every 50–100 meters along the main path. If the site is a long, continuous trail without seating, you may need to bring a portable, lightweight folding chair.
Safety Considerations in Coastal Environments
Coastal environments are inherently dynamic. High winds, shifting sand, and salt spray can create hazards that aren’t present in other tourist settings.
Hidden Inconveniences to Watch For:
- Salt-Induced Slippage: Even on paved paths, salt spray can create a thin, invisible film that makes surfaces slippery when damp. Always wear shoes with high-traction, non-slip rubber soles.
- Wind Exposure: Lighthouses are situated in wind-prone areas. If you use a cane or walker, be aware that strong gusts can affect your balance. If the wind speed is high, prioritize sites that offer indoor museum experiences or sheltered viewing areas.
- Temperature Fluctuations: Coastal temperatures can drop rapidly. Always dress in layers, even on a sunny day. A windproof outer layer is essential for preventing chills that can exacerbate joint stiffness.
Making the Most of Your Visit: A Strategic Approach
Once you have selected a site, the key to a successful visit is pacing. Do not attempt to pack multiple lighthouse visits into a single day. The mental and physical effort required to navigate coastal terrain is significantly higher than walking through a city center.
Drafting Your Itinerary:
- Morning Arrival: Arrive at the site at opening time. Not only is the lighting better for photography, but the air is often calmer, and the crowds are thinner, allowing you to move at your own pace without feeling pressured.
- The “Pivot” Strategy: If you reach the base of the tower and feel any hesitation about the stairs, choose to skip the climb. The view from the base of the lighthouse, looking up at the structure against the sky, is often just as rewarding as the view from the top.
- Documentation: Keep a digital or paper copy of the site’s accessibility map. If you are traveling with a companion, ensure they also have a copy so you can quickly identify the location of the nearest exit or restroom.
The Role of Technology in Planning
Modern digital tools have made it easier than ever to vet a location before you set foot on the property. Use satellite view features on map applications to inspect the path from the parking area to the lighthouse tower. You can often spot stairs, steep slopes, or gravel paths that aren’t mentioned in promotional materials.
Additionally, look for recent traveler reviews on platforms that allow filtering for accessibility. Pay close attention to reviews from the last six months, as infrastructure can change due to storms or maintenance projects. If you find conflicting information, a quick email to the site manager is the most reliable way to get an accurate answer.
Understanding Liability and Insurance
When traveling internationally, verify that your travel insurance covers activities that involve “light hiking” or “coastal exploration.” Some policies have exclusions for injuries sustained on non-maintained trails. Always carry your insurance information in a waterproof pouch, along with a list of your current medications and any allergies. While this may seem like an extra step, it is a standard precaution for any traveler, regardless of age, when venturing into remote areas.
Summary of Practical Next Steps
To ensure your lighthouse tour is a positive experience, start by vetting the location’s specific accessibility features, not just general “senior-friendly” labels. Confirm the parking-to-tower distance, the type of pathway surface, and the availability of seating. Most importantly, give yourself permission to enjoy the lighthouse from the ground level; the history and the maritime beauty are fully accessible from the base, and there is no obligation to climb to the top to have a meaningful and enjoyable experience.
FAQ
Q1: Are all lighthouses wheelchair accessible?
A: No. Most historic lighthouses are protected heritage buildings, which often makes it impossible to install ramps or lifts without damaging the structure. While many sites provide accessible ground-level viewing, the tower interiors are rarely wheelchair accessible.
Q2: Should I bring a mobility aid even if I feel fine?
A: Yes. If you have any history of balance issues or fatigue, bringing a lightweight, foldable cane or a walking pole is recommended. Coastal paths are often uneven, and having that extra point of contact can prevent a fall on loose gravel or sand.
Q3: How can I find out if a lighthouse is currently undergoing repairs?
A: Always check the official website of the lighthouse or the local maritime authority. Major repairs often lead to the temporary closure of paths or towers. Checking the site 24 to 48 hours before your visit is the best practice to avoid arriving at a closed site.
For further information on accessibility standards, you may refer to the Americans with Disabilities Act (ADA) guidelines or the relevant tourism accessibility portal for your specific destination country.