- Functional Independence: Grip strength is a primary indicator of overall physical resilience and your ability to perform daily tasks like opening jars, carrying groceries, or using tools.
- Safety First: Seated wrist-flexion is a low-impact, controlled movement that minimizes strain on your lower back and balance, making it ideal for those managing joint sensitivity.
- Progressive Loading: Start with body weight or light household items, focusing on range of motion before increasing resistance to avoid tendonitis or repetitive strain.
Understanding the Role of Grip Strength in Daily Living
Grip strength is often overlooked in general fitness routines, yet it serves as one of the most reliable markers of physical health as we age. It is not merely about how hard you can squeeze an object; it represents the collective strength of the muscles in your hand, wrist, and forearm. For individuals aged 60 to 80, maintaining this strength is directly linked to “functional independence”—the ability to perform self-care tasks, manage household chores, and maintain confidence in physical mobility.
When we talk about “seated wrist-flexion,” we are referring to a specific, isolated movement that targets the flexor muscles of the forearm. These muscles are responsible for curling the wrist inward toward the palm. By strengthening these specific fibers in a seated position, you bypass the need for core stabilization or balance, allowing you to focus entirely on the mechanics of the wrist and forearm.
Why Your Forearms Matter
The forearm is a complex network of muscles, tendons, and nerves. As we age, the elasticity of tendons can decrease, and muscle mass (sarcopenia) may naturally decline if not challenged. Weakness in this area often manifests as difficulty with fine motor tasks, such as fastening buttons, writing, or turning a stiff door handle. By implementing a controlled, seated routine, you are essentially “future-proofing” your hands against the minor frustrations that can lead to a loss of autonomy.
Preparing for Your Session: Safety and Equipment
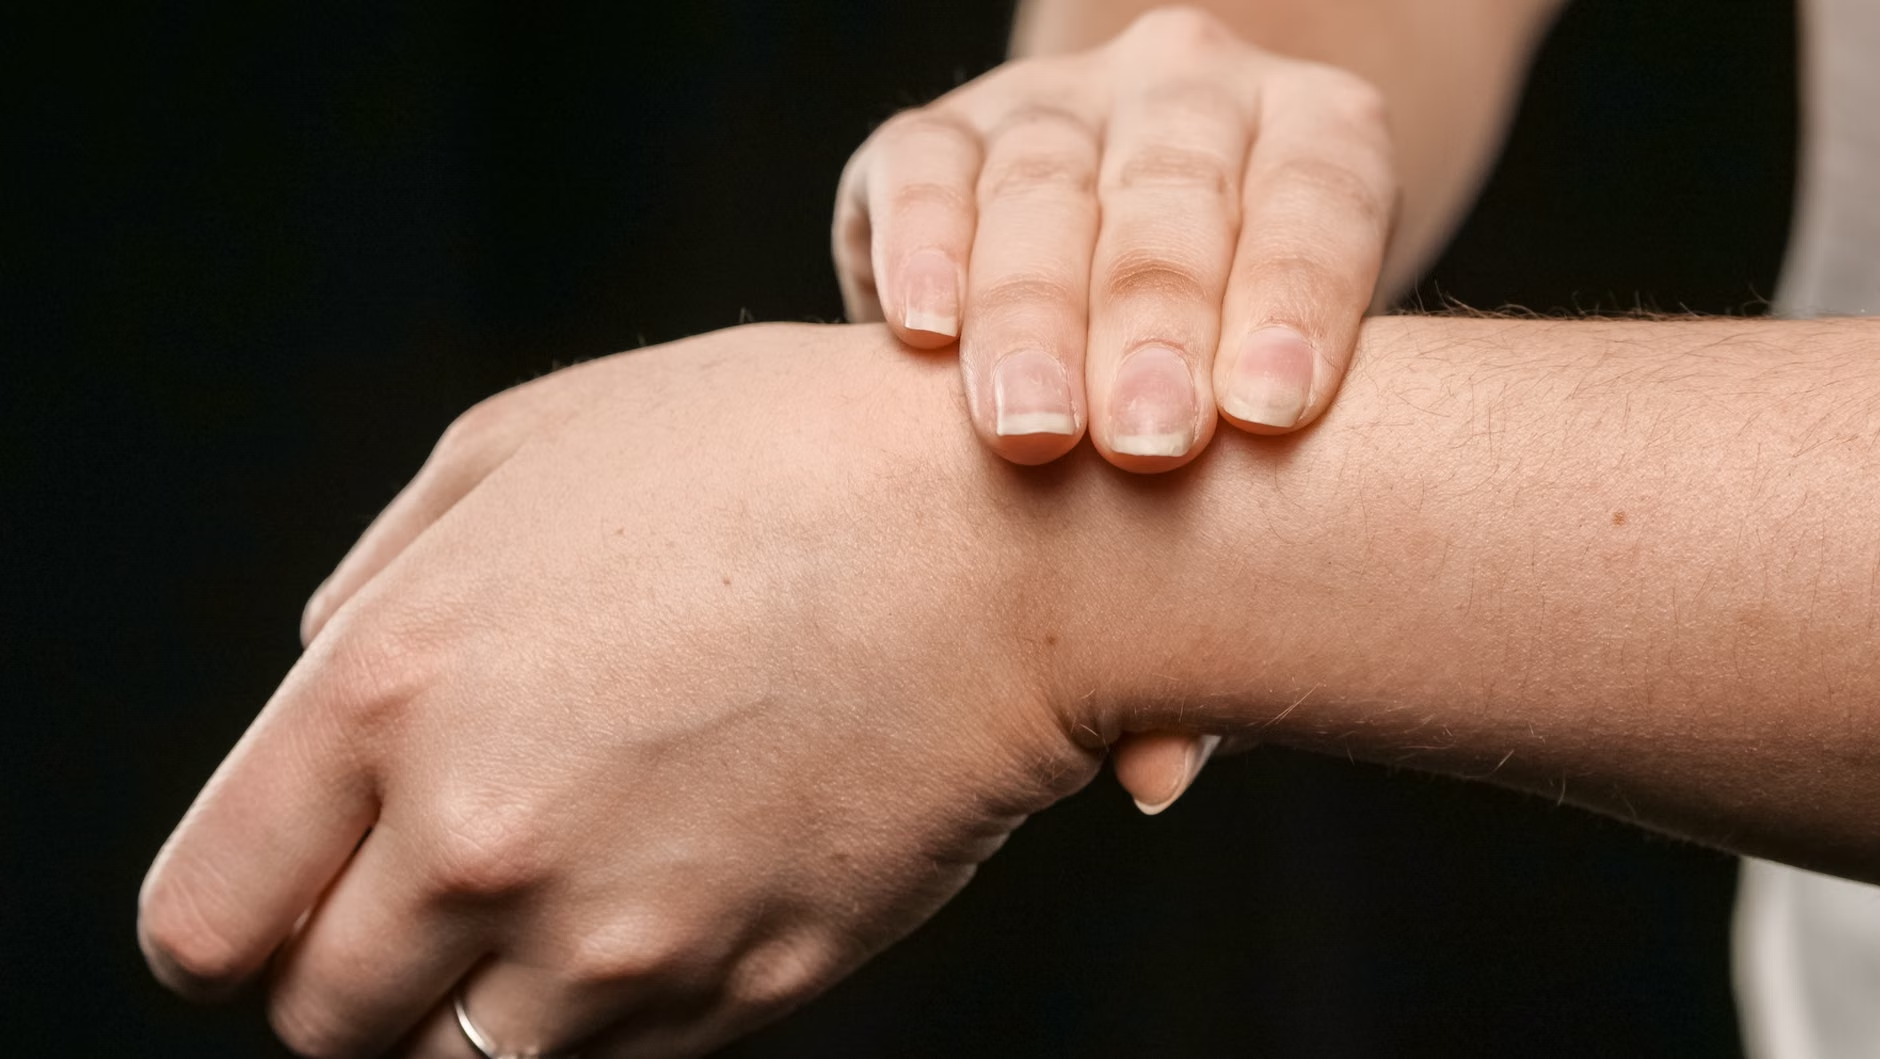
Before beginning any targeted strengthening, it is essential to prepare your environment. Unlike high-intensity cardio, this exercise requires minimal space but high attention to detail. You need a chair that provides solid support for your back and allows your feet to rest flat on the floor. If you are currently experiencing active pain, swelling, or numbness in your hands or wrists, do not begin this program without consulting a physical therapist or your primary care physician.
Selecting Your Resistance
You do not need expensive gym equipment to build grip strength. In fact, starting with external weights that are too heavy is the most common cause of injury in beginners.
| Resistance Level | Recommended Tool | Best For |
|---|---|---|
| Level 1 (Beginner) | Body weight or a light towel | Learning the range of motion without strain. |
| Level 2 (Intermediate) | 0.5kg (1lb) water bottle | Adding slight, stable resistance. |
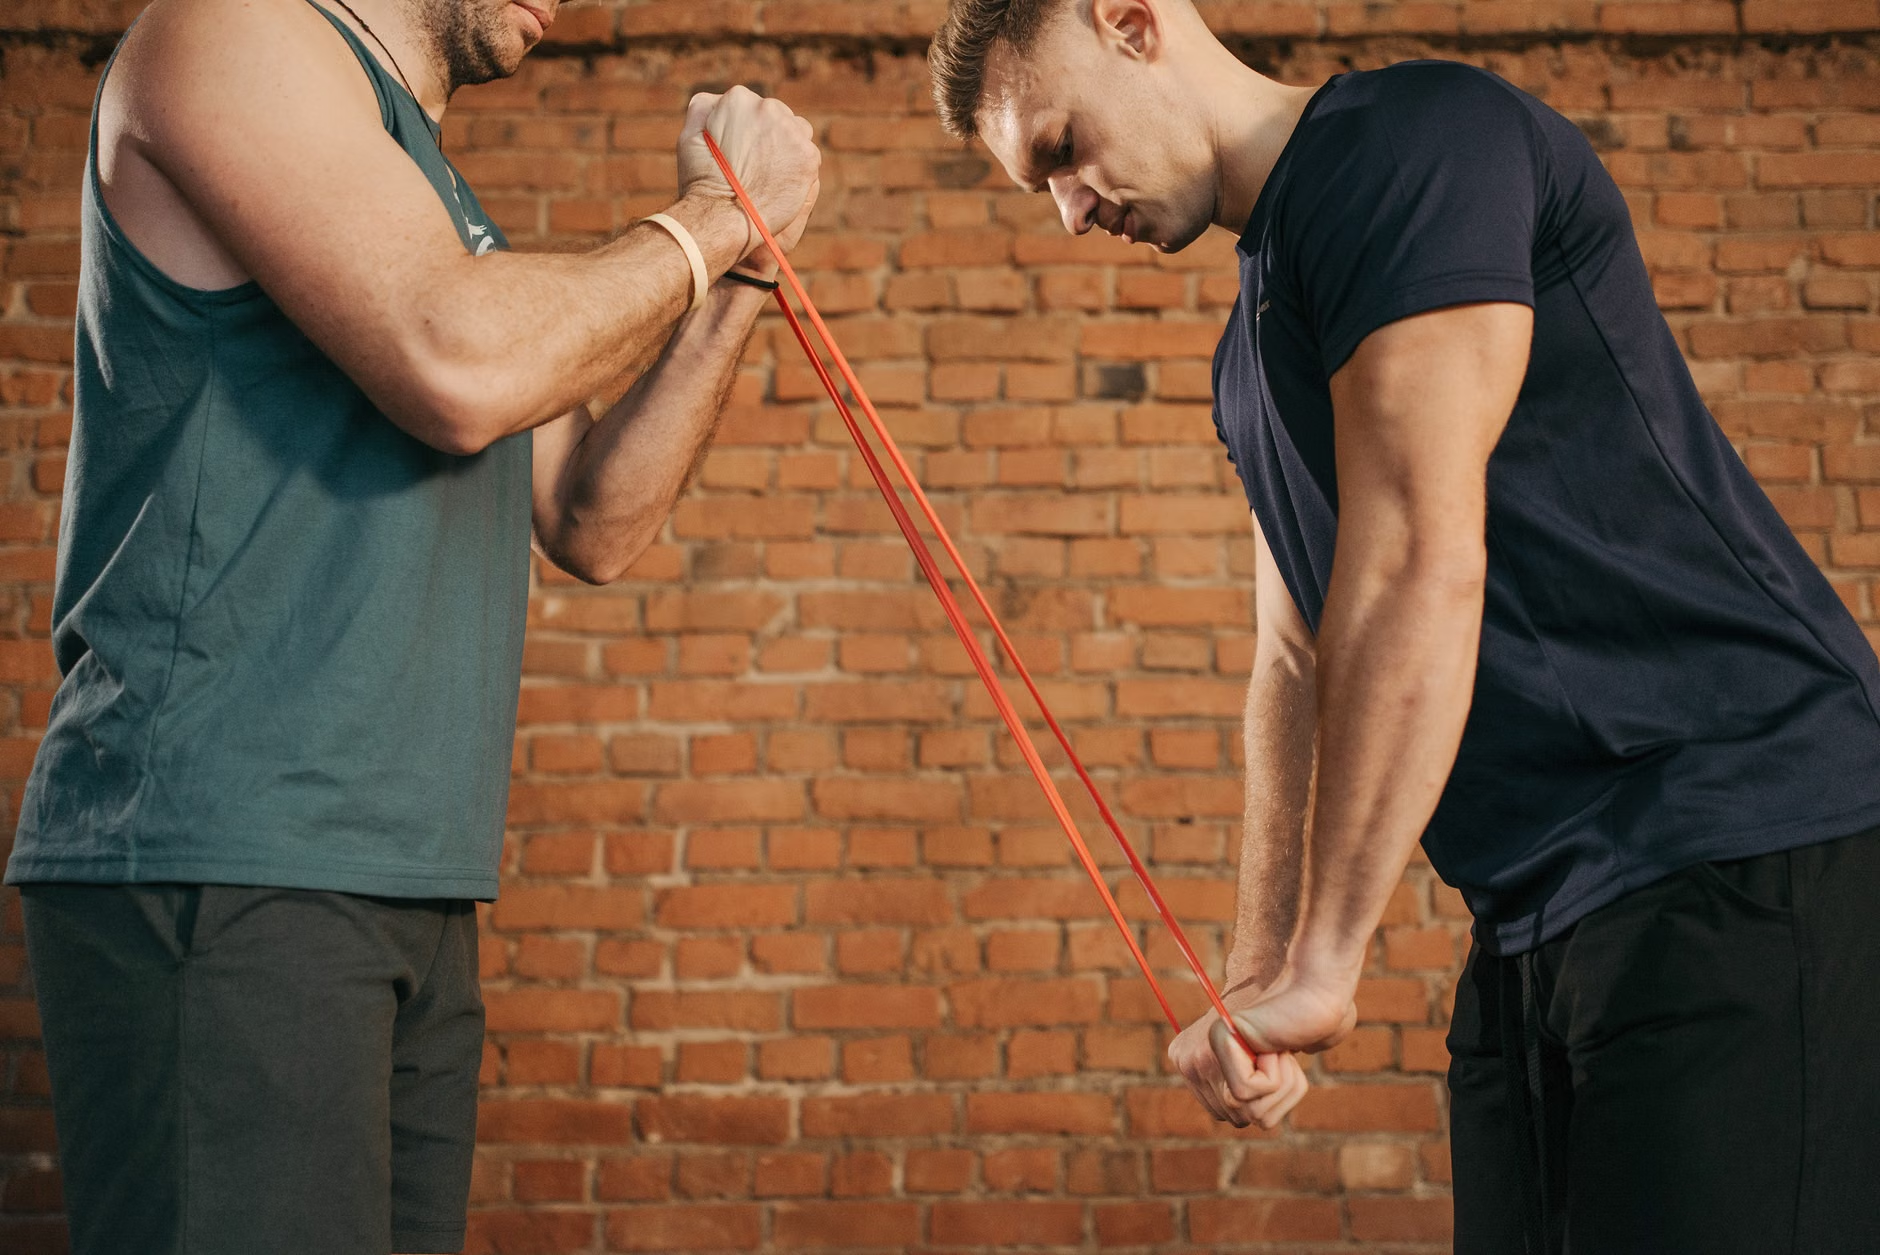
| Level 3 (Advanced) | Light resistance band | Controlled, variable tension training. |
The table above suggests a progression path. Always start at Level 1 for at least one week. The goal is to master the movement pattern—the “mind-muscle connection”—before adding load. If you feel any sharp pain or “catching” in the wrist joint, stop immediately. This is a sign that your tendons may be inflamed, and you should allow for more recovery time.
Step-by-Step Execution: The Seated Wrist-Flexion
To perform this exercise, sit upright in a chair with your feet shoulder-width apart. This stable base is vital for preventing accidental swaying.
- Positioning: Place your forearm on your thigh, with your wrist hanging just off the edge of your knee. Your palm should be facing upward (supinated).
- The Movement: Slowly curl your hand upward toward your bicep using only your wrist. Do not move your elbow or shoulder.
- The Hold: At the top of the movement, pause for one second to feel the contraction in the inner forearm.
- The Return: Lower your hand back down to the starting position slowly. The “lowering” phase is just as important as the “lifting” phase for muscle growth.
Perform 10 repetitions per arm. If you feel fatigued before the 10th rep, stop. Quality of movement is vastly superior to the number of repetitions. If you find your wrist shaking, reduce the speed of the movement. Shaking is often a sign of nervous system fatigue, which is normal but indicates you have reached your current limit.
Managing Limitations and Overlooked Variables
One of the most common mistakes is “compensatory movement.” This occurs when you try to lift a weight that is too heavy, causing your shoulder to shrug or your elbow to lift off your knee to generate momentum. This defeats the purpose of the isolation exercise and risks straining the elbow joint, a condition often associated with “golfer’s elbow” or medial epicondylitis.
The Importance of Antagonist Stretching
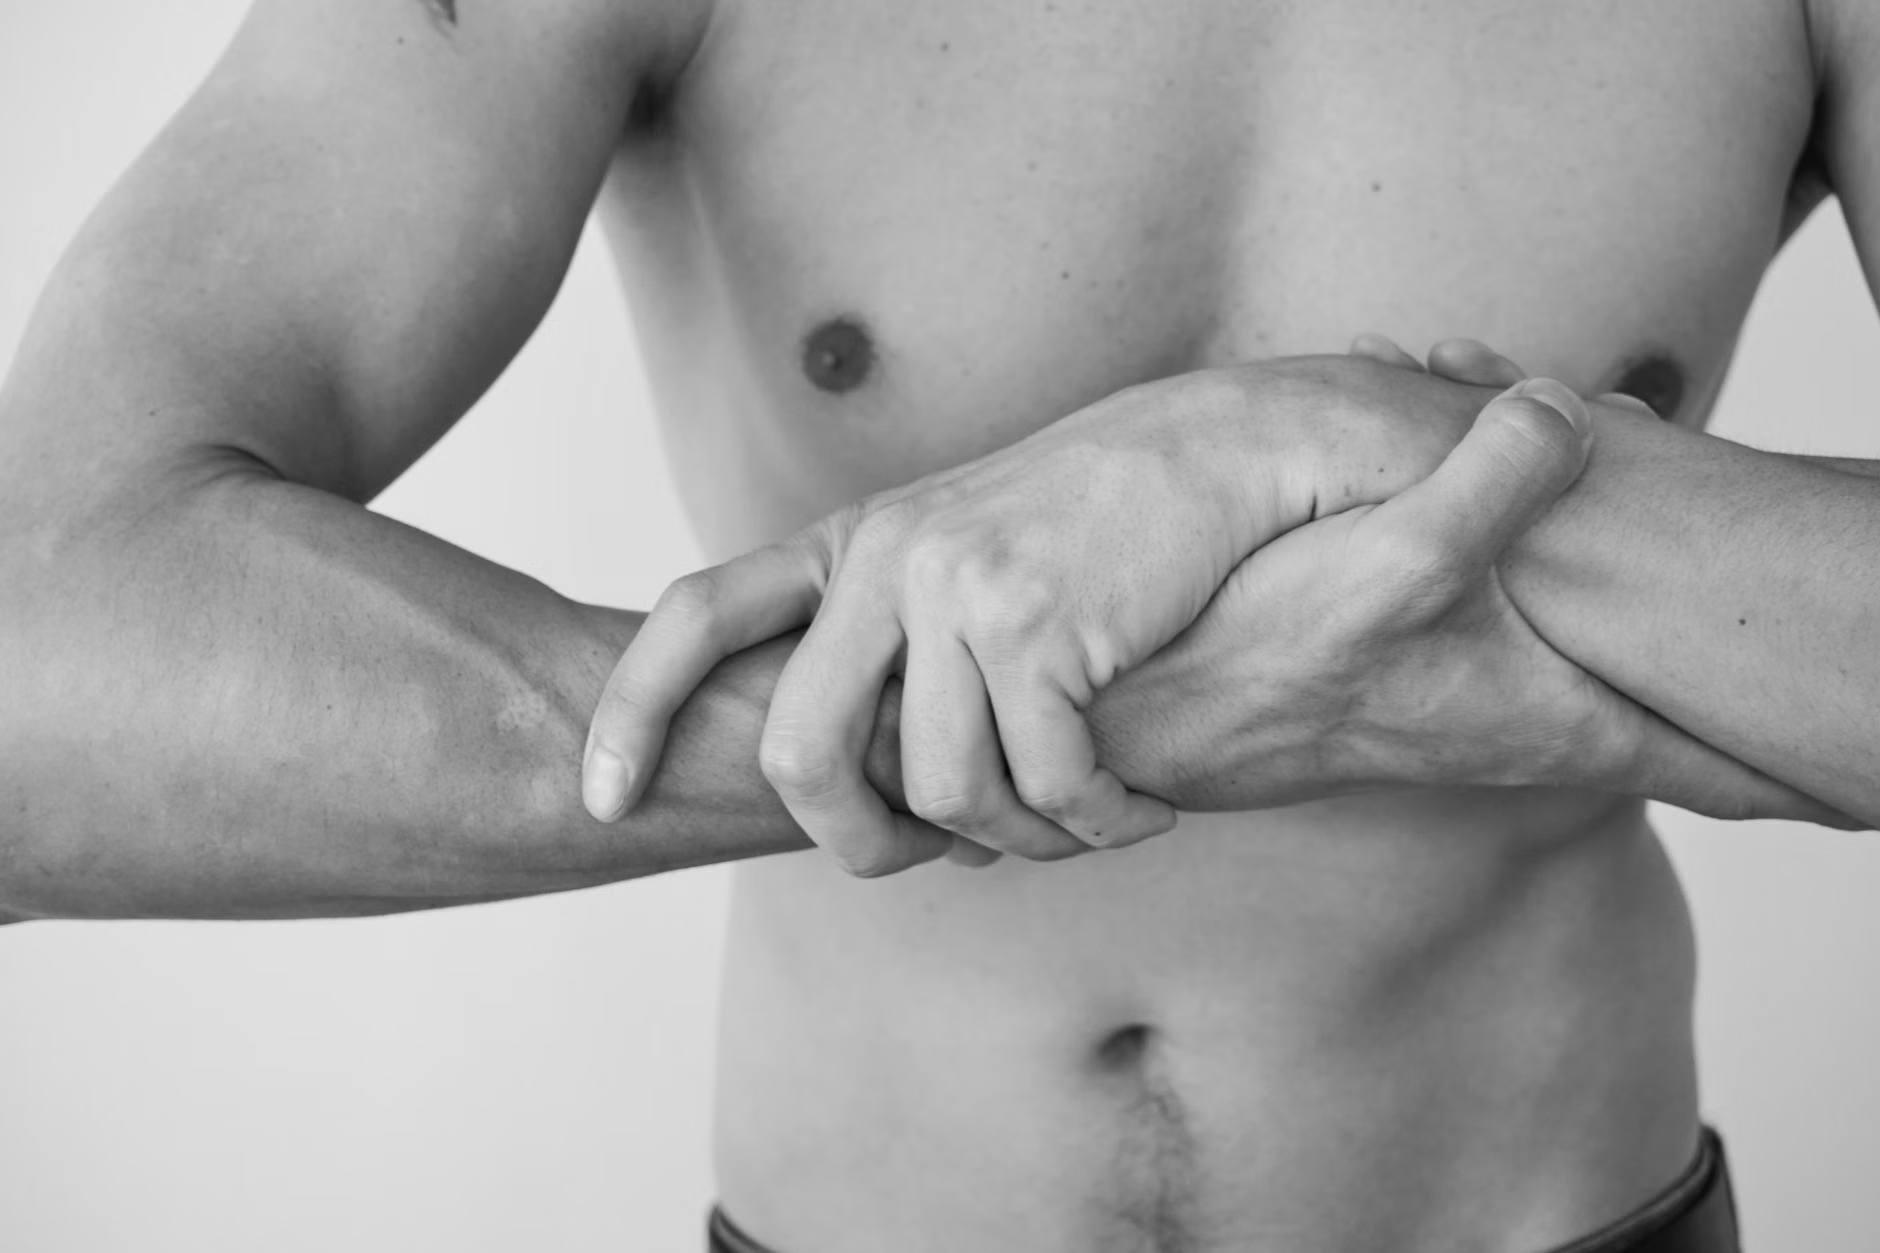
If you train the flexors (the muscles on the palm side of the forearm), you must also stretch the extensors (the muscles on the back of the forearm). Failing to balance your routine can lead to muscle imbalances, where the wrist feels “tight” or stuck in a semi-flexed position.
Practical Action: After finishing your flexion sets, take your opposite hand, gently pull your fingers back toward your body with your arm extended in front of you. Hold this for 20 seconds. This simple step prevents the tightness that often follows strength training.
Integrating Strength Training into a Daily Routine
Consistency beats intensity in the context of senior health. Performing this exercise three times a week is far more effective than a “marathon session” once every two weeks. When you are consistent, you allow your tendons to adapt to the load safely. Tendons have a lower blood supply than muscles, meaning they take longer to repair and strengthen. By keeping the load light and the frequency moderate, you respect this biological reality.
Consider linking this exercise to an existing habit. For example, perform your seated wrist-flexion while waiting for your morning coffee to brew or during the commercial break of a television program. By “anchoring” the exercise to a part of your day that already exists, you are much more likely to maintain the habit long-term.
Monitoring Progress and When to Seek Professional Advice
How do you know if you are making progress? Improvement in grip strength is often subtle. You might notice that you no longer need to use both hands to twist off a jar lid, or that you can carry a slightly heavier grocery bag without feeling your forearm “burn.” These are the real-world metrics that matter.
If you notice persistent swelling, a “clicking” sound in the wrist that wasn’t there before, or pain that radiates into your fingers, these are signs that your current volume or intensity is too high. In these cases, consult with a physical therapist. They can perform a manual assessment to check for carpal tunnel syndrome or arthritis, which are common in the 60-80 age demographic and may require specific modifications to how you approach strength training.
Conclusion: Building a Foundation for Independence
Building grip strength through seated wrist-flexion is a small investment of time that yields significant dividends in your daily life. By focusing on controlled, slow movements and respecting your body’s need for recovery, you can maintain the dexterity and strength required to navigate your environment with confidence. Remember, the goal is not to become a weightlifter, but to ensure that your hands remain capable, reliable tools that support your independence for years to come.
Frequently Asked Questions (FAQ)
1. Can this exercise help with arthritis?
While this exercise can help strengthen the muscles supporting the wrist, arthritis requires a tailored approach. If you have joint inflammation, you must consult your doctor or a physical therapist, as they may recommend specific range-of-motion exercises that avoid high-pressure points on the joint.
2. How long will it take to see results?
Consistency is key. Most people notice an improvement in their ease of performing daily tasks within four to six weeks of regular, twice-weekly practice. Do not rush to increase weight; focus on the quality of the movement first.
3. Should I use a wrist brace while exercising?
Generally, no. A brace limits the range of motion and prevents the muscles from working through their full cycle. Unless specifically instructed by a doctor to wear a brace for a pre-existing injury, perform the exercise without one to ensure your muscles are doing the work.
Official guidance on physical activity for older adults can be found at the World Health Organization Physical Activity Guidelines.