- Macro-photography is a low-impact, meditative hobby that encourages slow observation and appreciation of small-scale natural beauty.
- Success in macro-photography relies more on stability and light management than on expensive, heavy gear.
- By utilizing ergonomic accessories like articulating screens and lightweight tripods, you can enjoy this hobby comfortably regardless of physical limitations.
Macro-photography is the art of capturing subjects at a scale larger than life, revealing textures, patterns, and colors that are often invisible to the naked eye. For many adults, this hobby serves as a profound form of mindfulness. It requires a slow, deliberate pace—a sharp contrast to the fast-moving pace of modern life. By focusing on a single petal, a dew drop, or the intricate patterns on a stone, you engage in a form of visual meditation that reduces stress and heightens your connection to the immediate environment.
Understanding the Essence of Macro-Photography
At its core, macro-photography is about magnification. Technically, it involves capturing an image where the subject appears on the camera sensor at life size (1:1 ratio) or larger. However, in a practical sense, it is about the “hunt” for beauty in the micro-world. Unlike landscape photography, which requires traveling to grand locations, macro-photography can be practiced in your own backyard, a local park, or even at your kitchen table.
Why does this matter for your wellbeing? Engaging in macro-photography forces you to practice “soft fascination.” This psychological concept refers to the state where our attention is held by something that is interesting but not demanding, allowing the brain’s directed attention systems to rest and recover. This is particularly beneficial for managing cognitive fatigue and fostering a sense of calm.
The Equipment: Choosing for Comfort and Quality
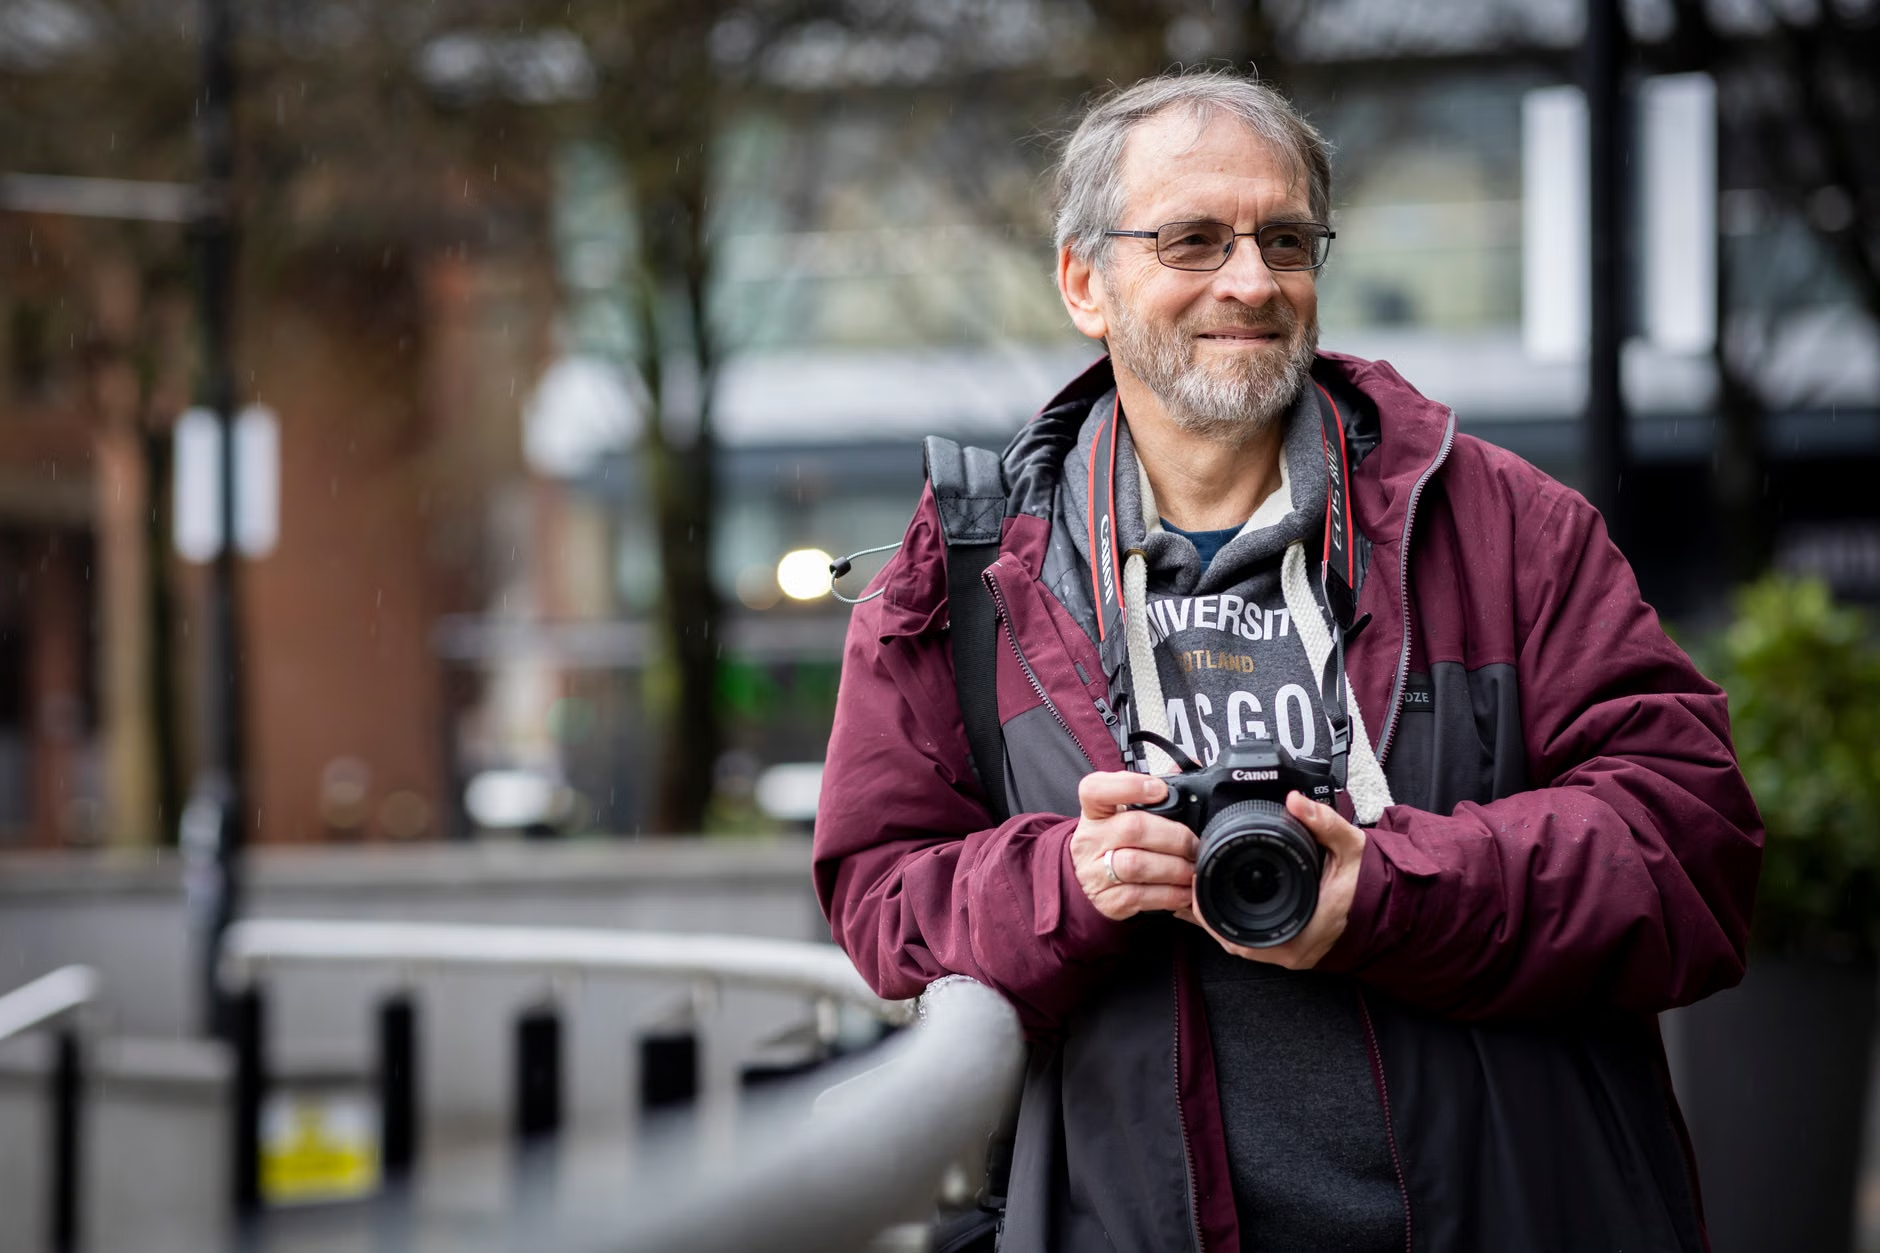
A common misconception is that you need thousands of dollars in specialized equipment to start. In reality, modern technology has made high-quality macro-photography more accessible than ever. The most important factor is not the price tag, but the weight and ergonomics of the camera system.
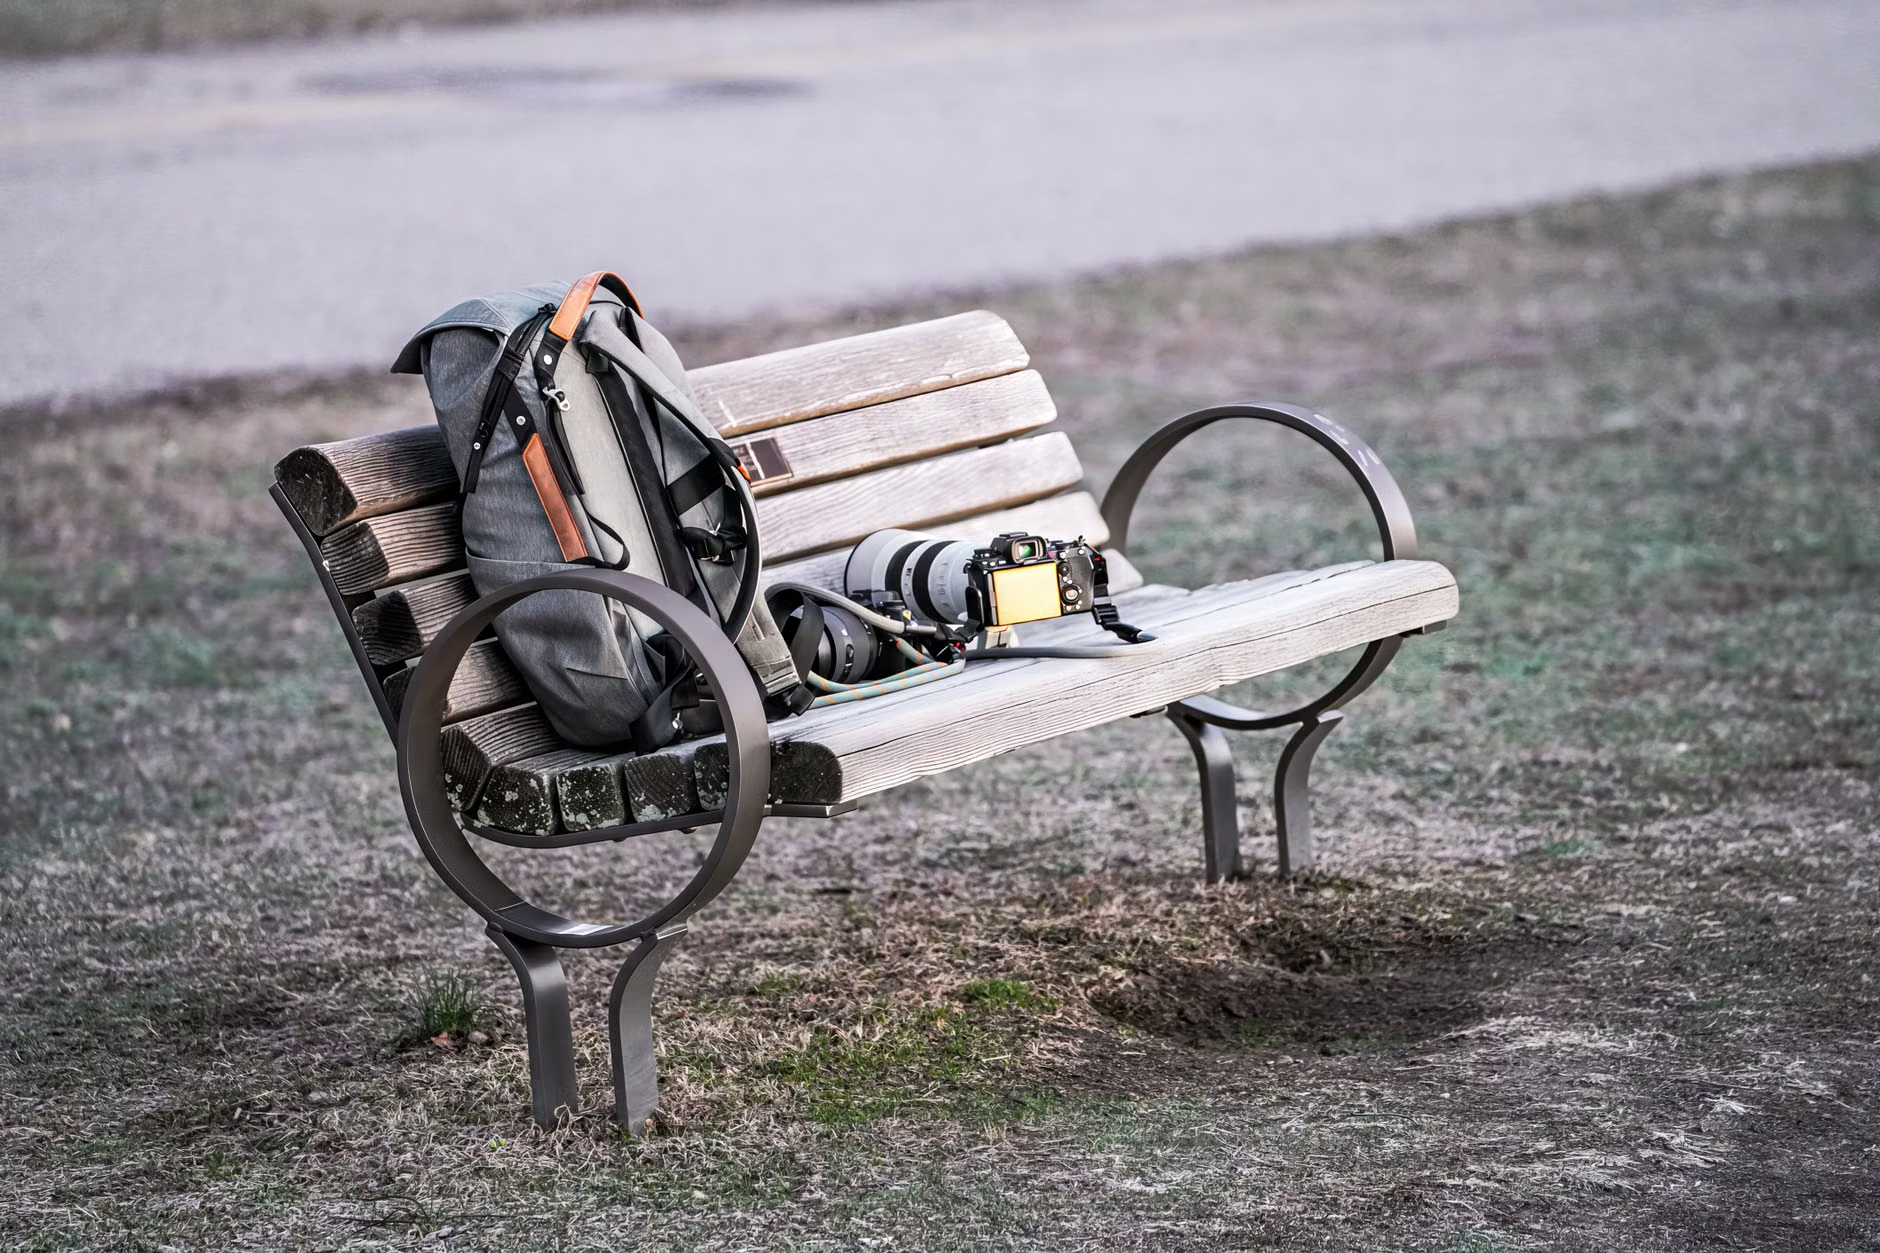
- Mirrorless Cameras: These are generally lighter and more compact than traditional DSLRs, making them easier to handle for longer periods.
- Articulating Screens: This is a non-negotiable feature for many. An articulating screen allows you to view your subject from high or low angles without needing to bend, kneel, or lie on the ground.
- Macro Lenses: If you are serious, a dedicated macro lens (typically 60mm to 105mm) provides the best clarity. However, “extension tubes” are a budget-friendly, lightweight alternative that fits between your camera body and your existing lens to allow for closer focusing.
Practical Techniques for Stability and Clarity
The biggest challenge in macro-photography is movement. Because you are working at such a high magnification, even a millimeter of hand shake can result in a blurry image. This is where physical stability becomes the primary technical requirement.
The Stability Checklist
| Tool | Primary Benefit | Usage Tip |
|---|---|---|
| Lightweight Tripod | Eliminates camera shake | Use a model with a center column that can be reversed for ground-level shots. |
| Remote Shutter | Prevents vibration from touch | Use a smartphone app or a cable release to trigger the camera without touching it. |
| Monopod | Offers support with mobility | Useful if you are shooting moving subjects like insects where a tripod is too cumbersome. |
When choosing between these tools, consider your mobility. A tripod is excellent for static subjects like flowers, but if you have difficulty setting up and leveling a tripod, a monopod or even a “bean bag” camera rest placed on a wall or fence can provide the necessary stability with much less physical effort.
Mastering Light in the Micro-World
In macro-photography, light is your most important tool. Because macro lenses require you to be close to the subject, you will often find that your own body or your camera casts a shadow over the subject. Understanding how to manage this is the difference between a flat, dull image and a professional-looking one.
The Soft-Light Advantage
Avoid harsh, direct sunlight. Mid-day sun creates high-contrast shadows that can hide the textures you want to highlight. Instead, aim for early morning or late afternoon light, which is naturally softer and warmer. If you must shoot during brighter hours, use a small, portable diffuser—a simple piece of white translucent fabric or a dedicated collapsible disc—to soften the light falling on your subject.
Practical Decision Rule: If the shadows on your subject look “black,” they are too harsh. If the shadows look “grey,” the light is soft enough. If you are struggling with low light, use your camera’s “Aperture Priority” mode and a tripod rather than increasing your ISO (which can introduce digital noise/grain to your photos).
Creating a Comfortable Photography Routine
The goal is to make this hobby sustainable. If you find yourself stiff or tired after twenty minutes, you are doing it too intensely. Adopt a “pacing strategy” that aligns with your physical comfort levels.
Designing Your Session
- The 30-Minute Rule: Set a timer for 30 minutes. When it goes off, consciously stop and stretch. Check your hydration levels.
- Environmental Scouting: Instead of wandering, pick a specific area—perhaps a single flowerbed or a patch of moss—and work within a two-meter radius. This reduces unnecessary walking and allows you to focus on the variety within one small space.
- Ergonomic Support: Use a lightweight, portable garden stool. This allows you to sit at eye level with your subjects, reducing the strain on your back and knees.
Advanced Nuances: Beyond the Basics
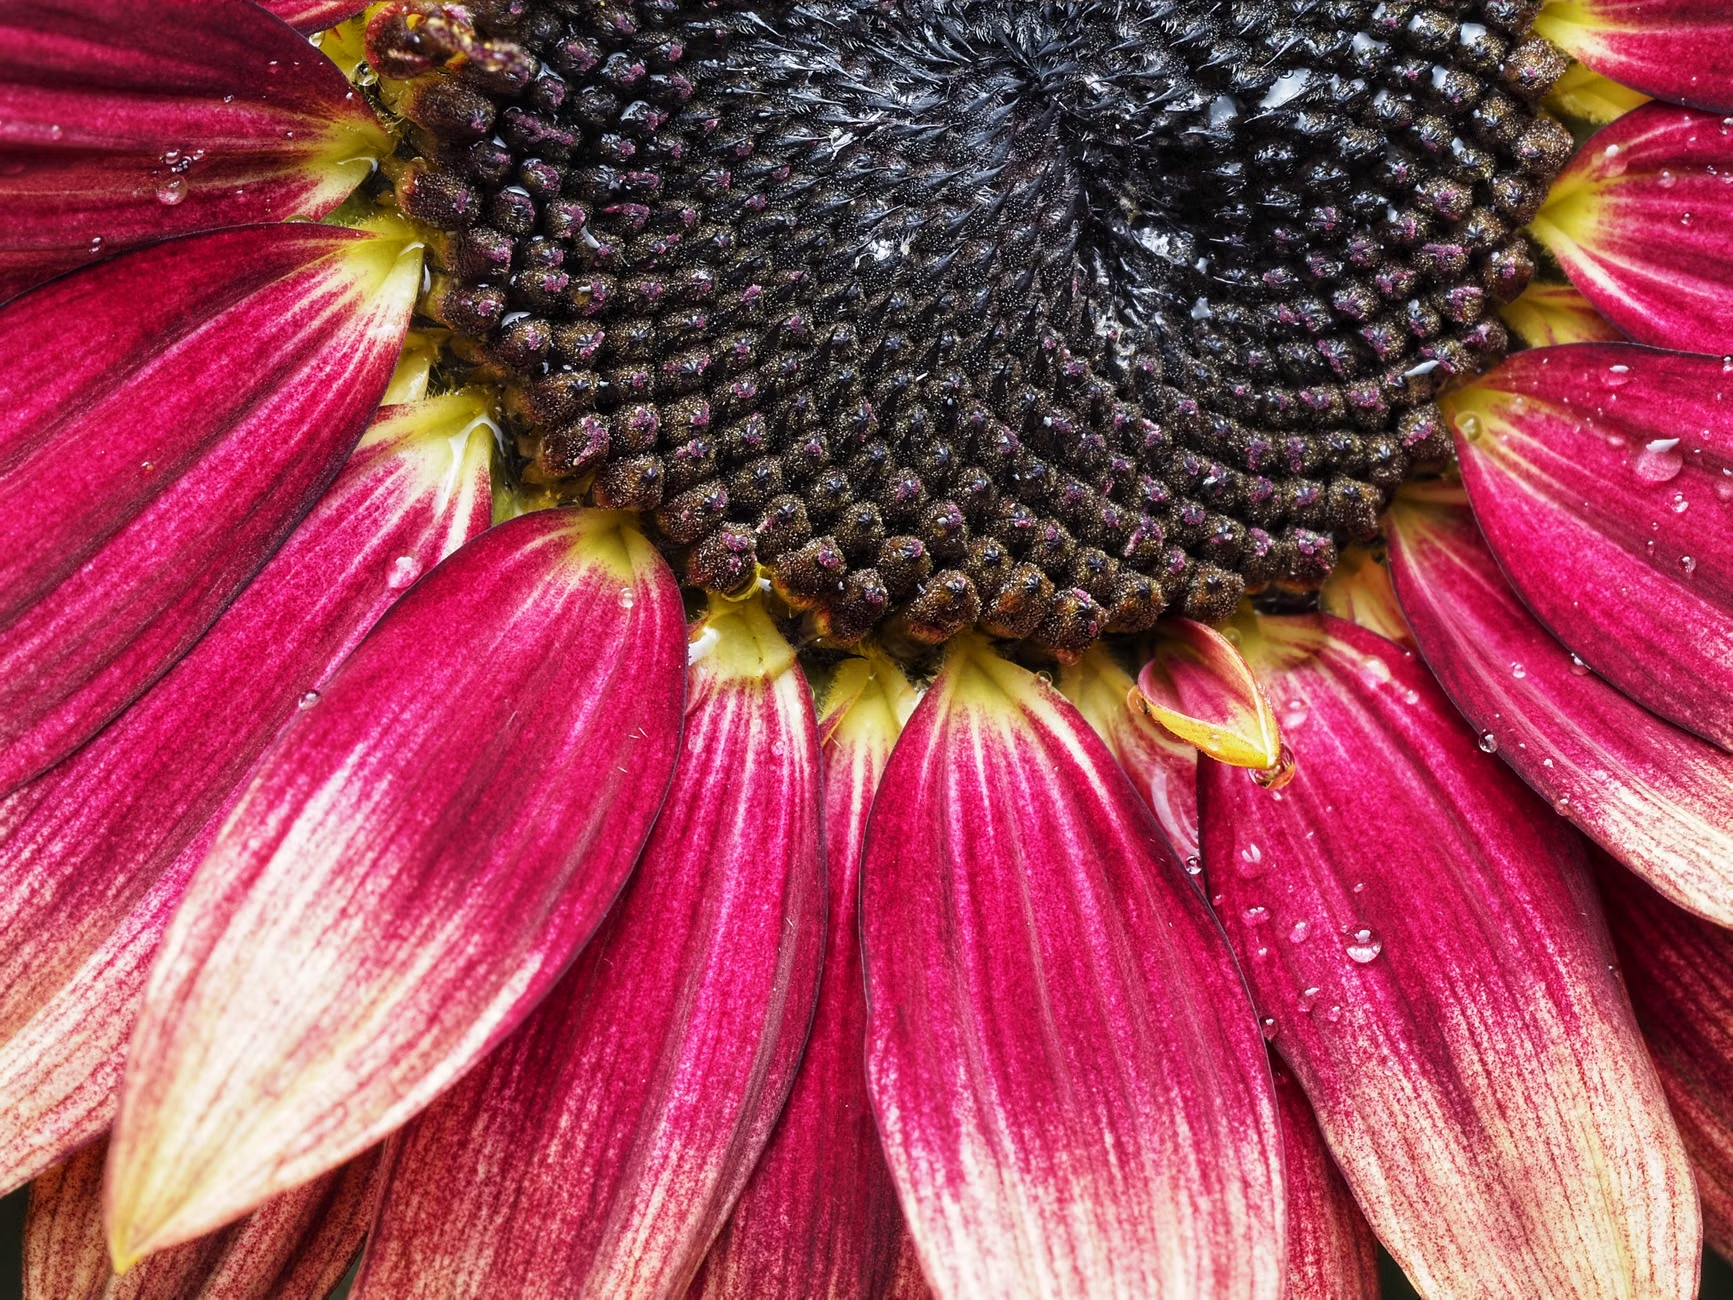
Once you are comfortable with the basics, you may want to explore the concept of “Depth of Field.” In macro-photography, the area in focus is often incredibly thin—sometimes just a fraction of a millimeter. This is why you will often see macro photos where only the eye of an insect or the edge of a petal is sharp, while the rest is a beautiful, creamy blur (known as “bokeh”).
To control this, you must understand your lens aperture (the f-number). A lower f-number (like f/2.8) creates a very shallow focus, while a higher f-number (like f/11) keeps more of the subject in focus. Beginners often struggle with this, thinking their camera is “broken” because the whole photo isn’t sharp. In reality, it is a creative choice. If you want the entire subject sharp, use a higher f-number, but be aware that this will let in less light, making a tripod and a longer exposure time essential.
The “Hidden” Variable: Wind
One of the most overlooked variables in outdoor macro-photography is wind. Even a gentle breeze that is imperceptible to you can cause a flower to sway just enough to ruin a macro shot. The solution? Use a “plamp” (a plant clamp). This is a small, flexible arm that attaches to your tripod and gently holds the stem of your flower or plant steady. It is a game-changer for outdoor macro work.
The Mental Benefits of Slow Observation
Macro-photography is fundamentally an exercise in slowing down. To find a subject worth photographing, you must walk slowly, look closely, and wait for the light to hit just right. This process, often referred to as “intentional observation,” has been linked to improved mood and increased feelings of gratitude. By focusing on the hidden details of nature, you are actively training your brain to seek out beauty in the mundane.
Consider the difference between a quick walk through a park and a “macro-photography walk.” In the former, you might notice the trees. In the latter, you notice the lichen on the bark, the water droplets clinging to a spiderweb, and the geometric perfection of a leaf’s vein structure. This shift in perspective can be deeply restorative.
Technical Tips for Digital Workflow
Once you have taken your photos, the experience continues on your computer. Modern photo editing software allows you to “develop” your images much like the old film darkrooms, but with significantly more ease. However, avoid the temptation to over-process.
Recommended Workflow:
- Selection: Don’t keep every shot. Choose the one where the focus is sharpest.
- Cropping: If you didn’t get quite close enough, use your software to crop the image. Modern sensors are high-resolution enough to handle this without losing quality.
- Exposure Adjustment: Only adjust exposure if the original photo is too dark or too light. Aim to keep the colors natural.
Safety and Ethical Considerations
When photographing nature, remember the “leave no trace” principle. Never trample plants to get a better angle. If you are photographing insects, do not move them or disturb their environment. Respecting the subject is part of the mindfulness practice. Furthermore, if you are heading out to remote areas, always ensure you have a mobile phone, water, and appropriate footwear. For those with balance concerns, ensure your tripod is sturdy enough not to tip over in the wind, and always prioritize flat, stable paths.
Conclusion: Taking the First Step
Macro-photography is not about reaching professional status; it is about the joy of discovery. You do not need the most expensive camera or the most exotic locations. You need only a quiet corner of the world, a bit of patience, and the willingness to look at the ordinary with extraordinary attention. Start by picking one object in your home—a piece of fruit, a fabric texture, or a houseplant—and spend fifteen minutes trying to capture its smallest details. You will likely find that the world around you is far more vibrant and detailed than you ever imagined.
For more information on camera settings and accessibility, you can visit resources like DPReview for technical breakdowns or check with your local photography club for community-based learning opportunities that prioritize accessible, inclusive environments.
Frequently Asked Questions
1. Do I need to be good with technology to start macro-photography?
Not at all. While there is a learning curve, most modern cameras have “Auto” or “Macro Scene” modes that handle the technical settings for you. You can start with these and learn manual controls at your own pace.
2. Is macro-photography physically demanding?
It can be, but it doesn’t have to be. By using articulating screens and stools, you can avoid the need for kneeling or bending, making it a very accessible hobby for those with limited mobility.
3. What if I don’t have a garden?
Macro-photography is perfect for indoor environments. You can practice on household objects, kitchen spices, fabrics, or even the details of a piece of jewelry. The techniques regarding light and stability remain exactly the same.