Successful cultural travel—the kind that leaves you feeling enriched rather than exhausted—depends almost entirely on how you manage your energy and mobility within the specific constraints of museum-heavy environments. For travelers aged 60 to 80, the challenge is not just what to pack, but how to curate a physical environment around yourself that supports long hours of standing, walking on hard surfaces, and navigating complex climate-controlled spaces.
- The 2-2-2 Rule: Limit museum visits to two per day, for two hours each, with a two-hour rest period in between to preserve physical and cognitive stamina.
- Surface Management: Hard floors in museums are the primary cause of foot and joint fatigue; investing in high-cushion, orthotic-friendly footwear is non-negotiable.
- Equipment Strategy: Portable seating and lightweight mobility aids can transform a tiring day into a comfortable one, effectively removing the anxiety of finding a place to rest.
1. The Physics of Museum Fatigue: Why Your Packing Must Change
Many travelers underestimate the physical toll of a “museum day.” Unlike walking in a park, where the terrain varies and your gait changes, a museum requires a very specific, taxing type of movement: the “museum shuffle.” This involves slow, rhythmic walking, prolonged periods of standing in one place, and frequent transitions from air-conditioned galleries to warmer transit zones.
The primary issue is the combination of rigid, unyielding floors (often marble or concrete) and the lack of accessible seating. To mitigate this, your packing strategy must transition from “what I might need” to “what supports my joints.”
The Anatomy of Essential Footwear
Do not bring brand-new shoes on a cultural trip. The most effective footwear for a museum-heavy itinerary possesses three specific traits: shock-absorbing midsoles, a wide toe box to accommodate natural foot swelling after hours of walking, and a non-slip outsole. For those with specific arch support needs, ensure your orthotics are already broken in with the travel shoes you intend to pack.
Managing the Climate Factor
Museums are maintained at specific temperatures to preserve artifacts, which often means they are significantly colder than the outside environment. A common mistake is dressing for the weather outside. Instead, adopt a “base-layer” philosophy. A lightweight, high-quality merino wool cardigan or a technical vest can be easily removed or added, keeping your body temperature stable without the bulk of a heavy coat.
2. Strategic Packing: The “Mobility-First” Checklist
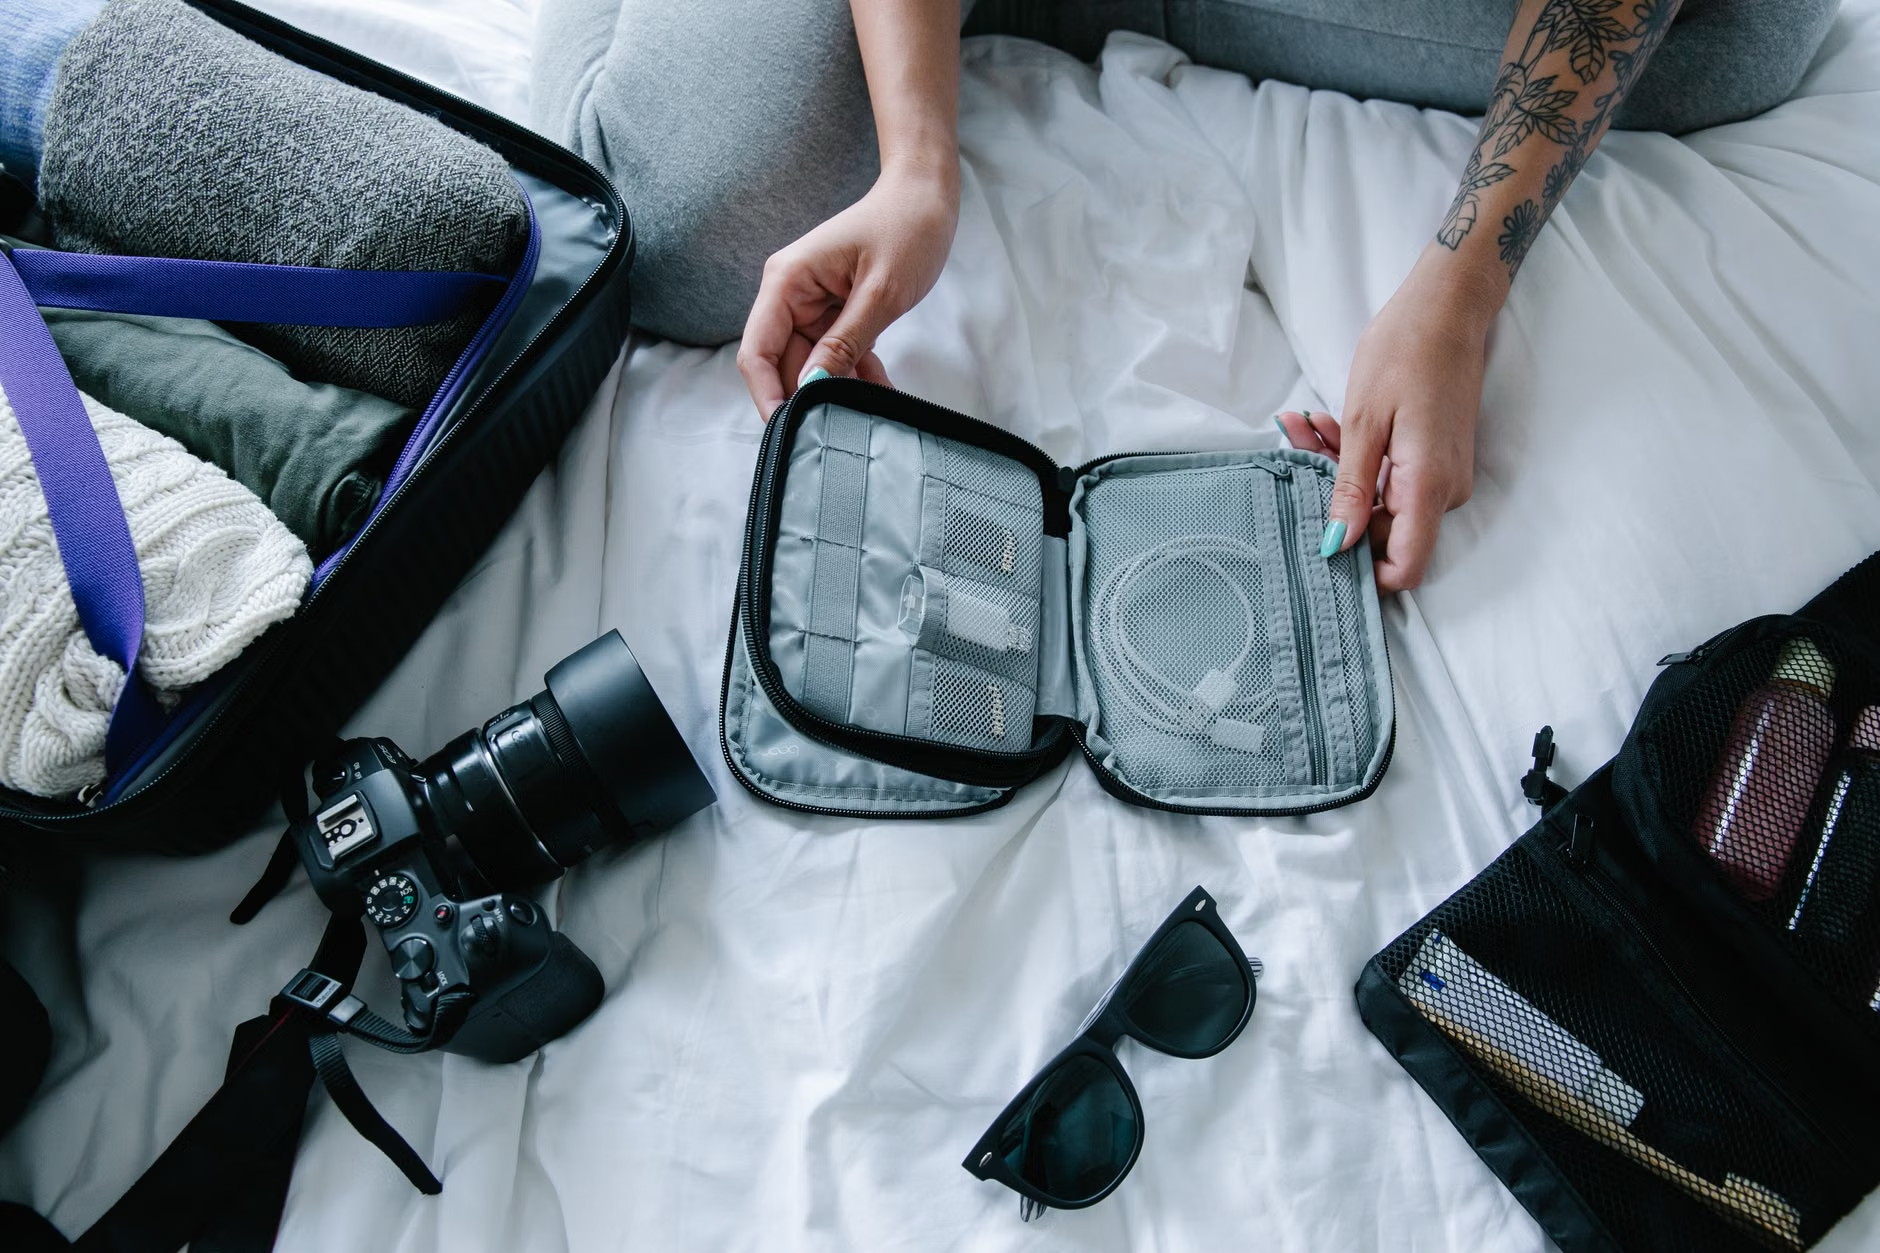
Packing for a cultural tour should prioritize weight reduction. Every extra kilogram in your day bag contributes to spinal compression and shoulder fatigue. Focus on a modular system where your equipment serves multiple purposes.
| Item | Why It Matters | Packing Tip |
|---|---|---|
| Portable Folding Stool | Provides immediate rest in crowded galleries. | Look for ultra-lightweight carbon fiber models. |
| Compression Socks | Reduces lower leg edema from prolonged standing. | Wear these during transit and museum days. |
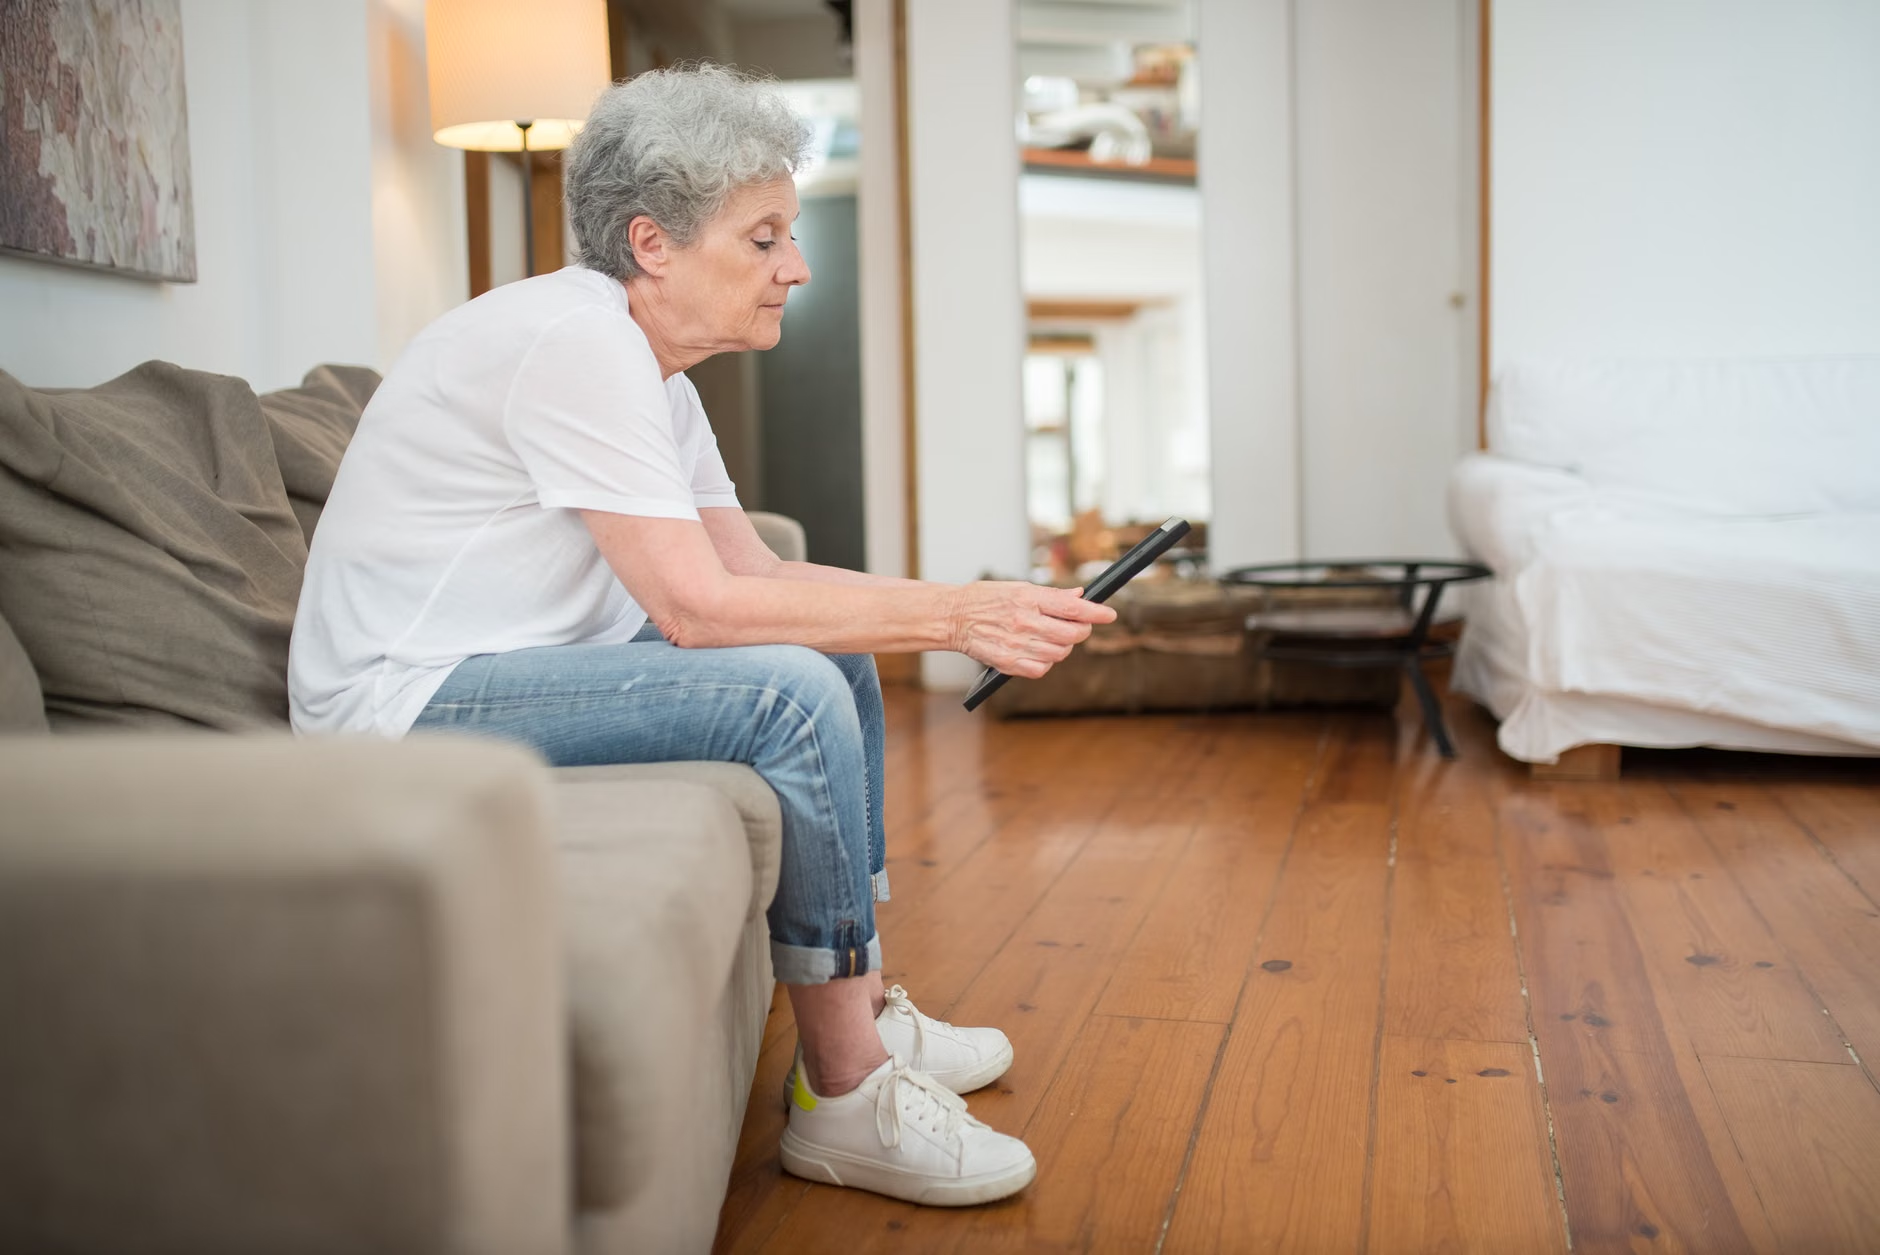
| Digital Magnifier/Tablet | Avoids leaning over to read small exhibit text. | Use a tablet with high-contrast font settings. |
| Collapsible Walking Stick | Provides stability on stairs and uneven floors. | Ensure it fits inside a standard carry-on. |
The table above highlights that equipment choices are about autonomy. When you carry your own seating or assistive devices, you are no longer dependent on the museum’s layout or the availability of benches, which are frequently occupied in high-traffic institutions like the Louvre or the British Museum.
3. Planning Your Daily Itinerary for Maximum Stamina
The “more is better” approach to travel is a primary cause of burnout for seniors. Instead, practice “curated exploration.” Most large museums have an official app or a “highlights” PDF on their website. Prioritize the top five exhibits you truly want to see, and treat everything else as a bonus.
The Importance of Rest Intervals
Scientific studies on cognitive load suggest that our ability to process complex visual information—like that found in art history exhibits—degrades after roughly 90 to 120 minutes. Plan a “café break” at the two-hour mark. This is not just for nutrition; it is for sensory recalibration. Step outside the gallery, find a quiet area, and allow your eyes and brain to rest from the visual stimulation.
Logistics of Museum Accessibility
Before leaving your accommodation, check the museum’s website specifically for the “Accessibility” or “Visitor Services” page. Look for these three things:
- Elevator Locations: Don’t rely on the main staircase. Know where the elevators are to avoid unnecessary climbing.
- Wheelchair Loans: Most national museums offer free wheelchair loans on a first-come, first-served basis. If you have any doubt about your stamina, utilize this service. It is a tool for energy conservation, not a statement on your health.
- Entry Points: Large museums often have secondary entrances for groups or mobility-challenged visitors that have shorter security queues.
4. Health and Wellbeing: Beyond the Packing List
Preventive health during travel means managing your body’s signals before they become crises. Dehydration is a silent enemy in climate-controlled museums. Because the air is often dry, you may not feel thirsty, but your body is losing moisture. Carry a lightweight, refillable water bottle and establish a habit of drinking at every rest stop.
Managing Chronic Conditions
If you are managing conditions such as hypertension, diabetes, or arthritis, travel requires a “medication buffer.” Always pack a three-day supply of essential medication in your carry-on luggage, not your checked bag. Keep a digital list of your medications and their dosages on your phone, and a paper copy in your wallet. If you experience unexpected swelling or joint pain, do not “push through it.” A day of rest in your hotel room is better than an injury that ruins the remainder of your trip.
The Role of Caregivers and Family
If you are traveling with family, discuss expectations beforehand. It is perfectly acceptable to split up for part of the day. A younger family member might want to see the entire wing, while you might prefer to spend an hour in the sculpture garden. Meeting back up for lunch or an afternoon coffee ensures that everyone enjoys the trip at their own pace.
Modern museums are increasingly “digital-first.” This means pre-booking tickets online is often the only way to gain entry. Do not rely on walking up to the ticket window. Use your smartphone to book tickets at least 48 hours in advance. If you have mobility concerns, include a note in the booking or call the museum’s visitor services desk to ask about the most accessible route from the entrance to your primary interest area.
Common Mistake: Relying on museum Wi-Fi to load maps or guides. Always download the museum’s map or audio guide to your device while at your hotel. This ensures you have access even if the museum’s network is spotty or overloaded.
6. Insights for the Experienced Traveler
An overlooked variable in museum travel is the “security checkpoint.” In many major cities, security lines are the most physically taxing part of the day. They involve standing on hard floors for long periods. If you have a hidden disability or a mobility issue, do not hesitate to approach security staff and explain that you cannot stand for long. Most institutions have a protocol to move such visitors to the front of the line or provide a chair.
Another insight is the “off-peak” strategy. Most museums have periods when they are significantly quieter—usually the first hour after opening or the final two hours before closing. By timing your visits for these windows, you avoid the crushing crowds that necessitate constant, tiring maneuvering, allowing you to enjoy the space with dignity and ease.
Conclusion: Prioritize Your Experience Over the Checklist
The goal of a museum-heavy cultural tour is to experience the beauty and history of the destination, not to win a race against your own stamina. By preparing your physical environment—through proper footwear, assistive devices, and strategic pacing—you reclaim your agency. Remember, the best trip is the one where you are comfortable enough to truly appreciate the art and history in front of you. Focus on quality of engagement over quantity of exhibits, and you will return home feeling inspired, not just exhausted.
Frequently Asked Questions
1. Should I bring my own wheelchair or rent one at the museum?
If you have a mobility aid you are comfortable with, bring your own. It ensures consistency in comfort and fit. However, if you only require a chair for long museum days, renting at the museum or utilizing their free loaner program is a excellent way to save space in your luggage and avoid the hassle of transporting a chair through airports and public transport.
2. How do I handle the “museum shuffle” if I have knee or hip issues?
The most effective strategy is the use of a lightweight, collapsible cane or a trekking pole. These provide a third point of balance, reducing the load on your joints by up to 20%. Additionally, focus on “micro-rests”—whenever you stop to look at a painting, lean slightly against a wall or use your folding stool. Never stand perfectly still for more than five minutes without shifting your weight.
3. How can I ensure I don’t get lost or overwhelmed by the size of large museums?
Large institutions often have complex, maze-like layouts. Before you arrive, study the map on the museum’s official website. Identify the specific gallery numbers you want to visit and note the location of the nearest elevator and restroom. Most museums now offer “accessible” or “step-free” route maps on their websites that highlight the easiest paths. Downloading these to your phone ensures you have a clear, stress-free plan before you even step through the doors.
Official guidance on accessibility for major institutions can often be found on their respective websites. For example, the British Museum’s accessibility page provides detailed information on elevator access and seating. Always check the official site of the museum you intend to visit for the most current information regarding their specific facilities.