- Bird-sketching is a low-cost, accessible hobby that combines mindfulness with observational skills, promoting cognitive engagement and patience.
- Success in bird-sketching does not require artistic talent; it focuses on the process of observation rather than the final aesthetic outcome.
- Creating an accessible “sketching station” at home—focusing on ergonomics, proper lighting, and minimal gear—is the best way to ensure consistency and comfort.
The Intersection of Mindfulness and Observation
Mindfulness is often described as the practice of being fully present in the current moment, without judgment. For many adults, the challenge lies in finding a focus that is both engaging and calming. Bird-sketching serves as a bridge between the analytical mind—which enjoys identifying species and understanding behavior—and the creative mind, which seeks to capture the essence of a living creature on paper.
When you sit to sketch a bird, you are forced to slow down. You cannot rush the process because the subject is constantly moving. This necessity forces a shift in perspective: you stop looking for a “perfect” image and begin looking for the lines, the posture, and the subtle movements of the bird. This shift is the essence of mindful observation. It is not about how well you draw; it is about how well you look.
Why Bird-Sketching Matters for Cognitive and Sensory Health
Engaging in artistic activities like sketching has been shown to support cognitive health by requiring complex visual-spatial processing and fine motor coordination. When paired with birdwatching, the activity also requires auditory and visual alertness. As we age, maintaining these pathways through “active” leisure—rather than passive consumption of media—is a powerful tool for maintaining mental acuity.
Furthermore, the outdoor or semi-outdoor environment of bird-sketching provides exposure to natural light and fresh air, which are essential for regulating circadian rhythms and mood. Unlike high-intensity sports, bird-sketching is low-impact, making it an ideal hobby for those who may have limited mobility or who are recovering from injury and need an activity that doesn’t place strain on the joints.
The Psychological Benefits of “Process-Oriented” Hobbies
Many hobbies for adults are goal-oriented, such as winning a game or completing a complex renovation. Bird-sketching is inherently process-oriented. If a bird flies away before you finish a line, the “failure” is part of the experience. This helps build resilience and reduces the pressure to perform. In a world that often demands efficiency, taking an hour to capture the curve of a wing teaches us to find joy in the incomplete and the fleeting.
Building Your Accessible Sketching Toolkit
One of the most significant barriers to starting a new hobby is the perceived cost or complexity of the equipment. Bird-sketching is uniquely affordable. You do not need professional-grade art supplies to derive the benefits of this activity.
| Item | Recommendation for Seniors | Why It Matters |
|---|---|---|
| Sketchbook | Spiral-bound, A5 size | Easier to open flat and hold in one hand or on a lap. |
| Pencils | 2B or 4B (Soft lead) | Requires less pressure to create a dark, visible line. |
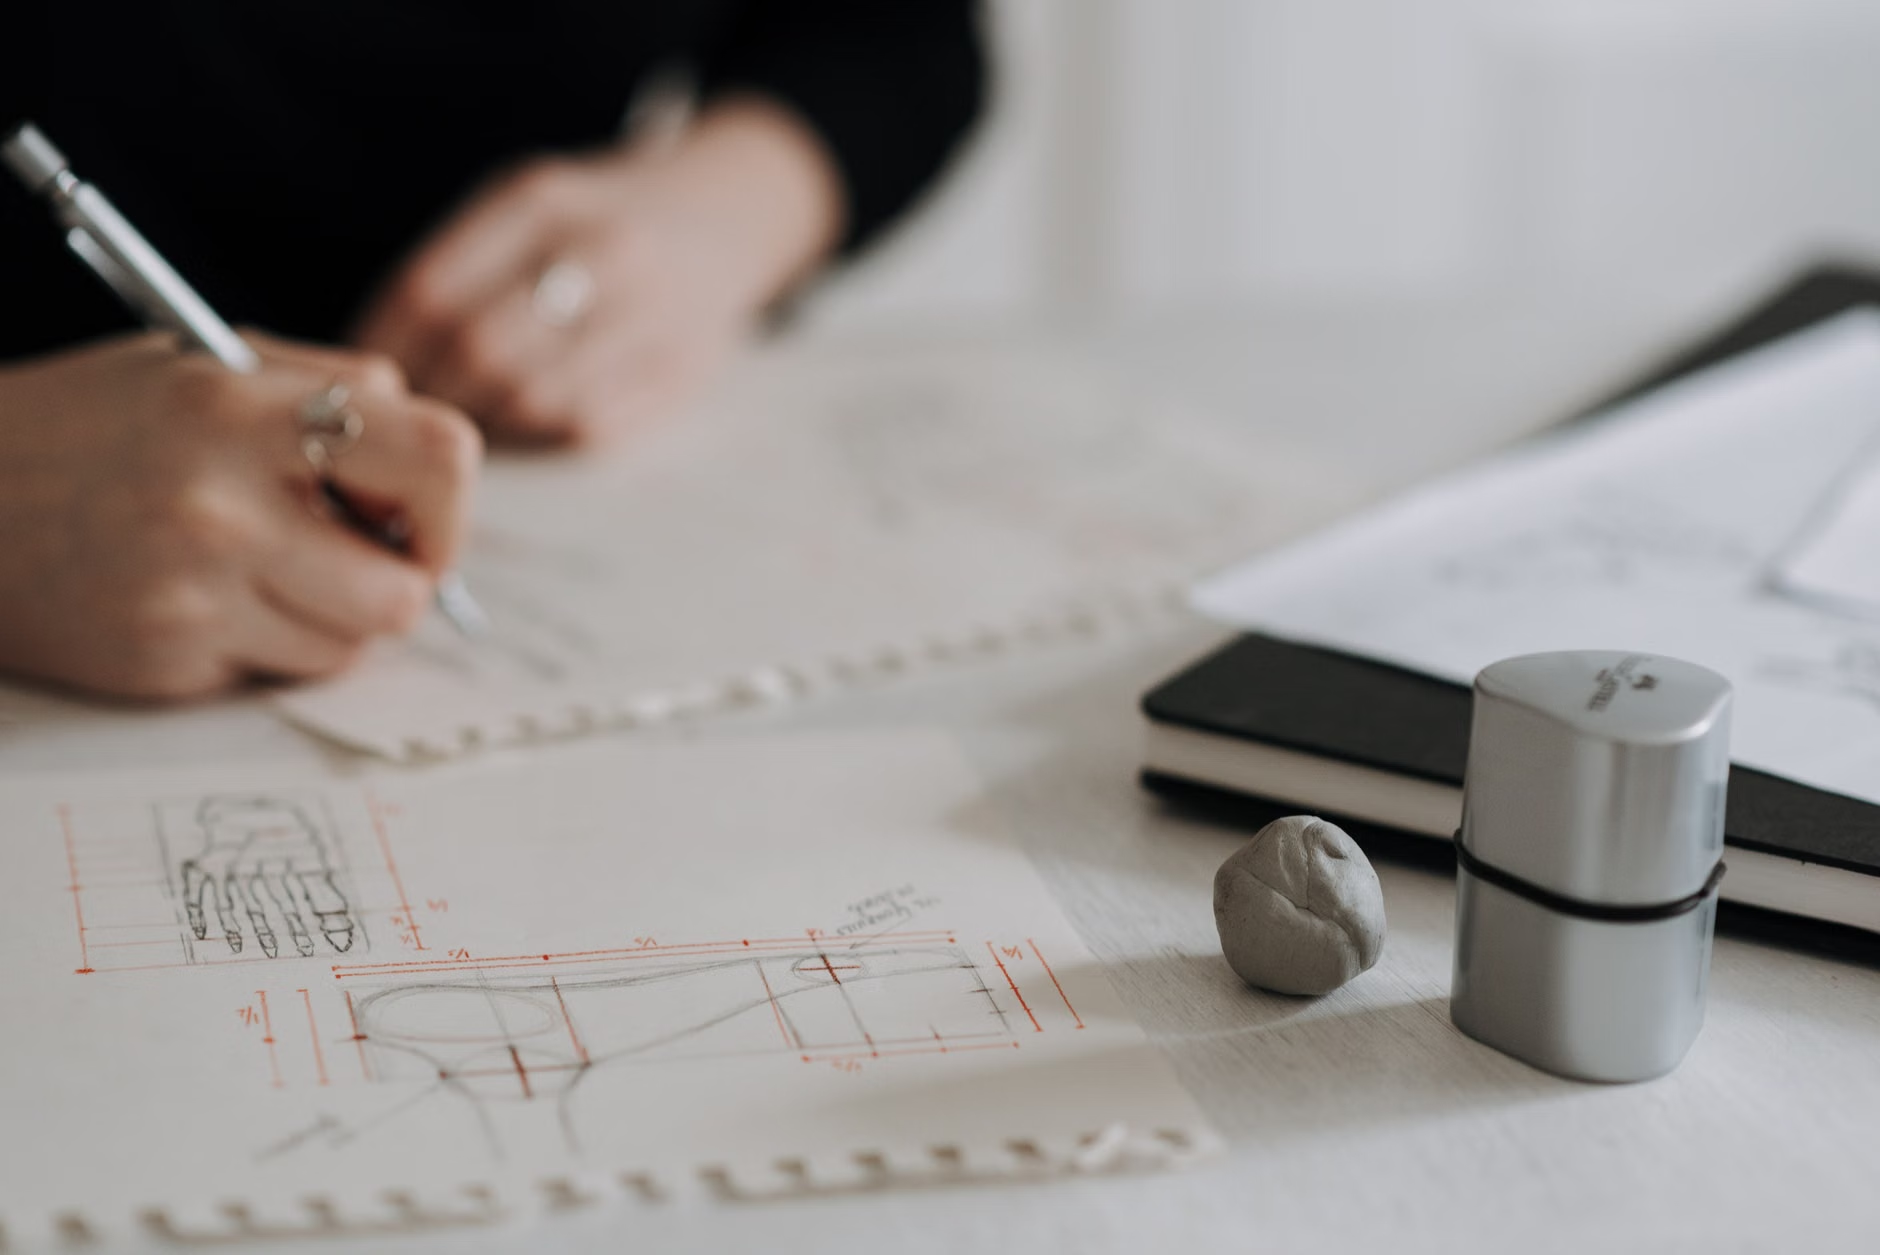
| Eraser | Vinyl or kneadable | Kneadable erasers are gentle on paper and hands. |
| Seating | Ergonomic garden chair with back support | Prevents back strain during long periods of observation. |
Common Mistake: Many beginners start with hard pencils (like H or 2H). These require significant pressure to show up on the page, which can cause hand fatigue or discomfort for those with arthritis. Always opt for softer leads (B, 2B, or 4B) to ensure a smooth, effortless glide across the paper.
Setting Up Your Observation Station
Consistency is the secret to any hobby. If you have to spend 20 minutes gathering supplies every time you want to sketch, you are less likely to do it. Create a dedicated “sketching kit”—a small bag or box that contains your sketchbook, a sharpener, and a few pencils—that lives by your favorite window or near the door to your patio.
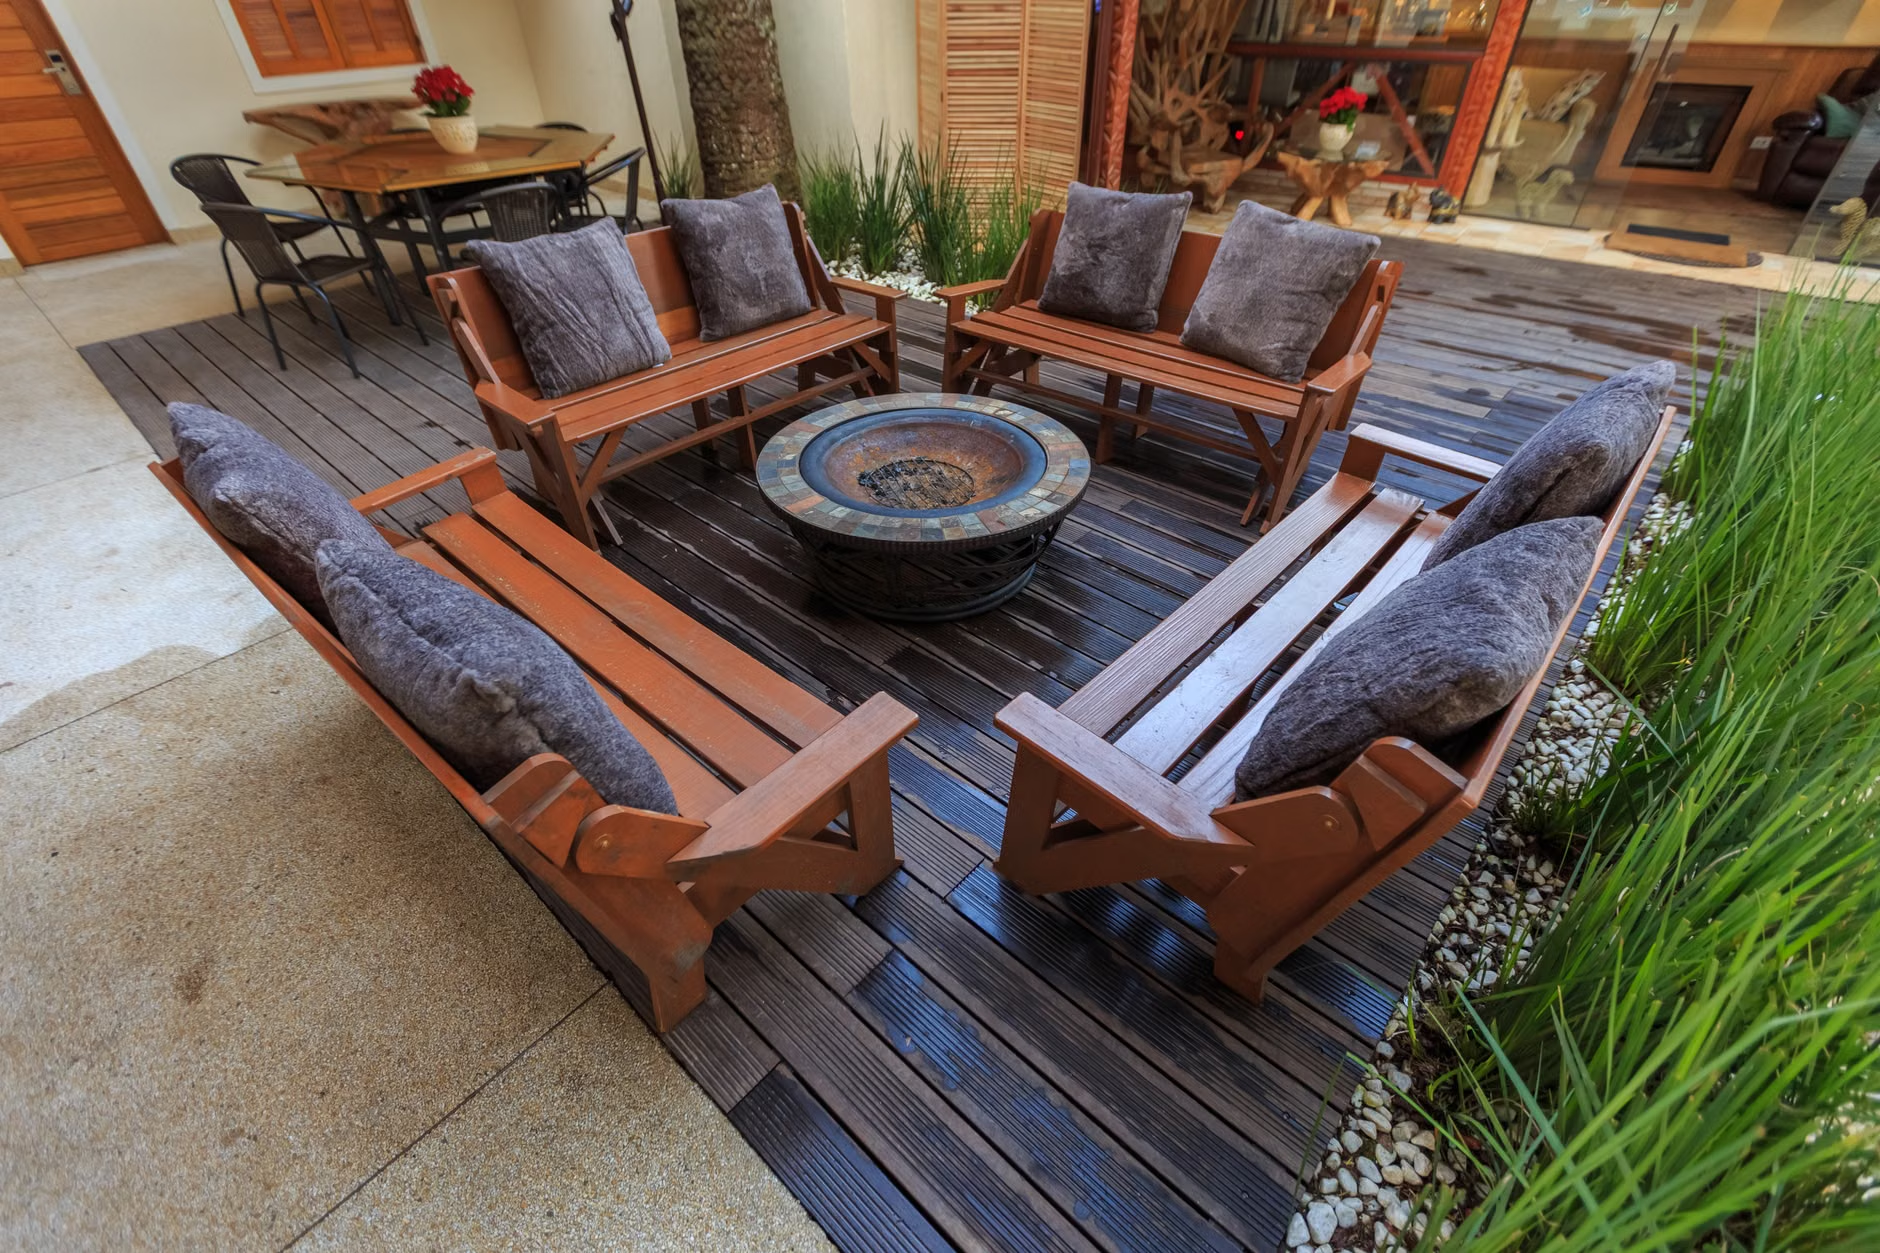
If you are sketching outdoors, consider your environment carefully. A flat, stable surface is essential. If you are in a public park, look for benches with armrests, as these provide better stability for your arms. If you are at home, ensure your bird feeder is positioned at eye level rather than too high or too low, as this reduces neck strain from looking up or down for extended periods.
Step-by-Step: The Mindful Sketching Process
To begin, do not try to draw the entire bird in detail. Follow this sequence, which prioritizes observation over perfection:
- The “Gesture” Phase: Spend the first two minutes just watching. Don’t touch your pencil. Observe how the bird moves. Does it hop? Does it bob its head?
- The “Shape” Phase: Draw a simple, light oval or circle to represent the body. Do not worry about feathers or beaks yet. Just get the weight and the posture on the paper.
- The “Connection” Phase: Add the head and the tail. Use simple, single lines. If you make a mistake, leave it. A page full of “wrong” lines tells the story of the bird’s movement better than a single “correct” line.
- The “Detail” Phase: Only after you have the posture, add one or two details—perhaps the shape of the beak or the eye. Stop there. The sketch is complete the moment you feel you have “seen” the bird.
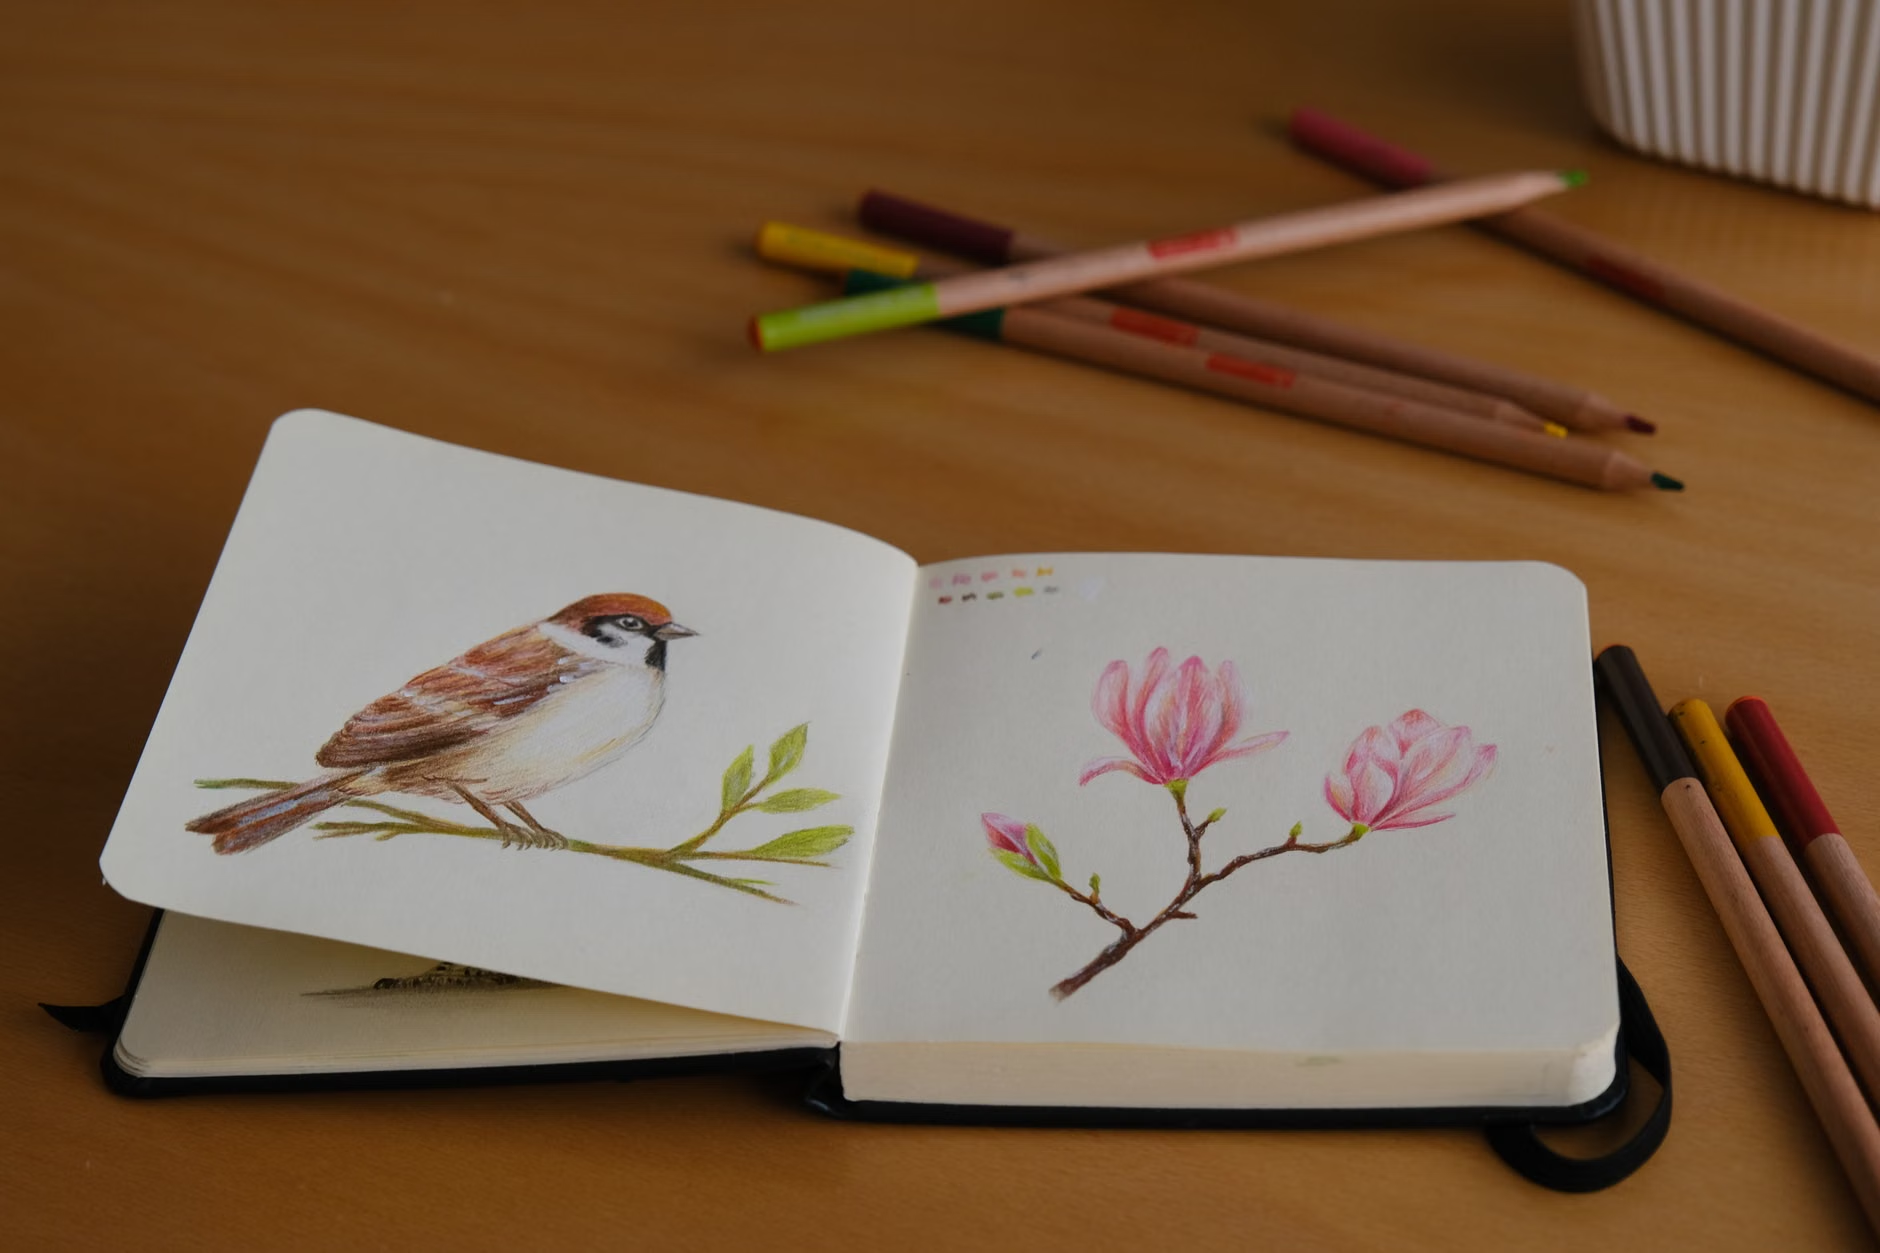
Overcoming the “I Can’t Draw” Myth
The most common reason people avoid sketching is the belief that they lack “talent.” It is vital to distinguish between artistic production (making something for others to see) and artistic practice (the act of observing for yourself). You are not creating a masterpiece for an exhibition; you are engaging in a dialogue with nature.
If you find it difficult to draw shapes, start by tracing the outline of birds from photographs in books or on your computer screen. This builds “muscle memory” for the shapes of wings and beaks. Once you have traced a few, try to replicate those shapes next to the original. This is a legitimate way to learn and is how many professional illustrators begin their training.
Managing Physical Comfort and Stamina
Stamina is a factor in any activity, and bird-sketching is no exception. Sitting still for long periods can lead to stiffness. Follow the 20-20-20 rule adapted for artists: for every 20 minutes of sketching, take 20 seconds to stretch your fingers, wrists, and shoulders, and look at something 20 feet away to rest your eyes.
If you experience tremors or limited dexterity, consider using thicker-barreled pencils or adding a foam grip to your existing pencils. These small modifications can significantly improve your comfort and the longevity of your practice. Remember, the goal is to enjoy the experience, not to endure it.
The Role of Technology and Resources
While the act of sketching is analog, digital resources can enhance your experience. Websites like the Cornell Lab of Ornithology provide excellent visual and auditory references. You can look up the birds common to your specific region to understand their anatomy better before you attempt to sketch them.
If you are interested in identifying the birds you see, apps like Merlin Bird ID can help you confirm the species. Knowing the name of the bird can add a layer of connection to your sketch, turning a generic “bird” into a “House Finch” or a “Blue Jay.” However, do not let the identification process take over the sketching process. The bird is the subject; the name is just a label.
Safety and Environmental Considerations
If you are heading to local parks or nature reserves to sketch, prioritize safety and accessibility. Check the terrain ahead of time—are the trails paved? Are there benches? Is there shade? Overexposure to the sun can lead to fatigue or dehydration, particularly for older adults. Always carry a hat, sunscreen, and a water bottle.
Furthermore, respect the wildlife. Keep a respectful distance. If a bird shows signs of distress—such as rapid, jerky movements, alarm calls, or flying away repeatedly—move further back. Your sketching should be a passive activity that does not interfere with the birds’ natural behaviors.
Integrating Sketching into Daily Life
You don’t need to go to a park to sketch. Your backyard, a balcony, or even a local coffee shop with a view of a street tree can be a “studio.” The beauty of bird-sketching is that birds are everywhere. By making this a part of your daily rhythm—perhaps 15 minutes with your morning coffee—you create a consistent space for mindfulness.
Consider keeping a “bird journal.” In addition to your sketches, write down the date, the time, the weather, and one thing you noticed about the bird’s behavior. Over the course of a year, this journal will become a beautiful record of the changing seasons and your own growing observational skills.
Conclusion: The Value of Seeing
Bird-sketching is more than a hobby; it is a way of reclaiming your attention in an age of distractions. By choosing to focus on the small, fleeting details of the natural world, you are training your mind to be more patient, more observant, and more present. Whether you produce a page full of messy lines or a recognizable portrait, the true value lies in the minutes you spent fully engaged with the world around you. Start small, keep your materials within reach, and remember that every line you draw is a success because it represents a moment of true, mindful awareness.
Frequently Asked Questions
1. Do I need expensive art supplies to start bird-sketching?
No. In fact, expensive supplies can sometimes be a hindrance because they create a pressure to produce “perfect” art. A simple, inexpensive 2B pencil and a basic notebook are more than enough to get started. Focus on the quality of your observation rather than the quality of your tools.
2. I have arthritis in my hands. Can I still sketch comfortably?
Yes, with a few modifications. Use “jumbo” or thick-barreled pencils, or wrap a piece of foam or rubber tubing around a standard pencil to increase the grip size. This reduces the force required to hold the tool. Additionally, remember to take frequent breaks to stretch your hands and wrists.
3. How long should I spend on a single sketch?
There is no set time limit. In the beginning, aim for short, 5-to-10-minute sessions. The goal is to capture the “gesture” or the feeling of the bird, not a photographic likeness. If the bird flies away, stop. That is the end of that sketch. Keeping sessions short helps prevent frustration and physical fatigue.
For further information on identifying birds in your area, visit the National Audubon Society or local ornithological resources relevant to your specific country.