- Spinal mobility is a foundation of independence: Maintaining rotation in the thoracic spine (upper back) helps prevent falls and makes daily tasks like driving or reaching behind you significantly easier.
- Safety through support: Using a stable, armless chair ensures your pelvis remains neutral, allowing the rotation to occur safely within the mid-back rather than straining the lower lumbar discs.
- Consistency over intensity: A gentle, controlled twist held for 15–30 seconds daily is more effective for long-term range of motion than aggressive, infrequent stretching.
The ability to rotate your torso is essential for navigating the world. Whether you are checking blind spots while driving, reaching for a seatbelt, or simply turning to talk to someone beside you at a dinner table, spinal rotation is an active, daily necessity. As we age, the connective tissues around the spine can become less pliable, and the small joints—known as facet joints—can stiffen. This reduced range of motion often leads to a feeling of stiffness or “locking” in the back, which can cause people to compensate by moving their entire body rather than just their torso.
Seated spinal twists are one of the most accessible and effective tools for maintaining this rotational range of motion. Because they are performed while seated, they remove the complexity of balance, allowing you to focus entirely on the movement of the spine itself. This guide explores how to perform these movements safely, why they are a cornerstone of preventive health, and how to integrate them into your daily routine without risk.
Understanding the Mechanics of Spinal Rotation
To understand why the seated twist is so beneficial, it is helpful to understand how the spine is structured. Your spine is divided into three main sections: the cervical (neck), the thoracic (mid-back), and the lumbar (lower back). Each section has a different job. The thoracic spine is designed to rotate, while the lumbar spine is primarily designed for stability and forward/backward bending.
As we age, the thoracic spine often loses its mobility, either due to a sedentary lifestyle or natural changes in the intervertebral discs. When the thoracic spine becomes rigid, the body often forces the lumbar spine (the lower back) to perform the rotation it wasn’t designed for. This is a common source of lower back discomfort. By practicing controlled, seated spinal twists, you are essentially “re-educating” your thoracic spine to handle its job, thereby protecting the vulnerable lower back from unnecessary strain.
What it looks like in real life: Imagine you are sitting at a table and need to reach an object behind you. A person with good thoracic mobility will rotate their chest and shoulders with ease. A person with limited thoracic mobility will often reach with their arm and twist their lower back, which can lead to a sharp, twinging sensation in the lumbar region. This movement pattern is a major contributor to back pain in older adults.
Preparing for Your Practice: Safety and Environment
Before beginning any new movement routine, it is vital to ensure your environment is set up for success. You do not need expensive equipment or a gym membership. In fact, the best tool for this movement is a standard, sturdy kitchen or dining chair.
The Selection of Your Chair
Not all chairs are created equal for this exercise. Avoid chairs with wheels, as they can slide away while you are applying pressure. Also, avoid chairs with deep, soft cushions that cause you to sink in, as this makes it difficult to maintain a neutral, upright pelvis. A flat-seated, non-padded, or firm-padded chair is ideal.
| Chair Feature | Why it Matters |
|---|---|
| Armless | Allows for a full range of motion without the arms hitting the chair frame. |
| Stable/Non-slip | Prevents the chair from moving, which is a major safety concern for seniors. |
| Firm Seat | Provides a solid base, helping you maintain a tall, upright posture. |
| No Back Padding | Ensures you don’t feel “pushed” forward, allowing your core to engage naturally. |
If you have any history of spinal surgery, osteoporosis, or severe disc issues, always consult with a physical therapist or your primary care physician before beginning a new stretching routine. They can provide guidance on whether specific degrees of rotation are appropriate for your unique skeletal health.
Step-by-Step: The Controlled Seated Twist

The goal of this movement is to create a “spiraling” effect up the spine, from the base to the neck, rather than a forceful wrenching of the body. Follow these steps to ensure you are moving safely.
Phase 1: Establishing the Foundation
Sit at the edge of your chair with your feet flat on the floor, hip-width apart. Your knees should be directly over your ankles. Place your hands on your thighs. Take a moment to lengthen your spine—imagine a string pulling the crown of your head toward the ceiling. This “tall” posture is the most important part of the exercise. If you are slouched, the rotation will be ineffective and potentially stressful for your discs.
Phase 2: Initiating the Rotation
Inhale deeply. As you exhale, slowly begin to turn your torso to the right. Use your left hand to gently grasp the outside of your right knee. Place your right hand on the back of the chair (or the seat, depending on its design). Crucially, do not pull with your arms. Your arms are merely guides. The movement should come from your abdominal muscles and the muscles along your spine.
Phase 3: The Mid-Back Focus
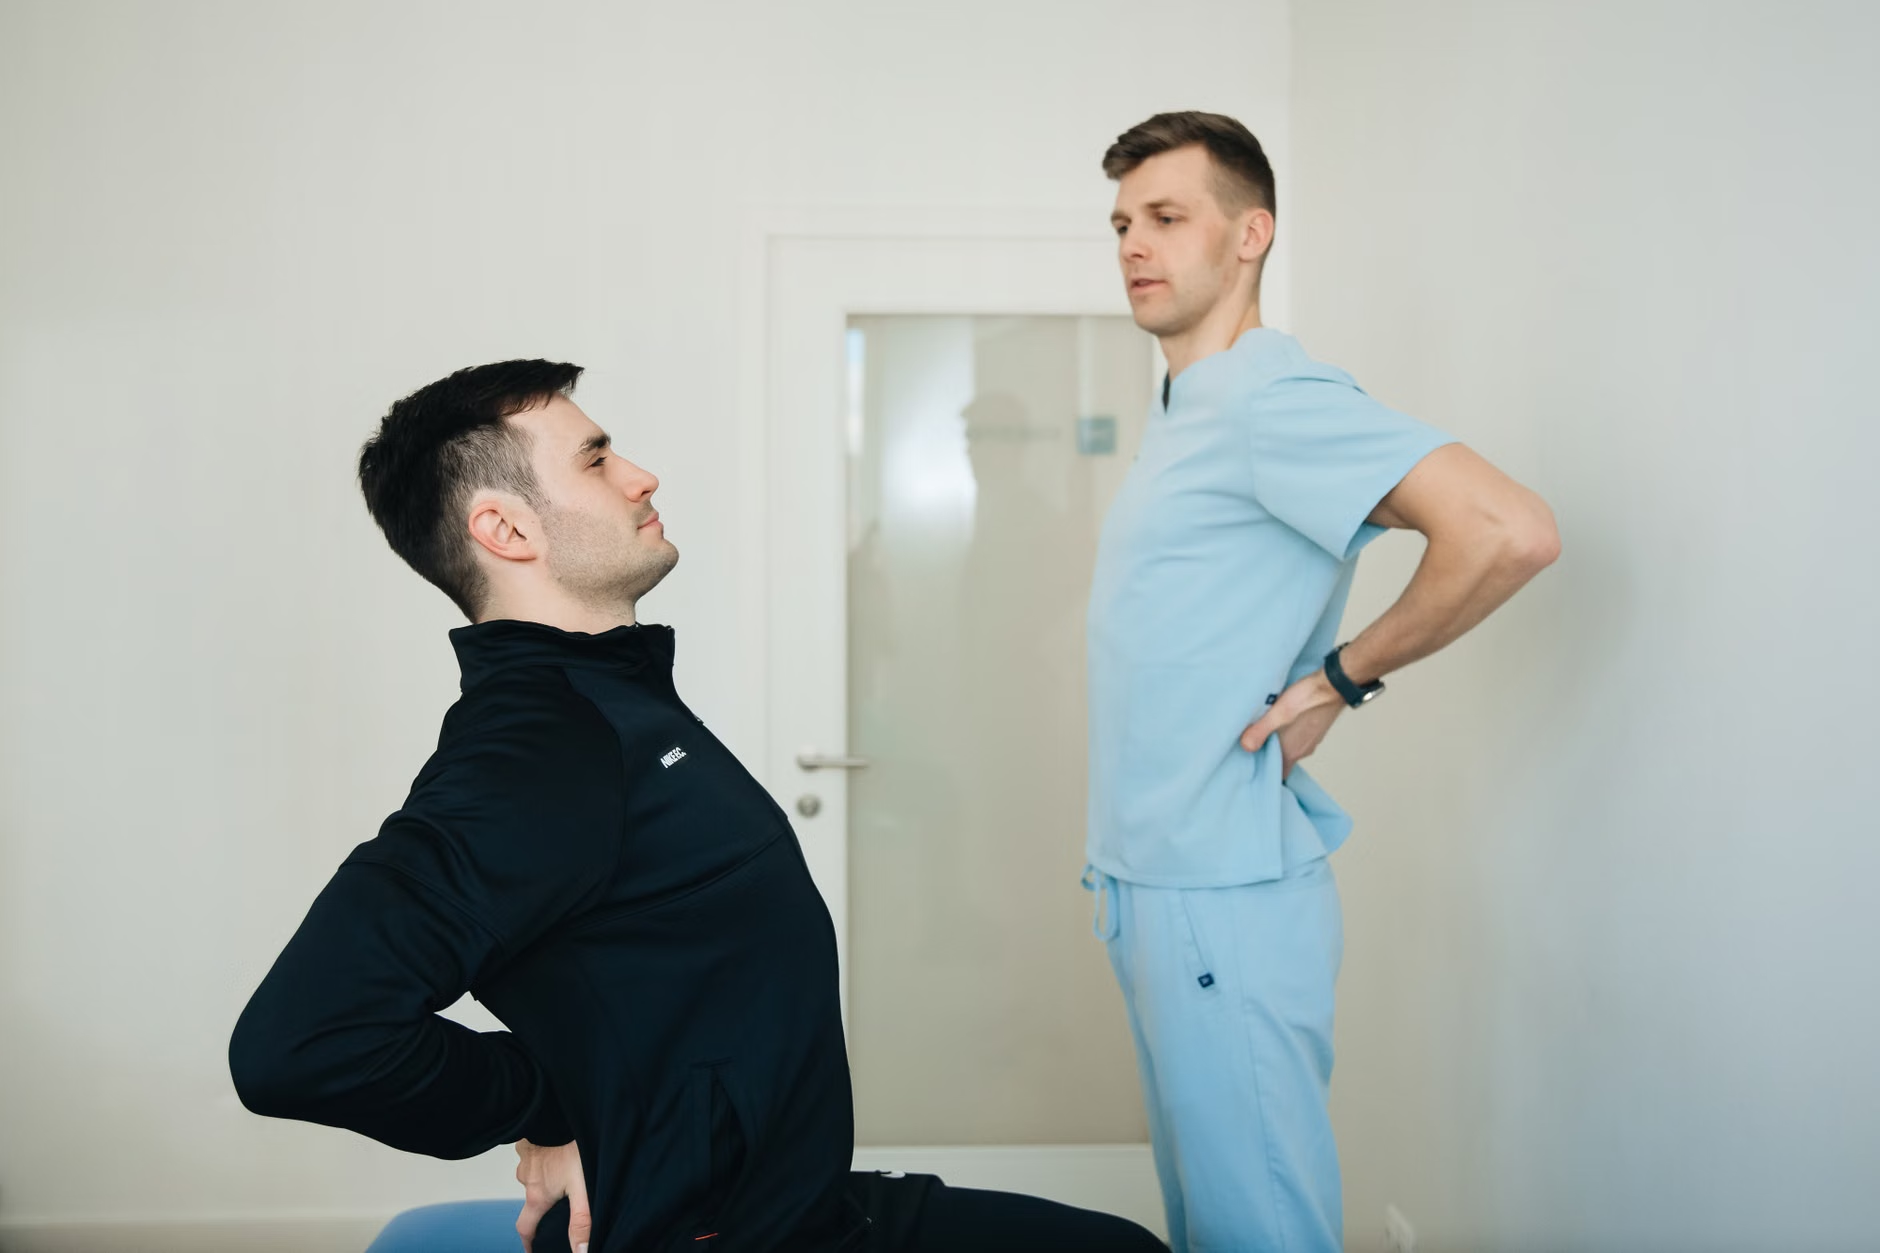
Once you have turned as far as is comfortable, pause. Check your posture again. Did you slump? If so, lift your chest back up. Remember, you aren’t trying to see how far behind you you can look; you are trying to feel the stretch through your ribcage and mid-back. If your neck feels strained, look forward rather than turning your head to match your torso. The rotation of the neck is not the goal—the rotation of the thoracic spine is.
Phase 4: The Release
Hold the position for 15 to 30 seconds while breathing normally. Do not hold your breath, as this increases internal pressure. When you are ready to come out, inhale and slowly return to the center. Take a breath in the center before repeating the movement on the left side.
Common Mistakes and How to Correct Them
Even with the best intentions, it is easy to fall into bad habits. Being aware of these common errors can save you from discomfort and ensure you are getting the most out of your time.
- The “Forceful Pull”: Many people try to deepen the stretch by pulling hard with their arms. This puts excessive torque on the spine. Correction: Use your arms only to stabilize your position, not to force a deeper turn.
- The “Collapsed Spine”: As people rotate, they often lose their height and begin to slouch. Correction: Focus on maintaining your “tall” posture throughout the entire movement. If you feel yourself sinking, stop and reset.
- The “Neck Wrench”: People often turn their head as far as possible to see behind them, thinking it measures the effectiveness of the stretch. Correction: Keep your head aligned with your chest. If your chest turns 30 degrees, your head should turn 30 degrees.
- Holding the Breath: This is a universal mistake in stretching. Correction: Count your breaths. Aim for 3 to 5 slow, deep breaths per side. If you cannot breathe, the stretch is too intense.
The Role of Consistency in Preventive Health
Spinal health is not something you “fix” in a single session. It is a maintenance process. Think of your spine like the hinges on a door; if they are never used, they collect dust and eventually stick. By moving your spine through its available range of motion daily, you ensure that the tissues stay hydrated and the joints remain mobile.

For most adults, practicing these twists once in the morning and once in the evening is sufficient. The morning session helps “wake up” the back after a night of inactivity, while the evening session can help release the tension accumulated throughout the day. If you find yourself sitting for long periods—such as while reading, watching television, or using a computer—incorporating a set of twists every 60 minutes is an excellent way to prevent stiffness from setting in.
Integrating Mobility into Daily Life
Beyond the formal exercise, you can apply the principles of the seated twist to your daily movements. When you are in a car, instead of grabbing the seatbelt by reaching back with a rounded, hunched shoulder, try to sit up tall and engage your core before reaching. When you are at the dinner table and need to turn to speak to someone, initiate the movement from your torso rather than just your neck.
This “mindful movement” approach is what truly prevents injury. By becoming aware of how your spine moves, you naturally begin to protect it in your daily life. This is not about being rigid or overly cautious; it is about being efficient and kind to your body.
When to Seek Professional Guidance
While seated spinal twists are generally safe, there are scenarios where you should stop and consult a professional. If you experience any of the following, please take note:
- Sharp or Shooting Pain: A stretch should feel like tension in the muscles, not a sharp, electric, or shooting pain. If you feel this, stop immediately.
- Persistent Numbness or Tingling: If you feel pins and needles in your arms or legs during the movement, it may indicate nerve irritation.
- Pain that Lingers: A good stretch should feel better immediately after you release it. If the pain persists for hours after your exercise, you may be overdoing it or have an underlying issue that needs evaluation.
If you have been diagnosed with conditions such as spinal stenosis, herniated discs, or severe arthritis, your doctor or physical therapist can provide “modified” versions of these twists. They may suggest a smaller range of motion or specific cues to keep your spine in a neutral, safe alignment. For further information on managing back health, you can refer to resources from organizations like the National Institute of Arthritis and Musculoskeletal and Skin Diseases (NIAMS).
Conclusion: Empowerment Through Movement
Maintaining spinal mobility is one of the most effective strategies for aging with grace and independence. By dedicating just a few minutes a day to gentle, seated spinal twists, you are taking a proactive step in preserving your ability to move through the world with comfort and ease. Remember, the goal is not to reach a specific angle or to perform the most dramatic twist; the goal is to keep your spine functioning as it was designed to—as a flexible, supportive, and active part of your body.
Start slowly, listen to your body, and prioritize the quality of your movement over the quantity. As you become more comfortable, you will likely find that this simple habit not only improves your physical range of motion but also provides a moment of mindfulness and calm in your daily routine.
Frequently Asked Questions
1. How many times a day should I perform these twists?
A good rule of thumb is to perform them twice a day—once in the morning and once in the evening. If you have a sedentary day, adding a few repetitions during your breaks is also highly beneficial. Focus on consistency rather than doing a large number of repetitions at once.
2. Can these twists help with my lower back pain?
These twists are designed to improve thoracic (mid-back) mobility. Often, when the mid-back is stiff, the lower back compensates and becomes strained. By improving your mid-back mobility, you may reduce the compensatory stress on your lower back. However, if your pain is severe, chronic, or caused by a specific injury, please speak with a healthcare provider to ensure this movement is appropriate for your specific condition.
3. What should I do if I cannot sit up straight?
If you find it difficult to maintain an upright posture, you may need more support. Try sitting with your back against the wall to help you understand what “tall” feels like. Alternatively, you can sit on a slightly higher surface, like a firm cushion, to elevate your hips. If you continue to struggle with posture, it is worth discussing with a physical therapist, as they can help you strengthen the core muscles needed to support your spine.
Disclaimer: This article is for informational purposes only and does not constitute medical advice, diagnosis, or treatment. Always seek the advice of your physician or other qualified health provider with any questions you may have regarding a medical condition or physical exercise.