- Model-making serves as a form of “active meditation,” helping to lower cortisol levels and improve sustained attention through repetitive, precision-based tasks.
- Engaging in this hobby supports the maintenance of fine motor skills and hand-eye coordination, which are essential for long-term functional independence.
- Success in model-making relies on proper ergonomics, adequate lighting, and starting with kits suited to your current level of dexterity and patience.
Model-making is far more than a childhood pastime or a collector’s niche; for adults aged 60 to 80, it represents a sophisticated, therapeutic practice that combines cognitive engagement, fine motor skill maintenance, and the profound satisfaction of creation. In a world where digital consumption is often passive, the tactile, deliberate process of assembling a scale model—whether it is an architectural structure, a historic aircraft, or a classic automobile—demands a unique level of focus that can quiet the mind and sharpen the senses.
The Cognitive and Physiological Benefits of Precision Crafting
The practice of model-making acts as a form of cognitive training. When you follow a set of instructions, visualize a three-dimensional outcome from a two-dimensional schematic, and manage the spatial relationship between tiny components, you are engaging the brain’s executive functions. This is not merely “busy work”; it is a complex sequence of problem-solving that requires sustained attention.
From a physiological perspective, the hobby is an excellent exercise in fine motor control. The muscles in the hands and fingers, along with the coordination between the eyes and the hands, are consistently challenged. By working with tweezers, scalpels, and small adhesives, you encourage the maintenance of dexterity. Furthermore, the “flow state”—a psychological concept describing total immersion in an activity—is frequently achieved during model-making. During these periods, the brain experiences a decrease in the activity of the prefrontal cortex, which is often associated with self-monitoring and stress-related rumination. This temporary suspension of external stressors allows the nervous system to reset.
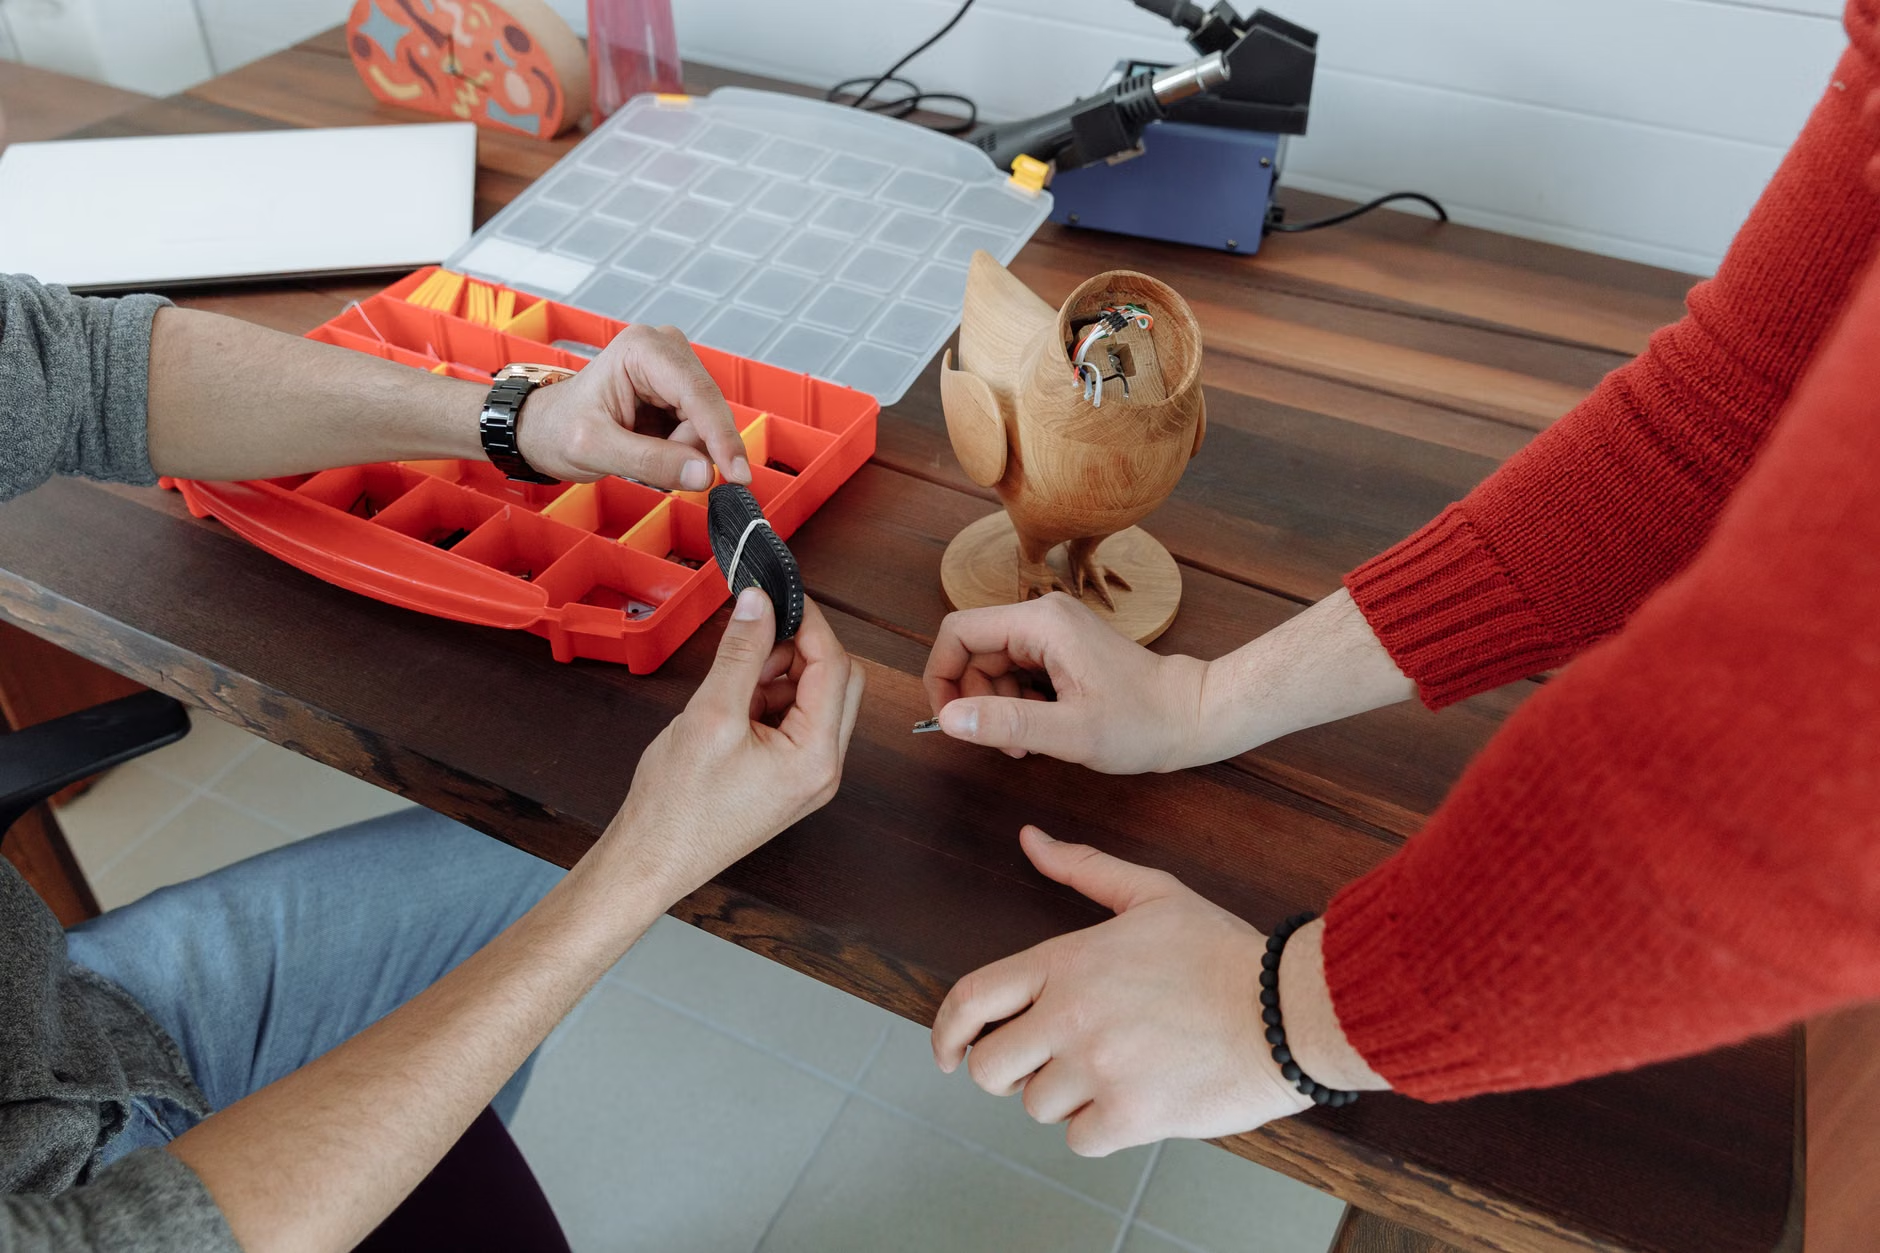
Selecting Your First Project: Matching Skill to Stamina
A common mistake for beginners is selecting a kit that is too complex, leading to frustration rather than relaxation. Model kits are typically rated by “skill level” or “parts count.” For your first project, prioritize kits with fewer, larger parts and simple, non-toxic assembly requirements.
Table 1: Choosing the Right Model Type
| Model Type | Complexity | Best For |
|---|---|---|
| Snap-fit Plastic Kits | Low | Beginners; no glue required. |
| Wooden Laser-cut Kits | Medium | Those who prefer natural textures. |
| Metal Earth/Etched Kits | High | High dexterity; requires patience. |
For those with reduced grip strength or vision changes, snap-fit kits are the most accessible starting point. They eliminate the need for liquid adhesives, which can be messy and require a steady hand to apply correctly. Furthermore, look for kits manufactured by reputable companies that provide clear, multi-language, and illustrated instructions. If the font size in the manual is too small, do not hesitate to scan the pages and enlarge them on a computer or tablet screen.
Creating an Ergonomic and Safe Workspace
Your workspace is the most critical factor in ensuring that model-making remains a pleasure rather than a chore. If you find yourself hunching over a table, you will likely experience neck and back strain within minutes. The key is to bring the work to your eye level, rather than bringing your eyes to the work.
Lighting and Magnification
As we age, the eyes require significantly more light to distinguish between fine details. Avoid relying on a single overhead ceiling light. Instead, invest in a dedicated LED “daylight” lamp. These lamps provide a high color-rendering index, which helps in identifying subtle color variations in parts. Additionally, a hands-free magnifying glass or a desktop magnifying lamp is an essential tool. These devices reduce eye fatigue significantly, allowing you to work for longer, more enjoyable sessions.
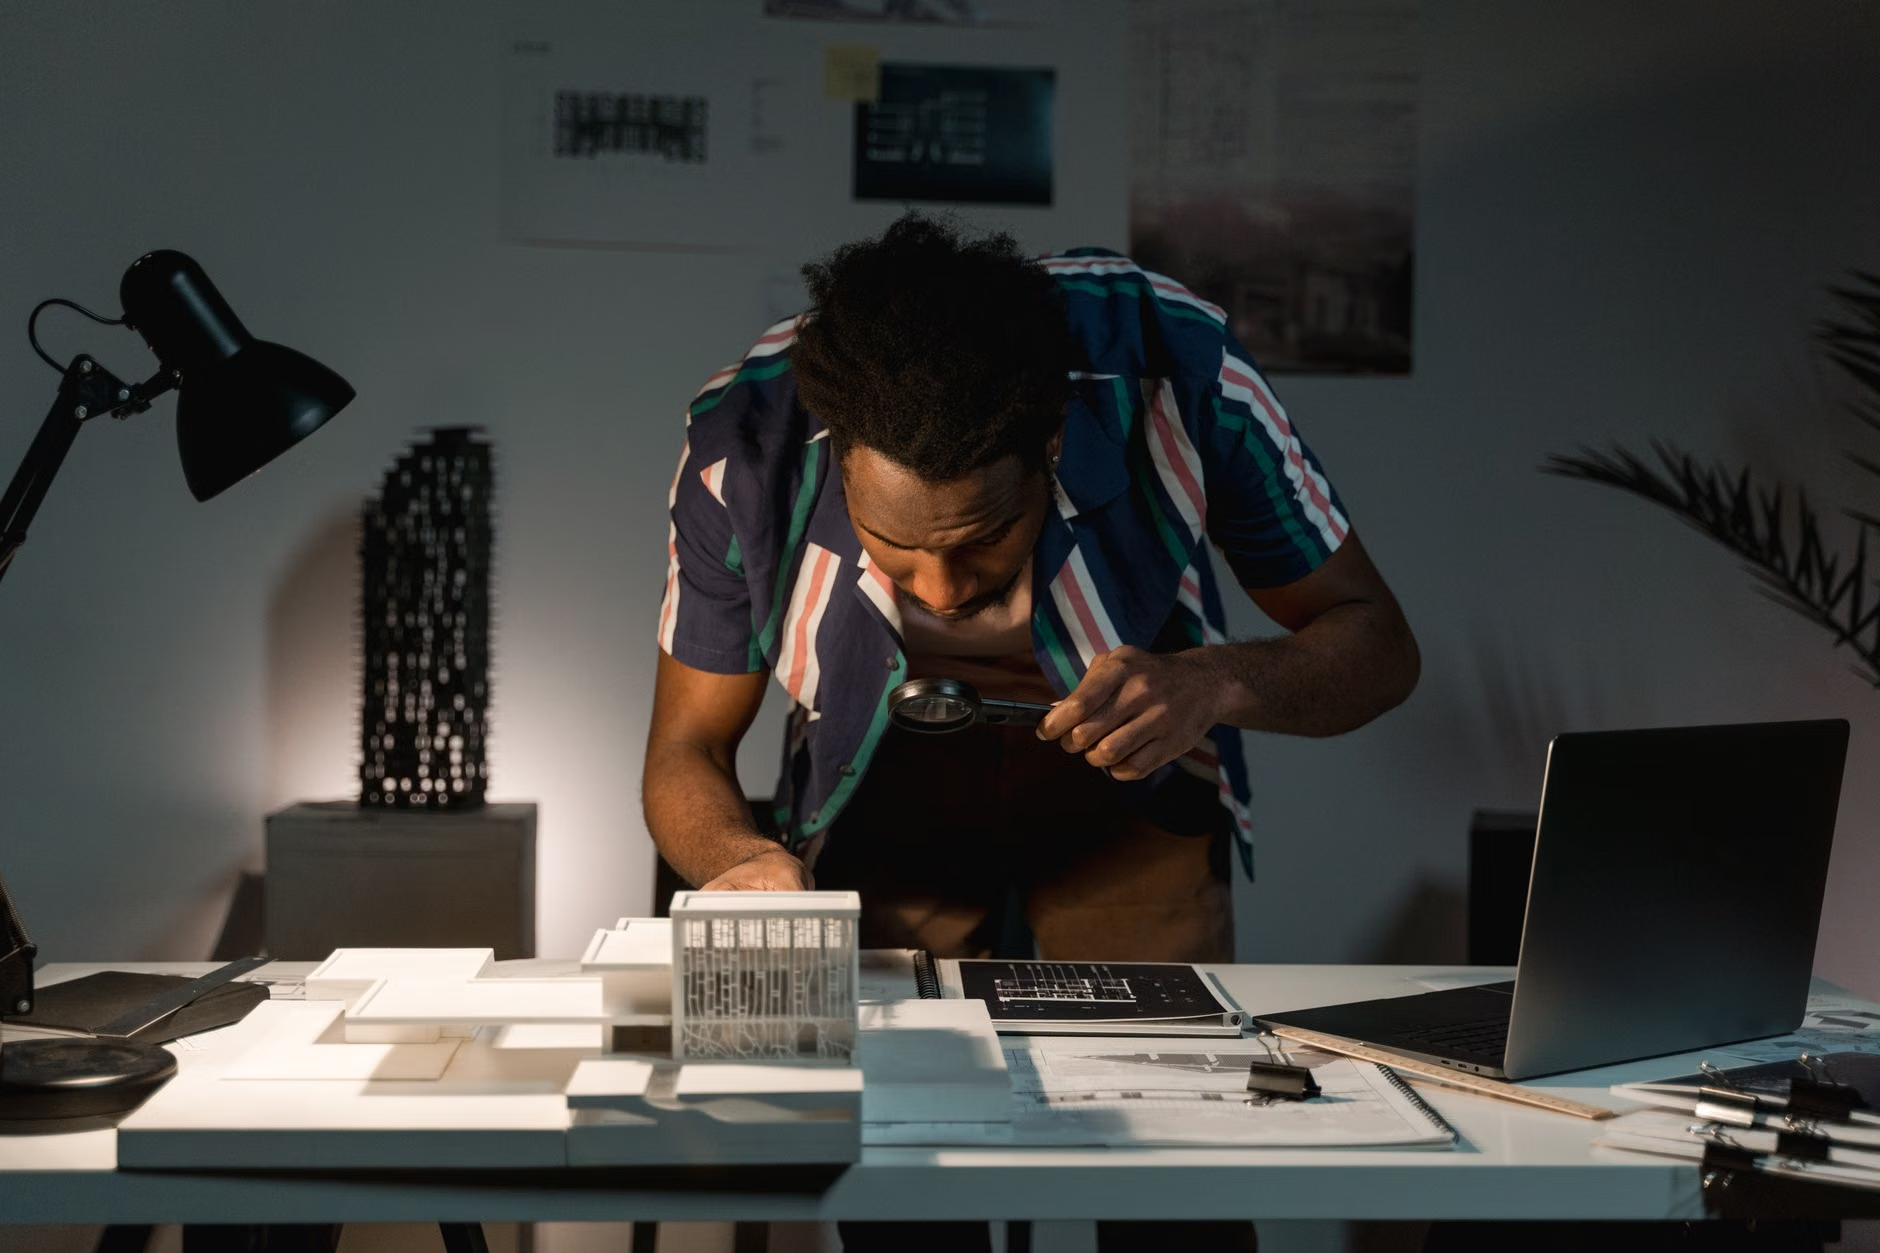
Posture and Seating
Ensure that your chair provides adequate lumbar support. If you are using a standard dining chair, a small cushion behind the lower back can prevent discomfort. Keep your elbows supported by the table surface to minimize shoulder tension. If your workbench is too low, consider using a sturdy platform to raise your cutting mat, or simply sit in a chair that allows you to maintain a neutral spine. It is advisable to limit your sessions to 45 to 60 minutes, taking a five-minute break to stretch your hands, wrists, and neck.
Essential Tools and Maintenance Protocols
You do not need an expensive workshop to begin. A basic “starter kit” should include the following items, which can be sourced from local craft stores or online hobby retailers:
- Precision Side Cutters: Essential for removing plastic parts from the “sprue” (the frame holding the parts) without damaging the piece.
- Tweezers: Use fine-tipped tweezers for placing small components. Non-magnetic, stainless steel ones are usually the most durable.
- Cutting Mat: A self-healing mat protects your table and provides a non-slip surface.
- Modeling Knife: A sharp, replaceable-blade knife is necessary for cleaning up “flash” (excess plastic) on parts. Always cut away from your body.
Safety Note: If you are using adhesives (glues), always ensure the room is well-ventilated. Choose “low-odor” or non-toxic hobby cements whenever possible. If you have concerns about respiratory sensitivities, stick to snap-fit kits or water-based, non-toxic glues.
Model-making is a process of trial and error. You will inevitably encounter a part that does not fit perfectly, or a moment where you feel the results do not match the picture on the box. This is a normal part of the learning curve. If you find yourself becoming frustrated, it is a sign that your brain is tired and it is time to step away. The beauty of this hobby is that the model will be waiting for you whenever you choose to return.
If you find that your hands are not as steady as they once were, consider using “third-hand” tools—weighted stands with alligator clips that hold a part in place while you work on it. These tools effectively take the place of a second or third hand, allowing you to focus on the task without needing to maintain a firm grip on the piece yourself.
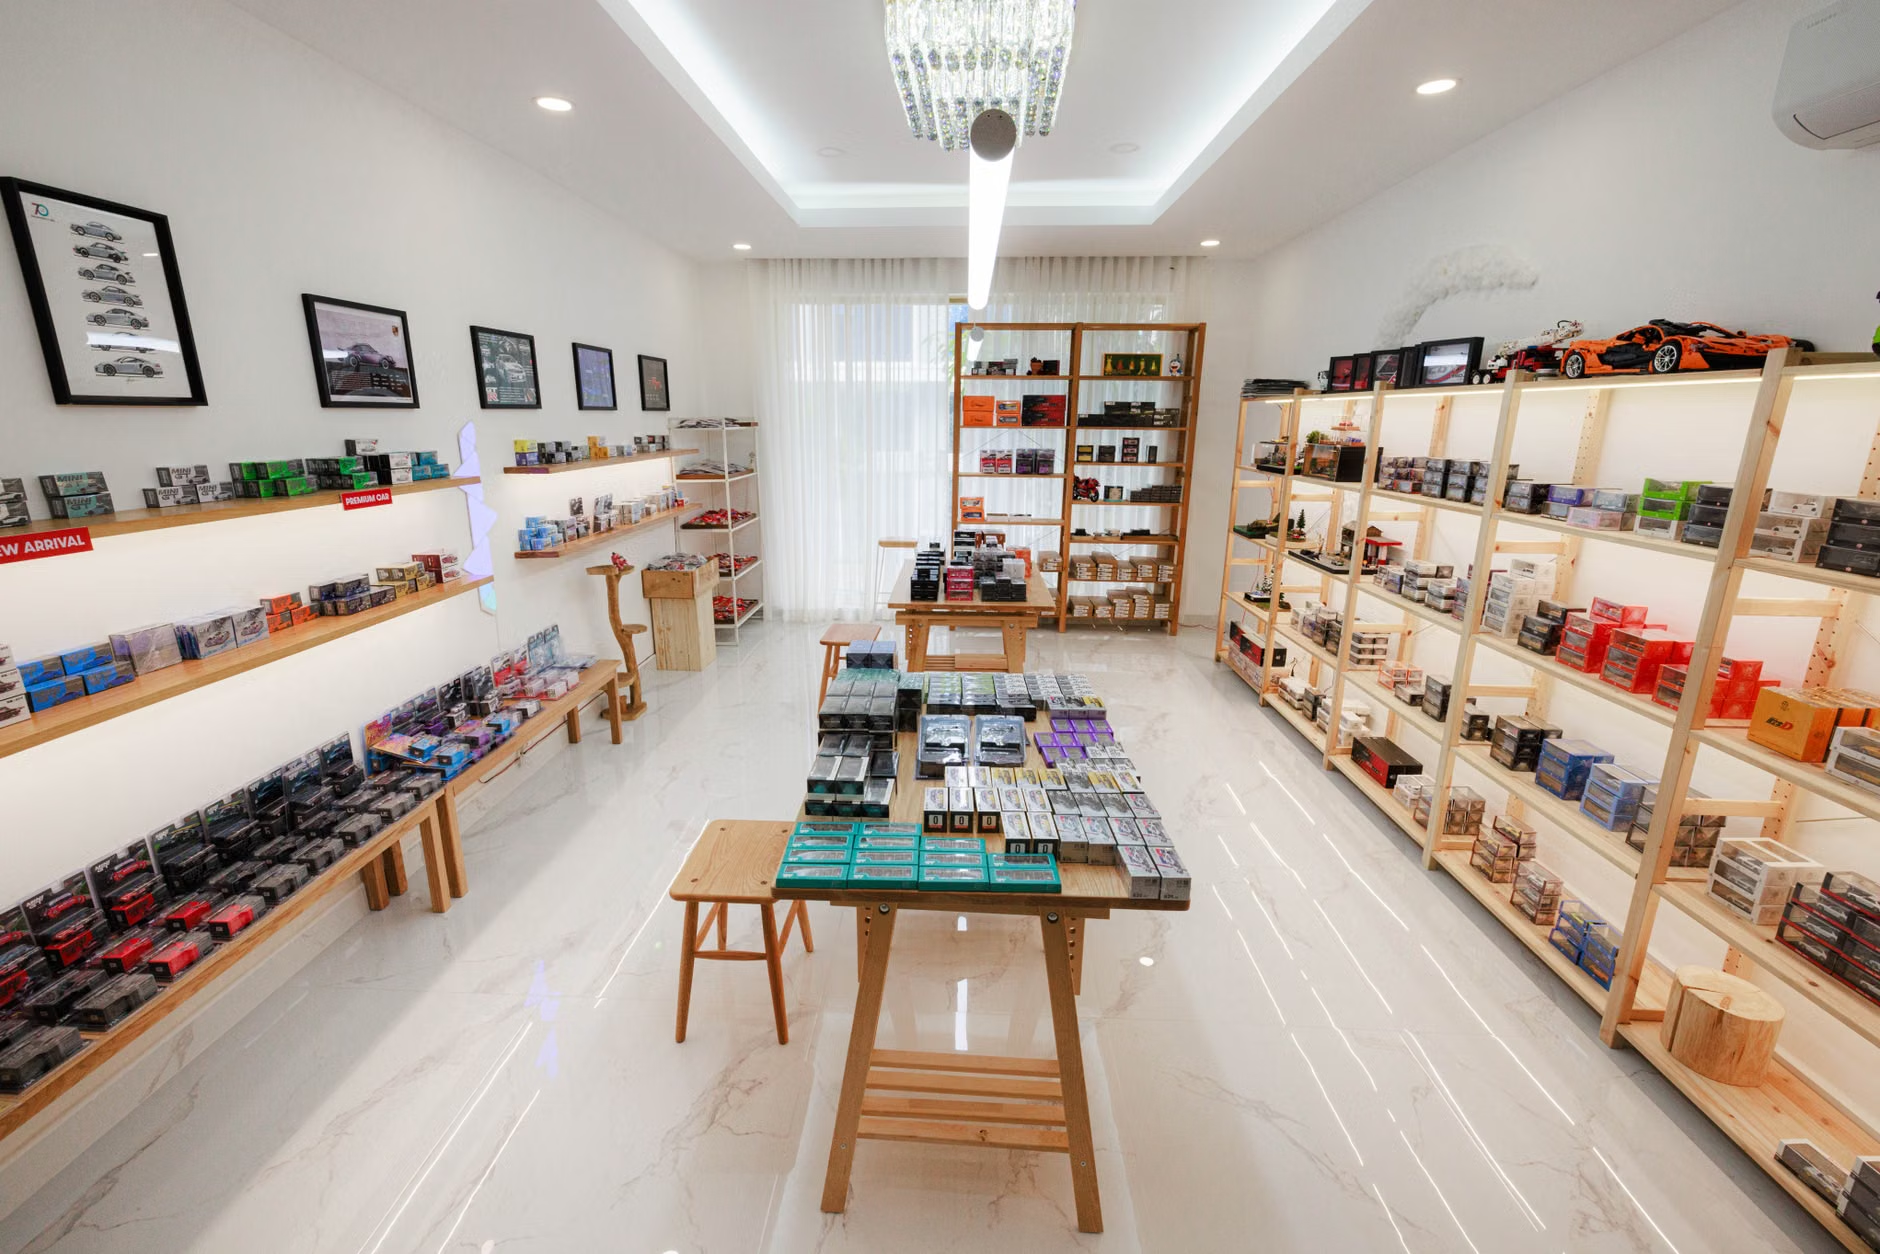
Finding Community and Inspiration
While model-making is often a solitary, contemplative activity, it also has a vibrant global community. Many retired adults find great value in joining local model-building clubs. These groups often meet in community centers or libraries to share techniques, trade spare parts, and discuss historical or technical details of their projects. If local meetings are not feasible, online forums and YouTube channels offer endless tutorials for every skill level.
When searching for resources, prioritize channels that focus on “slow building” or “therapeutic modeling.” These creators often move at a pace that is easy to follow and focus on the joy of the process rather than the speed of completion.
Conclusion: The Value of the Finished Piece
The ultimate goal of model-making is not the completed object itself, but the hours of focused peace you experienced while creating it. Whether it sits on a shelf or is gifted to a grandchild, the true value lies in the cognitive resilience you built and the quiet satisfaction of having mastered a complex, tactile challenge. By approaching this hobby with the right tools, a focus on comfort, and a patient mindset, you can enjoy a rewarding practice that supports your mental and physical well-being for years to come.
Frequently Asked Questions
1. Is model-making expensive to start?
It can be as affordable or as expensive as you wish. Basic plastic model kits can be found for under $20, and a starter set of tools is a one-time investment that will last for years. You do not need to purchase expensive airbrushes or paints until you are ready to advance to more complex levels of detailing.
2. Can I do this if I have arthritis or limited hand dexterity?
Yes, many modelers with arthritis use specialized tools such as ergonomic, rubber-grip tweezers and magnifying lamps. Choosing “large-scale” models (like 1:24 or 1:35 scale) also means the parts are larger and easier to handle. Always listen to your body and break your work into short, 15-minute sessions to avoid inflammation.
3. Where can I find reputable kits for beginners?
Look for major manufacturers such as Tamiya, Revell, or Airfix. Many of these brands offer “Starter Sets” that include the glue, a brush, and basic paints in the box. You can purchase these through reliable online hobby retailers or visit a local hobby store where staff can provide advice based on your specific interests, such as history, engineering, or architecture.
For further information on maintaining cognitive health through hobbies, you may refer to resources provided by the National Institute on Aging (NIA) regarding the importance of mental engagement in later life.