- Optimal Preservation: Air-drying is the most cost-effective and gentle method for preserving essential oils in herbs, provided you control humidity and light.
- Safety First: Proper airflow is critical to prevent mold; always discard any herbs that show signs of dampness or discoloration during the drying process.
- Mindful Engagement: Herb drying is a low-impact, sensory-rich hobby that encourages patience and provides a tangible, shelf-stable reward for your gardening efforts.
The practice of drying herbs at home is far more than a simple method of food preservation; it is a mindful engagement with the seasons, a way to extend the vibrancy of a garden, and a quiet, rhythmic hobby that rewards patience. For many, the transition into retirement offers the luxury of time—time to slow down, observe the subtle changes in nature, and master crafts that require a gentle hand rather than frantic speed. Drying your own herbs allows you to capture peak flavor and aroma, bypassing the often-muted quality of store-bought alternatives.
The Philosophy of Mindful Herb Drying
Mindfulness in the context of a hobby means being fully present in the task at hand. When you harvest and prepare herbs, you are engaging your senses: the earthy scent of thyme, the sharp, clean fragrance of rosemary, and the delicate texture of sage leaves. This process is inherently grounding. It requires you to work with the pace of the plant rather than against it. Unlike high-speed digital tasks, herb drying cannot be rushed. If you attempt to accelerate the process with excessive heat, you risk burning off the volatile essential oils that give herbs their medicinal and culinary value.
By focusing on the “art” of drying, you move away from the goal-oriented mindset of “getting it done” and toward an appreciation of the process. This shift in perspective can reduce stress and provide a sense of accomplishment that is both sensory and practical. Whether you have a sprawling garden or a few pots on a sunny windowsill, the principles of preservation remain the same: patience, cleanliness, and attention to detail.
Selecting and Harvesting: The Foundation of Quality
The quality of your dried herbs is determined before they ever enter your home. The timing of your harvest is the most significant variable in ensuring that your dried product retains its potency. As a general rule, the best time to harvest herbs is in the mid-morning, after the dew has evaporated but before the heat of the afternoon sun begins to draw the essential oils away from the leaves.
Understanding Plant Maturity
Not all herbs are harvested in the same way. Woody herbs like rosemary, thyme, and oregano are best harvested just as their flower buds begin to form. At this stage, the plant has concentrated its energy and oils in the leaves. In contrast, soft-leafed herbs like basil, mint, and cilantro are best harvested before they bloom. Once these plants flower, the leaves often turn bitter and lose their characteristic sweetness.
| Herb Category | Best Harvest Timing | Key Indicator |
|---|---|---|
| Woody (Rosemary, Thyme) | Just before flowering | Buds appearing but not open |
| Soft-leaf (Basil, Mint) | Early growth phase | Leaves are lush, no flowers |
| Seed-bearing (Dill, Fennel) | After flowering | Seeds are mature and plump |
When harvesting, use sharp, clean garden shears. Avoid tearing the stems, as this creates ragged edges that can invite rot or bacterial growth. Aim to take only the top third of the plant, which encourages the plant to continue growing and producing for the remainder of the season. This “cut-and-come-again” method ensures you have a steady supply throughout the summer and early autumn.
The Mechanics of Air-Drying: A Step-by-Step Approach
Air-drying is the gold standard for home preservation because it is gentle and requires no special equipment. The goal is to remove moisture slowly enough to prevent rot but fast enough to maintain color and flavor.
Step 1: Preparation and Cleaning
Once harvested, gently shake your herbs to dislodge any insects or garden debris. Avoid washing them unless they are visibly dusty or gritty. If you must wash them, do so in cool water and pat them completely dry with a clean kitchen towel. Any residual water left on the leaves is the primary cause of mold during the drying process.
Step 2: Bundling
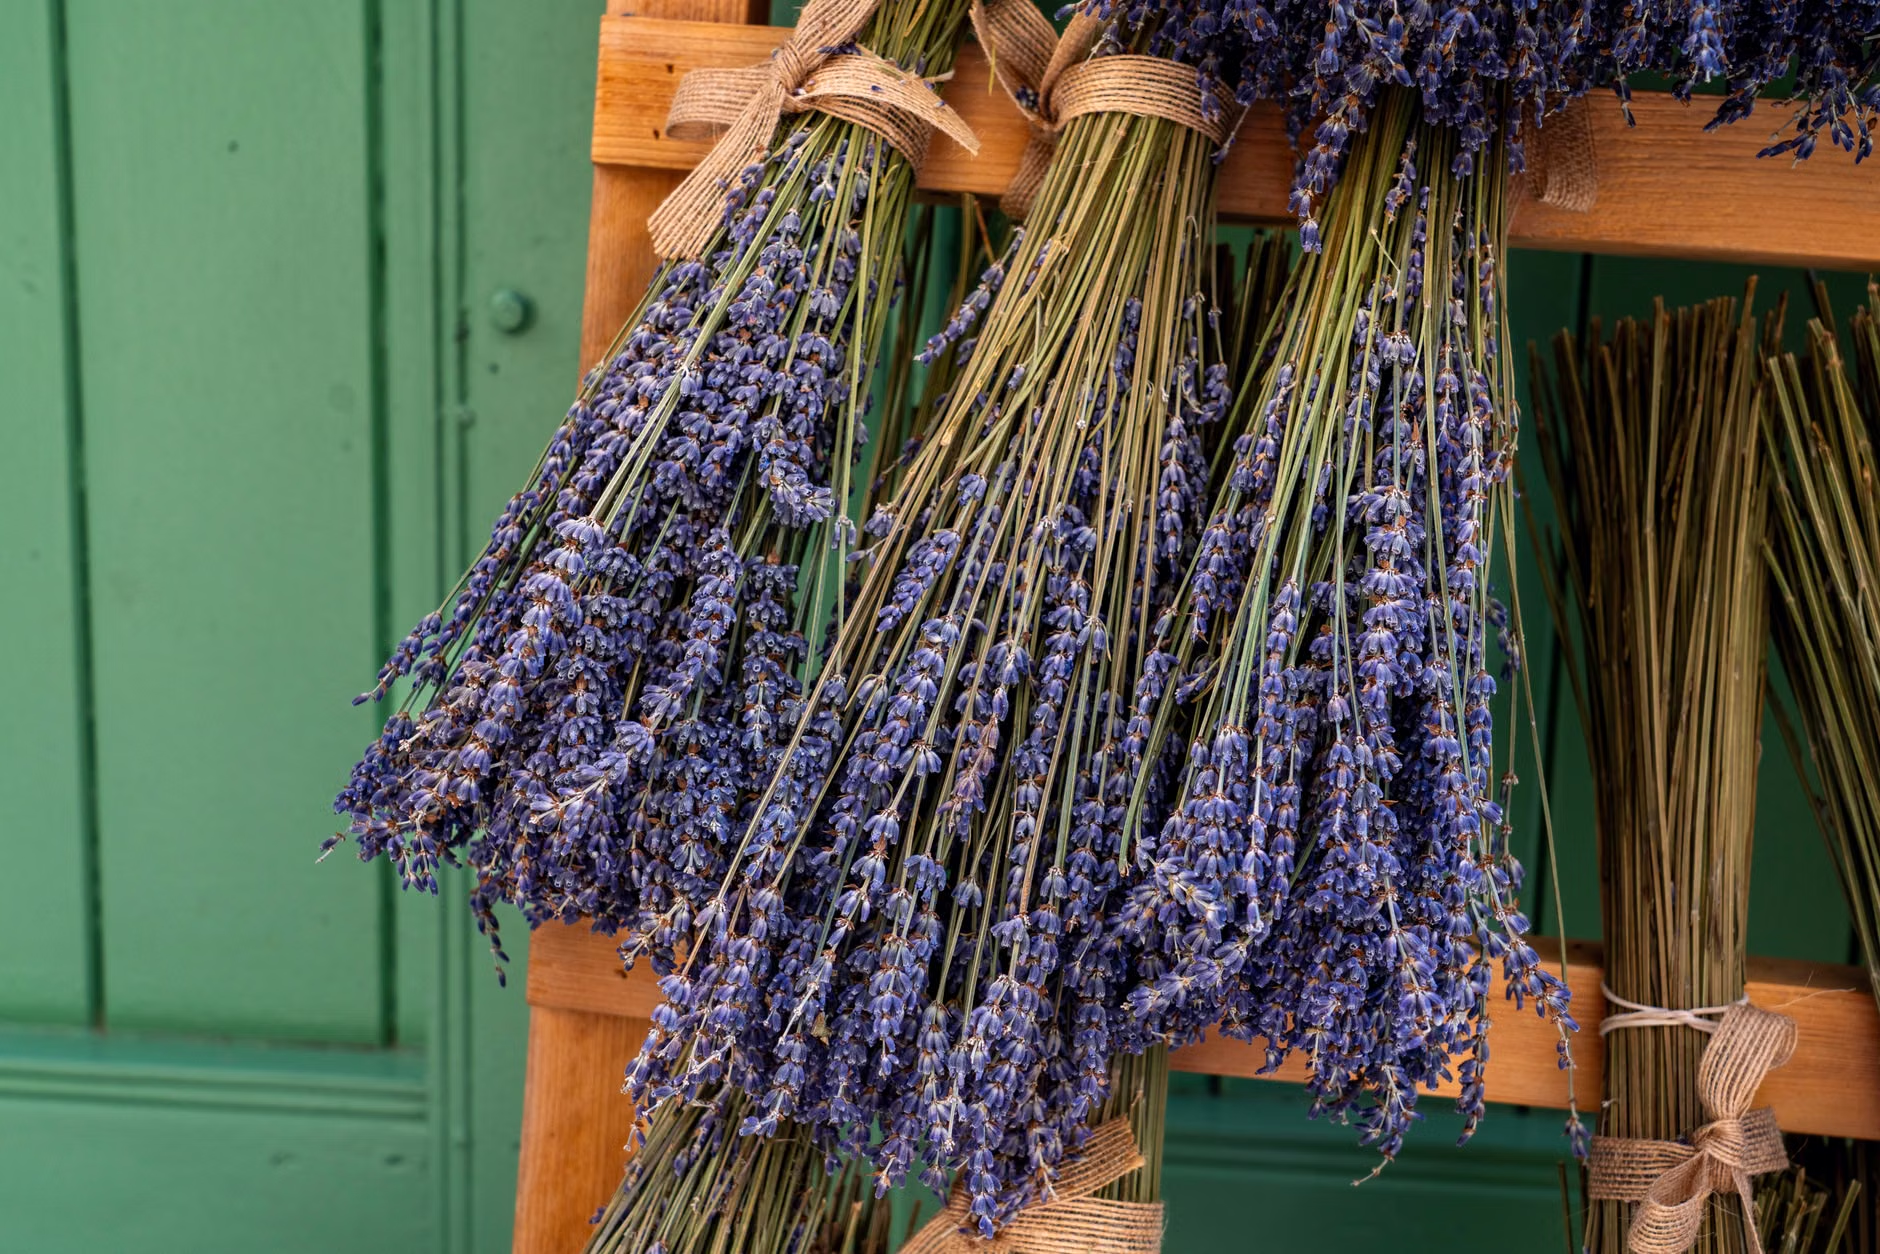
Gather the stems into small, loose bundles. A common mistake is making the bundles too thick. If a bundle is too dense, the air cannot circulate through the center, leading to trapped moisture and eventual decay. A good rule of thumb is to ensure the bundle is no thicker than what you can comfortably encircle with your thumb and index finger.
Step 3: Hanging for Success
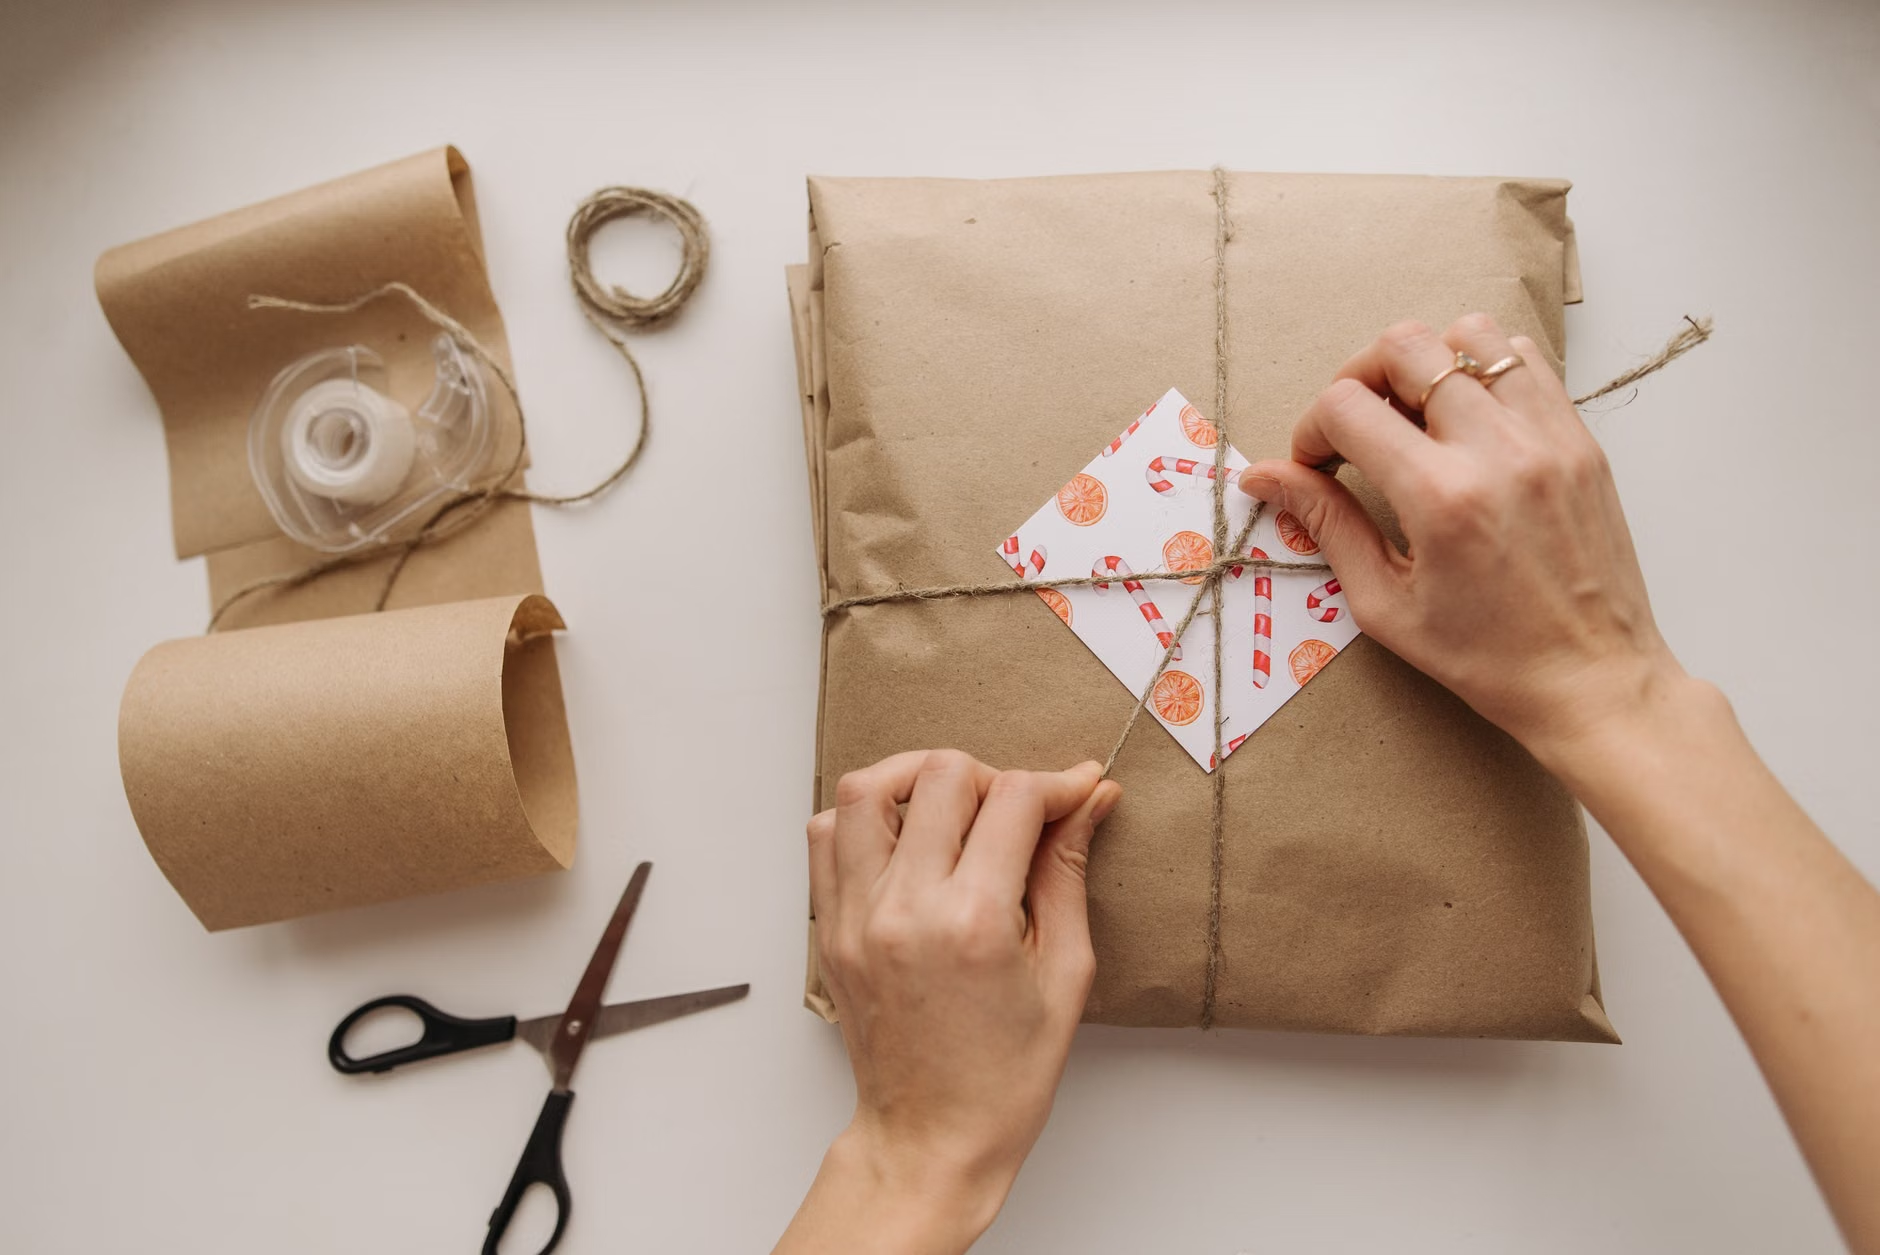
Secure the stems with cotton twine or a rubber band. Rubber bands are particularly useful because as the stems dry, they shrink; a rubber band will contract with the stems, keeping the bundle tight, whereas twine may loosen and allow stems to fall. Hang the bundles upside down in a location that is warm, dry, and—most importantly—out of direct sunlight. Sunlight causes chlorophyll to break down, which turns your vibrant green herbs into a dull, brownish color and degrades their flavor profile.
Environmental Factors: Managing Your Drying Space
The “perfect” drying environment is often found in an overlooked corner of the house. You do not need a dedicated greenhouse or specialized dehydrator. A well-ventilated pantry, a spare room, or even a sheltered porch (provided the humidity is low) can serve as an ideal drying station.
Humidity and Air Circulation
The biggest threat to your dried herbs is humidity. If you live in a coastal area or a region with high summer humidity, the air-drying process may take significantly longer. In such cases, you may need to supplement with a small fan to keep air moving around the bundles. Be careful not to point the fan directly at the herbs; a gentle, indirect breeze is sufficient. If you notice any signs of mold or a musty odor, discard the affected bundle immediately to protect the rest of your harvest.
The Role of Temperature
Contrary to popular belief, heat is not the primary driver of drying; airflow is. Aim for a temperature range of 20°C to 25°C (68°F to 77°F). Temperatures exceeding 35°C (95°F) can cause the essential oils to evaporate prematurely, leaving you with dried leaves that look fine but have very little culinary impact.
Storage: Preserving the Essence
Once the leaves are “crisp-dry”—meaning they shatter easily when pinched—it is time to move them into long-term storage. Do not rush this step. If a stem still bends rather than snaps, it contains moisture that will cause spoilage in a sealed jar.
The Importance of Airtight Containers
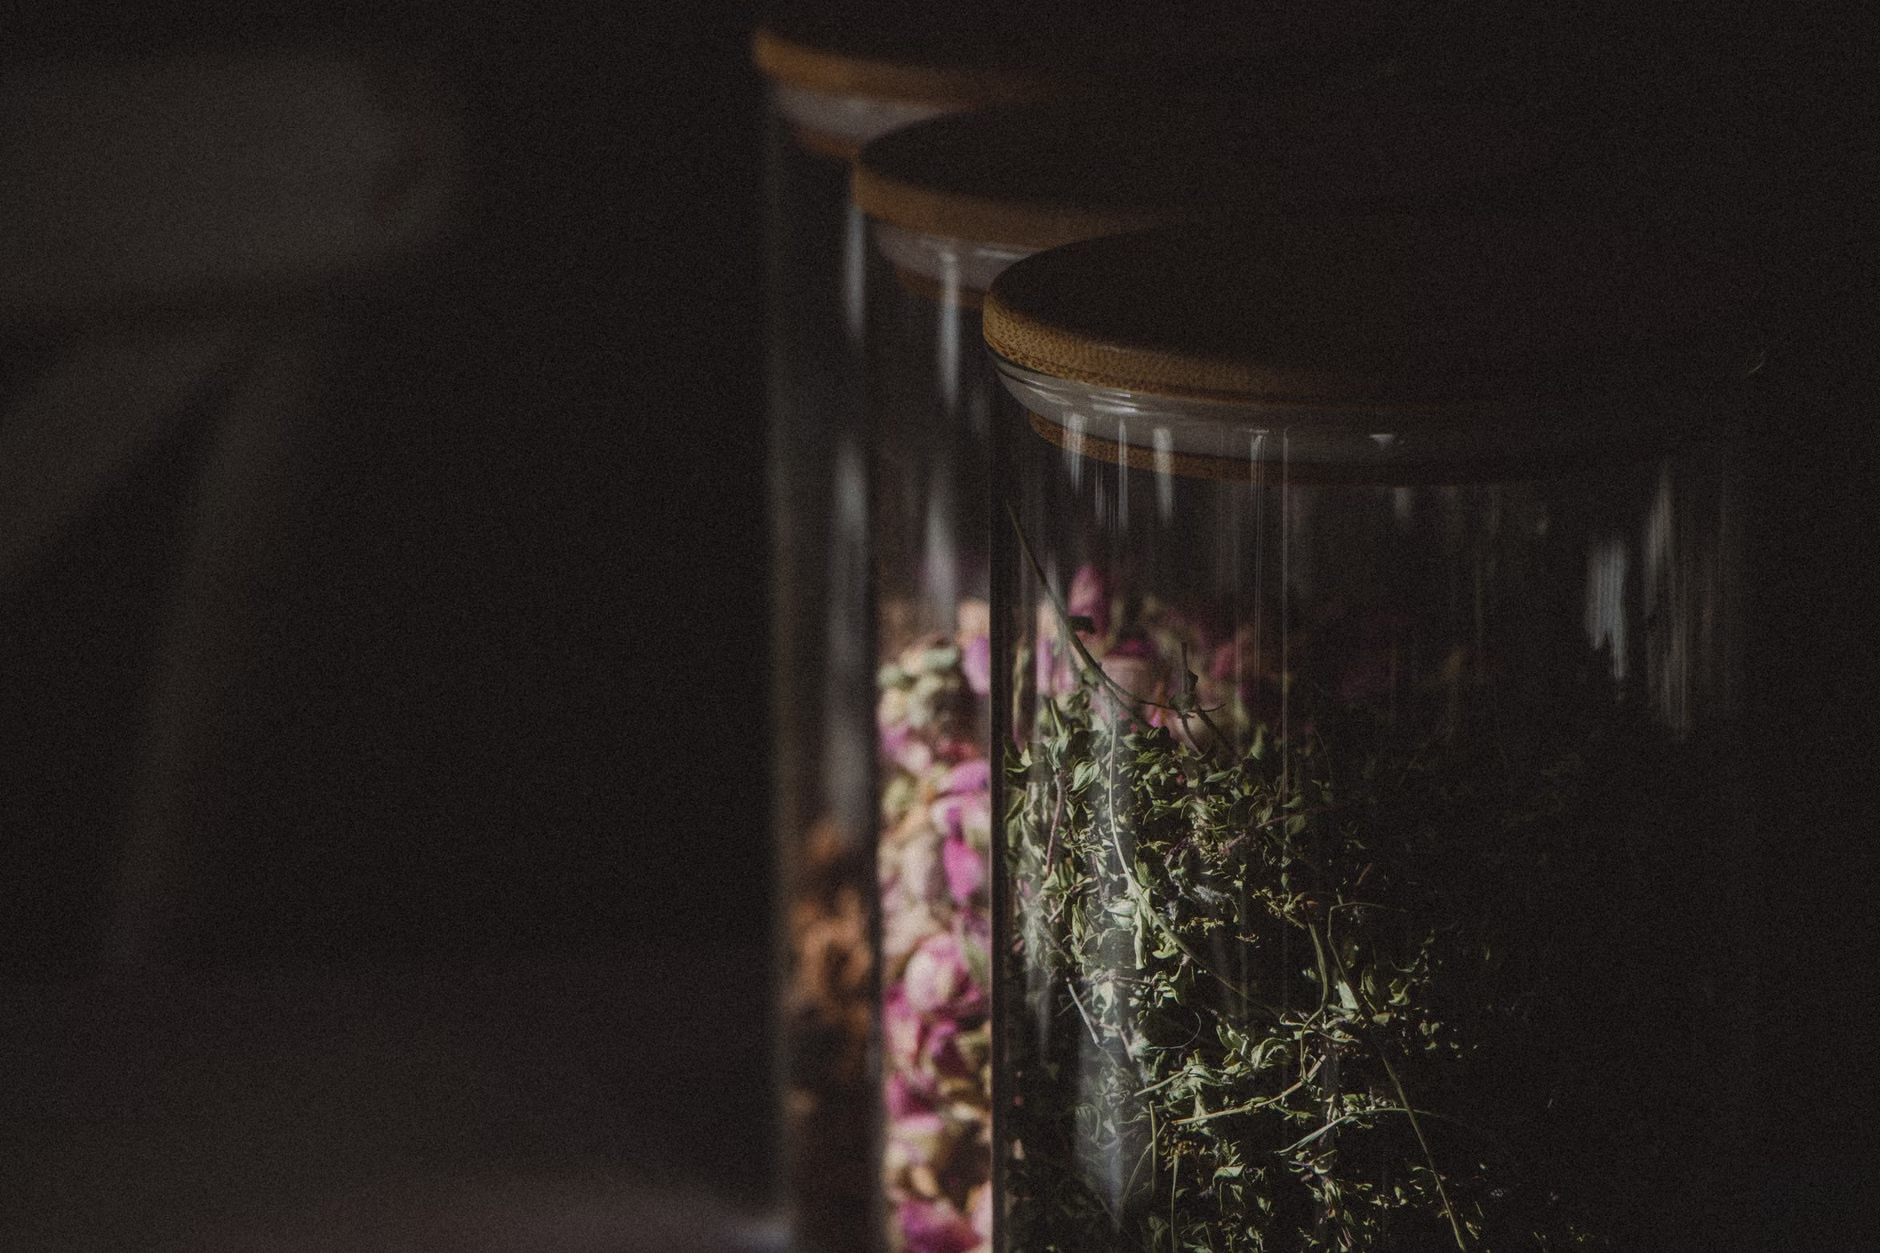
Glass jars with airtight lids are the best storage medium. They prevent moisture from re-entering the leaves and keep out pantry pests. Store these jars in a dark, cool cupboard. Light is the enemy of dried herbs; even in a jar, prolonged exposure to UV light will cause the color to fade and the flavor to diminish. If you do not have a dark cupboard, consider using amber-colored glass jars or placing your clear jars inside a decorative box.
Labeling and Rotation
Always label your jars with the name of the herb and the date of harvest. Dried herbs are generally at their best for 6 to 12 months. Beyond that, they are safe to consume but will have lost much of their potency. A simple rotation system—keeping the newest jars at the back and pulling from the oldest at the front—helps ensure you are using your stores while they are at their peak.
Advanced Considerations: Beyond Basic Drying
For those looking to expand their skills, consider the differences between drying for culinary use versus medicinal or aesthetic use. Culinary herbs are primarily about flavor retention. Medicinal herbs, however, are often handled with even greater care to ensure that the delicate compounds—such as the volatile oils in peppermint or the antioxidants in lemon balm—are preserved to the highest degree. This often means harvesting at even more specific times of the day and using paper bags to cover the hanging bundles, which protects them from dust and light while allowing air circulation.
Common Mistakes to Avoid
- Overcrowding: Hanging too many bundles in one small space limits airflow and increases humidity.
- Incomplete Drying: Storing herbs before they are fully brittle leads to mold growth that can ruin an entire batch.
- Ignoring the “Dust” Factor: If you are drying in an area with high foot traffic, dust will settle on your herbs. Use a light paper bag with holes punched in it to cover the bundles if necessary.
Safety and Health Perspectives
While herb drying is a safe and rewarding hobby, it is essential to approach it with common sense regarding health. If you are harvesting herbs from a wild or unfamiliar garden, ensure you can accurately identify the plant. Never consume herbs if you are uncertain of their identity. Furthermore, if you are currently taking prescribed medications—particularly blood thinners or treatments for chronic conditions—consult with your healthcare provider or pharmacist before adding concentrated herbal infusions to your daily routine, as certain herbs can interact with medications.
From a maintenance perspective, ensure that your drying area is clean and free of pets or heavy dust. If you suffer from respiratory sensitivities, consider wearing a light mask when crumbling your dried herbs, as the process releases fine particles into the air which can be irritating to the lungs.
Integrating Herb Drying into Daily Life
The beauty of this hobby is that it requires very little daily maintenance once set up. It is a “low-stamina” activity that is perfect for days when you want to be productive but prefer a slower pace. The physical act of stripping leaves from stems is a meditative exercise that improves fine motor skills and provides a sensory connection to the natural world.
By incorporating this practice into your routine, you are not just preserving food; you are curating your own pantry. There is a profound sense of satisfaction in opening a jar of your own dried rosemary in the middle of winter, the scent instantly transporting you back to the warmth of your summer garden. It is a small, quiet victory over the passage of time.
Frequently Asked Questions
- How do I know if my herbs are perfectly dry?
The leaves should be brittle and crumble easily between your fingers. If the leaves feel leathery or the stems bend instead of snapping, they need more time. If you store them too early, moisture will cause mold to develop in the jar. - Can I dry herbs in the oven to speed up the process?
While possible, it is generally discouraged. Oven heat is often too intense and can “cook” the herbs rather than dry them, destroying the essential oils. If you must use heat, use a food dehydrator set to the lowest possible temperature (usually around 35°C-40°C), but air-drying remains the superior method for quality. - How long do dried herbs typically last?
When stored in an airtight container in a cool, dark place, dried herbs are at their peak for 6 to 12 months. After this, they remain safe to use, but their flavor and aroma will be significantly weaker.
For further reading on food safety and preservation standards, you may refer to official guidance from the US Food Safety Authority or your local agricultural extension service, which often provides region-specific advice on humidity and storage.