- Calligraphy serves as a form of “active meditation,” which can improve cognitive focus, patience, and fine motor coordination for adults.
- Starting does not require expensive equipment; a basic fountain pen or a high-quality felt-tip brush pen is sufficient for beginners.
- Success in calligraphy is built on consistent, short practice sessions rather than intense, long hours, ensuring physical comfort and preventing strain.
Calligraphy is far more than the simple act of writing beautifully; it is a discipline of rhythm, breath, and spatial awareness. For older adults, it offers a unique intersection of artistic expression and cognitive maintenance. Unlike many high-intensity hobbies, calligraphy requires a deliberate slowing down of the heart rate and a deep focus on the present moment, making it an ideal practice for those looking to cultivate mindfulness within the comfort of their own home.
The Cognitive and Physical Benefits of Mindful Penmanship
Engaging in calligraphy requires a high degree of “executive function,” which involves planning, organizing, and executing a sequence of motor actions. Research into fine motor activities suggests that rhythmic, repetitive movements—such as those used to form letters—can act as a grounding mechanism for the brain. By focusing on the flow of ink and the shape of the curves, you shift your brain’s attention away from daily stressors and toward a singular, manageable objective.
Physically, the practice encourages the maintenance of dexterity in the fingers and wrists. As we age, maintaining the range of motion in our small joints is essential for daily independence. Calligraphy provides a low-impact way to keep these joints supple without the risk of repetitive strain injuries, provided that proper ergonomics are maintained. It is not about speed; it is about the sustained, intentional control of the pen.
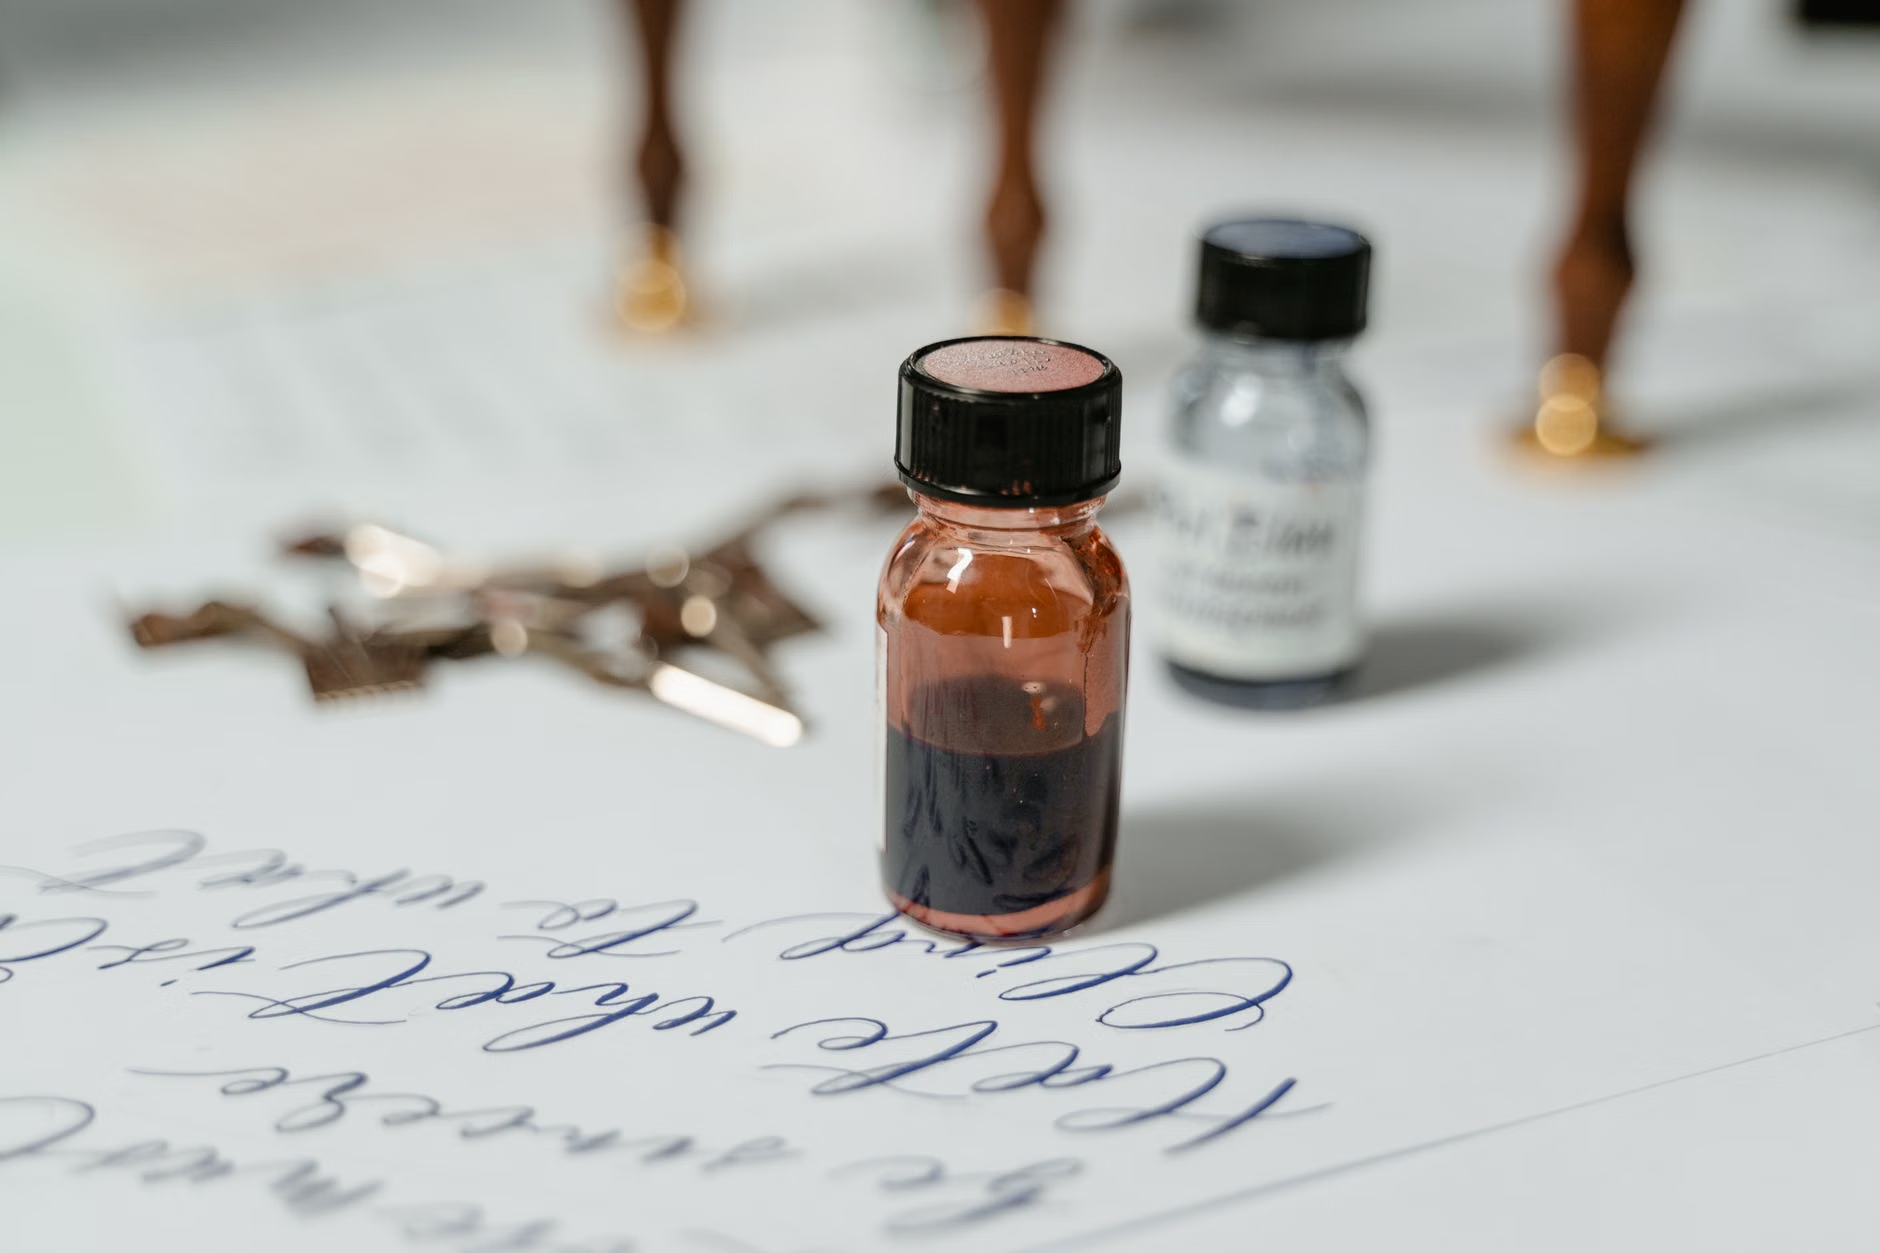
Setting Up Your Personal Calligraphy Workspace
To ensure that your calligraphy practice remains a source of joy rather than physical discomfort, your workspace must be optimized for your needs. A common mistake beginners make is practicing on a surface that is too high or too low, which leads to hunching and neck strain.
Ergonomic Considerations for Long-Term Practice
Your table should allow your elbows to rest at a 90-degree angle when your hands are on the page. If your table is too low, consider using a slanted drafting board or a simple wooden wedge to bring the paper closer to your line of sight. This reduces the need to lean forward, protecting your posture. Ensure your chair provides adequate lumbar support; if it does not, a small cushion placed behind your lower back can make a significant difference in comfort during a 30-minute session.
Essential Tools for Beginners
You do not need an extensive array of professional-grade tools to begin. In fact, starting with too many tools can be overwhelming. The following table outlines the essential starter kit and why each item is chosen for its suitability for seniors.
| Tool | Purpose | Selection Criteria |
|---|---|---|
| Felt-Tip Brush Pen | Creating variable line widths | Choose a medium-soft tip; it offers better control and requires less pressure. |
| High-Quality Paper | Preventing ink feathering | Look for “smooth” or “HP” (High Performance) paper to ensure the pen glides easily. |
| Grid-Lined Guide Sheets | Maintaining consistency | Use pre-printed grids to help align letter height and spacing without eye strain. |
The choice between a traditional dip pen (which uses an inkwell) and a modern fountain pen is a matter of preference. For those with slight tremors or limited grip strength, a modern fountain pen with a rubberized grip is often superior, as it provides a more stable hold and eliminates the need to constantly re-dip the nib.
A Systematic Approach to Your Practice Routine
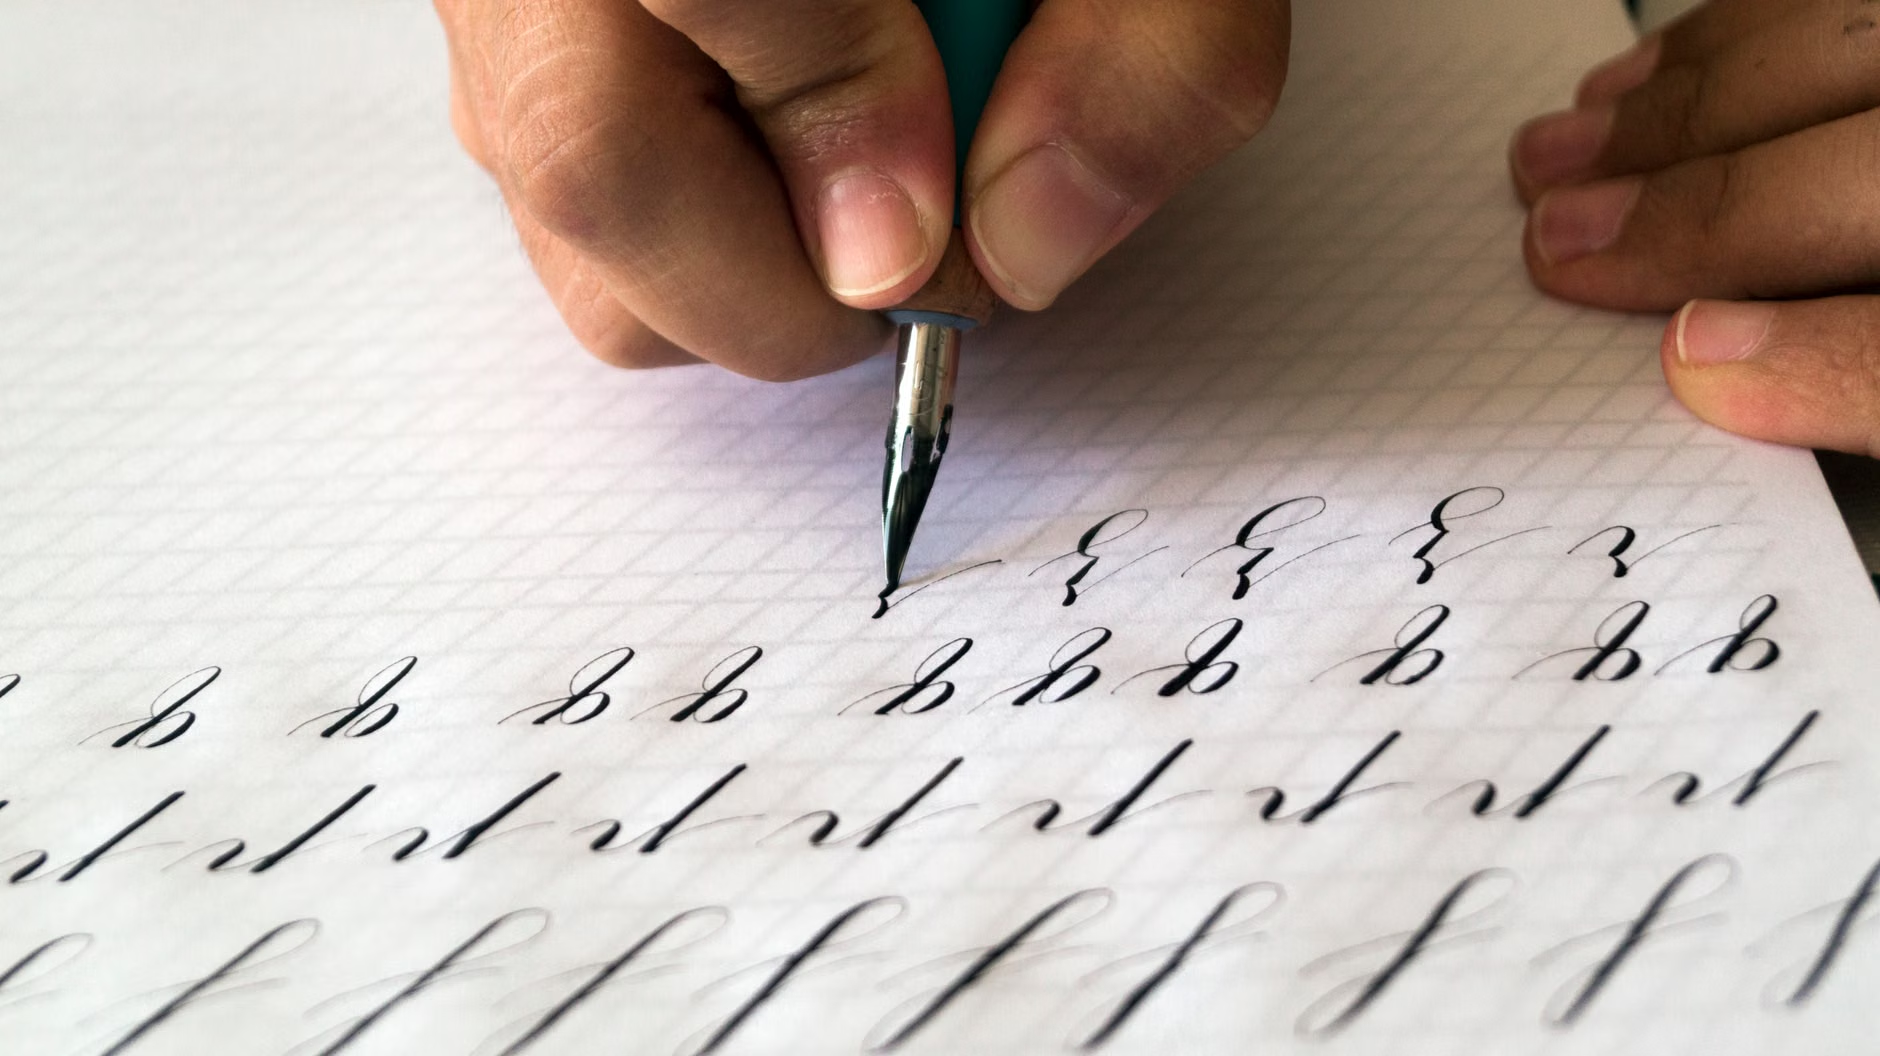
The most effective way to learn calligraphy is through “micro-practice.” Instead of attempting to master a full alphabet in a single afternoon, dedicate 15 to 20 minutes each day to specific strokes. This approach prevents fatigue and allows your muscle memory to develop naturally.
The Four-Step Daily Practice Framework
- Warm-up (3 minutes): Begin by drawing simple circles, zig-zags, and straight lines. This primes your hand muscles and helps you gauge the friction of the paper.
- Stroke Focus (7 minutes): Select one specific letter shape or curve. Repeat this shape until you feel comfortable with the pressure required to create the line.
- Connection (5 minutes): Practice connecting two or three letters together. This is where the “rhythm” of calligraphy truly begins to emerge.
- Review (5 minutes): Look at what you have written. Do not judge it for “perfection.” Instead, look for where the lines are smooth and where you felt tension.
It is vital to recognize that your progress will fluctuate. Some days, your hand will feel steady and fluid; other days, you may feel stiffness. This is entirely normal. The goal of mindful calligraphy is not to produce museum-quality art, but to enjoy the process of creation. If you find your hand cramping, stop immediately and gently stretch your fingers by making a fist and then splaying your fingers wide. Stretching every 20 minutes is a critical habit for any hand-focused hobby.
Advanced Techniques and Troubleshooting Common Hurdles
As you become more comfortable, you may wish to experiment with different scripts. However, avoid the temptation to jump between styles too quickly. Mastering the “Copperplate” or “Italic” style can take months, and the satisfaction lies in the gradual refinement of your technique. If you find that your ink is smudging or your pen is dragging, it is often not a fault of your skill, but a mismatch between your ink and paper. Using “fountain pen friendly” paper (which is less absorbent) will solve the vast majority of these technical frustrations.
Another common hurdle is the fear of “making a mistake.” In calligraphy, a mistake is simply a line that didn’t go where you intended. Because you are practicing in a mindful state, treat these errors as data points. Did you press too hard? Was your angle off? Adjusting your technique based on these observations is how you improve. Unlike digital writing, where the delete key hides our process, calligraphy leaves a history of our learning on the page.
Integrating Calligraphy into Your Daily Wellbeing
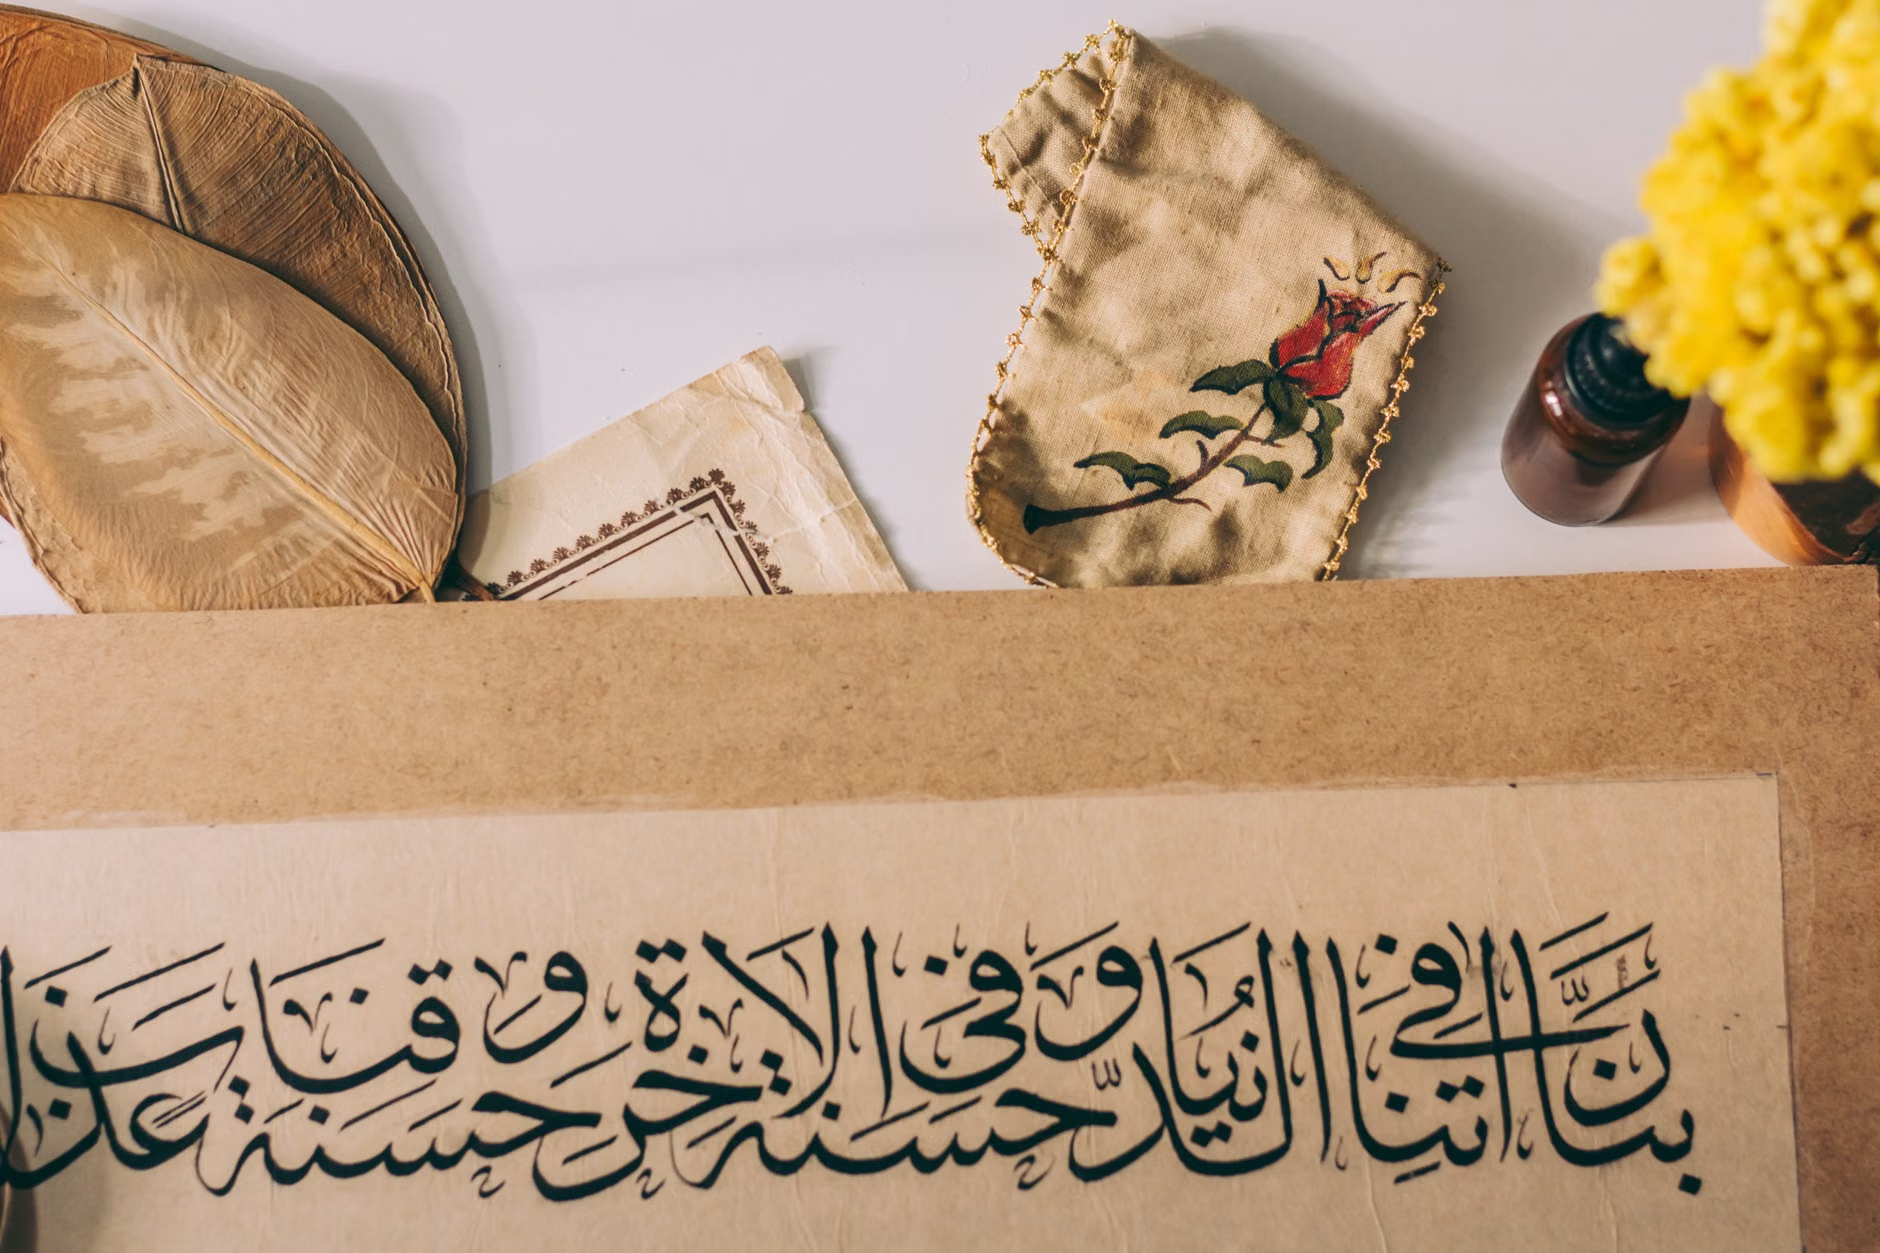
To maximize the mental health benefits of this hobby, treat your calligraphy session as a scheduled appointment with yourself. Create a dedicated space where your tools are ready to use. If you have to spend 15 minutes setting up your desk, you are less likely to practice. Keep your pens, paper, and ink in a small, accessible box or tray.
If you have family members or caregivers involved in your daily care, invite them to participate. Calligraphy can be a wonderful shared activity that encourages slow, quiet conversation. It is a hobby that bridges generations, as the tools and techniques have remained largely unchanged for centuries, offering a tangible connection to history and tradition.
For those interested in official guidance on hand health and ergonomic practices, organizations such as the American Occupational Therapy Association (AOTA) provide resources on maintaining fine motor function through purposeful activity. While these resources are often targeted at professional clinicians, the underlying principles of “activity analysis”—breaking a task into small, manageable steps—are perfectly applicable to learning calligraphy at home.
Ultimately, the beauty of calligraphy lies in its quiet demand for your full attention. In an age of digital noise and rapid consumption, returning to the tactile sensation of a pen on paper is a radical act of self-care. It is a hobby that respects your pace, rewards your patience, and provides a visible record of your growth over time.
Frequently Asked Questions
1. Will calligraphy cause my hand to cramp or hurt?
If done correctly, calligraphy should not cause pain. Cramping is usually a sign of an overly tight grip. Try holding the pen more loosely and ensure your posture is upright. If you experience persistent pain, stop your practice and consult a physical therapist to check for underlying joint or nerve issues.
2. Can I learn calligraphy if I have arthritis in my hands?
Yes, many people with arthritis enjoy calligraphy. The key is to use pens with larger, ergonomic barrels that require less pressure to hold. Shorter, more frequent practice sessions are better than one long session. If your joints are inflamed, it is best to rest until the inflammation subsides.
3. How long does it take to see improvement in my handwriting?
You will likely notice improvements in your control and line consistency within two to four weeks of consistent, 15-minute daily practice. Remember that the goal is the meditative benefit of the practice, not the speed of your improvement.
For more information on the benefits of fine motor activities for seniors, you can visit the American Occupational Therapy Association website to learn about maintaining daily independence through purposeful activity.