- The Three-Layer Rule: Efficient mountain packing relies on a moisture-wicking base, an insulating mid-layer, and a weather-resistant outer shell to manage body temperature.
- Mobility First: Prioritize footwear with deep-lugged soles and ankle support to navigate uneven terrain; always test your gear on local walks before your trip.
- Weight Distribution: Keep your pack weight under 10% of your body weight to maintain balance and stamina, utilizing trekking poles as a critical tool for joint support.
Effective packing for mountain regions is not about bringing more; it is about bringing the right items to handle the rapid, unpredictable shifts in altitude-driven weather. For travelers aged 60 to 80, the objective is to maintain core body temperature while minimizing the physical burden of luggage. Mountain environments often see temperature drops of 6°C to 10°C (10°F to 18°F) for every 1,000 meters of elevation gain, meaning a sunny morning can quickly turn into a cold, windy afternoon.
Understanding the Mountain Microclimate and Your Physical Response
Mountain weather is notorious for its variability. Unlike urban travel, where you can duck into a cafe or hotel, mountain excursions often require you to be self-sufficient for several hours. As we age, our bodies may take longer to acclimate to cold and lower oxygen levels. The key is to manage “thermoregulation”—the body’s ability to keep its internal temperature in a healthy range.
What this looks like in practice: You start a morning walk in a valley at 15°C, but by noon, you reach a mountain pass at 2,000 meters where the temperature is 5°C with high wind chill. If you are not wearing layers, you will lose heat rapidly, leading to muscle stiffness and fatigue, which increases the risk of trips and falls. By packing specifically for “dynamic weather,” you avoid the danger of becoming chilled or overheated, both of which tax your cardiovascular system unnecessarily.
The Science of Layering for Seniors
Layering is the gold standard for mountain travel. It allows you to adjust your clothing in seconds rather than having to stop, unpack, and change entire outfits. The system consists of three distinct parts:
| Layer Type | Function | Recommended Material |
|---|---|---|
| Base Layer | Wicks sweat away from the skin. | Merino wool or synthetic blends. |
| Mid-Layer | Traps body heat (insulation). | Fleece or lightweight down/synthetic puffer. |
| Outer Shell | Blocks wind and repels moisture. | Breathable, waterproof GORE-TEX or similar. |
Why this matters: Cotton is your enemy in the mountains. Once cotton gets wet from sweat or rain, it loses all insulating properties and stays cold against your skin. For older adults, keeping the core warm is essential for circulation and preventing joint stiffness. Always opt for moisture-wicking synthetic materials or natural wool, which maintains warmth even when damp.
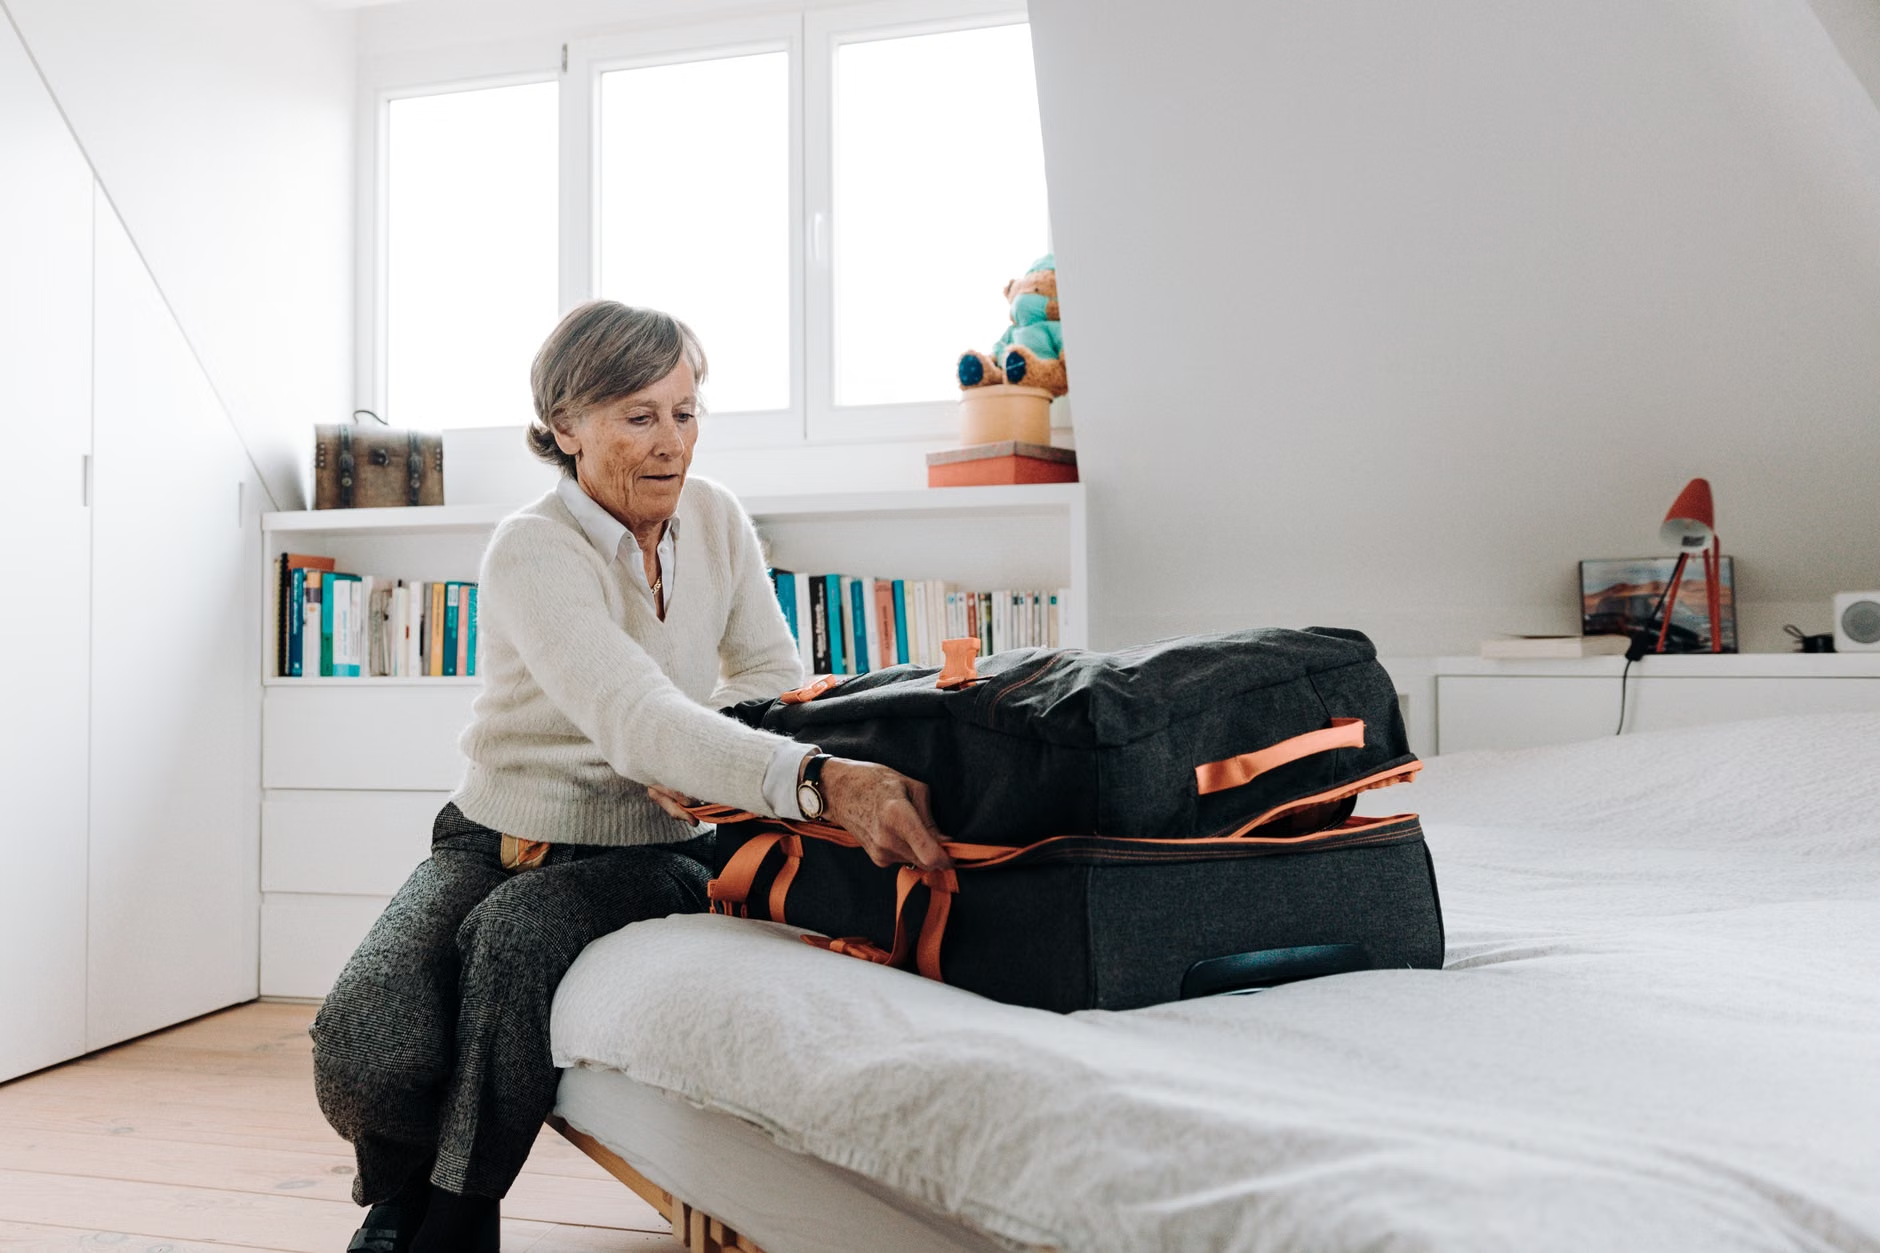
Footwear Strategy: Prioritizing Stability Over Style
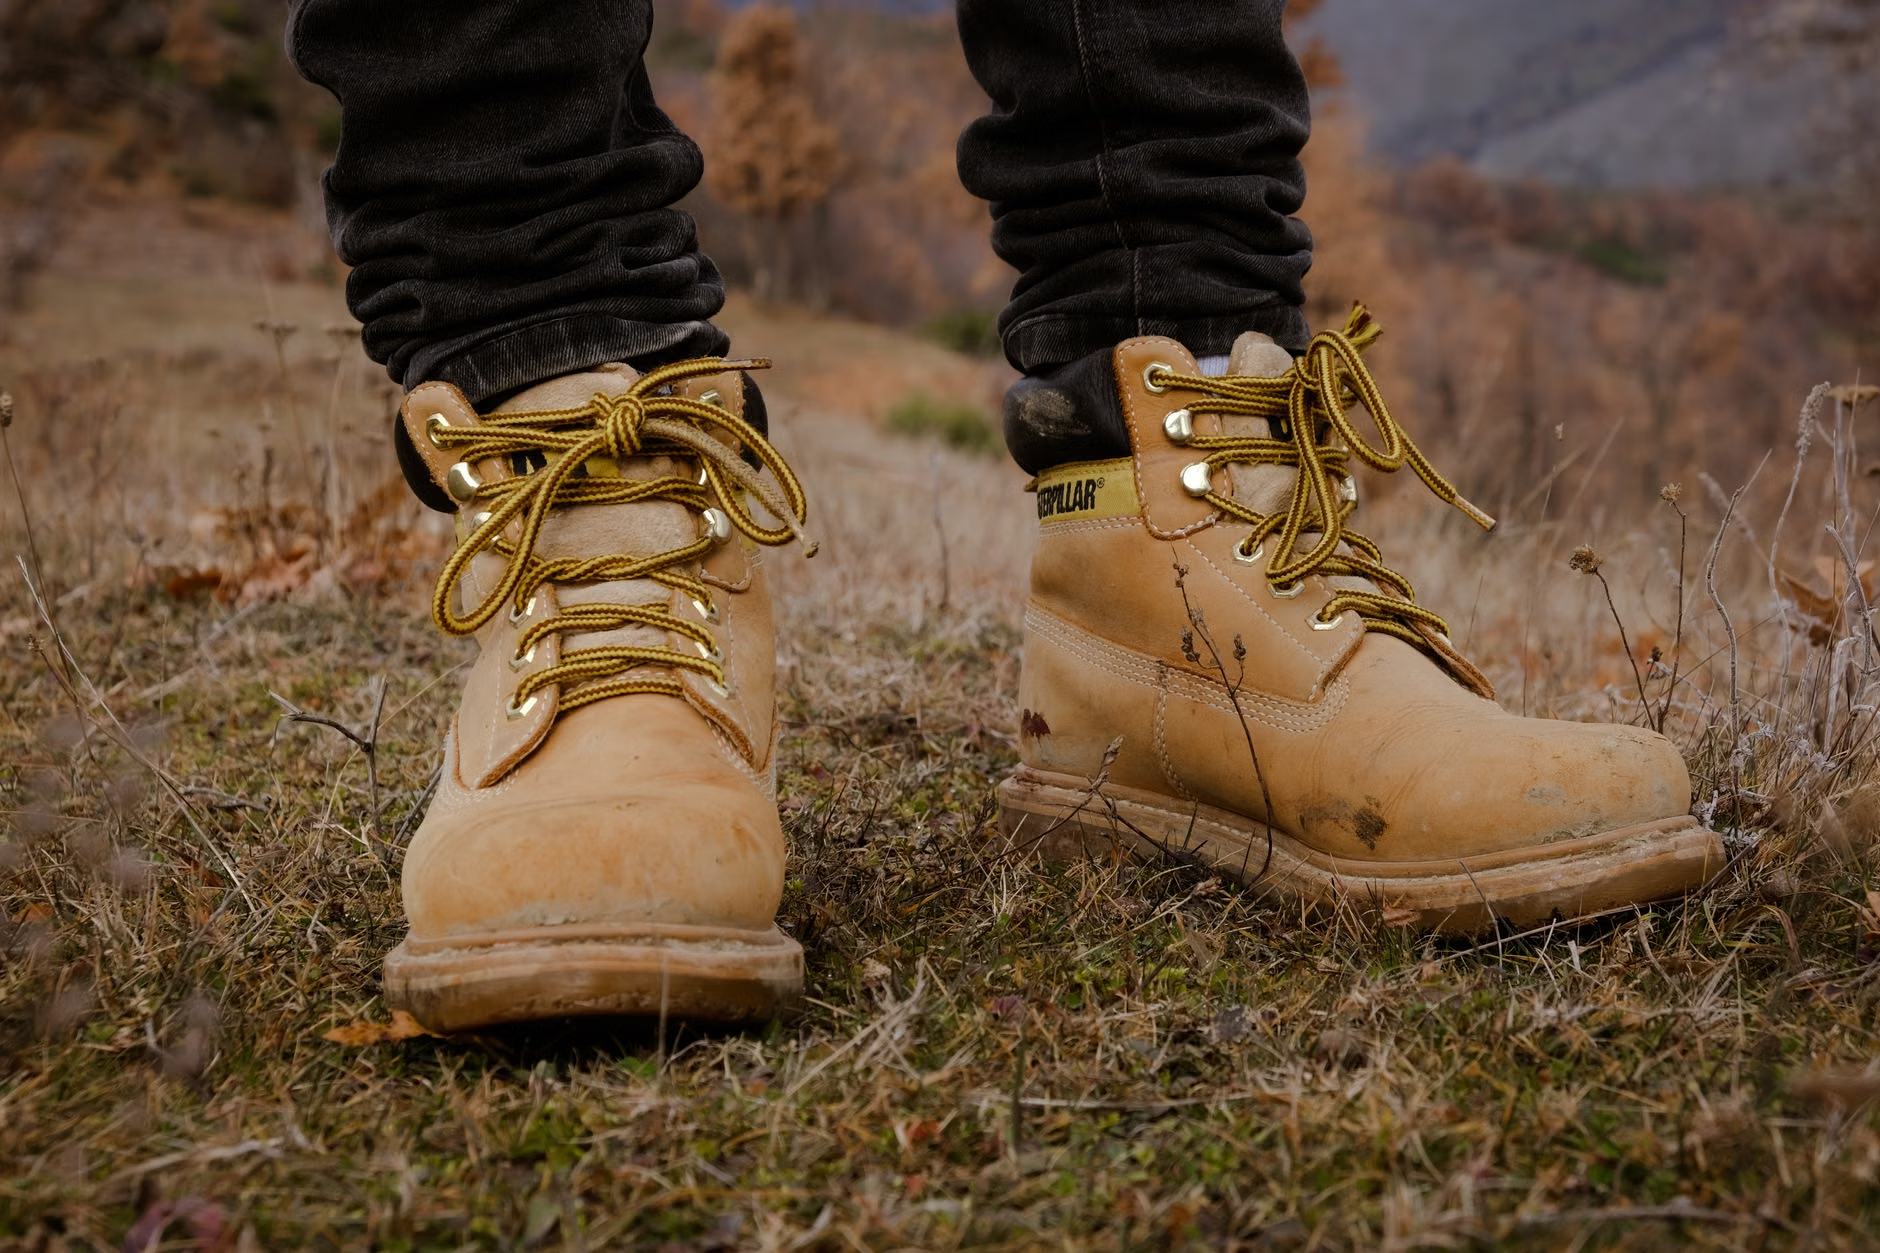
Footwear is the most critical piece of equipment for any mountain traveler. The combination of uneven terrain, loose gravel, and potential moisture requires shoes that provide both traction and structural support. A common mistake is wearing brand-new shoes on a trip. This inevitably leads to blisters, which can turn a pleasant walk into a painful ordeal.
Evaluating Your Footwear Needs
- Traction: Look for “deep-lugged” outsoles. These are the thick, rubberized ridges on the bottom of the shoe. They act like tires, gripping the ground to prevent slips on loose dirt or wet rocks.
- Support: If you have a history of ankle issues, look for “mid-cut” boots that provide stability around the ankle joint.
- Weight: Modern trail shoes are significantly lighter than traditional hiking boots. For most mountain walking (not technical climbing), a lightweight, waterproof trail shoe is often more comfortable and less fatiguing for your legs.
Action Step: Wear your chosen shoes on 30-minute walks in your neighborhood for at least two weeks before your trip. If you feel any pressure points, use different lacing techniques or orthotic insoles to adjust the fit. Never start a mountain holiday with “fresh out of the box” footwear.
Managing Pack Weight and Physical Stamina
The weight you carry directly impacts your center of gravity and energy reserves. A heavy backpack shifts your balance backward, forcing you to lean forward, which can strain your lower back and alter your natural gait. For seniors, the goal is to keep the total pack weight under 10% of your body weight.
The “Essential Gear” Checklist
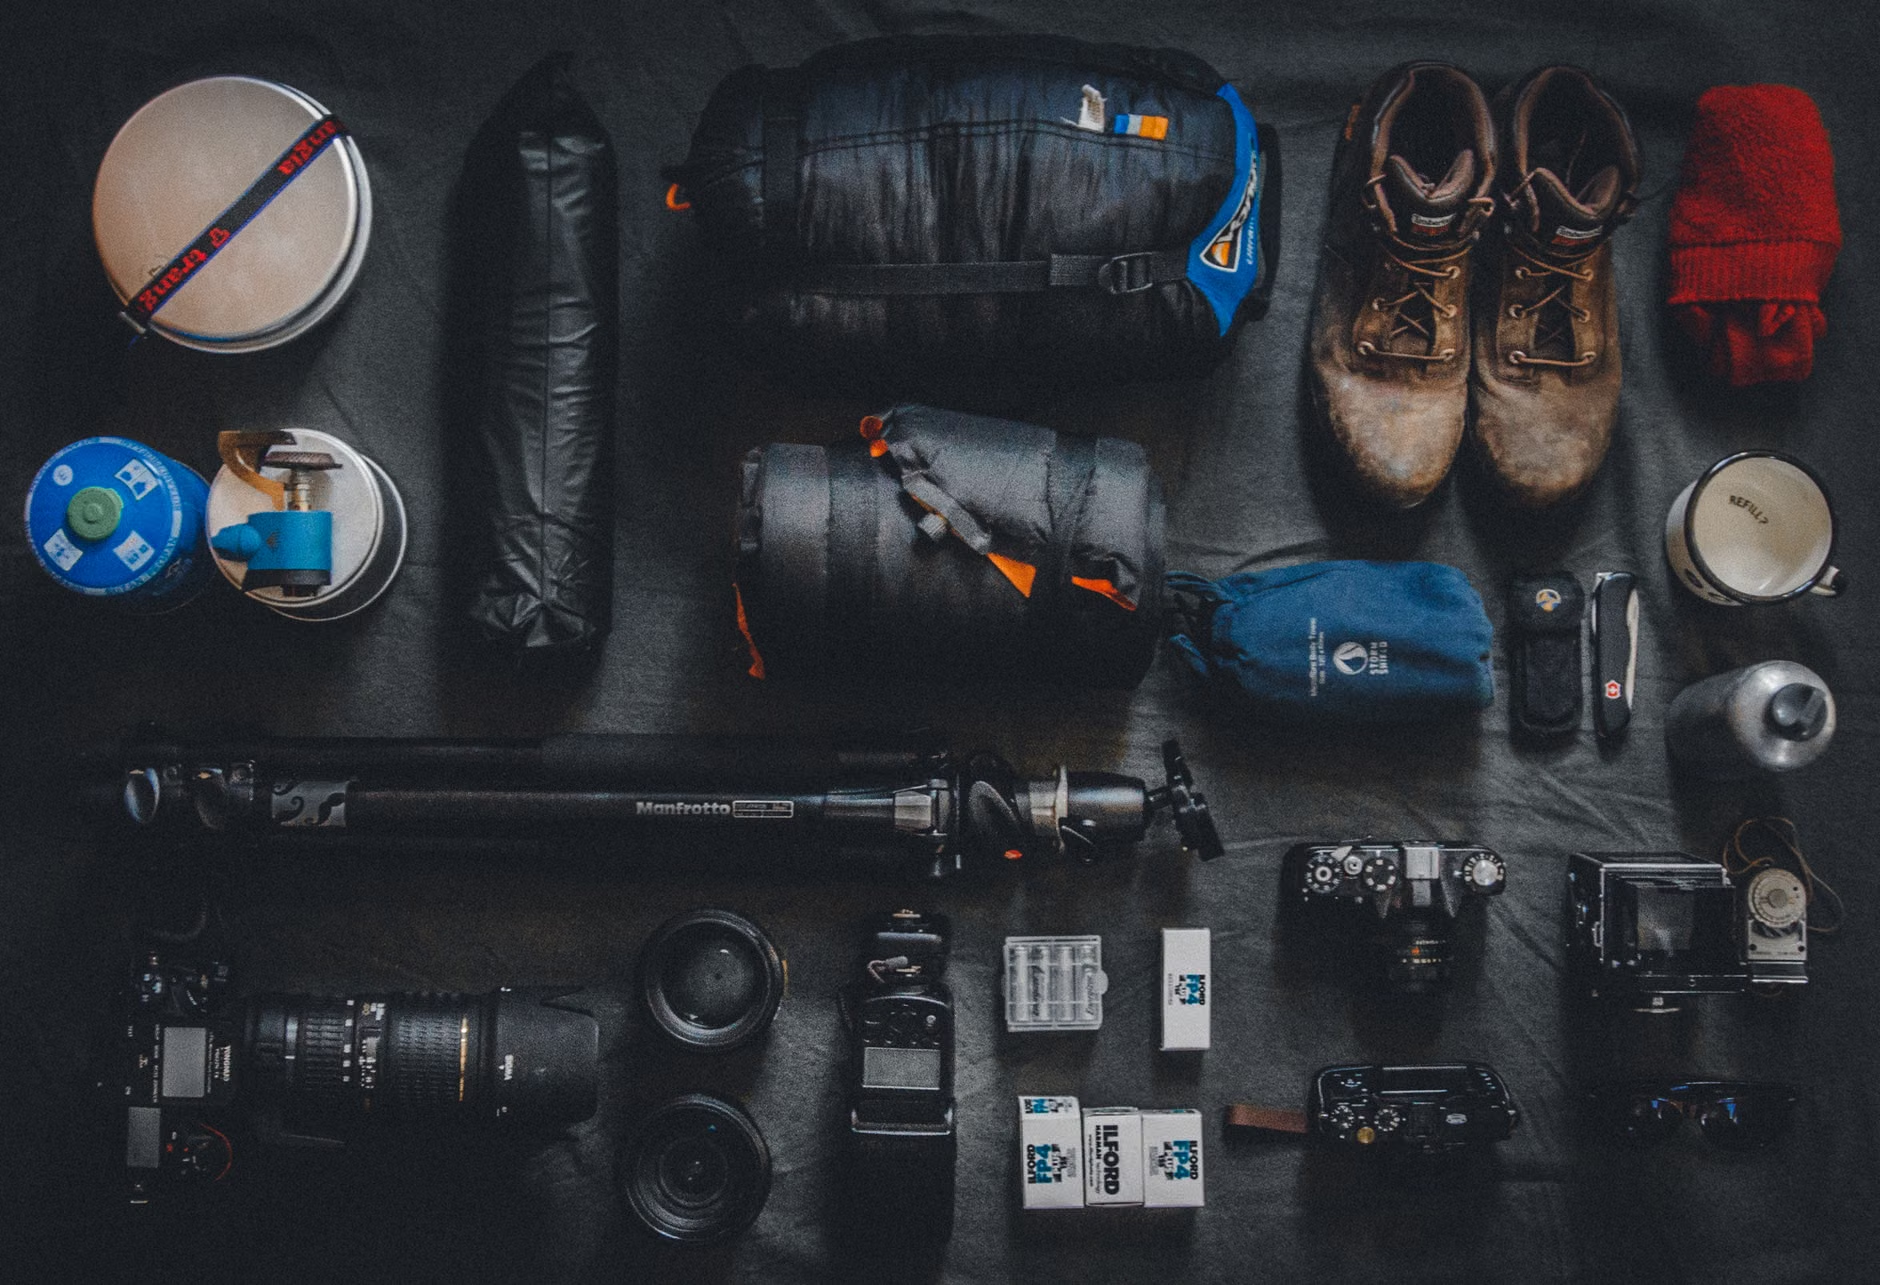
When packing your daypack, prioritize items that offer high utility for low weight:
- Hydration System: A 1-liter reusable bottle is sufficient for most short hikes. Avoid carrying heavy glass bottles.
- Navigation: While phones are great, they can lose battery in cold weather. Carry a physical map of the area and a small power bank.
- Trekking Poles: These are not just for experts. They distribute weight from your knees and hips to your arms and shoulders, significantly reducing the impact on your joints. Look for collapsible, lightweight aluminum or carbon fiber poles.
- Emergency Kit: A small bag containing adhesive bandages, antiseptic wipes, a whistle, and a high-energy snack (like nuts or dried fruit).
Insight: Many older travelers overlook the “weight-to-utility” ratio. If you are traveling with a companion, split the load. One person carries the water, the other carries the first aid kit and snacks. This “distributed load” approach ensures neither person is over-burdened.
Mountain regions often involve higher altitudes, which can affect oxygen levels. While most tourist-accessible mountain towns are at moderate altitudes (below 2,500 meters), it is still wise to monitor your body’s reaction. Symptoms of mild altitude discomfort can include headache, fatigue, or shortness of breath during exertion.
Practical Steps for Altitude Management
- Pacing: Adopt the “rest-step” technique. This involves locking your back knee momentarily with each step to transfer your weight onto your skeleton rather than your muscles, allowing for a momentary “micro-rest” during the climb.
- Hydration: High-altitude air is extremely dry. You may not feel thirsty, but you are losing fluids through respiration. Sip water consistently throughout the day rather than drinking large amounts at once.
- Medical Records: Always carry a list of your current medications and any known allergies in your wallet or a dedicated pocket in your pack. In remote mountain areas, local medical providers may not have access to your home medical records.
Warning Sign: If you experience persistent dizziness, chest pressure, or a severe headache that does not subside after resting, descend to a lower elevation immediately. Do not attempt to “push through” symptoms in high-altitude environments.
Accessibility and Infrastructure in Mountain Regions
Not all mountain destinations are created equal. Some regions, particularly in parts of Switzerland, Austria, and Canada, have invested heavily in “senior-friendly” infrastructure, such as funiculars, cable cars, and paved mountain paths. Before booking your accommodation, research the “vertical accessibility” of the region.
Decision Criteria for Choosing a Destination
- Public Transport Integration: Does the region have a bus or train system that reaches the trailheads? This saves you from driving on winding, stressful mountain roads.
- Elevation Gain: Look at the “elevation profile” of your planned walks. A trail that is 5km long with 500m of elevation gain is significantly more strenuous than a 5km trail that is mostly flat.
- Rest Facilities: Check if your route has mountain huts or designated rest areas with seating and accessible toilets.
For more information on planning accessible nature travel, you may consult resources provided by national tourism boards, such as Switzerland Tourism or Parks Canada, which offer specific guides on trail difficulty and accessibility features.
Conclusion: The Joy of Preparedness
Mountain travel for seniors is entirely achievable and immensely rewarding when approached with a strategy focused on preparation. By mastering the art of layering, choosing the right footwear, and managing your pack weight, you transform the mountain from an intimidating obstacle into a manageable, beautiful landscape. Remember, the goal is not to conquer the mountain, but to enjoy the experience at a pace that honors your stamina and health. Start your preparation by testing your gear locally, and always prioritize comfort and safety over speed.
Frequently Asked Questions (FAQ)
1. How do I know if a mountain trail is too difficult for me?
Look for the “grading” system used by the local tourism office. Most countries use a color-coded system (e.g., Yellow for easy, Blue for intermediate, Red for difficult). Avoid any trail labeled “technical” or “scrambling,” as these require the use of hands and involve significant fall risks.
2. Is it necessary to buy expensive specialized outdoor clothing?
Not necessarily. While high-end gear is durable, you can find excellent moisture-wicking base layers and fleece mid-layers at standard athletic stores. Focus your budget on the two items that directly prevent injury: high-quality footwear and, if needed, reliable trekking poles.
3. What should I do if the weather changes suddenly while I am on a trail?
If you see dark clouds or notice a significant temperature drop, do not wait for the rain to start. Put on your outer shell immediately to trap your current body heat. If the trail becomes muddy or slippery, turn back or seek the nearest marked exit point. Always keep your phone in an inner pocket to keep the battery warm.