- Verify “Accessibility” Definitions: Always look for technical specifications like slope grades (ideally under 5%) and surface material before committing to a route.
- Prioritize Infrastructure over Scenery: A beautiful view is only accessible if there are frequent, ergonomic rest points and proximity to accessible restrooms.
- Plan for Environmental Fatigue: Coastal conditions like high wind, glare, and humidity significantly increase stamina demand; adjust your travel pace accordingly.
For the active senior, a coastal boardwalk offers the perfect blend of fresh air, scenic beauty, and manageable terrain. However, not all boardwalks are created equal. What appears to be a “leisurely stroll” in a brochure can turn into a mobility challenge if the surface is uneven, the inclines are too steep, or the distance between resting spots is too great. This guide provides a systematic approach to evaluating coastal boardwalks to ensure your next outing is safe, comfortable, and enjoyable.
Understanding Boardwalk Infrastructure: What to Look For
When researching potential coastal routes, it is vital to look beyond marketing terms like “scenic” or “family-friendly.” You need specific data points regarding the physical construction of the path. The most critical factor is the surface material. Traditional wooden planks can warp over time, creating gaps that catch wheels or walking aids. Modern composite materials or poured concrete are generally superior for stability.

When you evaluate a location, consider the following checklist:
- Surface Uniformity: Are there protruding nails, loose boards, or significant gaps?
- Grip: Is the surface treated with anti-slip coatings, especially useful in humid or misty coastal environments?
- Width: A minimum width of 1.5 meters (approx. 5 feet) is recommended to allow for two-way traffic or the use of mobility aids without feeling crowded.
The Importance of Slope and Incline Management
Many coastal paths transition from parking lots to the beach, which often involves ramps. A key rule for accessibility is the 1:12 ratio. This means for every 1 inch (or cm) of vertical rise, there should be at least 12 inches (or cm) of ramp length. If a ramp looks steeper than a gentle incline, it may pose a risk to those with limited knee strength or those using canes and walkers. If you are traveling with a companion who uses a wheelchair, this ratio is not just a suggestion—it is a safety requirement to prevent tipping or excessive strain.
Designing Your Coastal Itinerary: Pacing and Rest
Stamina management is an overlooked variable in senior-friendly travel. Coastal environments introduce unique stressors: salt air can be drying, wind resistance can increase the effort required to walk, and the glare from water can cause eye fatigue. To maintain your energy, you must plan for “micro-rests.”

Look for routes that offer seating at least every 200 to 300 meters. When checking a map or contacting a local parks department, ask specifically about the type of seating. A flat stone wall is not an adequate rest point. You require benches with back support and sturdy armrests. Armrests are essential because they provide the leverage needed to push yourself back up to a standing position without straining your lower back or knees.
The “Rest-to-Activity” Ratio
A practical decision rule for your daily itinerary is the 2:1 rule. For every two hours of planned walking or sight-seeing, schedule at least one hour of “passive” time. This could be sitting in a cafe with a view, visiting a local museum, or simply watching the waves from a bench. This ensures that you are not depleting your physical reserves, which is when most minor trips or falls occur.
Accessibility does not stop at the boardwalk edge. The journey from your vehicle to the path is often where the most significant obstacles lie. When researching a destination, use satellite maps (like Google Earth) to view the parking situation. Look for designated accessible parking spots that are connected to the boardwalk via a curb-cut or a ramp.
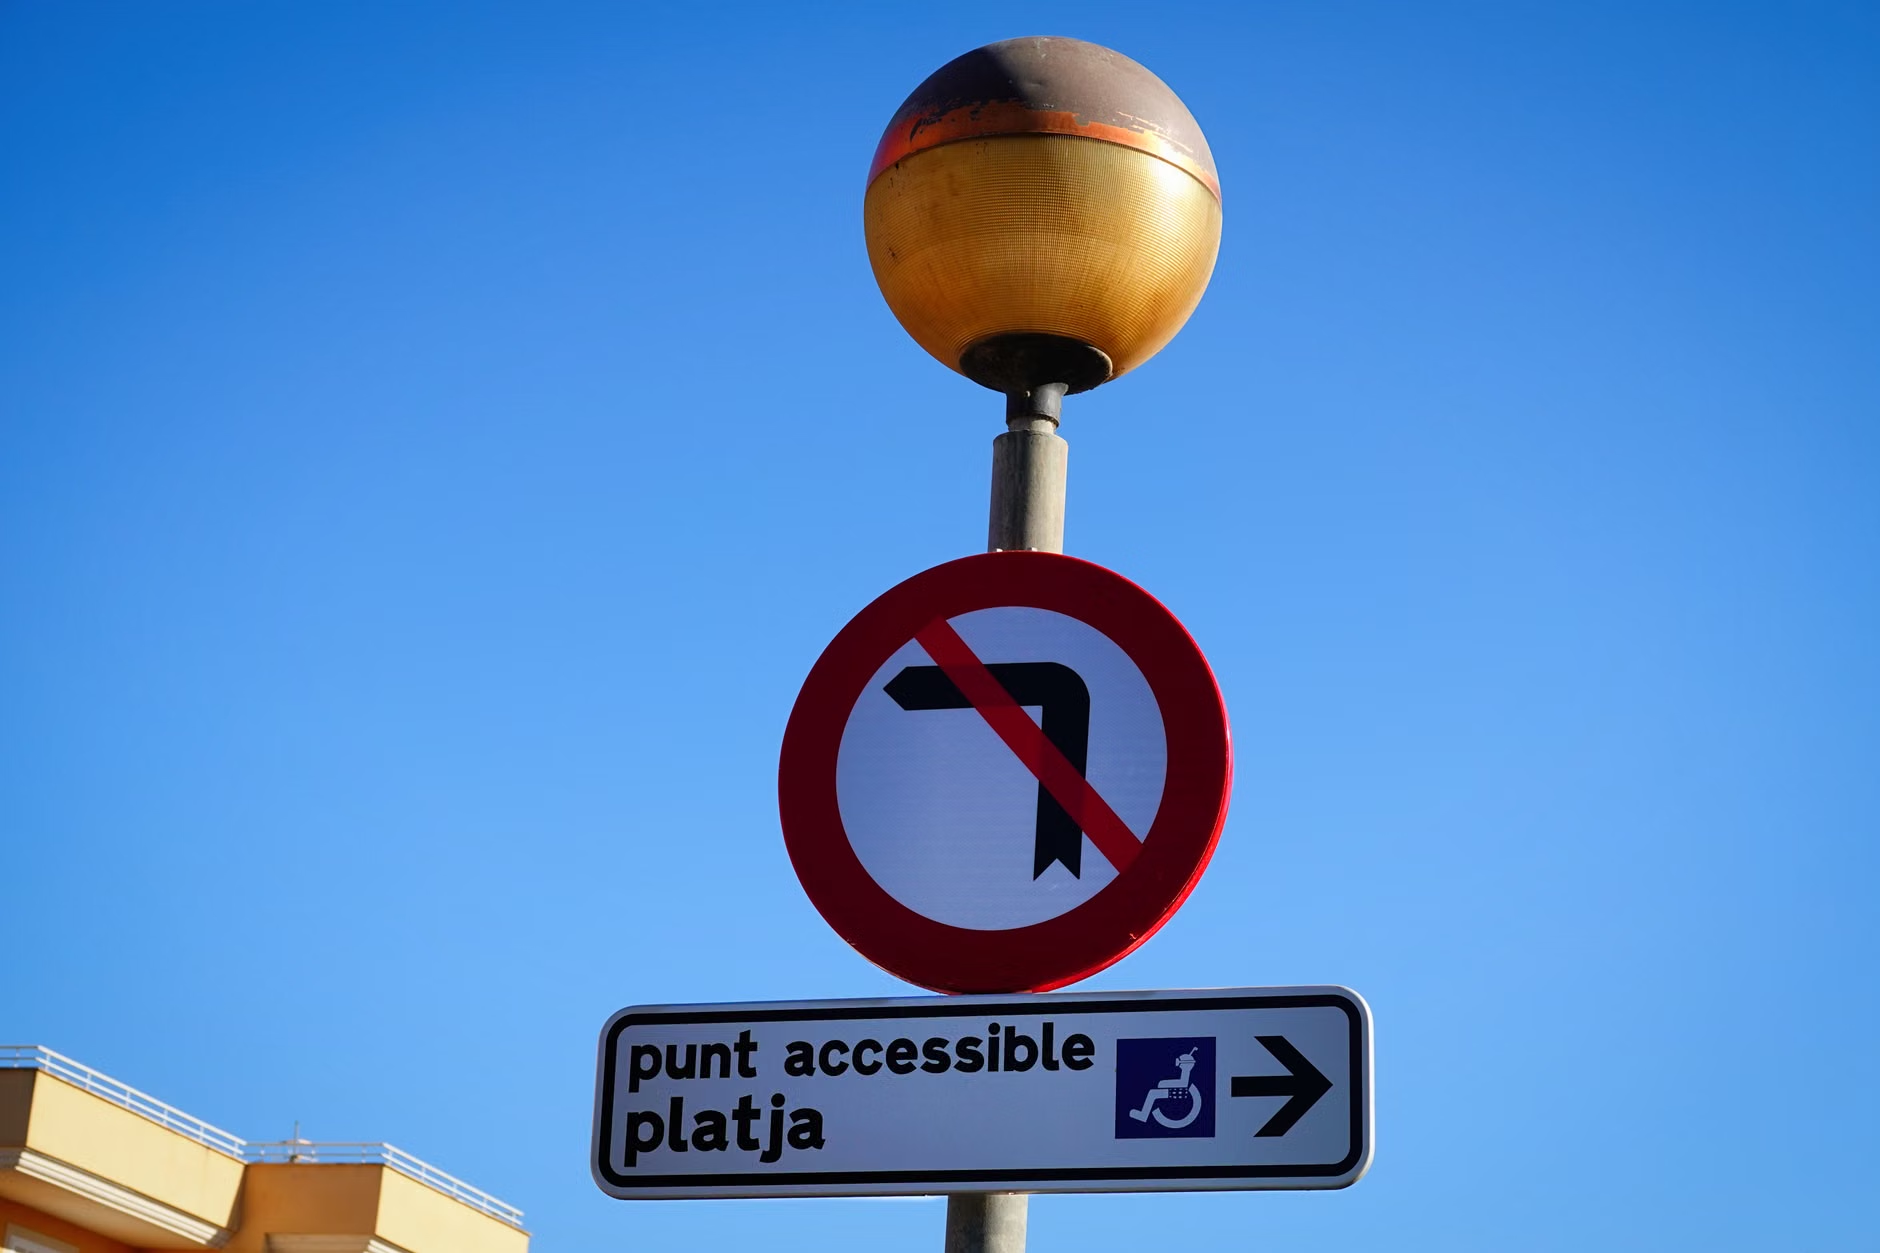
Restroom accessibility is another non-negotiable factor. Many coastal parks have public toilets, but they are often dated. Search for recent reviews from other travelers with mobility needs to confirm that the facilities are not only present but functional and clean. A “closed for renovation” sign or a non-functional lift can derail an entire day of travel.
Comparison Table: Choosing Your Coastal Destination
| Feature | High-Accessibility Site | Moderate-Accessibility Site |
|---|---|---|
| Surface | Poured concrete or composite | Wooden planks (well-maintained) |
| Rest Points | Benches every 200m with armrests | Occasional seating, limited back support |
| Slope | Consistent 1:12 or less | Variable, some steeper sections |
For those with limited mobility, always choose the “High-Accessibility” site. If you have full mobility but want to conserve energy, the “Moderate” site is acceptable provided you carry a lightweight, foldable cane-seat for extra rest options.
Hidden Variables: Weather and Environmental Challenges
Even the most accessible boardwalk can become dangerous under certain conditions. Coastal weather is notoriously unpredictable. High winds can make walking difficult for those with balance issues, and midday heat can accelerate dehydration. Before you set out, check the local marine forecast, not just the general city weather report. Wind speeds of over 20 km/h (12 mph) can significantly affect your stability and stamina.
Furthermore, consider the time of day. Coastal boardwalks are often most crowded in the late morning and early afternoon. Crowds increase the risk of accidental collisions, which can be particularly jarring. Aim for early morning visits—not only is the light better for photography and the temperature cooler, but the path will be clearer, allowing you to walk at your own pace without feeling pressured by faster pedestrians.
Practical Preparation Checklist
Before leaving for your trip, perform these three actions to ensure a smooth experience:
- Verify the Route: Call the local visitor center or park office. Ask them directly: “Is the path fully paved, and are there any stairs or steep inclines?” Do not rely solely on online photos, as they may be outdated.
- Pack Essentials: Carry a small backpack with water, a high-protein snack, a portable power bank for your phone, and a list of local emergency contacts or medical facility addresses.
- Check Equipment: If you use a walking aid, ensure the rubber tips are in good condition. If you use a wheelchair, check tire pressure and battery levels (if electric) the night before.
Conclusion
Selecting the right coastal boardwalk is about balancing your desire for adventure with a realistic assessment of your physical needs. By focusing on surface quality, slope consistency, and the availability of ergonomic rest points, you can transform a potential mobility struggle into a relaxing, rejuvenating experience. Remember that the goal is not to conquer the longest path, but to enjoy the environment safely. Prioritize your comfort, plan your rest intervals, and always have a secondary exit route in mind. With these preparations, you can confidently enjoy the beauty of the coast for years to come.
Frequently Asked Questions (FAQ)
1. Are all “accessible” boardwalks suitable for electric wheelchairs?
Most modern boardwalks designed for accessibility are wide enough for electric wheelchairs. However, check for the weight capacity of the path if you have a heavy-duty model, and ensure the turning radius at the ends of the boardwalk is sufficient.
2. What should I do if I find a section of the boardwalk that is damaged or blocked during my visit?
Prioritize your safety and turn back. Do not attempt to navigate around blocked areas or over uneven, broken sections. Report the issue to the local park authorities or the city’s department of public works so they can address the safety hazard for others.
3. How can I find accurate information on the slope or steepness of a path?
Look for “Topographic Maps” or “Accessibility Maps” on the official website of the park or coastal district. If those are not available, search for “hike difficulty” reviews on reputable travel forums, which often contain user-submitted details about inclines and physical effort.
For further information on accessible travel standards, you may consult resources such as the Americans with Disabilities Act (ADA) guidelines for outdoor developed areas or your local national park service accessibility documentation.