- Stability over Speed: Trekking poles act as a “third and fourth leg,” significantly reducing the impact on knees and ankles when navigating uneven, historic cobblestones.
- Gear Matters: Use rubber tips (feet) rather than carbide metal tips to prevent slipping on smooth stone and to avoid damaging historic surfaces.
- Technique is Essential: Proper strap usage and adjusting pole height to a 90-degree elbow angle prevents wrist fatigue and ensures maximum weight distribution.
Introduction: Why Cobblestones Present Unique Challenges
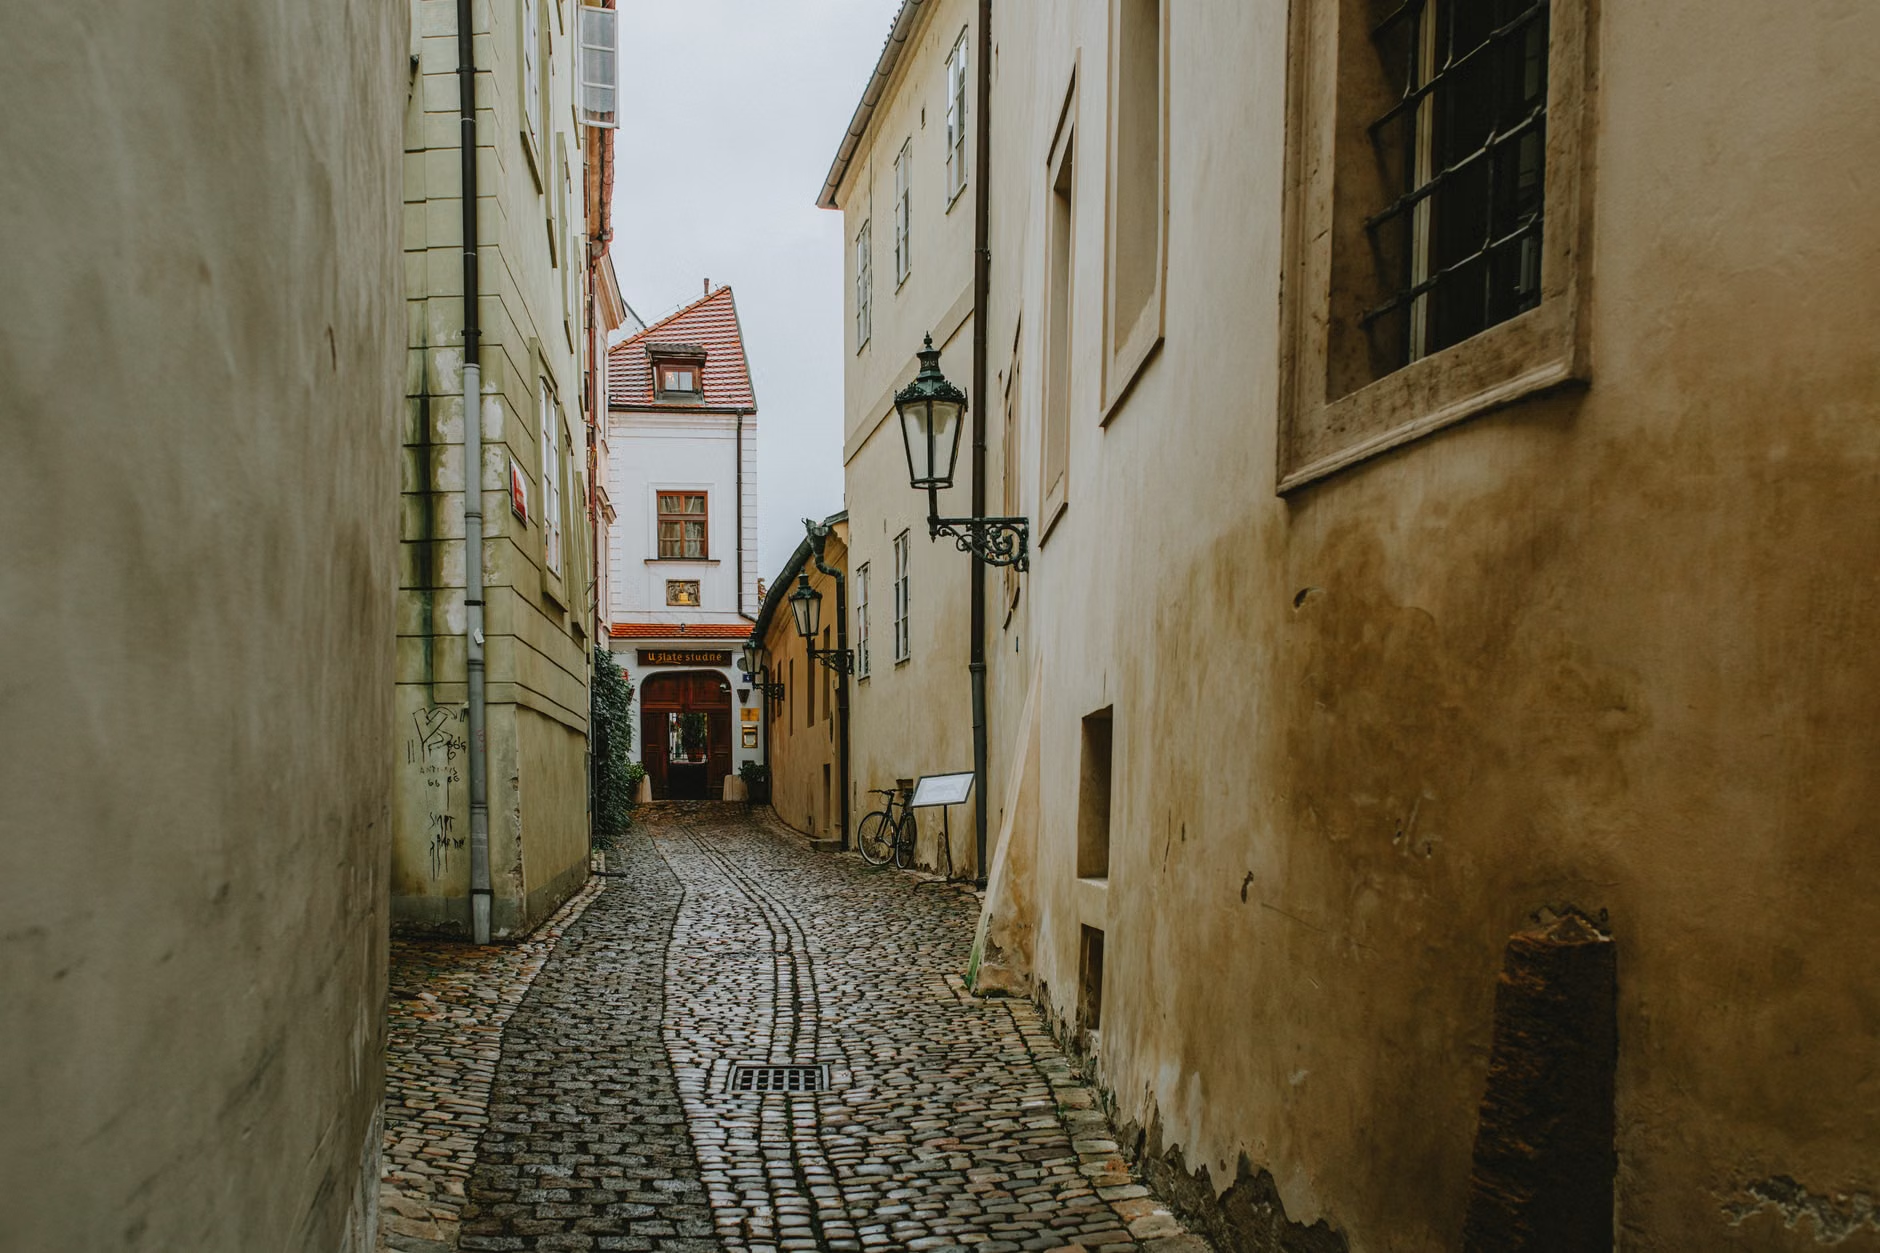
For many travelers, the charm of ancient cities—from Rome and Prague to Kyoto and Cusco—is inextricably linked to their historic architecture and winding, uneven streets. However, for those aged 60 to 80, these iconic cobblestone paths present a significant mobility challenge. Cobblestones are rarely uniform; they are often rounded, slick when wet, and prone to gaps that can catch a heel or a walking cane tip.
Navigating these surfaces requires more than just good footwear. It requires a strategy to maintain balance, distribute weight, and preserve stamina. Trekking poles, often associated with rugged mountain hiking, have become an essential tool for urban exploration. This guide provides a detailed look at how to select, adjust, and utilize trekking poles to transform your travel experience, turning a potentially treacherous walk into a confident, enjoyable stroll.
Understanding the Mechanics of Stability on Uneven Ground
When you walk on flat, modern pavement, your center of gravity remains relatively stable. On cobblestones, however, every step is a micro-adjustment. Your ankles, knees, and hips must constantly work to keep you upright. As we age, our proprioception—the body’s ability to sense its position in space—can become slightly less acute, making these micro-adjustments more fatiguing.
Trekking poles provide a “tripod effect.” By using two poles, you create a wide base of support. When you step, you are not just relying on your legs; you are offloading a portion of your body weight onto your arms and shoulders. This simple physics principle reduces the load on your lower joints by up to 25%, according to various orthopedic studies on hiking biomechanics. In the context of an ancient city, this means you can walk further with less joint pain and a significantly reduced risk of a stumble.
Selecting the Right Poles for Urban Travel
Not all trekking poles are created equal. For city travel, you need features that prioritize portability and non-destructive interaction with historic sites. Avoid heavy, fixed-length poles designed for extreme mountaineering.
Key Features to Look For:
- Collapsibility: Look for “telescopic” or “foldable” poles that can fit inside a carry-on suitcase. A collapsed length of under 40cm is ideal for air travel.
- Material: Aluminum is generally more durable and cost-effective, while carbon fiber is lighter but can be more expensive and prone to snapping under extreme side-loads.
- Grip Material: Cork handles are superior for long-term use as they mold to your hand shape and absorb moisture, preventing blisters.
- Rubber Tips: This is non-negotiable. Metal carbide tips will slip on smooth stone and can damage historic paving. Always ensure your poles have thick, durable rubber “feet” or caps.
| Feature | Recommended for Urban Travel | Why it Matters |
|---|---|---|
| Weight | Under 250g per pole | Reduces arm fatigue during long days of sightseeing. |
| Adjustment | Lever-lock (not twist-lock) | Lever-locks are easier to adjust with arthritic hands or gloves. |
| Tips | Rubberized street tips | Prevents slipping; protects the stone; reduces noise. |
Note: Lever-lock systems are generally preferred over twist-lock systems because they are easier to secure firmly, especially if you have reduced grip strength or are wearing gloves in cooler weather.
Mastering the Technique: Beyond Just Holding the Poles
Many travelers make the mistake of holding trekking poles like canes. While this provides some support, it misses the true ergonomic benefit of the gear. To properly use trekking poles, you must engage the straps.
Step-by-Step Guide to Proper Grip:
- The Strap Loop: Insert your hand from the bottom of the strap, not the top. Your palm should rest against the strap, and your fingers should then wrap around the handle.
- The Weight Transfer: When you push down on the pole, the strap—not your grip strength—should take the weight. This allows you to keep your hand relaxed, preventing forearm and wrist strain.
- The Height Adjustment: Stand on flat ground. Hold the pole handle so that your elbow is at a 90-degree angle. This is your baseline height. For uphill segments, shorten the poles; for downhill segments, lengthen them slightly.
Common Mistake: Holding the poles too far in front of your body. This forces you to lean forward, which can throw off your balance. Keep the poles close to your feet, planting them in line with your mid-foot as you stride.
Safety and Etiquette in Historic Districts
While trekking poles are a boon for safety, they require a bit of situational awareness in crowded tourist hotspots. Ancient cities are often narrow, and your poles may occupy more space than you realize.
- Crowd Management: In extremely tight or crowded areas, collapse one pole and carry it, or hold both poles vertically at your sides.
- Respecting the Pavement: Some historic sites strictly prohibit metal tips because they cause micro-fractures in centuries-old stone. Always keep your rubber tips on.
- The “Tap” Factor: If you are walking in a quiet, early-morning city, be aware that metal tips create a loud, repetitive clicking sound that can be disruptive to residents. Rubber tips are significantly quieter.
Insight: Always carry a spare set of rubber tips. The friction from cobblestones wears down rubber faster than dirt trails. Losing a tip halfway through a trip can make your pole ineffective and slippery.
Integrating Poles into Your Travel Pacing
Even with the best gear, your stamina is finite. Using poles allows you to walk further, but it does not remove the need for recovery. When planning your itinerary, consider the “Cobblestone Coefficient.” A 1km walk on smooth city pavement takes significantly less energy than 1km on uneven, historic stone.
We recommend the “3-Part Pacing Rule”:
- Morning Explorations: Tackle the most uneven, hilly areas (like historic districts) in the morning when your energy levels are highest.
- Mid-day Recovery: Schedule a seated lunch or a museum visit during the hottest or busiest part of the day.
- Evening Accessibility: Choose routes that utilize main roads or transit for evening activities, as your balance and depth perception may be slightly reduced in low-light conditions.
Frequently Asked Questions (FAQ)
1. Will I look out of place using trekking poles in a major city?
Not at all. In many European and Asian tourist hubs, it is increasingly common to see travelers of all ages using trekking poles for stability. Most locals and other tourists will view them as a sensible mobility aid rather than “hiking gear.”
2. Can I take trekking poles on an airplane?
Most airlines require trekking poles to be checked in your luggage because they are considered “sharp objects” or potential weapons in some jurisdictions. However, some airlines allow them if they are fully collapsed and fit within your carry-on dimensions. Always check your specific airline’s policy before arriving at the airport to avoid having them confiscated at security.
3. Are there alternatives if I don’t want to carry two poles?
If two poles feel like too much, consider a “monopod” or a high-quality, adjustable walking cane with a wide, tripod-style rubber base. While it doesn’t offer the same dual-side stability as two poles, it provides significantly more support than a standard cane on uneven surfaces.
Conclusion: Empowerment Through Preparation
Navigating ancient cities is a rewarding experience that shouldn’t be limited by the fear of a fall or the fatigue of unstable ground. By treating trekking poles as a standard piece of travel equipment—much like a good pair of walking shoes—you can maintain your independence and confidence. Focus on proper technique, ensure your gear is appropriate for urban use, and prioritize your comfort by pacing your daily activities. With these tools in hand, the history of the world is yours to explore, one stable step at a time.
For further guidance on senior travel safety, please refer to the official resources provided by your national health and tourism boards, such as the CDC’s Traveler’s Health page or local accessibility guidelines for the city you are visiting.