Bookbinding is the craft of physically assembling a book from a stack of paper sheets, bound together securely and protected by a cover. For adults aged 60 to 80, this practice serves as far more than a way to organize notes; it is a structured, meditative activity that enhances dexterity, focus, and cognitive resilience.
- Bookbinding improves fine motor skills and hand-eye coordination through repetitive, precise movements like folding, piercing, and stitching.
- The process encourages “flow state,” a psychological state of deep immersion that reduces stress and promotes mental clarity.
- Getting started requires minimal investment; a “starter kit” approach allows you to test the hobby before committing to professional-grade equipment.
Why Bookbinding is Ideal for the Later Years
As we navigate our 60s, 70s, and beyond, maintaining manual dexterity and cognitive sharpness becomes a priority. Bookbinding is a “low-impact” hobby that yields high-impact results. Unlike activities that require heavy lifting or intense physical exertion, bookbinding is sedentary and can be adapted to any physical stamina level.
The practice involves a series of logical, sequential steps. You must measure, cut, fold, punch holes, and sew. This sequence exercises the executive function of the brain—the ability to plan, organize, and execute tasks. Furthermore, the tactile nature of handling high-quality papers, fabrics, and threads provides sensory stimulation that is often missing from digital-first modern lives.
Cognitive and Motor Skill Benefits
Research into “craft-based therapy” suggests that engaging in repetitive, goal-oriented manual tasks can lower cortisol levels. In bookbinding, the requirement for precision—such as aligning paper edges to the millimeter—naturally forces the practitioner to slow down. This “mindful slowing” is an effective antidote to the hurried pace of modern digital information consumption.
From a motor skills perspective, the use of an awl (to punch holes) and a needle (to stitch) requires steady hand movements. Over time, these actions help maintain the range of motion in the fingers and wrists. If you have mild arthritis, bookbinding can be modified by using larger tools or taking frequent breaks, ensuring the activity remains enjoyable rather than straining.
The Essential Toolkit: Starting Simple
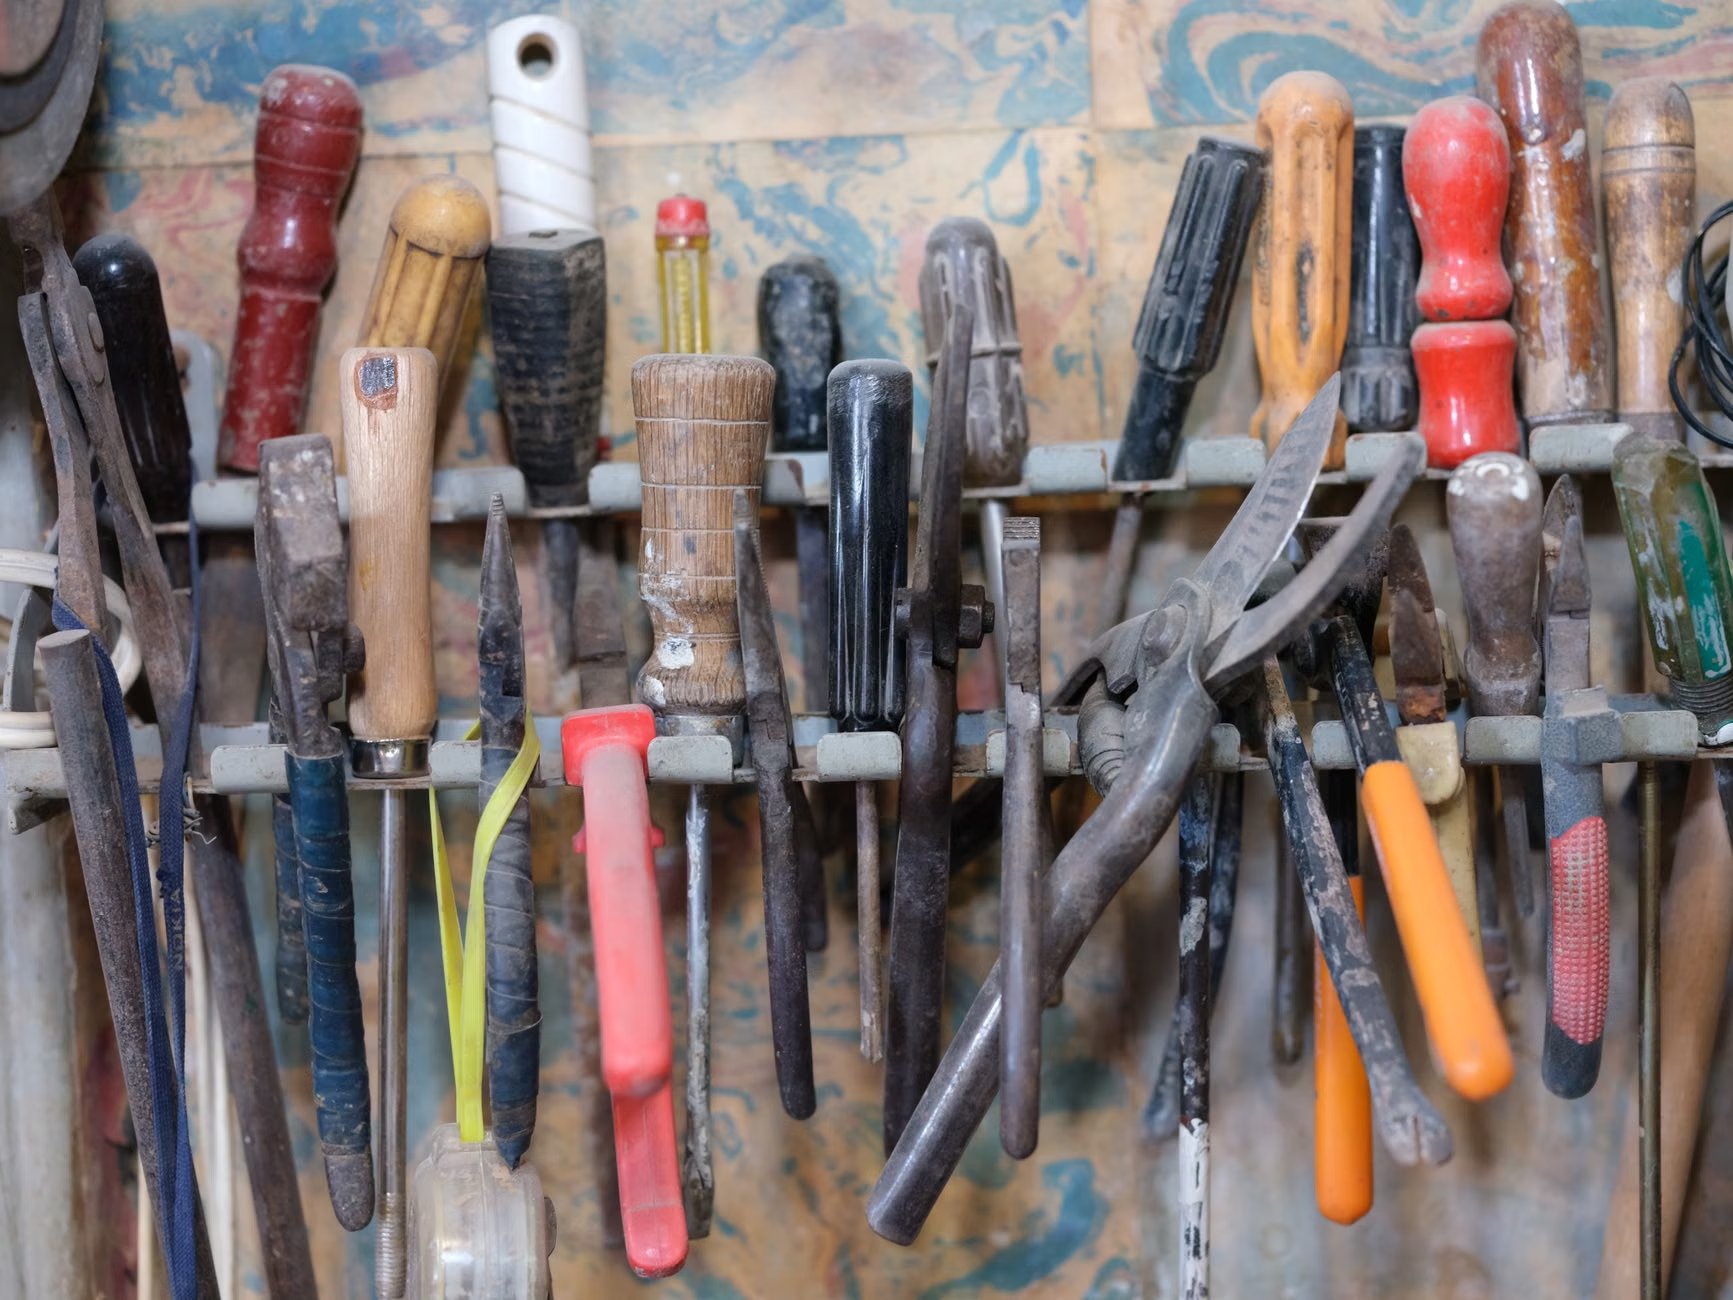
One of the most common mistakes beginners make is purchasing expensive, professional-grade equipment before understanding the basics. You do not need a printing press or heavy machinery to begin. A basic kit can be assembled for a modest cost.
| Tool | Purpose | Beginner Tip |
|---|---|---|
| Bone Folder | Creating crisp folds in paper | Look for a synthetic, non-stick version. |
| Awl | Piercing holes for stitching | Ensure the handle is ergonomic and fits your palm comfortably. |
| Linen Thread | Binding the signatures together | Use waxed thread to prevent tangling. |
| Cutting Mat | Protecting your workspace | Choose a self-healing mat with a grid for easy measuring. |
Decision Criteria: If you have limited space, focus on “portable” tools that fit into a small toolbox. If your vision is a concern, ensure your workspace has a dedicated “task lamp” with adjustable color temperature, which reduces eye fatigue significantly compared to standard overhead lighting.
Step-by-Step: The Anatomy of a Simple Pamphlet Stitch
The “pamphlet stitch” is the foundational technique for all bookbinding. It is the method used to create journals, brochures, and thin booklets. It is the best place for any beginner to start because it requires the fewest materials and provides immediate results.
Phase 1: Preparing the Signatures
A “signature” is a group of folded sheets of paper. For a simple book, start with 4 to 8 sheets. Fold them in half carefully using your bone folder. The quality of your fold determines the quality of your finished book. Press firmly from the center outward to avoid “creeping” (where paper edges become uneven).
Phase 2: The Alignment and Piercing
Open your signature to the center fold. Use a pencil to mark three spots: one in the center, and two about 2cm from the top and bottom edges. Use your awl to pierce through the fold at these three marks. Safety Note: Always place a piece of scrap cardboard or a cork underneath the paper when using an awl to protect your table and prevent the awl tip from slipping.
Phase 3: The Stitching Process
Thread your needle with a length of waxed linen thread roughly twice the height of your book. Start from the inside of the center hole, go out to the back, loop through the top hole, back down to the bottom, and finish by tying a knot at the center. This creates a secure, flexible spine that allows the book to lay completely flat when opened.
Overcoming Common Challenges
Even for experienced crafters, bookbinding presents unique hurdles. Understanding these before you begin can save you frustration.
The Issue of “Tension”: Many beginners pull their thread too tight, causing the paper to tear, or too loose, resulting in a wobbly, unstable book. The “Goldilocks” rule applies: pull just enough to remove the slack. You will develop a “feel” for the right tension after your first three books.
Paper Grain: Paper has a “grain,” or a direction in which the fibers align. If you fold against the grain, the paper will crack and feel stiff. To test the grain, gently bend a sheet in both directions. The direction that offers less resistance is the grain direction. Always align your folds with the grain for a professional, smooth finish.
Ergonomics for Long Sessions: If you find yourself hunched over your desk, you are likely to experience neck or back strain. Raise your work surface. Many bookbinders use a kitchen counter or a high-top table to keep their projects at chest height, preventing the need to bend the spine forward for long periods.
Integrating Bookbinding into Your Daily Wellbeing
To make this a sustainable hobby, treat it as a scheduled appointment. Just as you might schedule a walk or a doctor’s visit, dedicate one or two sessions a week to your craft. This creates a psychological boundary between your “leisure time” and your “daily chores.”
Consider the “Project-Based Approach.” Instead of binding random scraps, set a goal: “I will bind a journal for my grandchildren,” or “I will create a recipe book for my favorite family dishes.” Having a purpose for the final object adds a layer of emotional satisfaction that purely abstract practice lacks.
Accessibility and Modifications
If you have reduced grip strength, look for “ergonomic handles” for your awls and bone folders. These are often made of thick, soft rubber or foam and are much easier to hold than traditional wooden handles. Additionally, if you find threading a needle difficult, use a needle threader or opt for slightly larger needles with larger eyes.
For those with vision concerns, utilize high-contrast materials. Avoid dark-colored papers for your first few projects. Using bright white paper with black markings makes the process of measuring and punching much safer and more accurate.
Resources and Further Learning
While there are many online tutorials, look for resources that prioritize the “traditional” craft rather than “modern, fast-paced” styles. Organizations like the Society of Bookbinders provide excellent historical context and professional standards. For step-by-step visual guides, the International Bookbinders Association offers resources that emphasize proper technique over speed.
Remember that the beauty of bookbinding lies in its imperfections. A handmade book will never look like a mass-produced, machine-made item. Those small variations—the slight offset of a cover, the unique texture of the paper—are the hallmarks of a human-made object. They are not mistakes; they are the signature of your dedication.
Frequently Asked Questions
1. Is bookbinding a very expensive hobby to maintain?
Not at all. Once you have your basic tools, the ongoing costs are primarily paper, thread, and glue. You can even upcycle high-quality paper from old magazines or unused stationery, making it an incredibly affordable hobby.
2. I have mild arthritis in my hands. Can I still participate?
Yes. By choosing ergonomic tools with thicker grips and working in shorter, 30-minute intervals rather than long sessions, you can avoid straining your joints. Always listen to your body and stop if you feel discomfort.
3. How much space do I need for a home bookbinding studio?
You do not need a dedicated room. A standard dining room table or a sturdy kitchen desk is sufficient. Because the tools are small, they can be stored in a single shoebox or a small drawer when not in use.