Maintaining pelvic mobility through seated hip external rotation is one of the most effective ways for adults over 60 to preserve walking stability, reduce lower back strain, and stay independent in daily activities.
Key Takeaways:
- Hip stiffness in older age is often caused by the shortening of the “Deep Six” rotator muscles, which can be safely addressed with seated external rotation exercises.
- Improving hip rotation directly protects the lower back and knees by ensuring the pelvis can move fluidly during common tasks like walking or getting out of a car.
- Consistency is more important than intensity; performing these movements for 5 to 10 minutes daily provides better long-term mobility than occasional heavy stretching.
Understanding the Role of Hip External Rotation in Senior Health
As we move into our 60s, 70s, and 80s, the way our bodies manage movement changes. One of the most critical, yet often overlooked, areas of the body is the hip joint. Specifically, the ability to rotate the thigh bone (the femur) outward within the hip socket—known as external rotation—is fundamental to how we navigate the world. When this rotation is limited, the body compensates by placing extra stress on the lower back and the knees.
The hip is a ball-and-socket joint designed for a wide range of motion. However, years of sitting, previous injuries, or natural changes in connective tissue can lead to a “tight” pelvis. For a senior, this isn’t just about flexibility; it is about functional safety. When you step sideways to avoid an obstacle or swing your leg out of a car, your hips must rotate. If they cannot, your pelvis tilts awkwardly, and your balance is compromised.
Seated hip external rotation exercises are particularly valuable because they provide a stable base. By sitting in a chair, you remove the risk of falling that comes with standing balance exercises. This allows you to focus entirely on the mechanics of the hip joint itself, ensuring that the movement is coming from the right place without straining other parts of the body.
The Anatomy of the “Deep Six” and Pelvic Health
To understand why these exercises work, it helps to know what is happening under the surface. The hip is controlled by a group of small muscles often referred to as the “Deep Six” lateral rotators. These include the piriformis, gemellus superior, obturator internus, gemellus inferior, obturator externus, and quadratus femoris.
These muscles sit deep beneath the larger gluteal muscles (the buttocks). Their primary job is to rotate the hip outward and stabilize the head of the femur in the socket. In many adults aged 60 to 80, these muscles become chronically tight or weak. This tightness can compress the sciatic nerve—a condition often mistaken for general back pain—and can lead to a “shuffling” gait because the hips can no longer swing freely.
Pelvic mobility refers to the ability of the pelvis to move independently of the spine. When the hip rotators are healthy, the pelvis can remain level while the legs move. When they are tight, the pelvis “tugs” on the lower spine with every step. By focusing on external rotation, we are essentially “oiling” the joint and lengthening these deep muscles, which restores the natural relationship between the hips and the lower back.
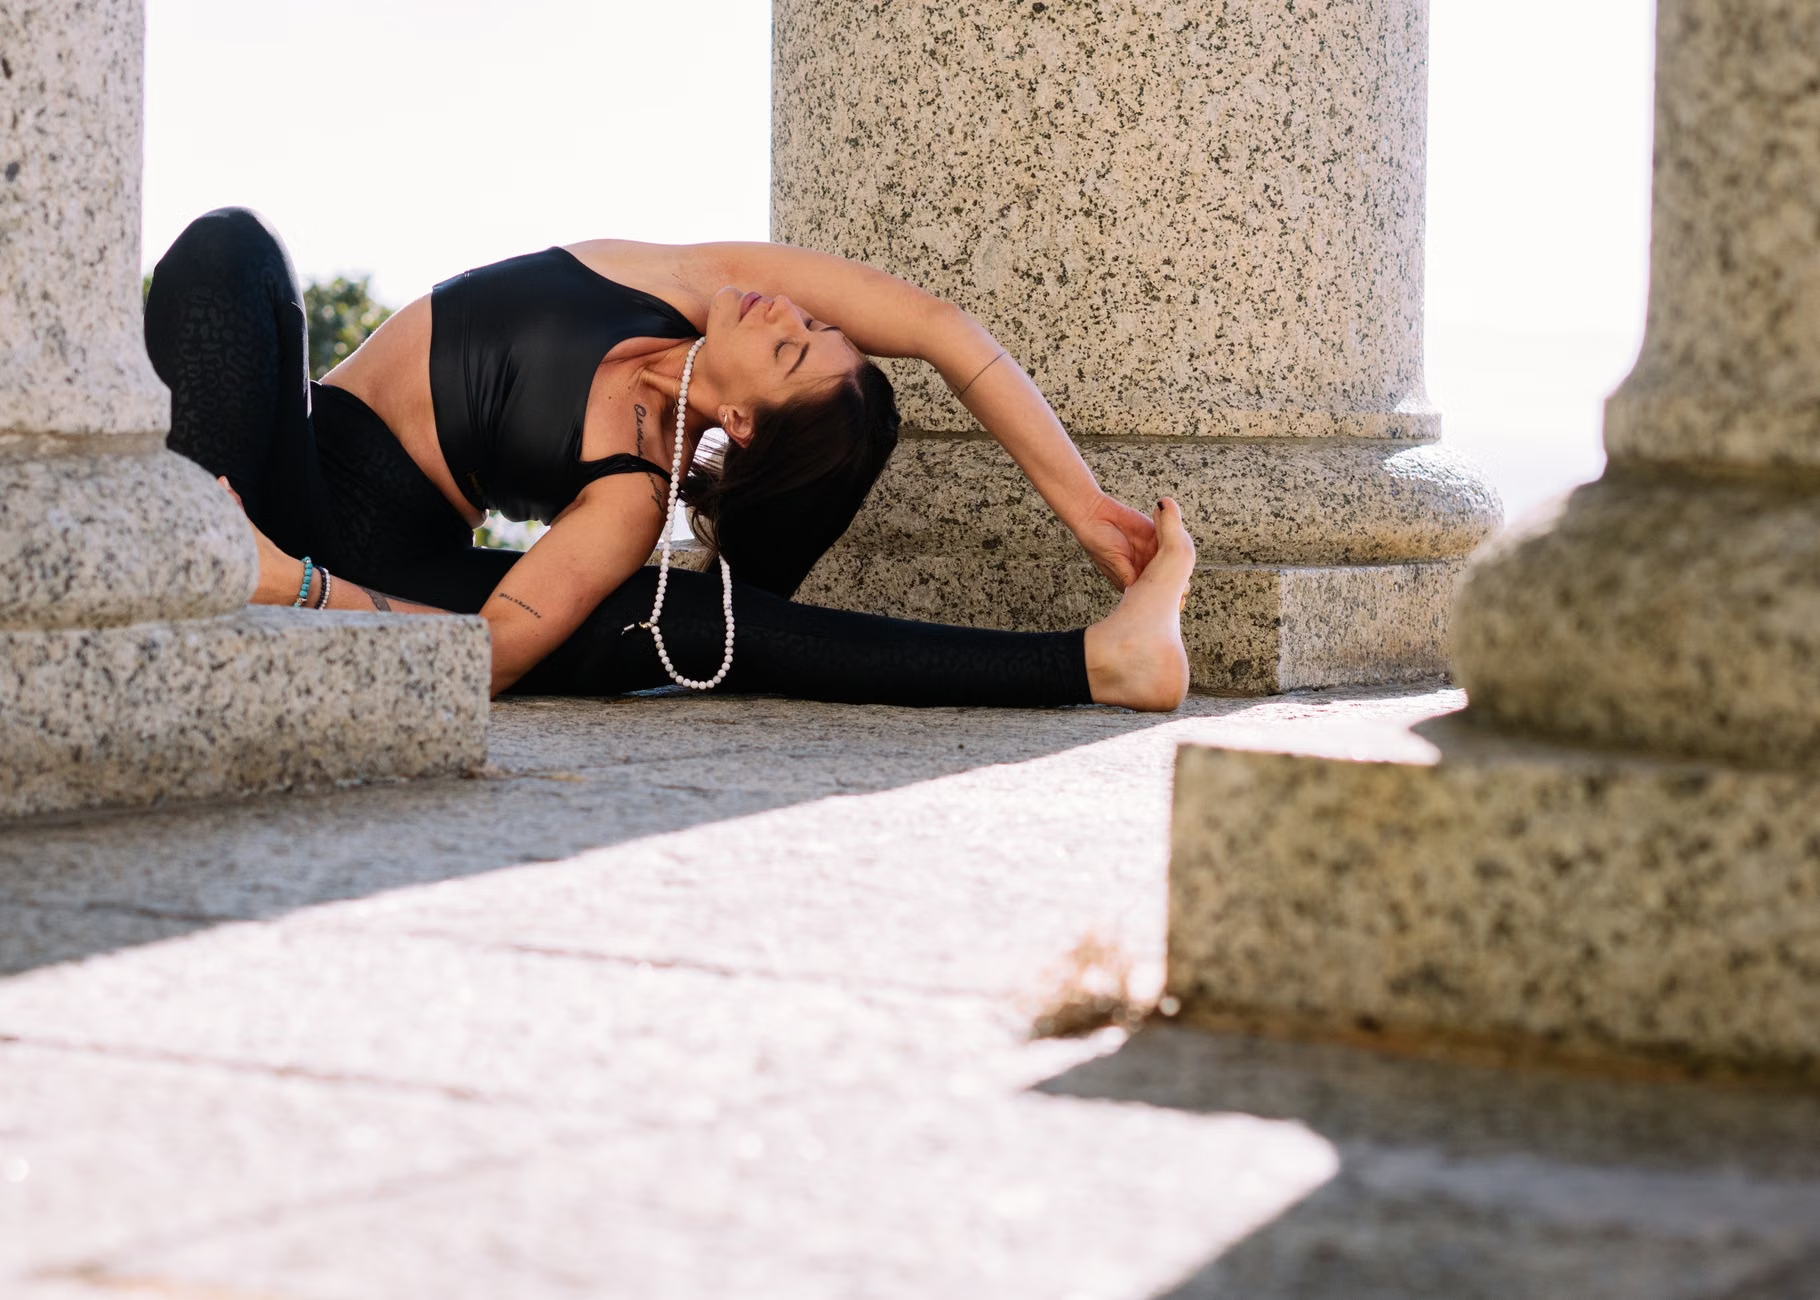
Step-by-Step Guide: The Seated External Rotation Exercise
This exercise, often called the “Seated Figure-4 Stretch” or “Seated Hip Opener,” should be performed on a sturdy chair without wheels. Avoid soft sofas, as they do not provide the necessary pelvic support to isolate the hip muscles.
- Preparation: Sit toward the front edge of a firm chair. Keep your feet flat on the floor, hip-width apart. Ensure your spine is tall and your shoulders are relaxed.
- The Movement: Lift your right leg and place your right ankle across your left thigh, just above the knee. Your right knee should naturally point out to the side.
- Alignment Check: Look at your right foot. Keep it slightly “flexed” (pull your toes toward your shin). This helps protect the knee joint by engaging the muscles around it.
- The Rotation: For many, simply sitting in this position is enough of a challenge. If you feel a gentle stretch in your outer hip, stay there. If you need more, keep your back perfectly straight and lean forward slightly from the hips—not the waist.
- Duration: Hold the position for 20 to 30 seconds. Breathe deeply and slowly. Do not bounce.
- Release and Repeat: Gently lower your leg and repeat the process on the left side. Aim for 3 repetitions per side.
Common Mistake: Rounding the back. Many people try to get their chest closer to their leg by hunching their shoulders. This takes the stretch away from the hip and puts it onto the spine. Always keep your chest “proud” and your spine long.
Variations for Different Mobility Levels
Mobility is a spectrum. What is easy for a 60-year-old who hikes might be impossible for an 80-year-old recovering from surgery. It is important to choose the version of the exercise that matches your current ability.
Level 1: The Crossed-Ankle Rotation
If you cannot lift your ankle all the way to your knee, do not force it. Instead, sit with your legs extended slightly. Cross your right ankle over your left ankle. Then, let your right knee fall outward. This still engages the external rotators but with much less pressure on the joint. This is an excellent starting point for those with significant stiffness or early-stage arthritis.
Level 2: Active Seated Rotation
Once the basic stretch is comfortable, you can add an “active” component. Instead of using your hands to help, use the muscles of your hip to pull the knee toward the floor. This builds strength in the end-range of motion, which is vital for preventing falls. Hold the “active” pull for 5 seconds, relax, and repeat.
Level 3: Rotation with Gentle Manual Pressure
For those with high mobility, once the ankle is on the knee, you can place a very light hand on the inner thigh of the raised leg. Do not “push” or “force” the leg down. Instead, apply just enough weight to encourage the muscle to let go. This should never feel sharp or painful.
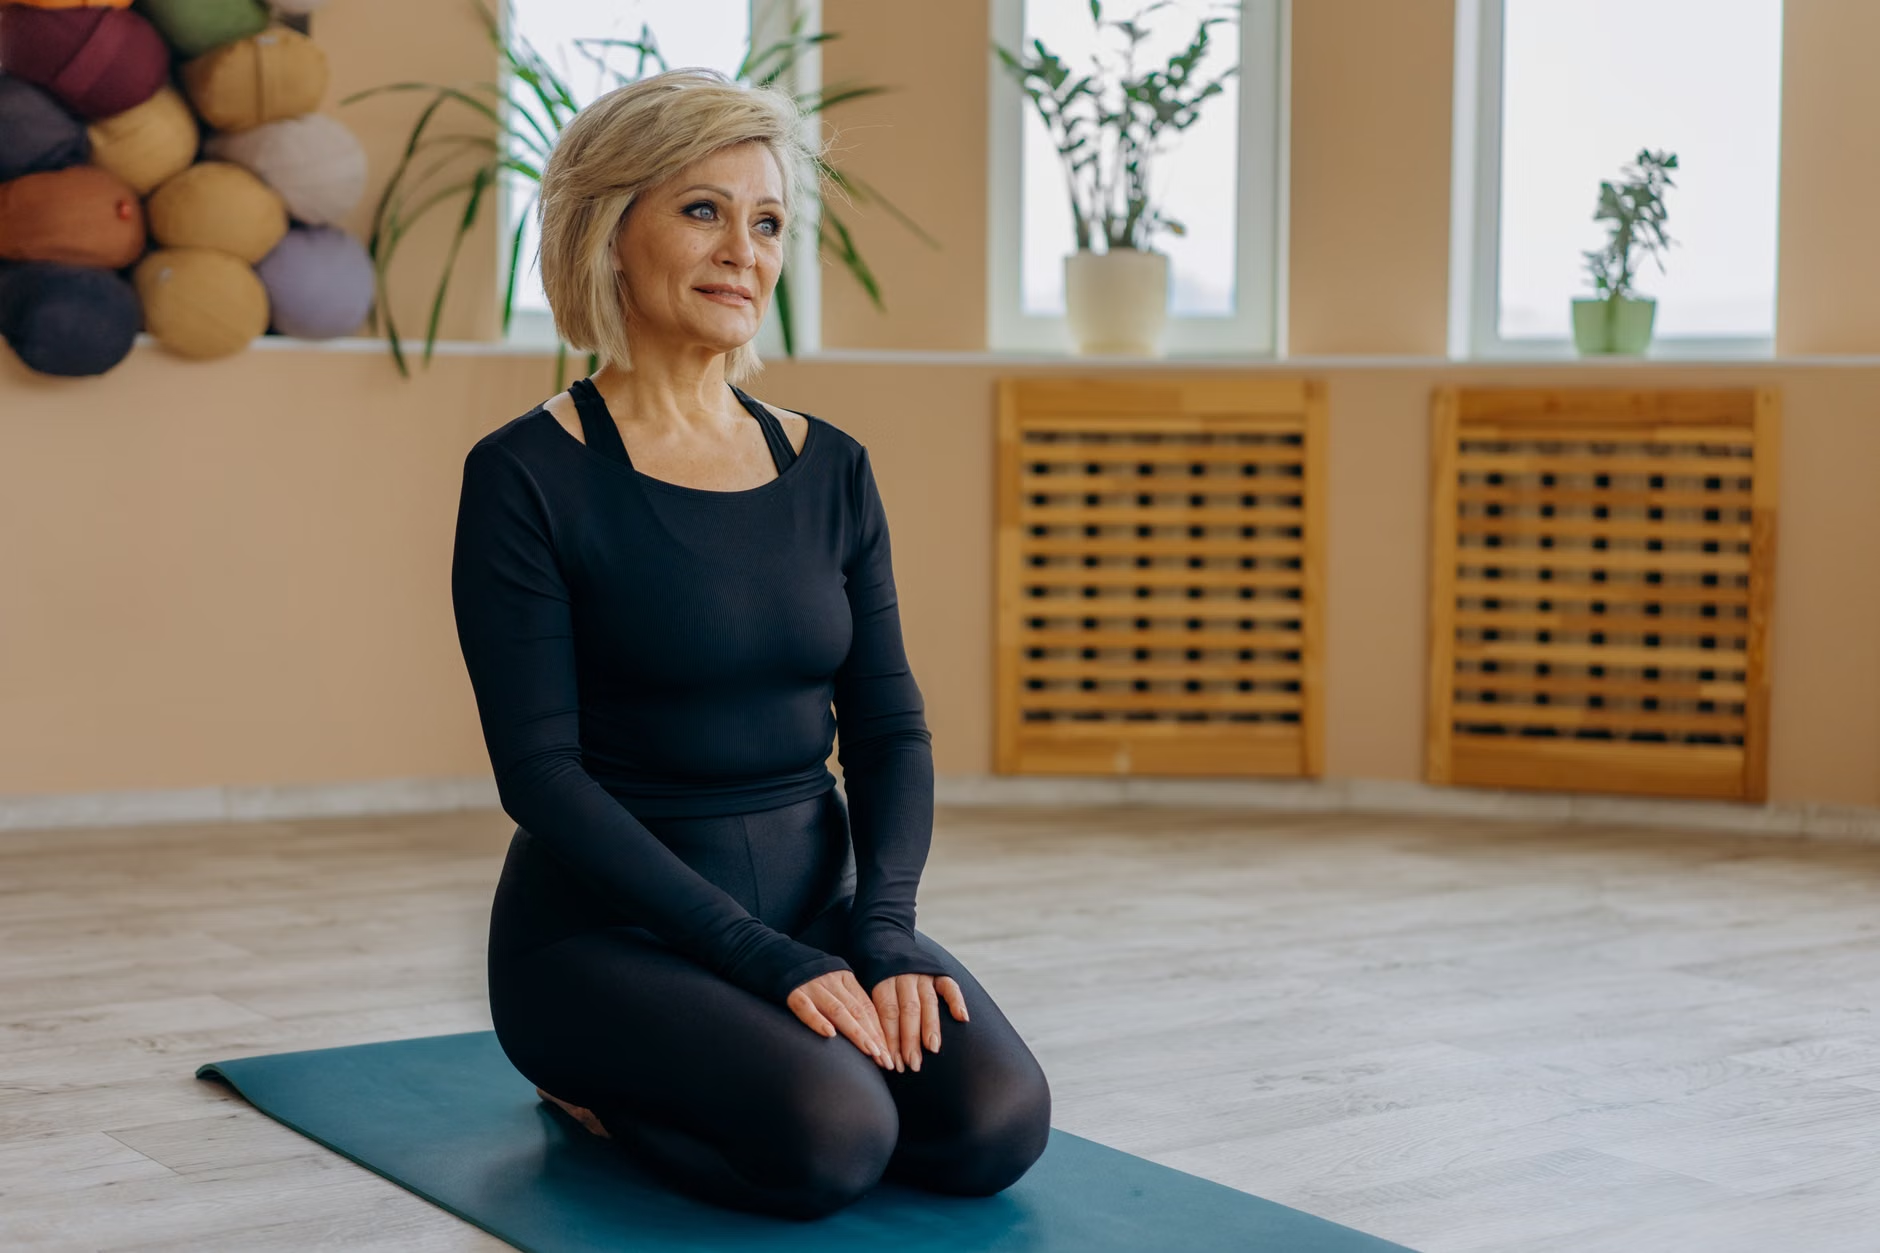
Comparing Seated Mobility to Other Methods
There are many ways to work on hip mobility. The following table explains why the seated method is often the preferred choice for adults in the 60-80 age range.
| Method | Stability Level | Primary Benefit | Best For… |
|---|---|---|---|
| Seated Rotation | High | Isolates hip without balance risk | Daily maintenance and those with balance concerns |
| Standing Rotation | Low | Builds weight-bearing strength | Active seniors with excellent balance |
| Floor (Supine) | Medium | Deepest stretch potential | Those who can comfortably get up and down from the floor |
| Side-Lying Clamshells | High | Strengthens lateral rotators | Building hip stability for walking |
For most readers, Seated Rotation offers the best balance of safety and effectiveness. While floor exercises allow for gravity to assist the stretch, the difficulty of getting onto the floor often prevents people from doing them consistently. The seated version can be done while watching the news or sitting at a desk, making it much more likely to become a habit.
How Improved Hip Mobility Changes Your Daily Life
It is easy to think of “mobility” as a fitness term, but for a senior, it is a “quality of life” term. Let’s look at a few realistic scenarios where hip external rotation makes a tangible difference.
Scenario A: Getting In and Out of a Car
To exit a car, you must swing one leg out while the other remains inside. This requires significant external rotation of the hip. If your hips are tight, you will likely twist your lower back or struggle to clear the door frame. Improved mobility makes this movement fluid and reduces the risk of a “tweak” in the back.
Scenario B: Putting on Socks and Shoes
This is one of the most common complaints among older adults. When you can’t rotate your hip outward, you have to lean much further forward to reach your feet. By improving external rotation, you can bring your foot closer to your body, making dressing much easier and safer.
Scenario C: Walking on Uneven Ground
Whether it’s a cobblestone street or a grassy park, the ground is rarely perfectly flat. Your hips act as your body’s shock absorbers and steering mechanism. If the hips can rotate, they absorb the “wobble” of the ground. If they are stiff, that wobble travels directly to your spine, increasing the risk of a fall.
Safety Precautions and When to Stop
While seated hip exercises are generally safe, the hip joint is complex. There are specific signs that you should listen to. Never push through sharp pain.
- Knee Pain: If you feel a pinching or pulling sensation in your knee during the hip rotation, stop immediately. This usually means the hip is too tight to rotate, and the stress is “leaking” into the knee. Use the Level 1 (crossed ankles) variation instead.
- Hip Replacement: If you have had a hip replacement, you must consult your surgeon or physical therapist before attempting these. Many hip replacements have “precautions” regarding internal or external rotation to prevent dislocation.
- Numbness: If you feel a “pins and needles” sensation down your leg, you may be compressing the sciatic nerve. Ease off the stretch and ensure you are sitting tall rather than slouching.
A “good” stretch feels like tension or a dull ache in the muscle tissue. It should never feel like a “stabbing” sensation inside the joint itself. If the joint feels “blocked” (like bone hitting bone), do not force it; this is your natural skeletal limit.
Integrating Mobility into Your Daily Routine
The secret to mobility is not the intensity of the stretch, but the frequency. Connective tissues in the hip respond best to “little and often.”
Consider the “Rule of Three”:
- Morning: Perform 2 repetitions per side after breakfast to “wake up” the joints after a night of sleep.
- Afternoon: If you have been sitting for more than an hour (reading or watching TV), perform a quick 30-second rotation per side to prevent the muscles from shortening.
- Evening: Use the stretch as a way to wind down. Deep breathing during the stretch helps calm the nervous system, which can aid in better sleep.
You do not need special equipment. A standard dining chair or a sturdy office chair is perfect. Avoid chairs with armrests if they prevent you from positioning your leg correctly, though they can be used for stability if you feel unsteady.
Sometimes, home exercises are not enough. If you find that your mobility is decreasing despite regular practice, or if you have persistent pain, it is time to seek professional advice. A Physical Therapist (PT) or a Physiotherapist can provide a “gait analysis” to see how your hip movement is affecting your walk.
When visiting a professional, be prepared with the following information:
- When did the stiffness start?
- Does the pain stay in the hip, or does it travel to the knee or back?
- Are there specific tasks (like stair climbing) that are becoming difficult?
- A list of any previous surgeries or imaging (X-rays/MRIs) you have had.
In many regions, such as the UK (NHS) or the US (Medicare), physical therapy for mobility and fall prevention is a covered benefit for seniors. Improving your mobility is considered “preventive care,” which is far more cost-effective and less painful than treating a hip fracture or chronic back condition later.
Next Steps for Your Mobility Journey
Improving pelvic mobility through seated hip external rotation is a practical, low-risk investment in your future independence. It requires no gym membership, no expensive gear, and only a few minutes of your time each day. By addressing the “Deep Six” muscles and ensuring your pelvis can move fluidly, you are protecting your back, your knees, and your balance.
Your immediate next action: Find a sturdy chair right now. Sit tall, cross your right ankle over your left knee (or ankle), and take three deep breaths. Feel the tension in your hip? That is the starting point for a more mobile, stable, and active life.
Frequently Asked Questions
1. How long does it take to see results in hip mobility?
Most adults aged 60 to 80 will notice a difference in “joint smoothness” within 2 to 3 weeks of daily practice. However, significant changes in muscle length and pelvic tilt usually take 6 to 8 weeks of consistent effort. The goal is a gradual improvement, not an overnight transformation.
2. Is it normal for one hip to be much tighter than the other?
Yes, it is very common. Most people have a “dominant” side or may have had an old injury on one side. If one hip is tighter, do not force it to match the more flexible side. Instead, give the tighter side an extra 10 seconds of gentle stretching or an additional repetition to help it catch up over time.
3. Can I do these exercises if I have mild arthritis in my hips?
In many cases, gentle movement is the best “medicine” for mild arthritis because it encourages the production of synovial fluid, which lubricates the joint. However, you should avoid the exercise during an “acute flare-up” when the joint is swollen or warm. Always move within a pain-free range of motion and stop if you feel a grinding sensation.
Sources for further reading:
– Harvard Health: The Importance of Hip Mobility
– Mayo Clinic: Stretching and Flexibility Guide
– National Institute on Aging: Flexibility Exercises for Older Adults