Key Takeaways
- Pelvic mobility is foundational: Maintaining movement in the hip complex reduces strain on the lower back and knees, directly supporting your ability to walk, stand, and perform daily tasks.
- Consistency over intensity: Seated hip circles are a low-impact, high-frequency exercise; performing them daily for just five minutes is more effective for long-term joint health than occasional intense workouts.
- Safety first: Always use a chair without wheels or armrests that interfere with movement, ensure your feet are flat on the floor, and stop immediately if you experience sharp pain.
Pelvic mobility is often an overlooked component of physical health as we enter our 60s and beyond. The pelvis acts as the “junction box” of the body, connecting the upper body to the lower limbs. When this area becomes stiff due to prolonged sitting, age-related tissue changes, or lack of movement, it doesn’t just affect the hips—it creates a domino effect that can lead to lower back pain, knee instability, and a reduced stride length while walking.
The seated hip circle is a simple, accessible, and highly effective movement that can be performed anywhere. By focusing on the controlled rotation of the pelvis while seated, you can maintain joint lubrication and muscle elasticity without the balance risks associated with standing exercises.
Why Pelvic Mobility Matters for Daily Life
The human pelvis is designed for both stability and movement. As we age, the connective tissues surrounding the hip joint—including the ligaments and the fascia—can become less pliable. This “tightness” isn’t merely a feeling; it is a mechanical restriction that changes how we move through the world.
Consider the act of getting out of a car or stepping over a curb. These movements require the pelvis to tilt and rotate fluidly. If the hip joints are locked up, the body compensates by over-relying on the lumbar spine (lower back) or the knees. Over time, this compensation causes unnecessary wear and tear. By prioritizing pelvic mobility, you are essentially “greasing the hinges” of your body’s most important joints.
The Connection Between Your Pelvis and Your Back
Many adults between the ages of 60 and 80 report chronic lower back discomfort. While there are many medical causes for back pain, one common mechanical contributor is a “stuck” pelvis. When the pelvis cannot move independently of the spine, the lower back is forced to take on the burden of every movement. Seated hip circles help decouple the movement of the pelvis from the spine, allowing the back to remain neutral and stable while the hips handle the rotation.
Understanding the Mechanics of the Seated Hip Circle
The seated hip circle is a controlled, rhythmic movement that involves shifting your weight through your sit bones (the ischial tuberosities) in a circular motion. This movement encourages the muscles of the pelvic floor, the hip flexors, and the lower abdominal wall to engage and release in a coordinated fashion.
Preparation and Safety Considerations
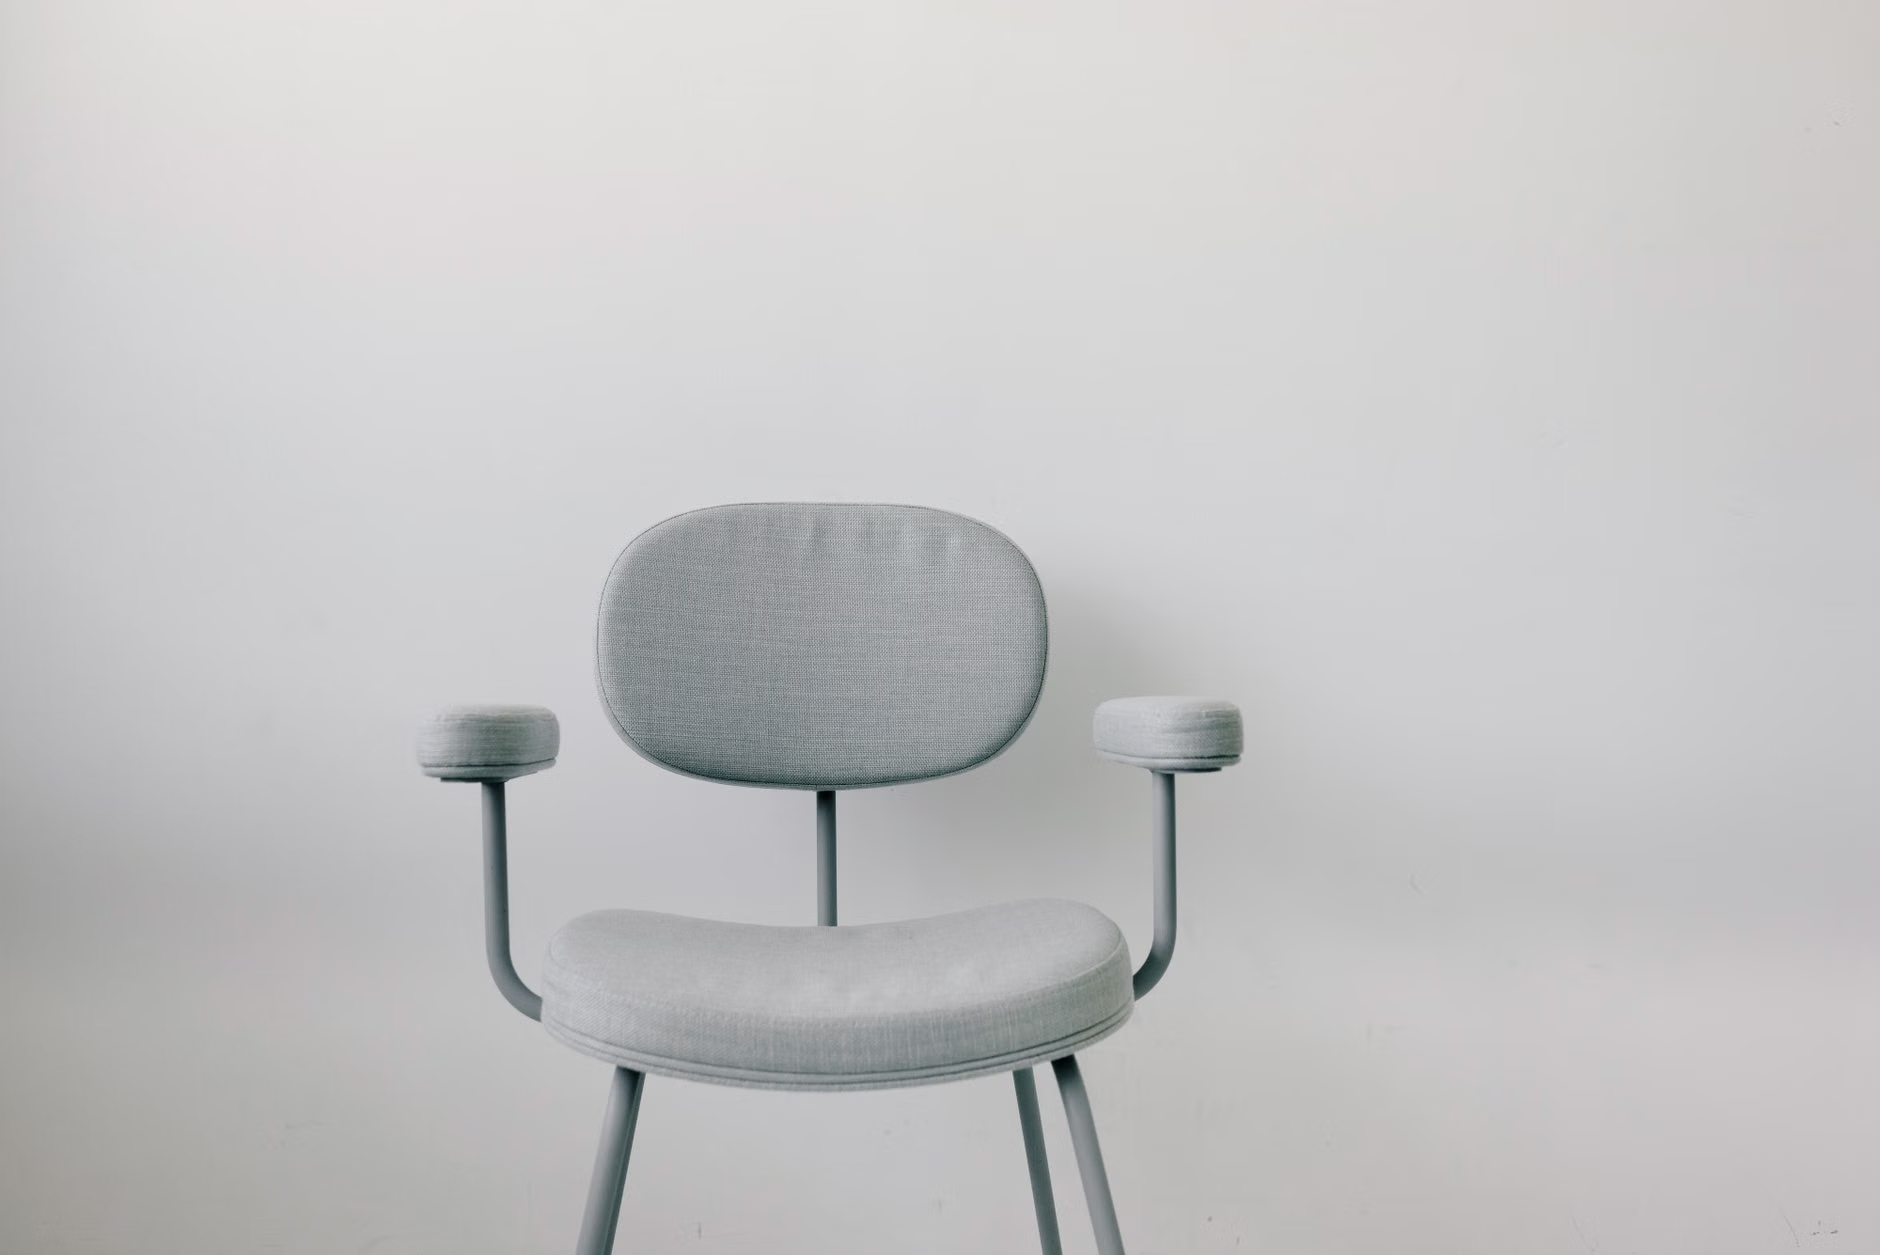
Before beginning, you must ensure your environment is safe. A common mistake is practicing on a chair that has wheels or is too soft, such as a deep armchair or a sofa. These surfaces do not provide the necessary feedback or stability for the movement.
| Feature | Ideal Chair Choice | To Be Avoided |
|---|---|---|
| Stability | Sturdy, non-slip base | Rolling office chairs or swivel chairs |
| Surface | Firm, flat seat | Deep, cushioned armchairs or sofas |
| Height | Allows feet to rest flat on the floor | Too low (knees above hips) or too high |
If you have had recent hip surgery, such as a replacement, or have been diagnosed with specific conditions like severe hip dysplasia or acute sciatica, you must consult with your physical therapist or physician before starting this routine. They can provide specific modifications or range-of-motion limits that are safe for your unique anatomy.

Step-by-Step: Performing the Seated Hip Circle
To perform this movement correctly, follow these steps. Remember, the goal is not to move as fast as possible, but to feel the deliberate shift of weight.
- Sit Tall: Start by sitting on the edge of a sturdy, armless chair. Your feet should be hip-width apart, with your knees directly over your ankles. Imagine a string pulling the crown of your head toward the ceiling to lengthen your spine.
- Find Your Sit Bones: Shift your weight slightly forward and back until you feel the two bony points (sit bones) at the base of your pelvis. These are your anchors.
- Initiate the Circle: Begin by slowly leaning your torso forward, hinging at the hips, not the waist. Move your weight toward your right sit bone, then lean slightly back (keeping the back straight), then toward your left sit bone, and finally back to the center.
- Maintain Control: The movement should feel smooth, like drawing a circle on the floor with your sit bones. Your shoulders should remain relatively quiet; they should not be swinging wildly.
- Switch Directions: After 5 to 10 circles in one direction, switch and circle the other way.
What It Looks Like in Real Life
Imagine you are sitting at your kitchen table waiting for a kettle to boil. Instead of slouching or looking at your phone, you spend those two minutes focusing on your pelvic movement. You aren’t “exercising” in the traditional sense of sweating or heavy breathing; you are simply maintaining the functionality of your joints. This is the essence of “exercise snacking”—integrating movement into the small gaps of your day.
Advanced Nuances: Overlooked Variables
While the basic movement is simple, there are nuances that determine the effectiveness of the exercise. Many people make the mistake of using their upper body to create the circle. If you notice your head is bobbing or your shoulders are rotating, you are likely disengaging your core and potentially straining your upper back.
The “Core-Pelvis” Link: The deeper you engage your lower abdominals (the muscles just below the navel), the more stable your spine will be during these circles. Do not suck in your stomach; instead, imagine gently drawing your navel toward your spine as you rotate.
Breathing: A common oversight is holding the breath during the movement. Proper breathing ensures that your muscles receive oxygen and prevents unnecessary tension. Inhale as you move your torso forward, and exhale as you move back and around to the starting position.
When to Seek Professional Guidance
While seated hip circles are generally safe, they are not a substitute for clinical care if you have underlying issues. You should seek the advice of a medical professional if you notice any of the following warning signs during or after the movement:
- Sharp, stabbing pain: This is different from the sensation of muscle fatigue. If you feel a sharp pain in the groin, hip, or lower back, stop immediately.
- Radiating symptoms: If you feel tingling, numbness, or “electric” sensations shooting down your leg, this may indicate nerve involvement (such as sciatica) and requires a professional assessment.
- Increased stiffness: If your pain or stiffness worsens significantly after doing these movements, your joints may be inflamed or irritated, and you may need to reduce your range of motion or consult a professional.
If you are planning to visit a physical therapist, bring a list of your daily habits, including how long you spend sitting and any specific activities that trigger discomfort. This helps them tailor their advice to your actual daily routine rather than a hypothetical scenario.
Integrating Mobility into Your Daily Routine
Consistency is the primary driver of success in maintaining mobility. Rather than setting aside a “workout hour,” view these exercises as a form of maintenance, similar to brushing your teeth. If you spend significant time at a desk, in front of the television, or reading, consider setting a gentle reminder to perform two minutes of hip circles every time you change tasks.
Practical Decision Rule: If your job or lifestyle keeps you seated for more than 60 minutes at a time, your pelvis is likely entering a state of static tension. Use the “60-minute rule”: for every hour of sitting, perform 10 hip circles in each direction. This simple habit keeps the hip capsule lubricated and prevents the tissues from becoming brittle.
The Role of Hydration and Nutrition
Mobility isn’t just about movement; it’s about the health of your joint tissues. Cartilage and connective tissues require adequate hydration to maintain their elasticity. While no supplement can “cure” age-related joint changes, staying well-hydrated is essential for the synovial fluid in your joints to do its job of reducing friction. Ensure your daily water intake is sufficient, especially if you live in a dry climate or are highly active.
Conclusion: The Path to Long-Term Independence
Maintaining pelvic mobility is one of the most effective ways to preserve your autonomy as you age. It is a proactive, low-cost, and highly accessible strategy that requires nothing more than a chair and a few minutes of your time. By understanding the mechanics of your pelvis, practicing with intention, and listening to your body’s feedback, you can keep your joints healthy and your movement patterns fluid for years to come.
Do not wait for stiffness or pain to become a daily limitation. Start small, stay consistent, and view these movements as a celebration of what your body can still achieve. Your independence is built on the strength and flexibility of your daily habits.
Frequently Asked Questions (FAQ)
1. Can I do these circles if I have artificial hips?
If you have had a hip replacement, you must follow the specific precautions provided by your surgeon. Some surgical approaches require you to avoid certain ranges of motion (such as deep flexion or internal rotation) for a period of time. Always clear this exercise with your orthopedic surgeon or physical therapist first.
2. How many times a day should I perform these circles?
There is no strict limit. Because this is a low-impact, functional movement, you can perform these circles several times throughout the day, especially if you spend long periods sitting. Aim for 2-3 minutes of movement whenever you feel yourself becoming stiff or after long periods of inactivity.
3. Will this help with my chronic lower back pain?
Pelvic mobility exercises can help improve the mechanics of the lower back by reducing the load on the lumbar spine. However, back pain is complex. While these circles can alleviate stiffness caused by poor posture or inactivity, they are not a substitute for treatment if your back pain is caused by structural issues like disc herniation or spinal stenosis. If your back pain persists, always seek a professional evaluation.
Disclaimer: This article is for informational purposes only and does not constitute medical advice, diagnosis, or treatment. Always seek the advice of your physician or other qualified health provider with any questions you may have regarding a medical condition.
Official Resources for Further Reading: