- Seated toe-tapping targets the tibialis anterior muscle, which is essential for lifting the toes when walking to prevent tripping.
- Consistency is more important than intensity; performing 2–3 sets of 15 repetitions daily provides the best results for muscle endurance.
- This exercise serves as a low-impact foundation; if you experience sharp pain or persistent swelling, consult a physical therapist to rule out underlying structural issues.
The strength of your lower legs, specifically the shin muscles, plays a critical role in your ability to walk with confidence and maintain balance. Many older adults focus on quadriceps or glute strength, but the tibialis anterior—the muscle running down the front of your shin—is the unsung hero of gait mechanics. When this muscle becomes weak, it leads to a condition where the toes do not lift high enough during the swing phase of walking, often resulting in “foot drop” or, more commonly, catching your toe on rugs, uneven pavement, or thresholds.
Seated toe-tapping is a highly accessible, low-risk, and effective way to activate these muscles without placing excessive stress on your knee or hip joints. This guide explains how to perform the movement correctly, why it matters for your long-term mobility, and how to integrate it into your daily routine.
Understanding the Tibialis Anterior: Why It Matters
The tibialis anterior is responsible for “dorsiflexion,” the action of pulling your foot toward your shin. Every time you take a step, this muscle fires to clear your toes from the ground. As we age, if we spend long periods sitting or have reduced activity levels, this muscle can lose its endurance and functional strength.
When the tibialis anterior is weak, the brain compensates by slightly altering your gait. You might unconsciously lift your knee higher or drag your foot slightly to ensure clearance. Over time, this alters your center of gravity and increases the risk of a fall. By strengthening this specific muscle group through seated toe-tapping, you are essentially training your feet to “clear the floor” more efficiently, which is a primary defense against tripping hazards.
The Anatomy of a Safe Toe-Tap
Unlike high-impact gym exercises, the seated toe-tap is a controlled, repetitive motion. It is not about speed; it is about range of motion. The goal is to maximize the lift of the toes while keeping the heel firmly planted. This creates a focused contraction of the shin muscle, which is safer for those with balance concerns because the exercise is performed from a seated position.
Step-by-Step: How to Perform Seated Toe-Tapping
To get the most out of this exercise, you must prioritize form over quantity. Follow these steps to ensure you are targeting the correct muscle group.
| Step | Action | Purpose |
|---|---|---|
| 1. Positioning | Sit in a sturdy, non-rolling chair with your feet flat on the floor. | Ensures stability and prevents the chair from sliding during the movement. |
| 2. Alignment | Ensure your knees are bent at a 90-degree angle. | Reduces strain on the hip flexors and isolates the ankle movement. |
| 3. The Lift | Keep your heels firmly on the ground and lift your toes as high as possible. | Engages the tibialis anterior muscle through its full range of motion. |
| 4. The Return | Slowly lower your toes back to the floor with control. | Strengthens the muscle during the eccentric (lowering) phase. |
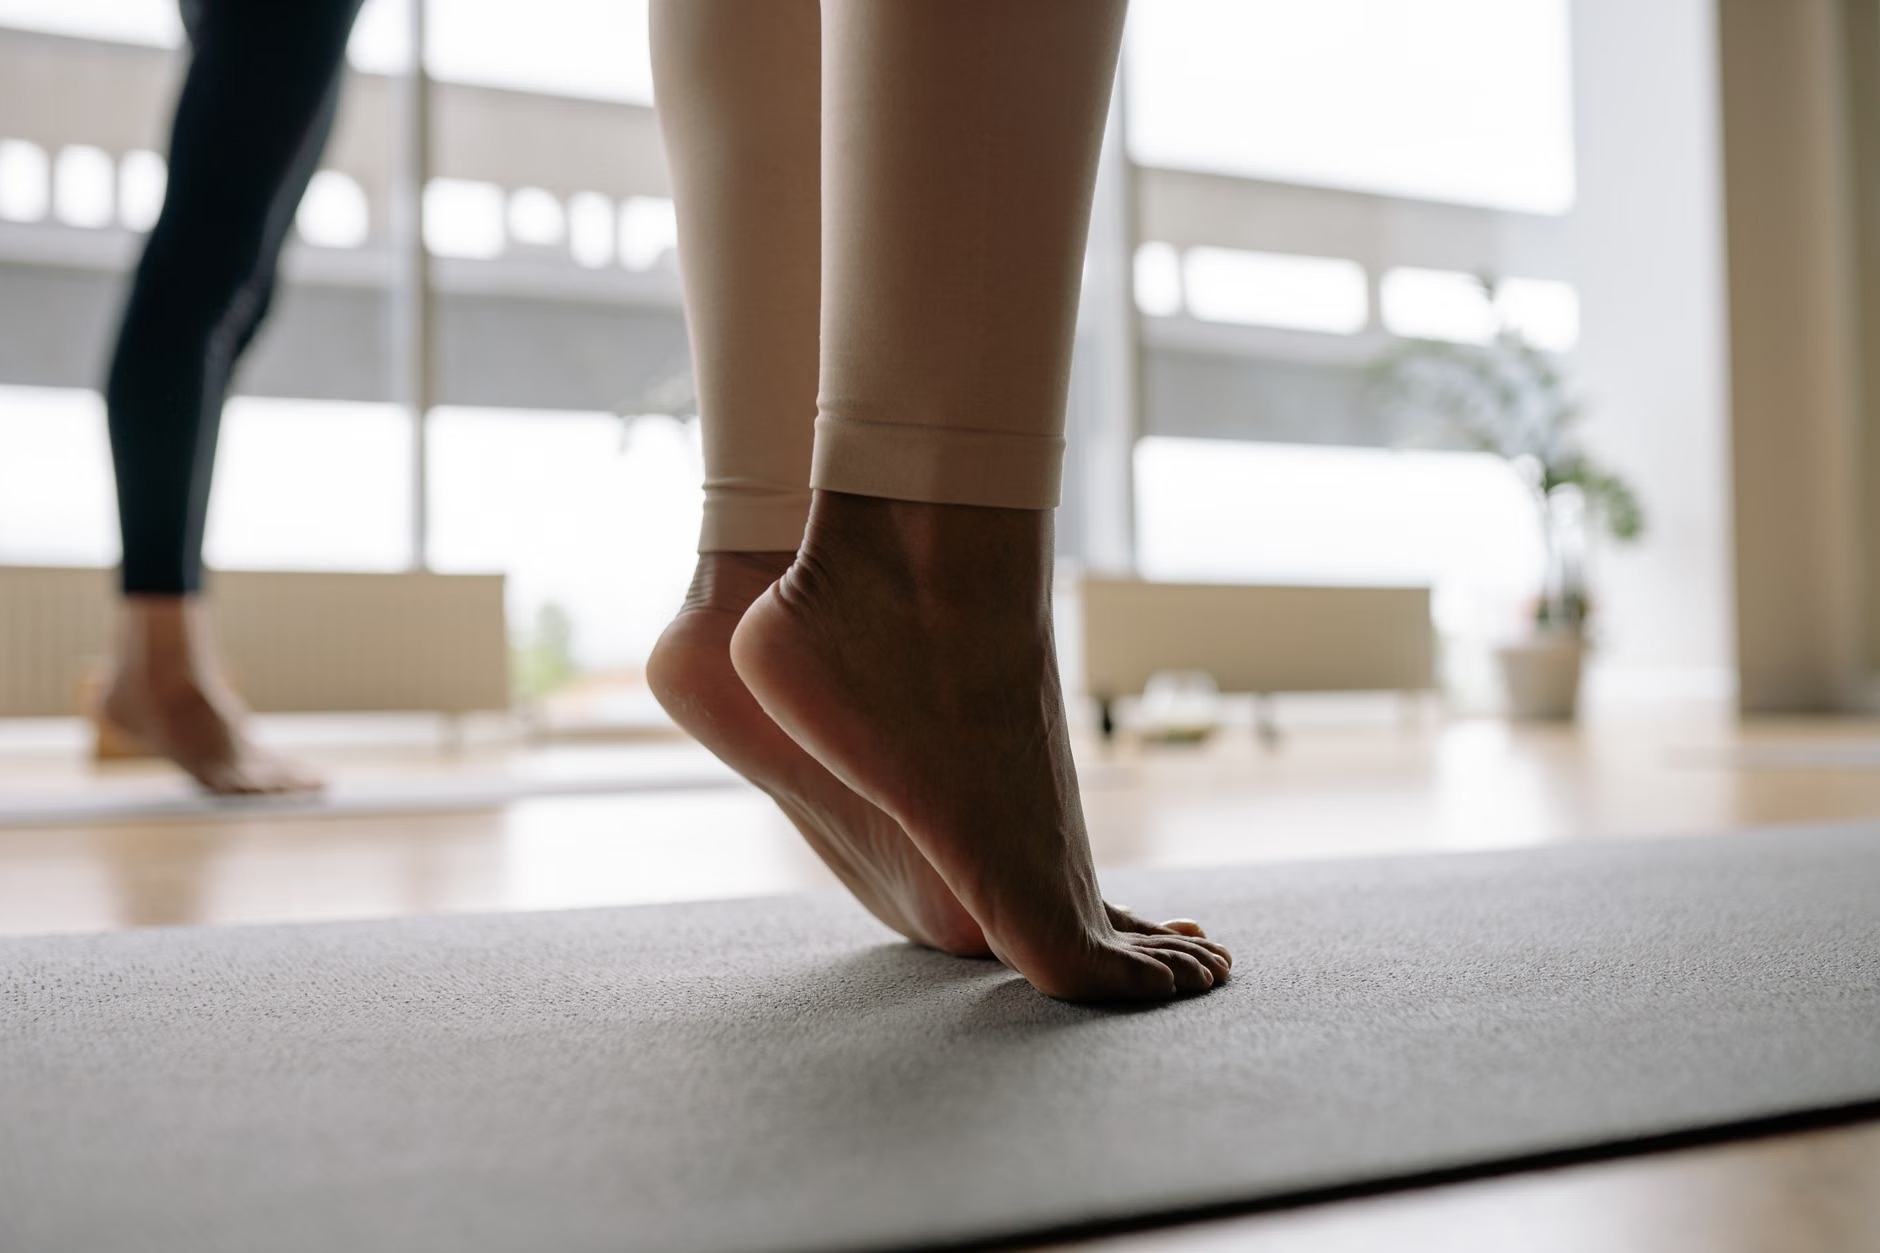
Common Mistakes to Avoid: A frequent error is “stomping” or bouncing the foot. Instead, focus on a slow, deliberate lift. If you find your feet are sliding forward, move your feet slightly closer to the base of the chair. You should feel a slight “burn” in the front of your shin after 10 to 15 repetitions—this is the sensation of the muscle working correctly.
Integrating the Exercise into Your Daily Routine
Consistency is the primary driver of muscle adaptation. Because this exercise is low-impact, it can be performed daily. However, like any physical activity, it is best to start small to avoid muscle soreness. A sample routine for a beginner would be two sets of 10 repetitions, once a day, for the first week.
Weekly Progression Schedule
- Week 1: 2 sets of 10 reps, once daily.
- Week 2: 3 sets of 10 reps, once daily.
- Week 3: 3 sets of 15 reps, once daily.
- Week 4 and beyond: 3 sets of 20 reps, twice daily (e.g., morning and evening).
Consider linking this activity to a habit you already perform. For example, perform your sets while waiting for your morning coffee to brew or while watching the evening news. By “habit stacking,” you remove the mental friction of having to “find time” for exercise.

Advanced Variations for Continued Progress
Once you reach a point where 20 repetitions feel easy, you may want to increase the challenge to continue building strength. It is important to note that adding resistance should only be done once you have mastered the controlled movement without any weight.
Resistance Band Training: You can place a light-tension resistance band around the ball of your foot and hold the ends with your hands. As you lift your toes, the band provides resistance, forcing the shin muscle to work harder. Always ensure the band is secure and not likely to slip.
Single-Leg Focus: If you want to improve coordination, try lifting one foot at a time. This requires more focus from your core and helps identify if one leg is significantly weaker than the other—a common finding in many adults as they age.

When to Seek Professional Guidance
While seated toe-tapping is generally safe, it is not a substitute for medical treatment if you are experiencing pain, numbness, or significant weakness. If you notice any of the following, consult a physical therapist or your primary care physician:
- Persistent Pain: If you feel sharp, shooting, or burning pain in the shin that does not go away after resting, this may indicate tendonitis or a stress-related issue.
- Numbness or Tingling: These sensations can be signs of nerve compression or circulatory issues, which require a professional evaluation rather than exercise.
- Visible Swelling: Chronic swelling in the ankles or shins needs to be investigated by a doctor to rule out underlying health conditions, such as venous insufficiency or heart-related issues.
When visiting a professional, bring a list of your current medications and be prepared to describe exactly when the discomfort occurs. For instance, “I feel a dull ache in my shin after walking for 10 minutes” is much more helpful to a clinician than “my leg hurts.”
Insights into Long-Term Mobility
Beyond the immediate physical benefit, there is a psychological component to this exercise. Knowing that you are actively taking steps to improve your gait can reduce the “fear of falling,” which is a major contributor to reduced activity in older adults. By maintaining control over your foot placement, you retain the freedom to navigate environments with confidence.
Another overlooked variable is the impact of footwear. Even the best exercises can be undermined by shoes that do not provide adequate support or have slippery soles. When practicing your toe-taps, ensure you are wearing shoes with a non-slip sole or are barefoot on a non-slip surface. Avoid performing these exercises in socks on polished wood or tile floors, as this can lead to accidental slips.
Conclusion
Seated toe-tapping is a simple yet powerful tool in your preventive health toolkit. By dedicating a few minutes each day to strengthening your tibialis anterior, you are investing in your long-term independence and safety. Start slowly, focus on your form, and observe how these small, consistent efforts translate into more confident movement in your daily life.
For more detailed information on fall prevention and senior mobility, you may consult resources from the Centers for Disease Control and Prevention (CDC) – Older Adult Fall Prevention or your local health authority’s guidelines on active aging.
Frequently Asked Questions
1. Can I do this exercise if I have arthritis in my ankles?
Yes, but you should limit the range of motion to a pain-free level. If you feel grinding or sharp pain, reduce the height of your lift. It is advisable to discuss this with your physical therapist to ensure the movement is appropriate for your specific stage of arthritis.
2. How long will it take to see improvements in my walking?
Consistency is key. Most individuals notice improved foot clearance and less fatigue during walks within 4 to 6 weeks of daily practice. However, this depends on your starting point and overall activity level.
3. Should I perform this exercise standing up?
While you can perform similar movements while standing, the seated version is recommended for those who are just beginning or who have concerns about balance. Once you are comfortable and steady, you can progress to standing toe-raises, provided you have a sturdy surface to hold onto for support.