- Pressed-flower art acts as a low-impact, meditative practice that promotes fine motor skill maintenance and cognitive engagement.
- Success depends on moisture control: using the right absorbent materials and patience during the drying phase is more important than the choice of flower.
- This hobby is highly adaptable for those with limited mobility, as it can be performed entirely while seated at a comfortable desk or table.
The Intersection of Botanical Science and Artistic Expression
Pressed-flower art, or oshibana, is more than a simple decorative craft. It is a deliberate, slow-paced practice that requires patience, observation, and a fundamental understanding of botanical cycles. For adults aged 60 to 80, this hobby serves as a bridge between the natural world and the home environment, offering a sensory-rich experience that encourages mindfulness without the physical strain associated with more vigorous leisure activities.
The core of the practice lies in preserving the fleeting beauty of flora. By removing moisture from petals and leaves through controlled pressure, we arrest the decay process, allowing us to study the intricate venation of a leaf or the gradient of a petal long after the season has passed. This article will guide you through the technical requirements, the physiological benefits, and the practical steps to mastering this craft at home.
Why Pressed-Flower Art Matters for Cognitive and Physical Wellbeing
Engaging in creative tasks that require high levels of concentration, such as arranging delicate organic materials, provides a specific type of cognitive exercise. Unlike passive leisure, such as watching television, pressed-flower art demands active decision-making: selecting flowers, determining the composition, and executing the placement with precision.
Fine Motor Skill Maintenance
As we age, maintaining the dexterity of our fingers is a priority. Using tweezers to manipulate thin, dried petals is an excellent exercise for the small muscles in the hands. This practice helps maintain grip strength and hand-eye coordination. It is a low-intensity activity that does not stress the joints, making it suitable for those who may experience minor stiffness in their hands.
Mindfulness and Stress Reduction
The process of “slowing down” is inherent to flower pressing. You cannot rush the drying process—it takes days or weeks. This forced patience acts as a natural antidote to the fast-paced nature of modern digital life. By focusing entirely on the texture of a leaf or the color of a bloom, the practitioner enters a “flow state,” which has been linked to lower cortisol levels and improved mood regulation.
Essential Equipment: Building Your Basic Toolkit
You do not need expensive machinery to start. In fact, many professional artists prefer simple, manual methods over complex equipment. Below is a breakdown of what you need to begin safely and effectively.
| Item | Purpose | Senior-Friendly Consideration |
|---|---|---|
| Wooden Flower Press | Provides even, sustained pressure. | Look for models with large wing nuts for easier gripping if you have arthritis. |
| Archival Blotting Paper | Absorbs moisture and protects petals. | Ensure the paper is acid-free to prevent discoloration over time. |
| Fine-tipped Tweezers | Precision placement. | Choose ones with a rubberized grip for better control and comfort. |
| Heavy Books (Alternative) | Basic compression. | Use only if you have a stable surface; ensure books are not valuable as moisture may warp them. |
Practical Decision Rule: If you suffer from frequent hand fatigue, invest in a “screw-down” wooden press rather than relying on heavy books. The mechanical advantage of the screws allows you to apply significant pressure with minimal physical force.
The Step-by-Step Process: From Harvest to Preservation
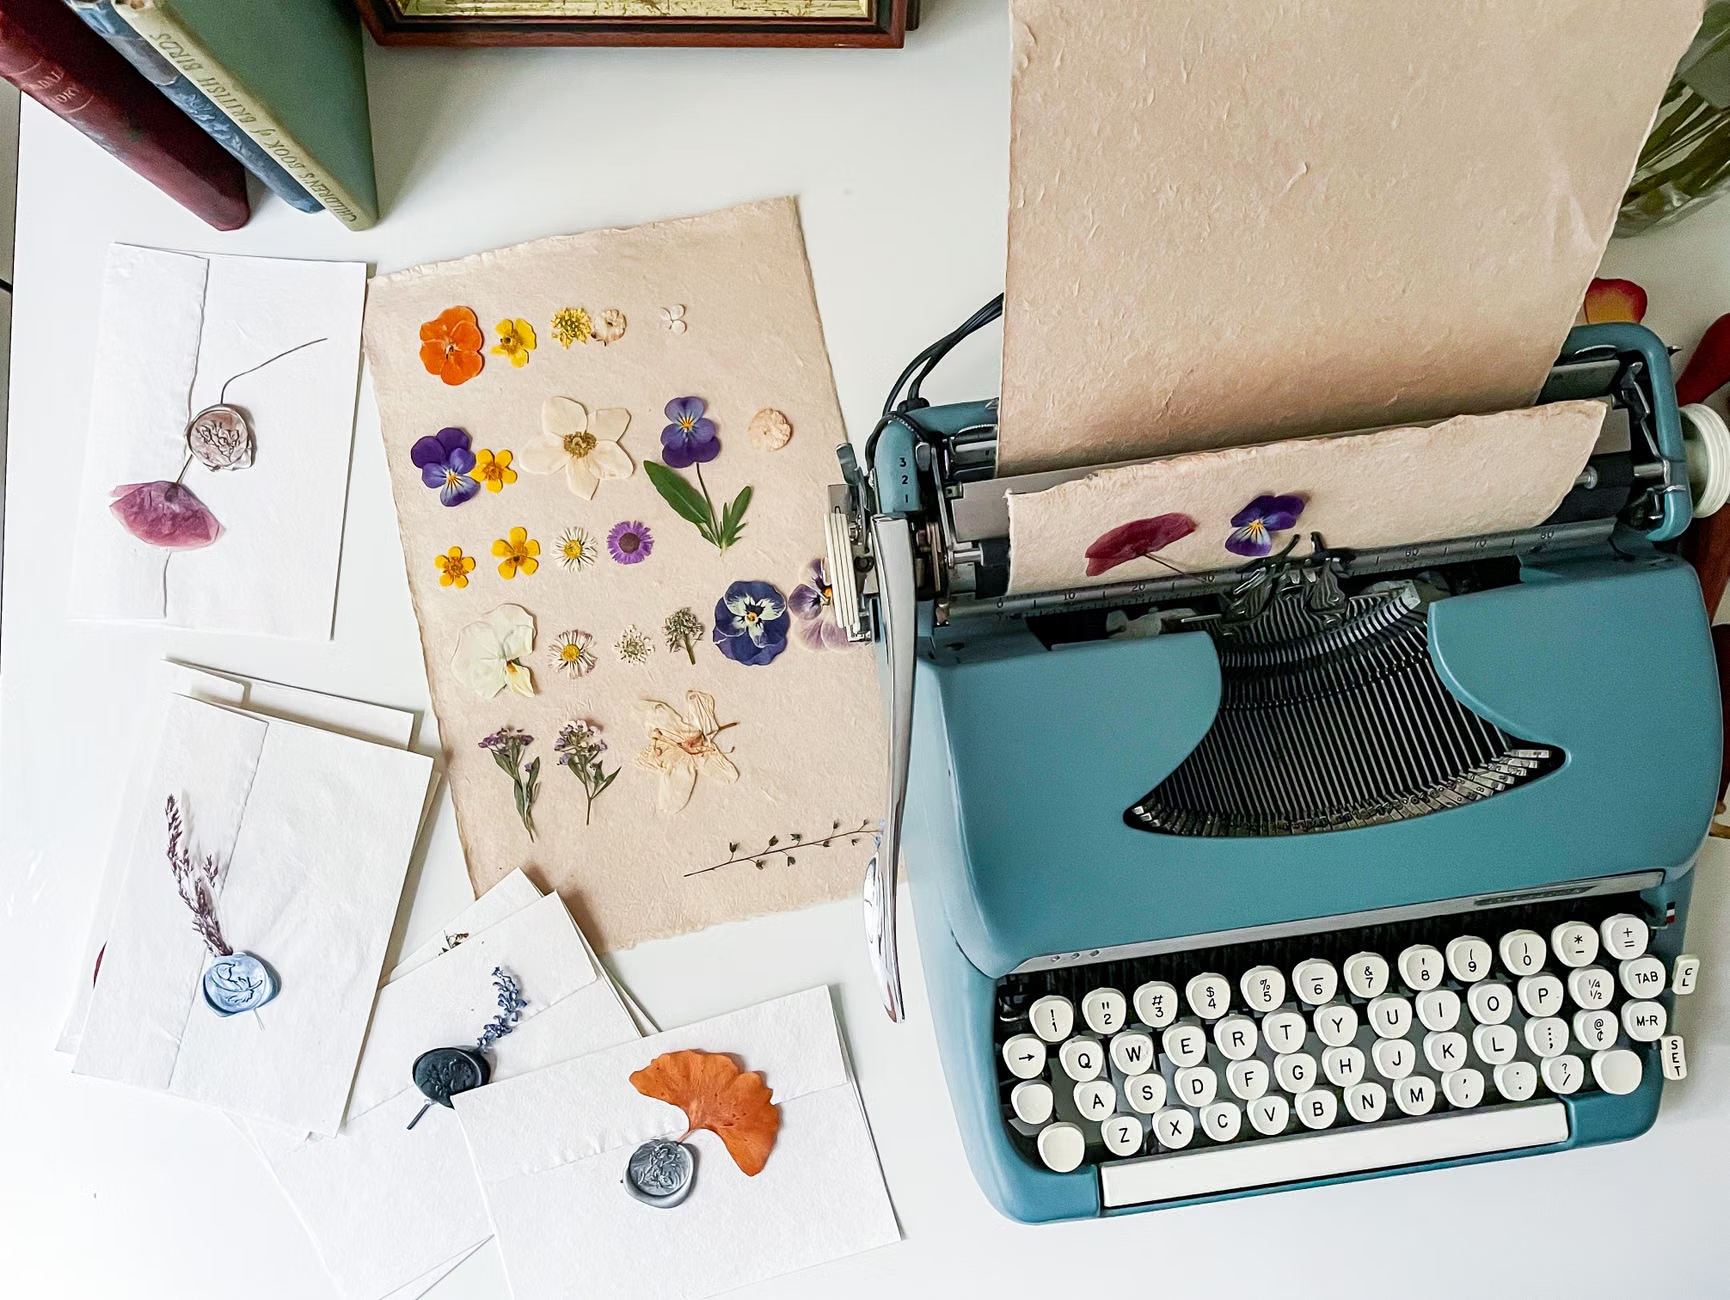
Success in flower pressing is determined by the preparation phase. If you introduce excess moisture, the flowers will mold. If you apply pressure too unevenly, the structure will crush rather than flatten.
1. Selection and Harvesting
Choose flowers that are naturally flat or thin. Pansies, violets, daisies, and ferns are ideal for beginners. Avoid thick, succulent flowers like lilies or roses, as they contain too much water and are prone to rotting before they dry.
Pro-Tip: Harvest your flowers in the late morning after the dew has evaporated but before the sun has wilted the petals. This ensures the plant is hydrated but not damp from external moisture.
2. The Pressing Technique
Place your chosen specimens between two sheets of absorbent paper within your press. Ensure that no two flowers overlap, as this creates uneven pressure and can cause the colors to bleed into one another. Tighten the press until the layers are firm. Do not overtighten, as this can cause the plant cells to burst, leading to browning.
3. The Drying Phase
Store your press in a dry, cool, and dark place. Light will fade the colors of your pressed flowers. Let them sit for at least two to four weeks. Resist the urge to check on them daily; frequent opening of the press introduces humidity back into the environment.
Creating Your First Project: Framing and Composition
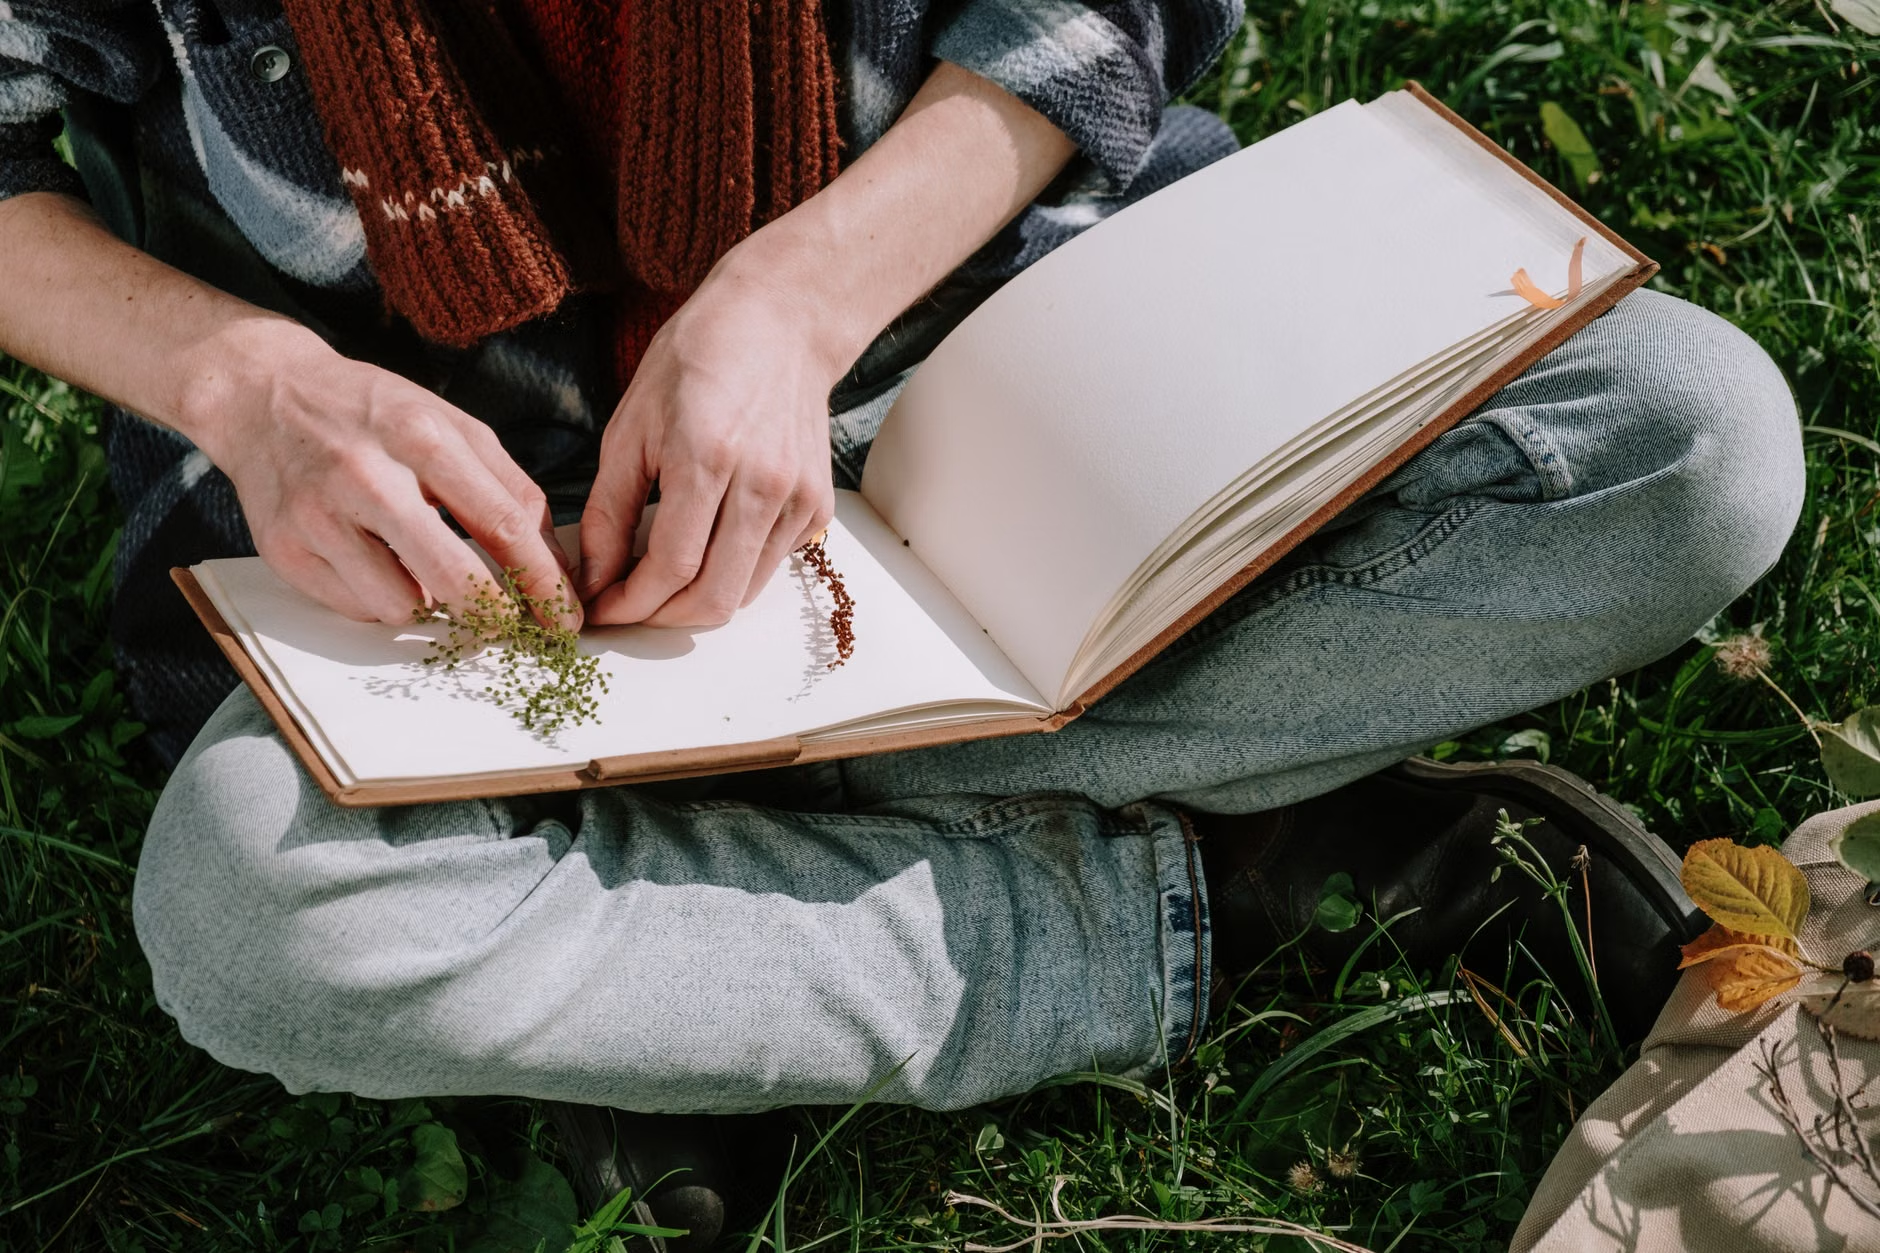
Once your flowers are dried, they become very fragile. Treat them with the care you would use for antique paper. Use a small, soft-bristle paintbrush to move them if they are too delicate for tweezers.
Designing Your Layout
Before gluing anything, arrange your flowers on a piece of acid-free cardstock. Play with negative space. A common mistake is crowding the frame. Remember that “less is more” in botanical art. Use a neutral background—cream or off-white—to allow the natural colors of the plants to stand out.
Adhesion Techniques
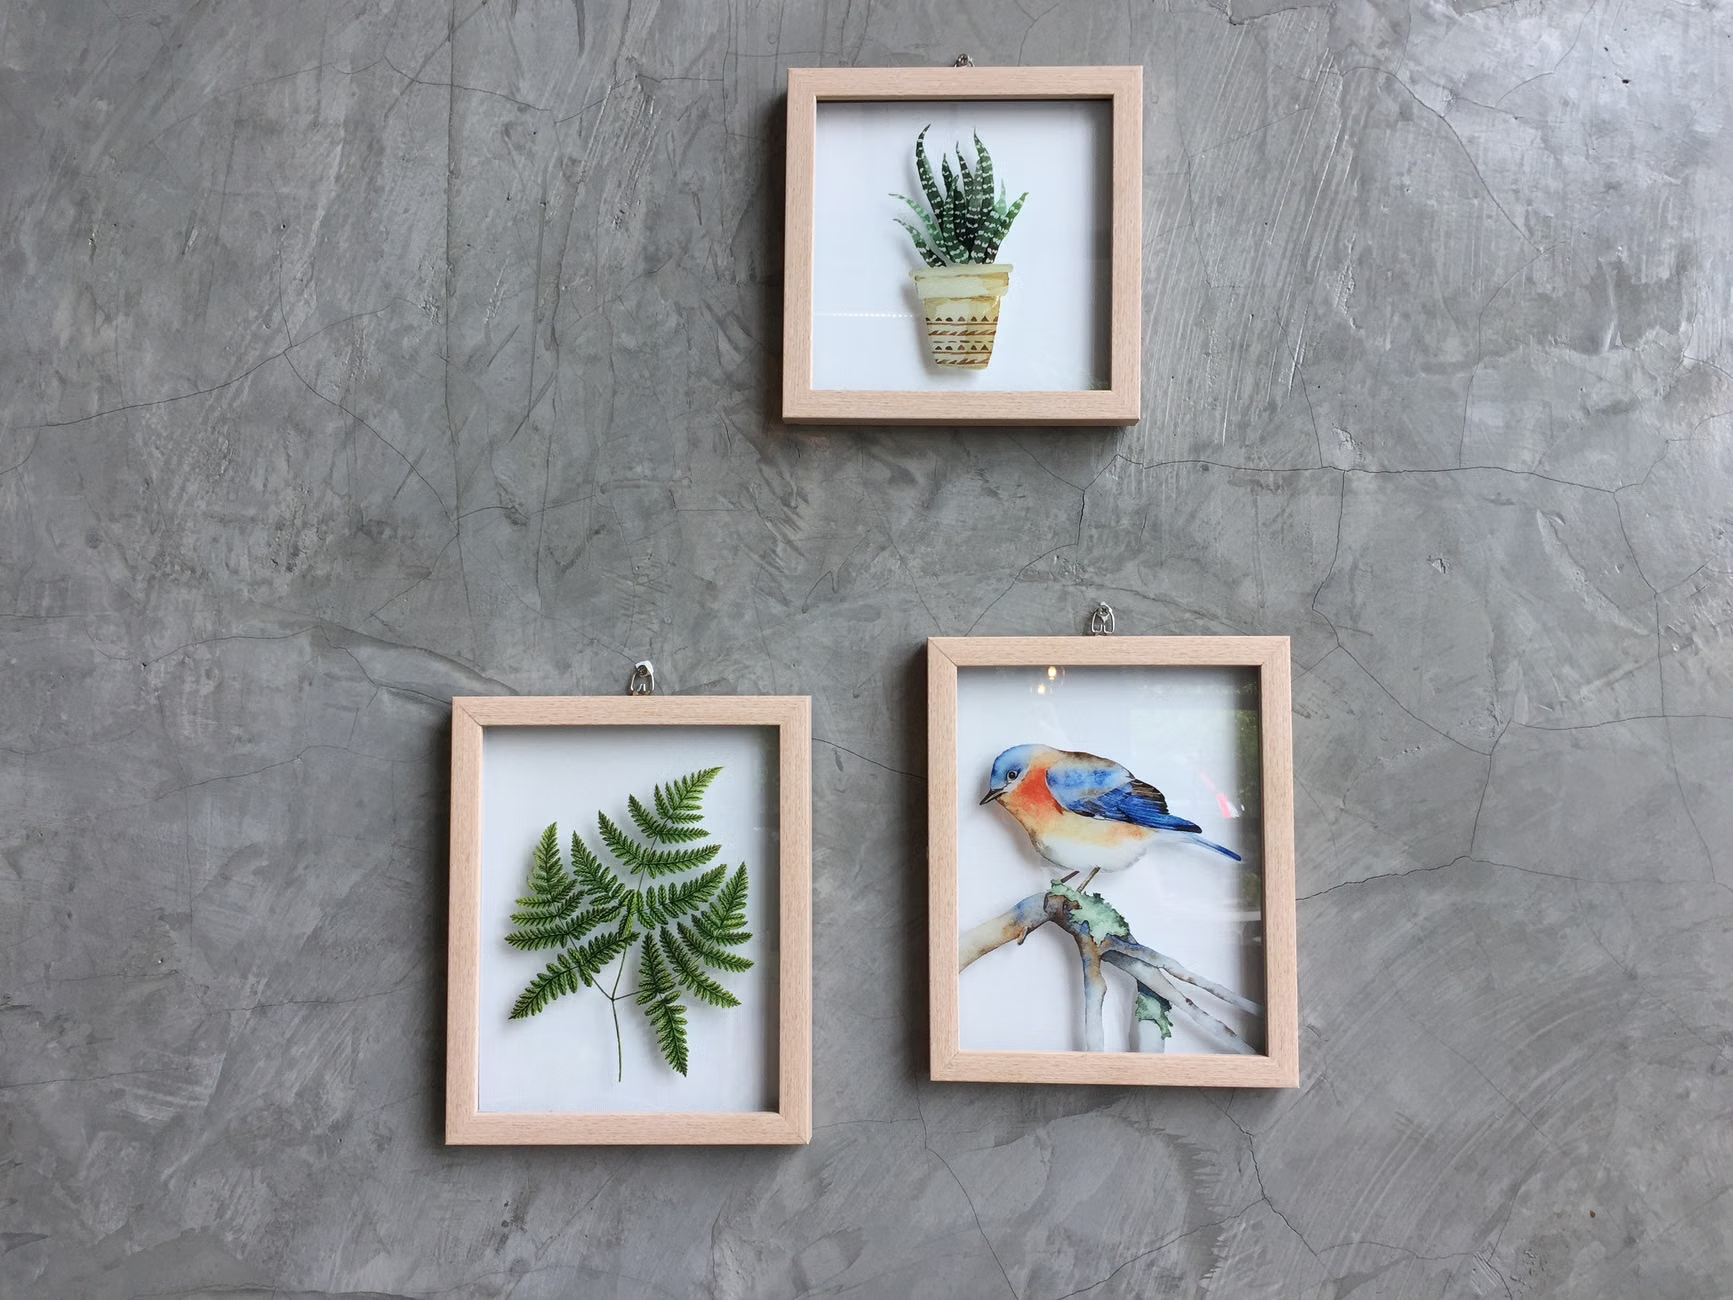
Use a very small amount of archival-quality white glue. Apply it with a toothpick to the thickest parts of the flower (the stem or the center). Do not apply glue to the thin petals, as it will show through and look unsightly. Once the glue is set, place the arrangement in a frame with glass to prevent dust and further moisture from damaging the work.
Overcoming Challenges and Ensuring Longevity
Even with the best preparation, you may face issues. Understanding these variables allows you to troubleshoot effectively.
- Discoloration: If your flowers turn brown, it is usually due to slow drying. This can happen if the environment is too humid or if the blotting paper is saturated. Replace your blotting paper more frequently if you live in a humid climate.
- Fading: All organic material will eventually fade when exposed to UV light. Do not hang your finished art in direct sunlight. Use UV-protective glass if you intend to display your pieces for many years.
- Mold: If you spot white, fuzzy growth, discard the specimen immediately. It is not worth trying to “clean” it, as the spores will remain and likely spread to your other projects.
Safety and Accessibility Considerations
Pressed-flower art is a highly accessible hobby, but there are practical safety measures to ensure it remains a joy rather than a burden.
- Posture and Ergonomics: Work at a table that allows you to keep your elbows at a 90-degree angle. If you are sitting for long periods, ensure your chair provides adequate lumbar support.
- Lighting: Because this is a detail-oriented task, use a high-quality LED magnifying lamp. This reduces eye strain and helps you see the fine details of the plant structures.
- Ventilation: While the process is non-toxic, ensure your workspace is well-ventilated if you are using adhesives.
Conclusion: A Path to Mindful Engagement
The practice of pressed-flower art is a rewarding journey that encourages us to stop and observe the subtle details of the world around us. By dedicating time to the careful preservation of nature, you are not just creating art; you are engaging in a rhythmic, grounding activity that supports your mental and physical health. Start small, be patient with the drying process, and enjoy the quiet satisfaction of turning a simple garden bloom into a lasting piece of art.
Frequently Asked Questions (FAQ)
1. Can I press flowers from a grocery store bouquet?
Yes, you can. However, be aware that commercial flowers are often treated with preservatives or dyes. They may not dry as naturally as flowers from your own garden or a local field. Always trim the stems short and remove any leaves that look wilted or damaged before pressing.
2. How do I know if my flowers are completely dry?
After two weeks, gently lift a corner of the top paper. If the flower feels papery and does not have any “cool” spots (which indicate trapped moisture), it is likely dry. If in doubt, leave it for another week. It is better to over-dry than to risk mold by removing it too early.
3. Is this hobby expensive to maintain?
It is one of the most affordable hobbies available. Once you purchase or build a basic press, your only recurring costs are paper and the occasional frame. You can source your materials for free from your own garden or local public parks (where permitted). It is a low-cost, high-reward activity.
For more information on botanical preservation techniques, you can visit the Royal Botanic Gardens Victoria or similar institutional resources in your region that provide guides on plant specimen care.