Visiting historic coastal forts offers a unique window into maritime history, engineering marvels, and breathtaking ocean views. However, these sites—often built centuries ago for defense—present specific challenges for older travelers regarding mobility, uneven terrain, and stamina. This guide provides a strategic framework for evaluating accessibility, managing physical exertion, and planning a safe, rewarding visit.
- Prioritize Pre-Visit Audits: Always check official site maps for “accessible routes” rather than relying on general tourist brochures, which may hide steep inclines.
- Manage Your Energy: Use the “Rule of Thirds”—allocate one-third of your stamina for the arrival, one-third for the tour, and one-third for the return journey and unexpected delays.
- Leverage Digital Tools: Use satellite view maps (e.g., Google Maps) to scout for stairs versus ramps before committing to a specific tour route.
Understanding the Reality of Historic Fortification Layouts
Historic coastal forts were designed with military utility in mind, not modern accessibility. The primary objective was to repel invaders, leading to features that are notoriously difficult for modern visitors: uneven cobblestone floors, narrow spiral staircases, and steep ramparts. Understanding these structural realities is the first step toward a safe visit.
Most coastal fortifications rely on a “defensive hierarchy.” The outer perimeter is often the most accessible, while the inner keep or high-point watchtowers are usually reached via difficult stairs. For travelers with limited mobility, the outer perimeter often provides 80% of the historical context and scenery without the physical risk of ascending to the upper galleries.

The “Access Gap” in Heritage Sites
There is often a significant “access gap” between what a website claims is “accessible” and what is physically manageable for an individual with specific mobility needs. A site might be labeled “wheelchair accessible” because a ground-level path exists, but that path may be composed of loose gravel or weathered stone that causes significant vibration and fatigue for those using canes or walkers.
| Terrain Type | Accessibility Rating | Recommendation |
|---|---|---|
| Compacted Earth | Moderate | Check for weather warnings; rain can make it slippery. |
| Historic Cobblestone | Low | High risk of trip-and-fall; avoid if using a walker. |
| Modern Paved/Concrete | High | Ideal for all mobility aids. |
| Wooden Boardwalks | High | Excellent, but check for gaps between planks. |
Strategic Planning: Assessing a Site Before You Arrive
Before you commit to a tour, you must conduct a remote site assessment. Do not rely solely on the “Accessibility” tab of a tourism website, which is often written for marketing purposes. Instead, take these three steps:
- Satellite View Scouting: Open the fort’s location on a satellite map. Zoom in to look for the width of paths and the presence of stairs. If you see narrow, zig-zagging paths, these are likely steep inclines.
- Contact the Curator Directly: Send a brief email or call the site office. Ask specifically: “Are there stairs required to reach the main exhibition areas?” or “What is the condition of the surface—is it paved, gravel, or cobblestone?”
- Check for “Shuttle” Availability: Many large coastal forts now offer golf-cart shuttles from the parking lot to the primary gate. This saves your energy for the tour itself.
Managing Stamina and Physical Safety
The biggest mistake older travelers make is overestimating their “site-stamina.” Coastal environments add variables like wind resistance, heat reflection from stone walls, and high humidity, which can accelerate fatigue much faster than a standard museum visit.
The Energy Budgeting Method
To avoid physical burnout, treat your visit like a professional project. Break your day into distinct blocks:
- The Arrival Phase: Budget 30 minutes for parking, ticket collection, and finding the first rest point.
- The Core Visit: Limit this to 90 minutes. After 90 minutes, the cognitive load of reading historical plaques and the physical load of walking on stone surfaces typically lead to a sharp decline in safety awareness.
- The Recovery Phase: Plan a 30-minute sit-down break in a shaded area or indoor café before attempting the exit.
Safety Note: If you find yourself feeling unsteady or exhausted, do not feel pressured to complete the “full circuit.” Most forts are designed in a loop. If you reach the halfway point and feel fatigued, look for the nearest exit sign rather than attempting to finish the full loop. Many sites have “shortcut” paths intended for staff that they may allow you to use if you explain your need for a shorter route.
Essential Gear for Coastal Fort Exploration
Your choice of equipment can change an exhausting day into an enjoyable one. Coastal sites are uniquely challenging due to micro-climates.
- Footwear: Prioritize shoes with high-traction rubber soles. Leather soles or smooth-bottomed sneakers are dangerous on worn stone steps.
- Support Aids: Even if you do not use a cane at home, a collapsible trekking pole is highly recommended for coastal forts. It provides a third point of contact on uneven surfaces and helps with balance during wind gusts.
- Hydration and Sun Management: Coastal forts often lack shade. Carry a light, portable sun umbrella. It provides instant, mobile shade and is far more effective than sunscreen alone in high-glare stone environments.

It is important to understand that accessibility laws vary significantly by jurisdiction. In the United States, the Americans with Disabilities Act (ADA) mandates certain standards for public facilities, but historic sites often receive exemptions if modifications would “threaten or destroy” the historical integrity of the property. This means you cannot always assume a site is fully ADA-compliant.
In the European Union, the European Accessibility Act is gradually standardizing requirements, but implementation in historic fortifications is slow. Always check the official government or national heritage website for the specific site rather than a third-party travel blog. For instance, the U.S. National Park Service provides detailed accessibility reports for most of their sites. Always look for these official documents.
Advanced Tips for a Better Experience
If you are traveling with family or caregivers, designate one person as the “Scout.” The Scout moves 20 feet ahead to check for upcoming obstacles like narrow doorways, steps, or slick patches of moss. This allows the primary visitor to focus on the historical experience without constantly looking at their feet.
Additionally, consider the “Time of Day” factor. Coastal forts are often busiest between 11:00 AM and 2:00 PM. Arriving at opening time (usually 9:00 AM or 10:00 AM) not only avoids crowds, which can be stressful, but also ensures you are walking during the coolest part of the day.
Conclusion: Enjoying the View, Not Just the Walls
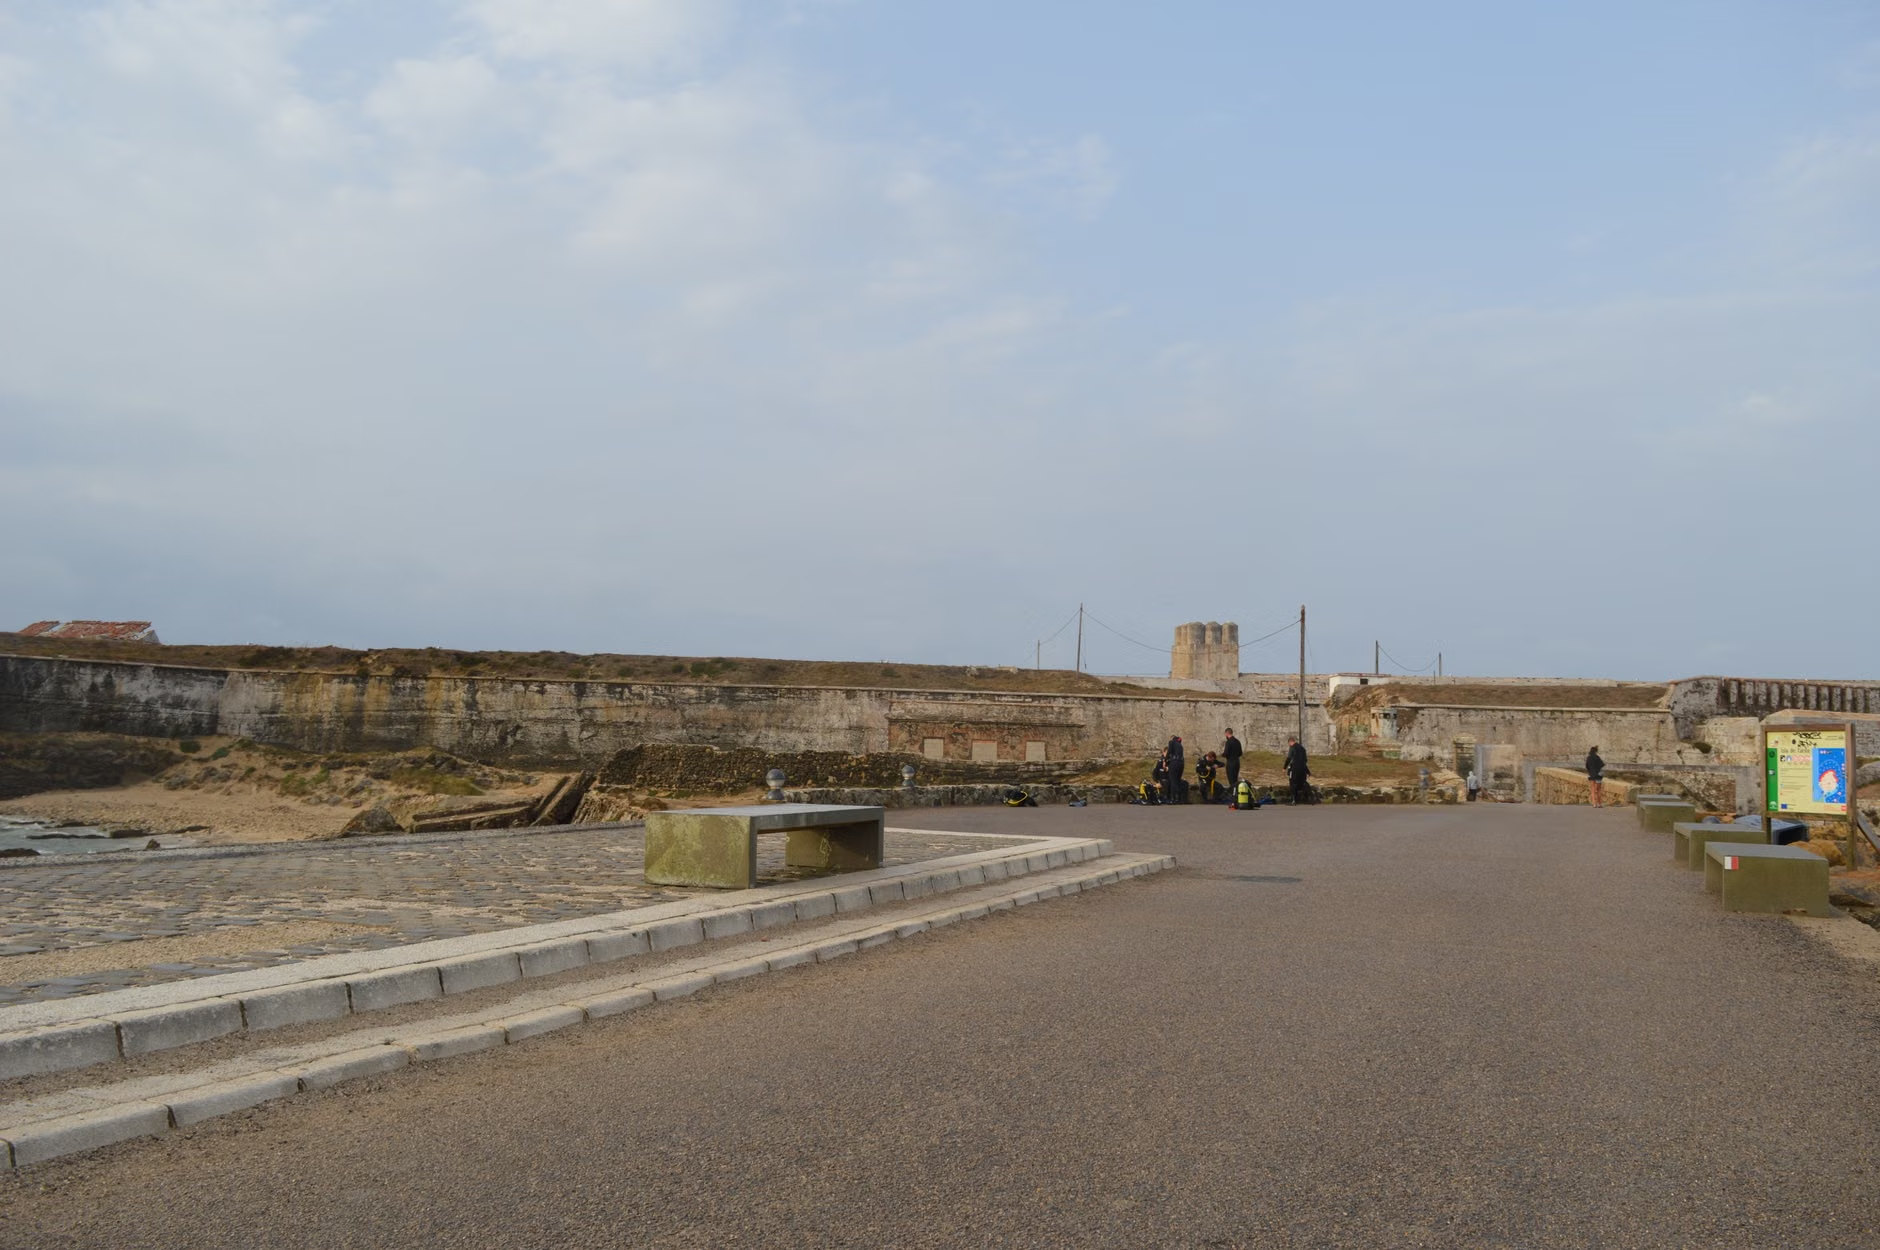
The true value of a coastal fort visit is the intersection of history and the sea. If you find the interior of the fort too difficult to navigate, prioritize the outer ramparts or the surrounding parkland. Often, the best views of the fort’s architecture and the surrounding coastline are from the outside looking in, rather than from the cramped, dark interiors of the casemates.
By preparing, managing your energy, and choosing the right equipment, you can enjoy these historic sites comfortably. Focus on your comfort and safety, and remember that a shorter, more relaxed visit is always better than a long, exhausting one that leaves you unable to enjoy the rest of your trip.
Frequently Asked Questions (FAQ)
1. Should I bring a wheelchair or a walker to a historic fort?
It depends on the specific site. Many forts have ground-level entries but lack elevators for upper tiers. If you use a walker, ensure it has wheels that can handle uneven surfaces. If you have any doubt, call ahead and ask if the site provides “all-terrain” wheelchairs or if the paths are paved with smooth concrete.
2. Are there usually toilets available throughout the fort?
Rarely. Most historic forts have centralized bathroom facilities at the entrance or in a modern visitor center. Plan to use these facilities immediately upon arrival and before beginning your tour. Do not expect to find toilets in the middle of the fortification walls.
3. What if I get stuck in a difficult area of the fort?
If you find yourself in an area that feels unsafe or too difficult to return through, look for a staff member or a security camera. Most sites have a radio-equipped staff presence. Do not hesitate to ask a staff member for assistance or for the nearest “accessible exit” path. They are trained to assist visitors and will often have keys to gates that are not open to the general public.
Disclaimer: This article is for informational purposes only and does not constitute medical or professional travel advice. Always assess your own physical capabilities and consult with your healthcare provider before planning strenuous activities.