Maintaining flexible hip flexors through daily seated stretches is one of the most effective ways for adults over 60 to preserve a natural walking stride and reduce the risk of trips and falls.
Key Takeaways:
- Tight hip flexors shorten your stride and pull your pelvis forward, which often leads to lower back pain and a higher risk of stumbling.
- Seated stretches provide a stable, low-impact alternative to standing exercises, making them accessible for those with balance concerns or limited stamina.
- Consistency is more important than intensity; performing these stretches for just five to ten minutes daily can significantly improve gait efficiency within a few weeks.
The Vital Role of Hip Flexors in Your Daily Movement
The hip flexors are a group of muscles located at the front of the hip. The most prominent among them is the iliopsoas, which connects the lower spine and pelvis to the upper thigh bone (femur). In everyday life, these muscles are responsible for lifting your knee toward your chest and swinging your leg forward as you walk. For adults aged 60 to 80, the health of these muscles directly dictates how efficiently they move through the world.
When you walk, your gait consists of two main phases: the stance phase (when your foot is on the ground) and the swing phase (when your foot moves forward). The hip flexors are the primary engines of the swing phase. If these muscles are supple, the leg swings forward effortlessly. However, as we spend more time sitting—whether reading, driving, or watching television—these muscles remain in a shortened state. Over time, they “learn” to stay short, a condition known as adaptive shortening.
Why this matters: Shortened hip flexors act like a tight rubber band that won’t let your leg extend fully behind you. This limits your “terminal stance,” the moment just before your back foot leaves the ground. When you cannot extend your hip, your body compensates by taking shorter, choppier steps. This lack of efficiency means you use more energy to walk the same distance, leading to faster fatigue during grocery shopping or walks in the park.
In real-life terms, tight hip flexors often cause a “shuffling” gait. Instead of a crisp heel-to-toe movement, the feet stay closer to the ground, increasing the likelihood of catching a toe on a rug, a curb, or an uneven sidewalk. By focusing on seated stretches, we can address this tightness without the added stress of maintaining balance while standing on one leg.
How Tight Hips Change Your Posture and Balance
The impact of tight hip flexors extends far beyond the hips themselves. Because the psoas muscle attaches directly to the lumbar spine (lower back), a tight hip flexor pulls on the vertebrae. This creates an exaggerated arch in the lower back, a condition called anterior pelvic tilt. For many seniors, what feels like “chronic back pain” is actually a direct result of tight hips pulling the spine out of alignment.
Consider a hypothetical scenario: 72-year-old Margaret notices she is leaning forward more when she walks. She feels she is “losing her height.” This forward lean shifts her center of gravity. When your center of gravity is too far forward, your balance becomes precarious. If you stumble, you are already halfway to the ground, making it much harder to recover and prevent a fall.
What the reader can do: You can check for this at home. Stand against a flat wall with your heels touching the baseboard. If there is a large gap between your lower back and the wall, or if you feel you have to “tuck” your tailbone significantly to make your back touch the wall, your hip flexors are likely tight. Seated stretches are the first step in “resetting” this pelvic position, allowing for a more upright, confident posture.
Safety First: Preparing Your Environment for Seated Stretching
Before beginning any exercise routine, it is essential to create a safe space. For adults in the 60-80 age bracket, the choice of equipment is the most important safety factor. Not all chairs are created equal when it comes to exercise.
| Feature | Recommended Option | What to Avoid |
|---|---|---|
| Chair Type | Sturdy dining chair or office chair with locked wheels. | Soft sofas, recliners, or folding chairs. |
| Surface | Firm, flat floor or a thin yoga mat. | Loose rugs or slippery polished wood. |
| Footwear | Supportive sneakers or bare feet (if grip is good). | Socks on smooth floors or loose slippers. |
| Support | Near a wall or heavy table for extra hand-hold. | Unstable side tables or rolling carts. |
Practical Decision Rule: If you can feel the chair “give” or wobble when you shift your weight to the edge, do not use it for these stretches. A solid wooden or metal chair without armrests is usually the best choice, as armrests can get in the way of your leg movement. If you must use a chair with wheels, ensure they are in the locked position or pushed against a wall so the chair cannot slide backward.
Exercise 1: The Seated Edge-of-Chair Lunge
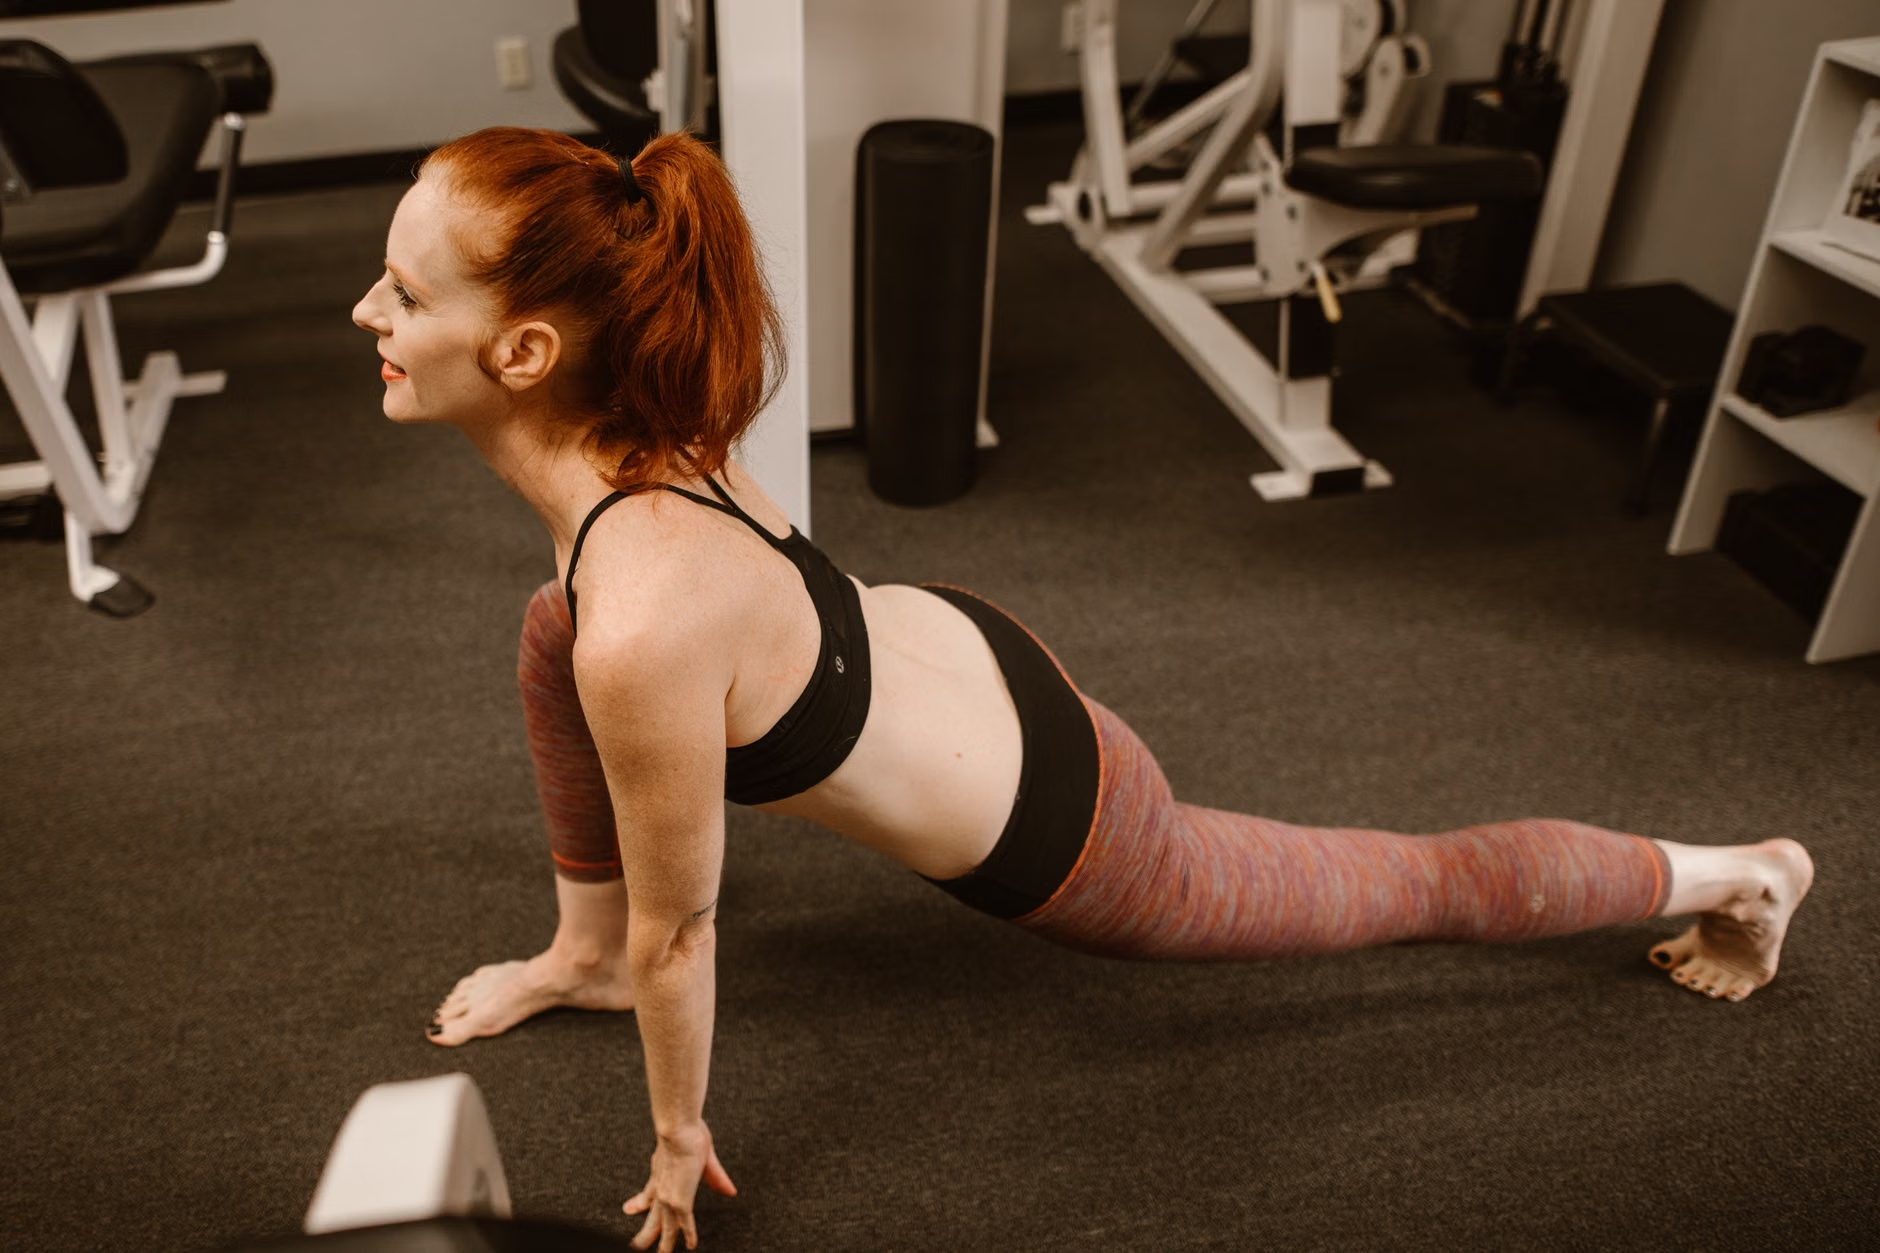
This is the “gold standard” for seated hip-flexor stretching. It mimics the movement of a standing lunge but removes the balance requirement, allowing you to focus entirely on the muscle release.
Step-by-Step Instructions:
- Sit on the very edge of your chair, turned sideways so that only one buttock (the right one, for example) is supported by the seat.
- Your left leg should be free and off the side of the chair.
- Keep your right foot planted firmly on the floor for stability.
- Slowly move your left leg back, dropping the knee toward the floor. You don’t need to touch the floor; just go as far as is comfortable.
- Keep your torso upright. Do not lean forward. Leaning forward actually releases the tension on the hip flexor, making the stretch ineffective.
- Hold this position for 20 to 30 seconds while breathing deeply. You should feel a gentle pulling sensation in the front of your left hip.
- Slowly bring the leg back and repeat on the other side.
Common Mistake: Many people arch their lower back to try and get their leg further back. This can cause back pain. Instead, focus on “tucking” your tailbone under slightly (like a dog tucking its tail). This small pelvic tilt will intensify the stretch in the hip without stressing the spine.
What it looks like in real life: Imagine you are trying to make your body as “tall” as possible from your knee to the top of your head. The goal isn’t to be flexible like a gymnast; it is simply to create space in the front of the joint so your leg can swing freely when you walk to the mailbox or through the grocery store.
Exercise 2: The Seated Knee-to-Chest and Pelvic Tilt
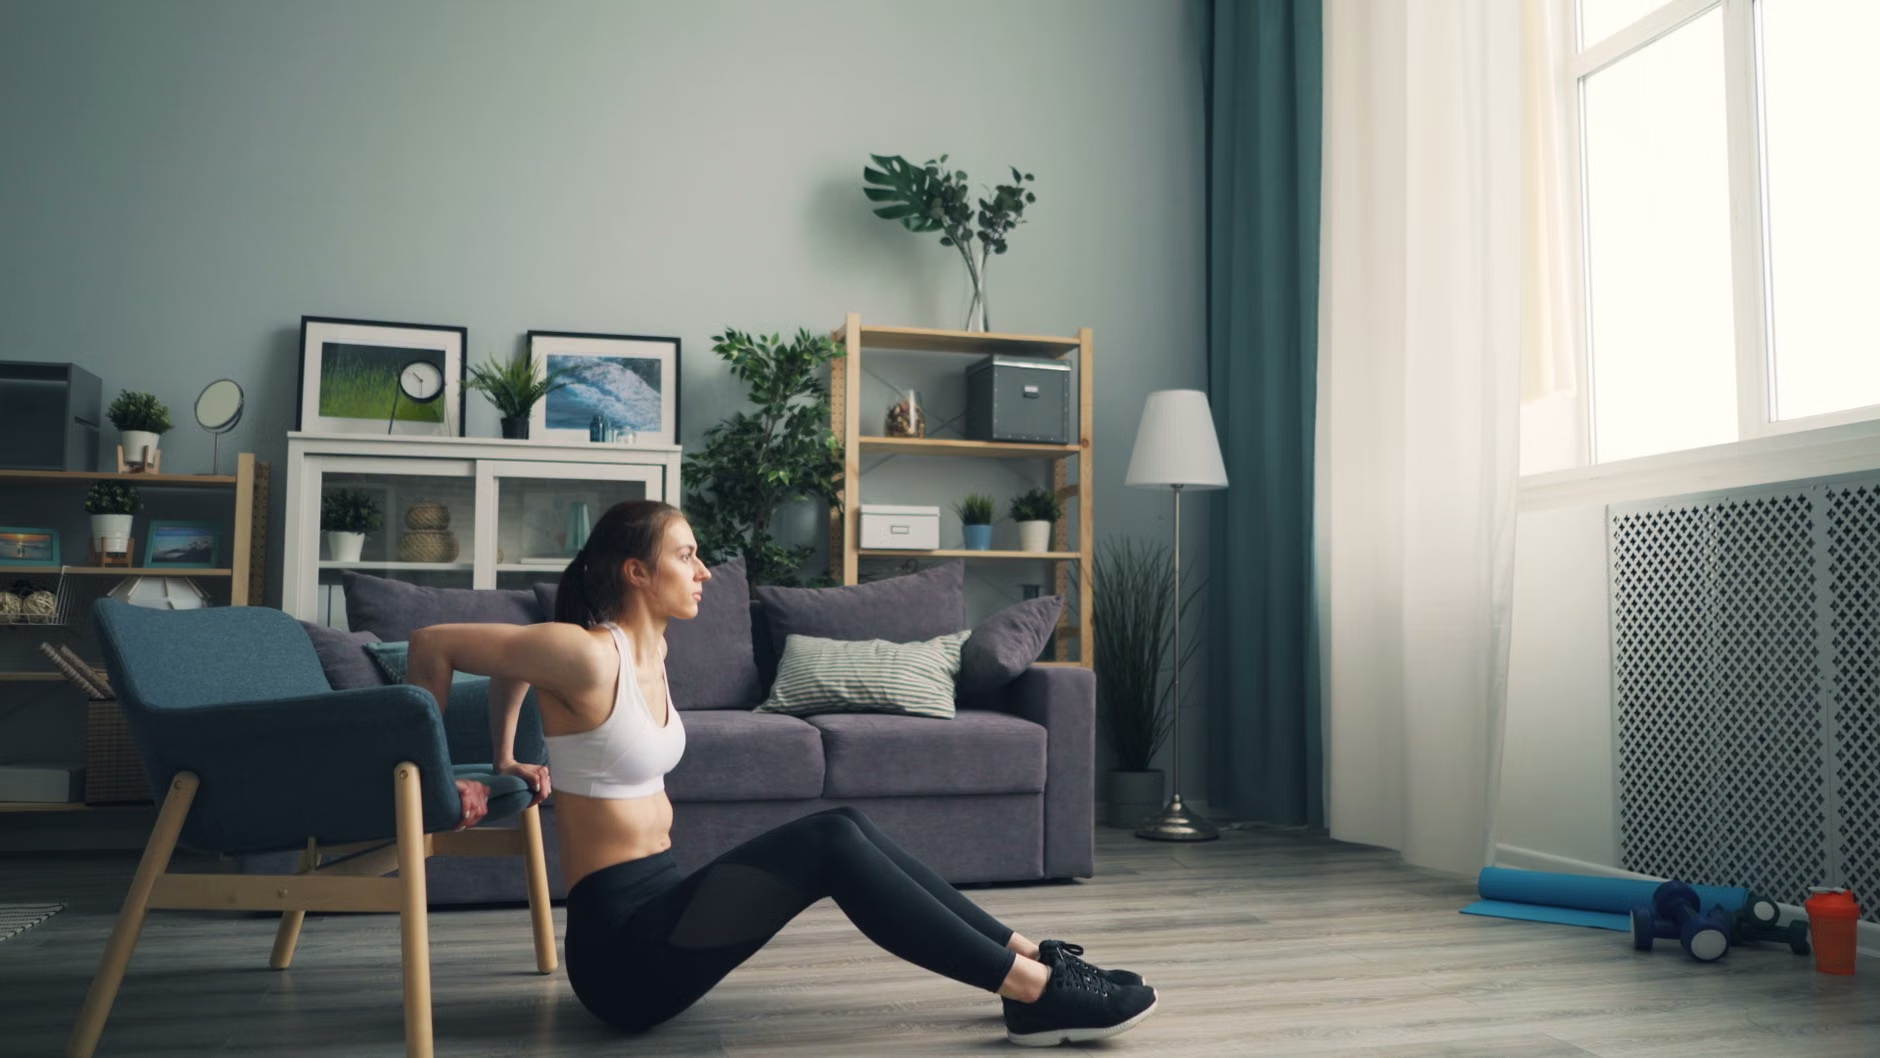
While the lunge stretches the hip flexor, the knee-to-chest movement helps with the “mobility” of the joint and helps release the lower back muscles that often get tight alongside the hips.
Step-by-Step Instructions:
- Sit toward the front of the chair with both feet flat on the floor.
- Slowly lift your right knee toward your chest.
- Grasp your shin or the back of your thigh with both hands and gently pull the knee closer to your body.
- Maintain a straight back; avoid rounding your shoulders forward.
- Hold for 15 seconds, then lower the leg slowly. Control the descent rather than letting the foot “plop” down.
- Repeat with the left leg.
The Insight: This exercise serves a dual purpose. It tests your “active range of motion.” If you find it difficult to lift your knee high enough to grab it, this is a sign that your hip flexors are not just tight, but also weak. Walking requires both flexibility (to let the leg go back) and strength (to pull the leg forward). This exercise addresses the latter.
For those who have had a hip replacement, please note: Most surgeons advise against bringing the knee higher than a 90-degree angle for the first few months. Always check your specific “hip precautions” provided by your surgical team before attempting to pull the knee close to the chest.
Exercise 3: The Seated Figure-Four (The Glute and Outer Hip Opener)
Gait efficiency isn’t just about the front of the hip; it’s also about the rotation of the hip. If the outer hip and glutes are tight, your legs may “track” incorrectly, causing your knees to turn inward or outward, which wastes energy and stresses the joints.
Step-by-Step Instructions:
- Sit upright in your chair with feet flat.
- Lift your right ankle and rest it on your left knee (forming the shape of the number “4”).
- If your right knee is sticking up high, that is normal. Gently rest your hand on it, but do not push down hard.
- Sit as tall as possible. For many, this is enough of a stretch.
- If you need more, slowly hinge forward from the hips, keeping your back flat. Do not “slouch” forward; think about bringing your chest toward your shin.
- Hold for 30 seconds and switch sides.
Practical Decision Rule: If you cannot get your ankle onto your knee due to stiffness or pain, do not force it. Instead, cross your ankles and let the top knee fall outward. This “modified figure-four” still provides a gentle opening of the hip joint without the risk of straining the knee or hip capsule.
The Science of Breathing: Why You Shouldn’t Hold Your Breath
A common error among adults during exercise is holding their breath when they feel a stretch. This triggers the body’s “fight or flight” response, which actually causes muscles to tense up to protect themselves. This is the exact opposite of what we want.
To improve gait efficiency, we need the nervous system to feel safe. When you breathe deeply and slowly—inhaling through the nose and exhaling through the mouth—you signal to your brain that it is okay to let the hip muscles relax. This is known as “autogenic inhibition.”
What the reader can do: Use the “4-7-8” breathing technique while holding your stretches. Inhale for 4 seconds, hold for 7 (if comfortable), and exhale slowly for 8 seconds. This slow exhale is the key. You will often find that on the third or fourth exhale, your leg naturally moves a fraction of an inch further into the stretch without any extra effort. This “hidden” progress is the most sustainable kind.
Integrating Stretches into Your Daily Routine
You do not need a gym membership or an hour of free time to improve your gait. In fact, for seniors, “micro-sessions” are often more effective because they prevent the muscles from stiffening up during long periods of inactivity.
Realistic Scenarios:
- The Commercial Break Routine: Every time a commercial comes on while you are watching the news, perform one seated lunge on each side. By the end of an hour-long program, you will have completed 4-5 sets of stretches.
- The Morning Coffee Habit: While waiting for the kettle to boil or the coffee to brew, sit at the kitchen table and perform your figure-four stretches. This “habit stacking” ensures you never forget.
- The Reading Reset: After finishing a chapter of a book, perform three seated pelvic tilts to “wake up” the muscles in your lower back and hips.
Numerical Example: If you walk 3,000 steps a day with a stride that is 2 inches shorter than it should be, you are essentially “losing” 6,000 inches (500 feet) of movement efficiency every day. Over a month, that’s nearly 3 miles of extra effort your body has to exert just to cover the same distance. Stretching isn’t just about flexibility; it’s about saving energy.
How to Measure Your Gait Efficiency at Home
It can be hard to notice small changes in how you walk. However, there are simple ways to track your progress over a 4-to-8 week period.
The “Step Count” Test: Find a hallway or a clear path in your home. Count how many steps it takes you to walk from one end to the other at your normal pace. As your hip flexors become more flexible and your stride length increases, you should find that you can cover the same distance in fewer steps. For example, if it takes 15 steps today, and in a month it takes 13, your gait efficiency has significantly improved.
The “Chair Rise” Feel: Pay attention to how it feels to stand up from a chair. Tight hip flexors make the initial “push” out of a chair difficult because the muscles are resisting the extension of the hip. If standing up feels “smoother” or requires less of a rocking motion, your stretches are working.
When to Seek Professional Care
While seated stretches are generally safe, it is important to recognize when hip tightness is a symptom of something that requires a professional’s touch, such as a physical therapist or a doctor.
Warning Signs to Watch For:
- Sharp, Stabbing Pain: Stretching should feel like a “dull ache” or “pulling.” If you feel a sharp, electric, or stabbing pain in the groin or down the leg, stop immediately.
- Night Pain: If your hip or groin hurts while you are lying still in bed, this may indicate joint inflammation or osteoarthritis rather than simple muscle tightness.
- Significant Asymmetry: If one hip is significantly tighter than the other to the point where you are limping, a professional assessment is needed to check for leg-length discrepancies or joint issues.
- History of Joint Replacement: If you have had a hip or knee replacement, always consult your physical therapist before starting a new stretching regimen to ensure you aren’t violating any surgical precautions.
A physical therapist can provide a “Gait Analysis.” They use specialized cameras or pressure mats to see exactly where your walking pattern is breaking down. For many seniors, just two or three sessions with a professional can provide a personalized “roadmap” that makes home stretching much more effective.
Your Path to More Confident Walking
Improving your gait efficiency is not about reclaiming the speed of your youth; it is about maintaining the independence and safety of your present. Tight hip flexors are a natural consequence of modern life, but they do not have to be a permanent part of your aging process. By dedicating just a few minutes each day to these seated stretches, you are investing in your ability to walk further, stand taller, and move with greater confidence.
Your next action: Today, identify a sturdy chair in your home that will be your “exercise chair.” Try the Seated Edge-of-Chair Lunge just once on each side. Notice the sensation in the front of your hip. That sensation is the first step toward a more efficient, safer stride.
For more information on senior mobility and exercise safety, you can visit official health resources such as:
- National Institute on Aging – Flexibility Exercises
- Harvard Health – The Importance of Stretching
- Mayo Clinic – Stretching: Focus on Flexibility
Frequently Asked Questions
Q1: How long will it take before I notice a difference in my walking?
Most people begin to feel a “lightness” in their stride within 10 to 14 days of consistent daily stretching. However, physiological changes in muscle length (adaptive lengthening) typically take 6 to 8 weeks of regular practice. The key is to avoid “over-stretching” in the first week, which can lead to soreness and discouragement.
Q2: Can I do these stretches if I have lower back pain?
In many cases, these stretches actually help alleviate lower back pain by reducing the forward pull on the spine. However, if your back pain is caused by a herniated disc or spinal stenosis, certain positions (like the knee-to-chest) might be uncomfortable. Always move slowly and stop if your back pain increases during or after the stretch.
Q3: Is it better to stretch in the morning or the evening?
Both have benefits. Morning stretching helps “undo” the stiffness from a night of sleep and prepares you for the day’s movement. Evening stretching is excellent for releasing the tightness accumulated from sitting during the day. If you have to choose one, many seniors find that a mid-afternoon stretch—when body temperature is at its peak—is the most comfortable and effective.
Disclaimer: This article is for informational purposes only and does not constitute medical advice, diagnosis, or treatment. Always consult with a healthcare professional or physical therapist before starting a new exercise program, especially if you have pre-existing health conditions or have recently undergone surgery.