- Digital calligraphy combines artistic expression with “neuro-motor” training, helping to maintain hand-eye coordination and fine motor skills.
- Unlike traditional ink calligraphy, digital platforms allow for infinite “undo” actions and adjustable pressure sensitivity, which reduces physical strain and frustration for beginners.
- Mastering digital tools provides a dual benefit: it serves as a creative outlet and improves digital literacy, which is vital for navigating modern online environments.
The Intersection of Art and Cognitive Health
Learning a new skill in our 60s, 70s, and beyond is not merely a way to pass the time; it is a profound investment in cognitive maintenance. Digital calligraphy—the art of beautiful writing using tablets, styluses, and specialized software—offers a unique blend of traditional discipline and modern flexibility. For the older adult, this hobby provides a structured environment that demands concentration, spatial awareness, and fine motor control, all of which are essential for long-term brain health.
The “cognitive joy” mentioned in the title refers to the specific satisfaction of achieving precision through repeated, intentional movement. Unlike passive hobbies, calligraphy requires the brain to bridge the gap between abstract aesthetic goals and concrete physical execution. When you translate a mental image of a letterform into a digital stroke, you are engaging the prefrontal cortex, the area of the brain responsible for planning, focus, and complex cognitive behavior.
Why Digital Over Traditional? Practical Advantages for Seniors
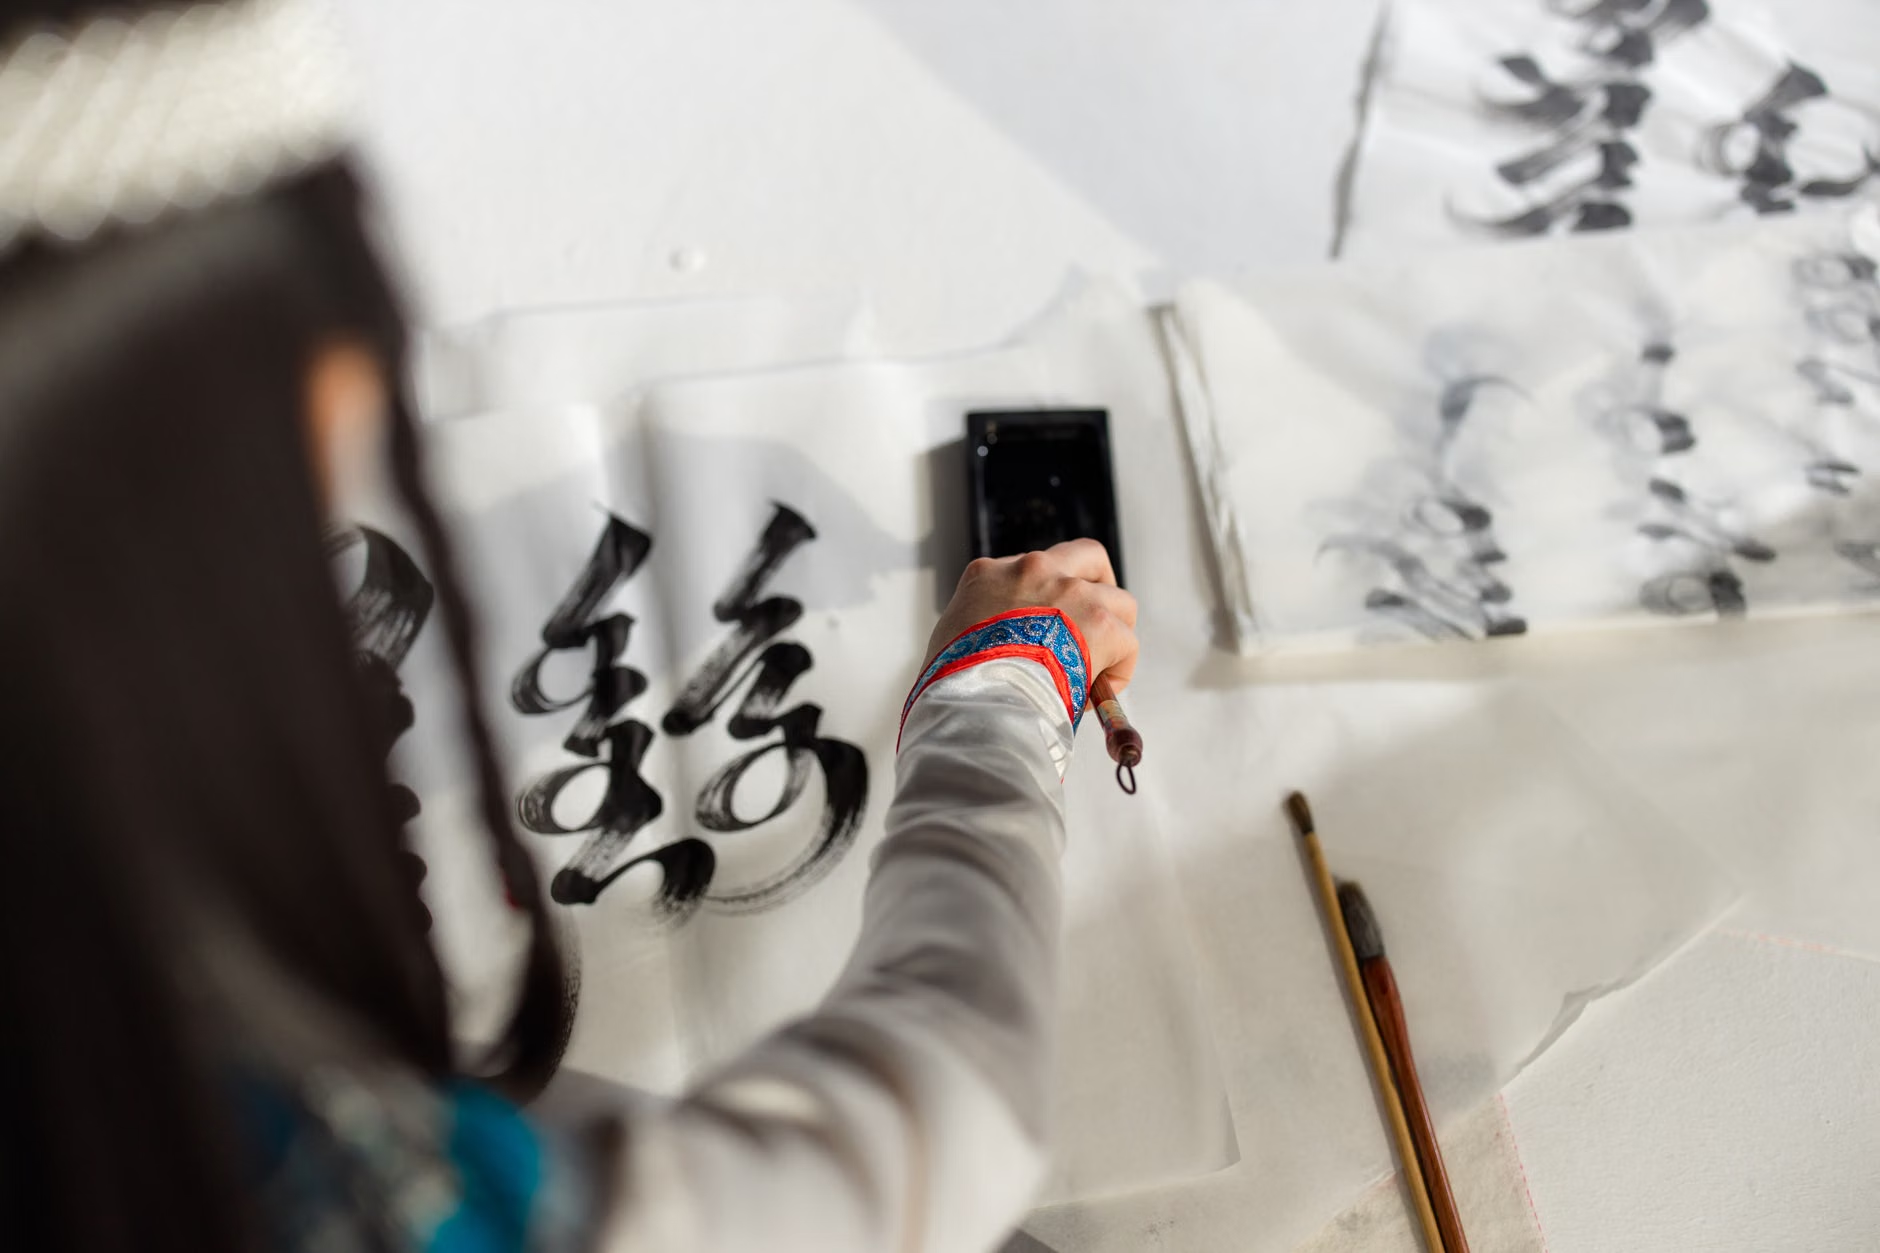
Traditional calligraphy—involving ink, nibs, parchment, and constant cleanup—can be physically demanding and messy. Digital calligraphy removes these barriers, making it an ideal entry point for those with varying levels of physical mobility or stamina.
1. Reducing Physical Barrier to Entry
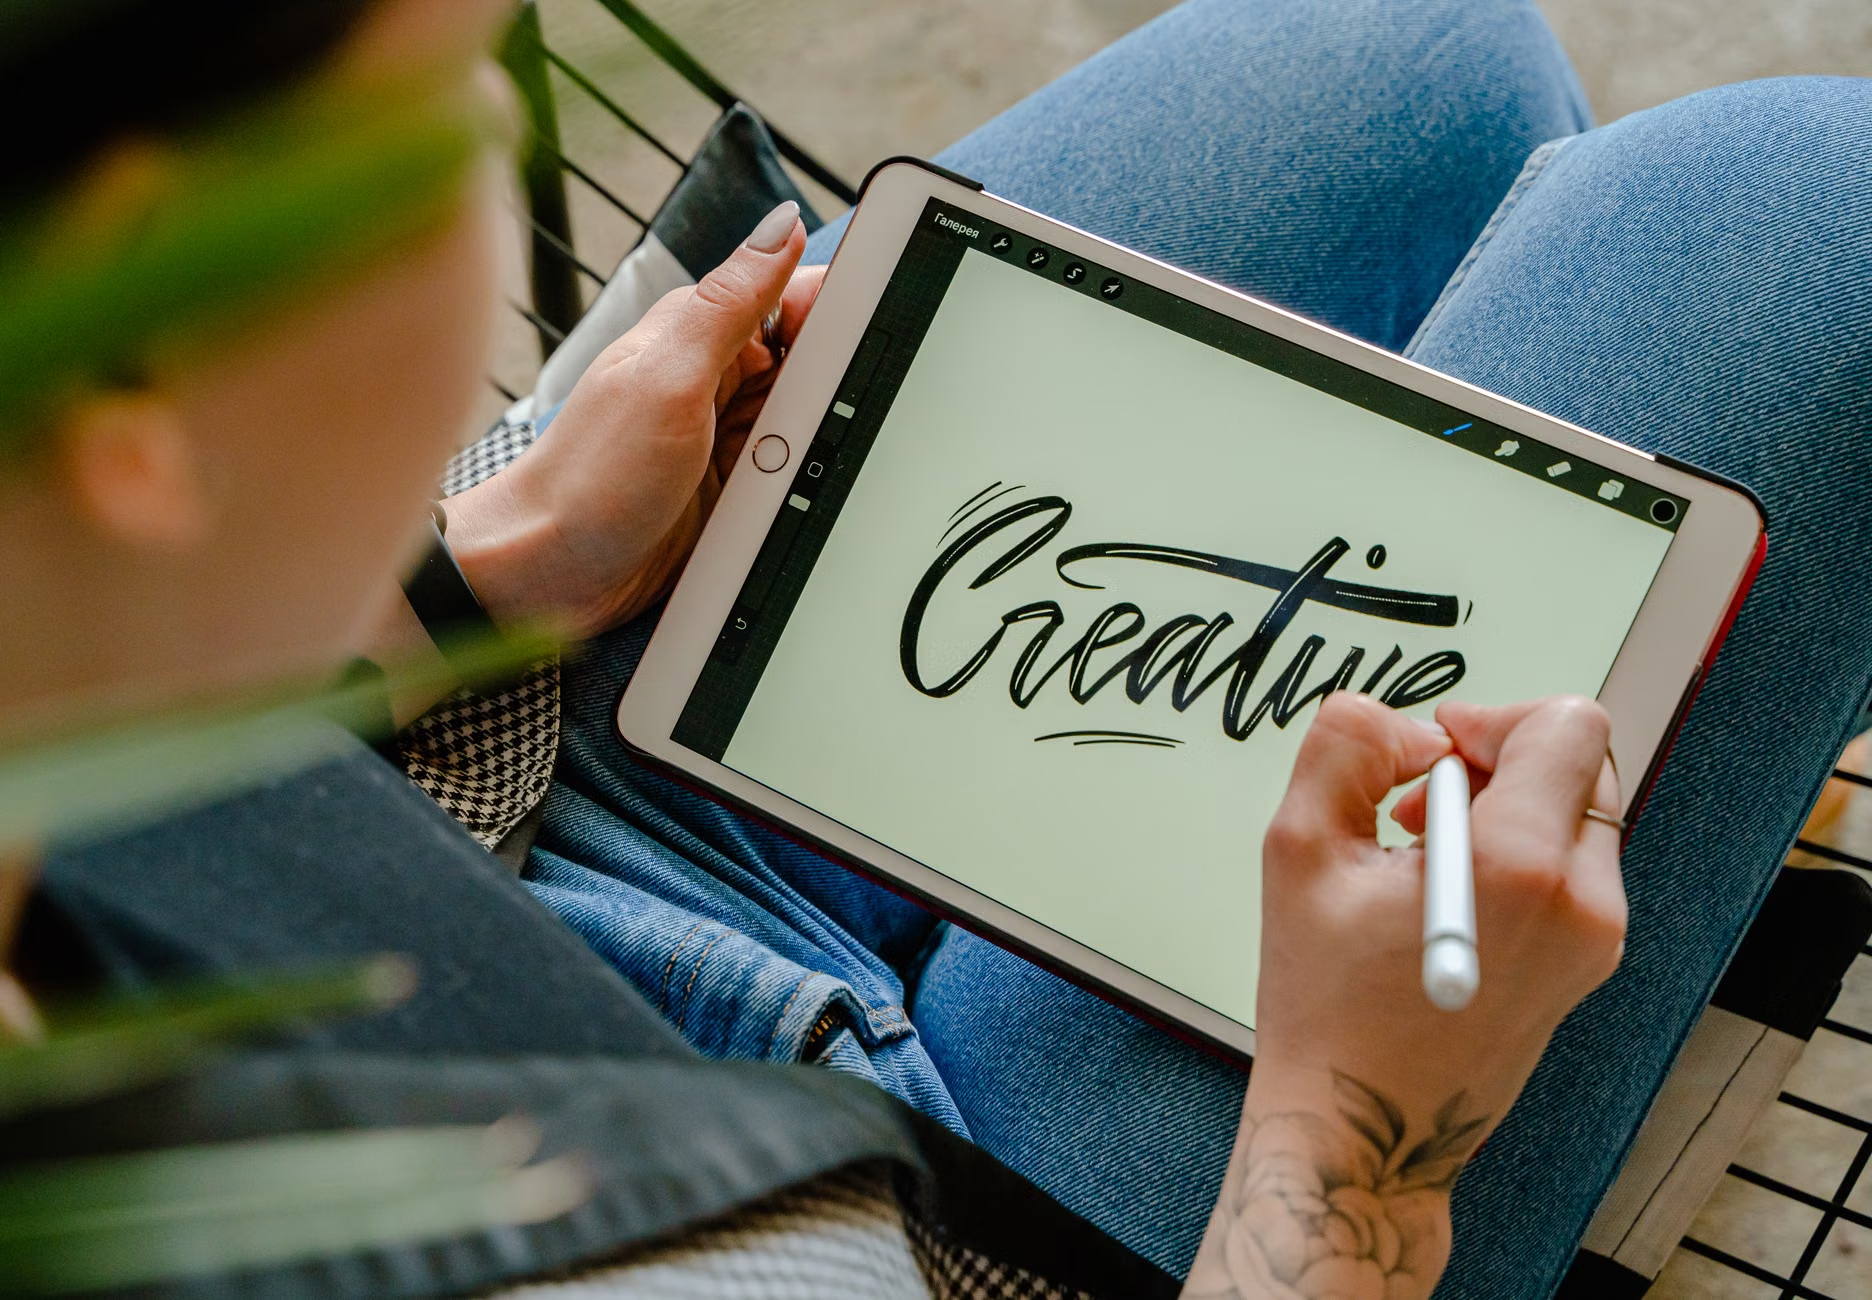
Traditional ink pens require constant pressure adjustment and frequent dipping, which can cause cramping or fatigue in the hands. Digital styluses often feature ergonomic designs that can be customized with grips. Furthermore, pressure sensitivity settings in software like Procreate or Adobe Fresco can be calibrated to your specific grip strength, meaning you do not have to press hard to achieve a bold, beautiful line.
2. The “Infinite Canvas” and Error Correction
One of the greatest sources of frustration for a beginner is the “ruined page.” In traditional art, a slip of the hand often means starting over. In digital calligraphy, the “Undo” function allows you to correct a mistake instantly. This significantly lowers the barrier of entry, turning a potentially stressful experience into a low-stakes, repeatable learning process.
3. Accessibility and Ergonomics
Digital setups allow you to magnify your work. If you have vision changes, you can zoom in on the letterform you are practicing, ensuring you see exactly how the curves and angles connect. You can also adjust the contrast of your background and the “ink” color to reduce eye strain, a feature impossible with traditional paper and ink.
| Feature | Traditional Calligraphy | Digital Calligraphy |
|---|---|---|
| Setup/Cleanup | High (ink management) | Minimal (power on) |
| Error Handling | Start over | Undo/Erase |
| Physical Strain | Moderate (posture/grip) | Adjustable (pressure) |
| Cost | Low (initial) | High (initial hardware) |
Note: While the initial cost of a tablet and stylus is higher, there are no ongoing costs for ink, nibs, or specialized paper. For those who already own a compatible tablet for other purposes, the entry cost is zero.
Building the Skill: A Step-by-Step Approach
Learning calligraphy is a marathon, not a sprint. To avoid burnout, adopt a “micro-practice” schedule. Instead of practicing for hours, aim for 15 to 20 minutes a day. Consistency is the key to muscle memory.
Step 1: Establishing the Workspace
Ergonomics is critical. Ensure your tablet is placed on a flat, stable surface. If you are using a tablet that lays flat, consider a stand that tilts the screen at a 15-to-30-degree angle. This prevents you from hunching over, which is a common cause of neck and shoulder pain during long sessions.
Step 2: Understanding Pressure Sensitivity
Digital styluses are sophisticated. They register how hard you press. Beginners often press too hard, resulting in shaky lines. Spend your first few sessions simply drawing lines of varying thickness. Press lightly for thin lines and increase pressure for thick ones. This “pressure calibration” is the foundation of the elegant “thick-and-thin” contrast that defines calligraphy.
Step 3: Following Guided Lessons
Do not attempt to invent your own style immediately. Start with “Copperplate” or “Modern Script” basic strokes. There are numerous free resources on platforms like YouTube or dedicated calligraphy forums. Look for tutorials that focus on “basic strokes” rather than specific words. Mastering the “u-shape,” the “o-shape,” and the “descending loop” will allow you to construct any letter in the alphabet.

The Hidden Benefits: Digital Literacy as a Cognitive Shield
Beyond the artistic output, the act of operating a digital device for creative expression is a powerful cognitive exercise. Navigating software menus, understanding layers, managing files, and troubleshooting connectivity issues are all tasks that keep the brain plastic—the ability of the brain to form new neural connections throughout life.
Many seniors feel intimidated by modern interfaces. By using calligraphy software, you are essentially learning how to navigate a complex digital environment in a way that feels rewarding rather than chore-like. Once you understand the concept of “layers” in a drawing app, you have unlocked a mental framework that applies to many other areas of digital technology, such as photo editing or even organizing digital documents.
Safety and Stamina: Practical Considerations
While digital calligraphy is low-impact, it is not immune to repetitive strain. Here are practical ways to manage your physical well-being:
- The 20-20-20 Rule: Every 20 minutes, look at something 20 feet away for 20 seconds. This is crucial for reducing eye fatigue when staring at a backlit screen.
- Hand Stretches: Before starting, perform gentle wrist rotations and finger extensions. If you feel any sharp pain or numbness, stop immediately. These are warning signs that you may be gripping the stylus too tightly or maintaining a poor wrist angle.
- Posture Check: Ensure your feet are flat on the floor and your back is supported. Avoid sitting on soft surfaces like a sofa, which lack the necessary support for focused work.
If you have pre-existing conditions like arthritis or carpal tunnel syndrome, consult with your primary care physician or an occupational therapist. They can often provide specific exercises or suggest adaptive grips for your stylus that can make your practice sessions pain-free.
Addressing Common Misconceptions
A common misconception is that you need “good handwriting” to learn calligraphy. This is false. Calligraphy is not handwriting; it is drawing. You are not writing a grocery list; you are constructing shapes. In fact, people with messy handwriting often find they make excellent calligraphers because they have no “muscle memory” of their old, fast-writing habits to unlearn.
Another myth is that digital art is “cheating.” In reality, digital calligraphy requires the same aesthetic eye and steady hand as traditional methods. The tool does not write for you; it simply provides a clean, adaptable surface on which your hand can move.
Conclusion: The Path Forward
Digital calligraphy is a hobby that respects the maturity and wisdom of the older learner. It offers a meditative, quiet, and highly productive way to spend your time. By focusing on the process—the curve of a line, the balance of a letter, the pressure of a stroke—you are not just creating art; you are engaging in a sophisticated form of neuro-motor training. Start small, prioritize your comfort, and enjoy the process of turning digital pixels into timeless, elegant forms.
Frequently Asked Questions (FAQ)
- Do I need an expensive tablet to start?
Not necessarily. While high-end tablets offer the best pressure sensitivity, many mid-range tablets compatible with a pressure-sensitive stylus are more than adequate for beginners. The most important feature is the quality of the stylus, not the tablet itself. - How do I find reliable tutorials for seniors?
Look for channels that emphasize “slow-paced” or “beginner-friendly” content. Avoid “speed-art” videos, which are meant for entertainment rather than instruction. A good tutorial will show the screen clearly and explain the “why” behind every stroke, not just the “how.” - What if I have arthritis in my hands?
Digital calligraphy is often easier than traditional methods because you can use a thicker, ergonomic grip on your stylus. If you experience pain, ensure you are not pressing down on the screen; modern tablets are designed to register even the lightest touch. Always prioritize comfort and take frequent breaks.
For further reading on maintaining cognitive health through creative activities, you may visit the National Institute on Aging (NIA) website for resources on brain health and lifestyle activities.