- Landscape sketching acts as a form of “active meditation,” improving cognitive focus and spatial awareness through the deliberate observation of nature.
- Success in sketching is not about innate talent but about learning to see; breaking complex scenery into basic geometric shapes makes the process accessible to any beginner.
- Starting with minimal, high-quality equipment—just two pencils, an eraser, and a sketchbook—prevents sensory overload and keeps the barrier to entry low.
The Intersection of Observation and Cognitive Wellbeing
Landscape sketching is far more than an artistic endeavor; it is a cognitive workout that requires the brain to bridge the gap between visual perception and manual execution. For adults aged 60 to 80, this practice offers a unique opportunity to engage the prefrontal cortex—the area responsible for complex planning, focus, and decision-making. Unlike passive entertainment, sketching demands that the brain analyze light, shadow, perspective, and proportion simultaneously.
When you look at a tree or a hill, your brain must perform a process called “reduction.” You are essentially asking your mind to ignore the overwhelming noise of the environment and focus on the essential structural lines. This cognitive filtering is a powerful tool for maintaining mental agility. It encourages sustained attention, which is a vital component of neuroplasticity—the brain’s ability to reorganize itself by forming new neural connections throughout life.
Furthermore, the act of drawing encourages a state of “flow.” In psychology, flow is a state of deep absorption where the passage of time seems to fade, and the individual is entirely engaged in the task at hand. For older adults, this state can significantly reduce cortisol levels, effectively serving as a gentle, non-pharmacological way to manage daily stress and improve mood stability.
Why “Seeing” Matters More Than “Drawing”
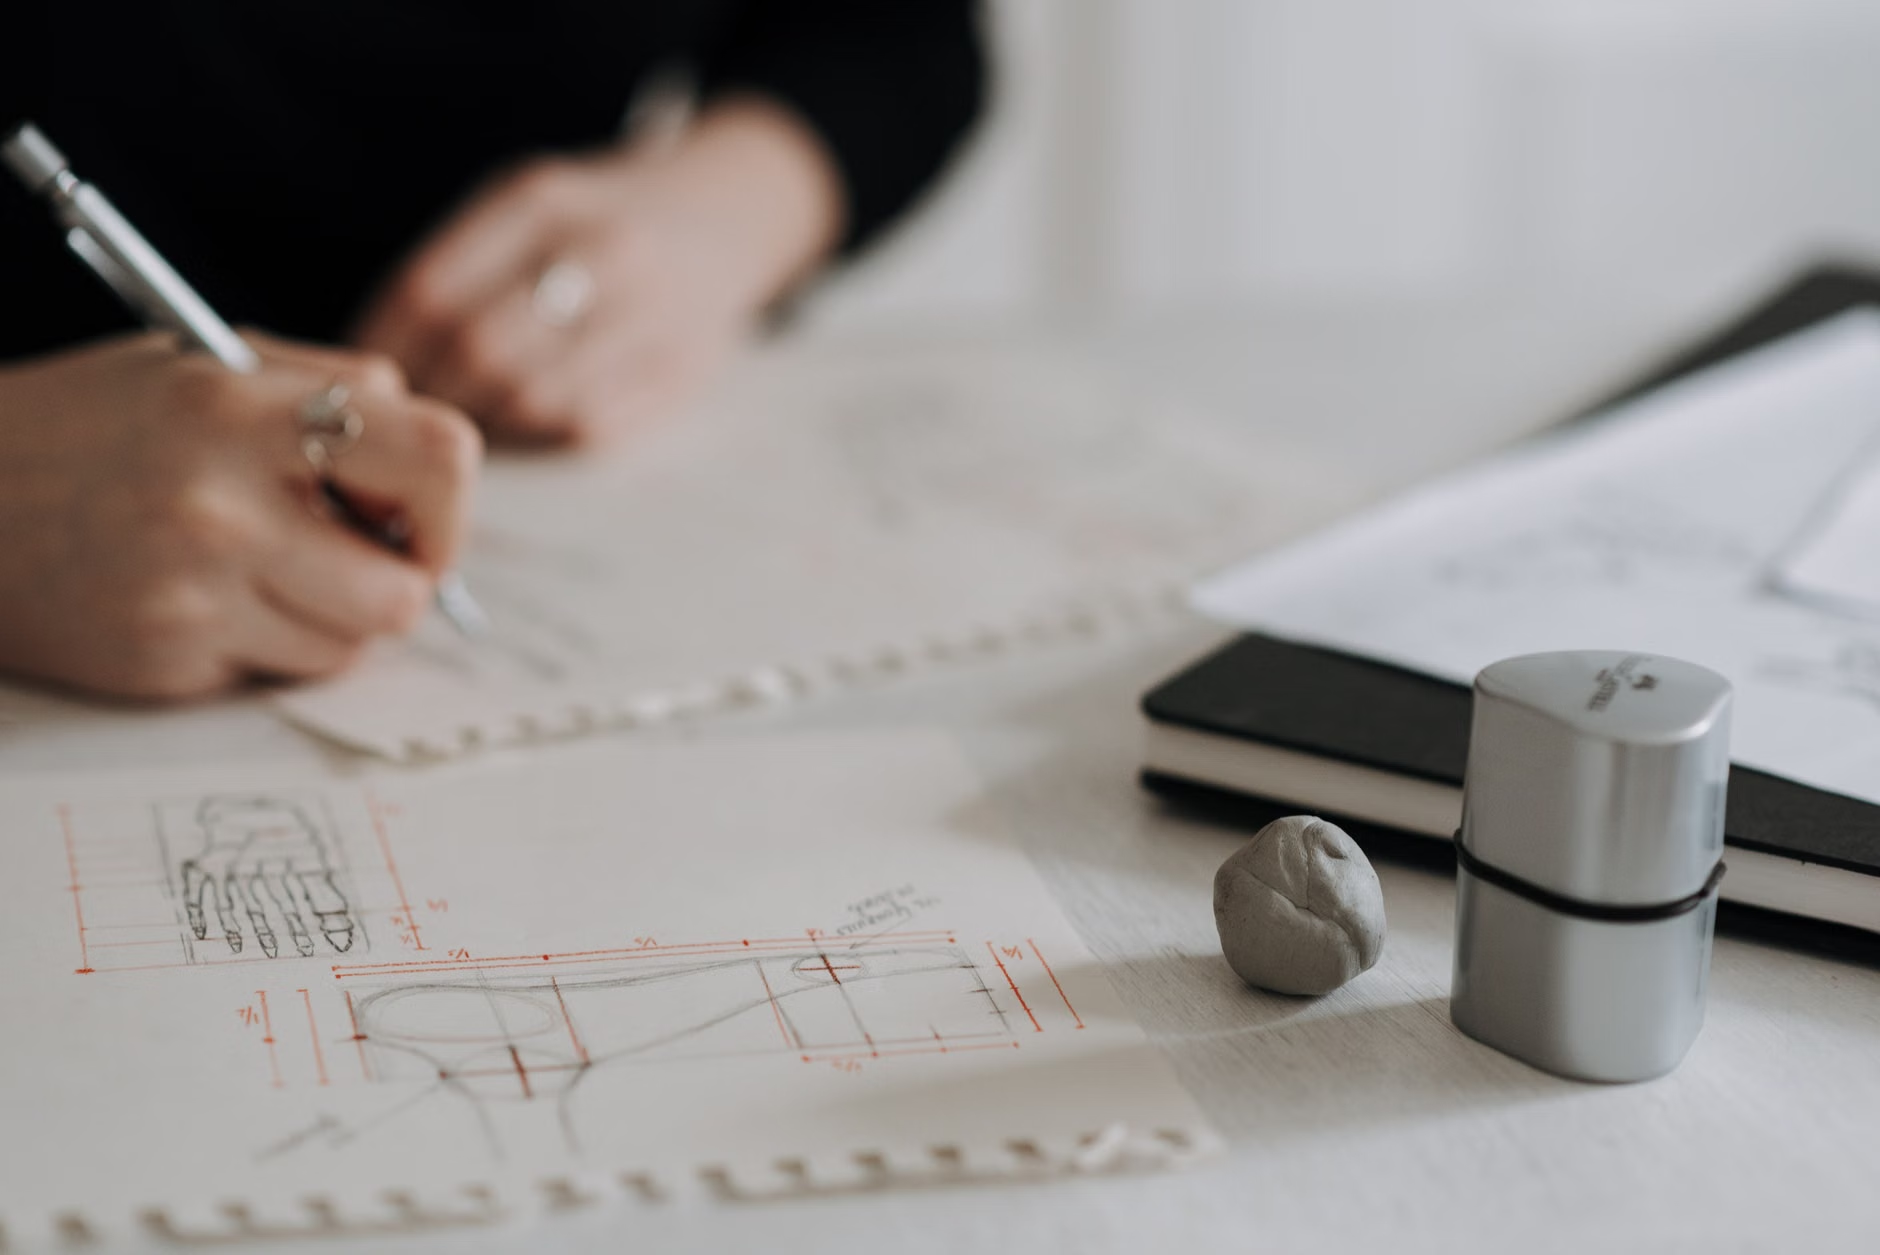
The most common barrier for beginners is the belief that they “cannot draw.” This misconception stems from the idea that drawing is about producing a gallery-ready masterpiece. In reality, sketching is about documentation and observation. If you can see the difference between a dark shadow and a bright highlight, you already possess the core skill required to start.
To move beyond the fear of the “blank page,” it is helpful to view a landscape not as a complex scene, but as a collection of simple shapes. A house is a combination of rectangles and triangles; a tree is an irregular oval atop a vertical cylinder; a distant mountain is a series of jagged zig-zag lines. By breaking down the world into these fundamental components, you remove the pressure to be perfect.
The “Squinting” Technique: Professional artists often squint when looking at a landscape. This blurs the detail and allows them to see the primary “values”—the distribution of light and dark areas. Try this: look at a tree and squint until the fine leaves disappear. You will see large, distinct shapes of shadow and light. This is exactly what your sketch should aim to capture first. By mastering this, you bypass the frustration of trying to draw every individual leaf, which is both physically taxing and visually cluttered.
Essential Tools for the Beginner
Many beginners make the mistake of purchasing expensive, complex art kits that end up sitting in a drawer. For the sake of both cost-effectiveness and ease of use, stick to a “minimalist kit.” Keeping your tools simple ensures that you spend your time drawing rather than managing equipment.
| Tool | Recommended Specification | Why it matters |
|---|---|---|
| Pencils | 2B and 4B | 2B is standard for lines; 4B is softer and ideal for darker, expressive shading. |
| Sketchbook | A5 or A4, 120gsm+ paper | Smaller is less intimidating; thicker paper prevents pencil smudging and tearing. |
| Eraser | Vinyl or kneaded | Kneaded erasers can be molded to lift off light graphite without damaging the paper. |
| Sharpener | Metal, single-hole | Metal sharpeners are more durable and provide a cleaner cut, reducing lead breakage. |
When choosing your sketchbook, consider the weight of the paper. A paper weight of 120 grams per square meter (gsm) or higher is ideal because it holds up well to the pressure of the pencil and allows for layering of shades without the paper buckling or tearing. If you have any concerns about grip strength or arthritis, consider purchasing pencils with a triangular barrel, which are more ergonomic and require less pressure to hold firmly.
A Step-by-Step Approach to Your First Landscape
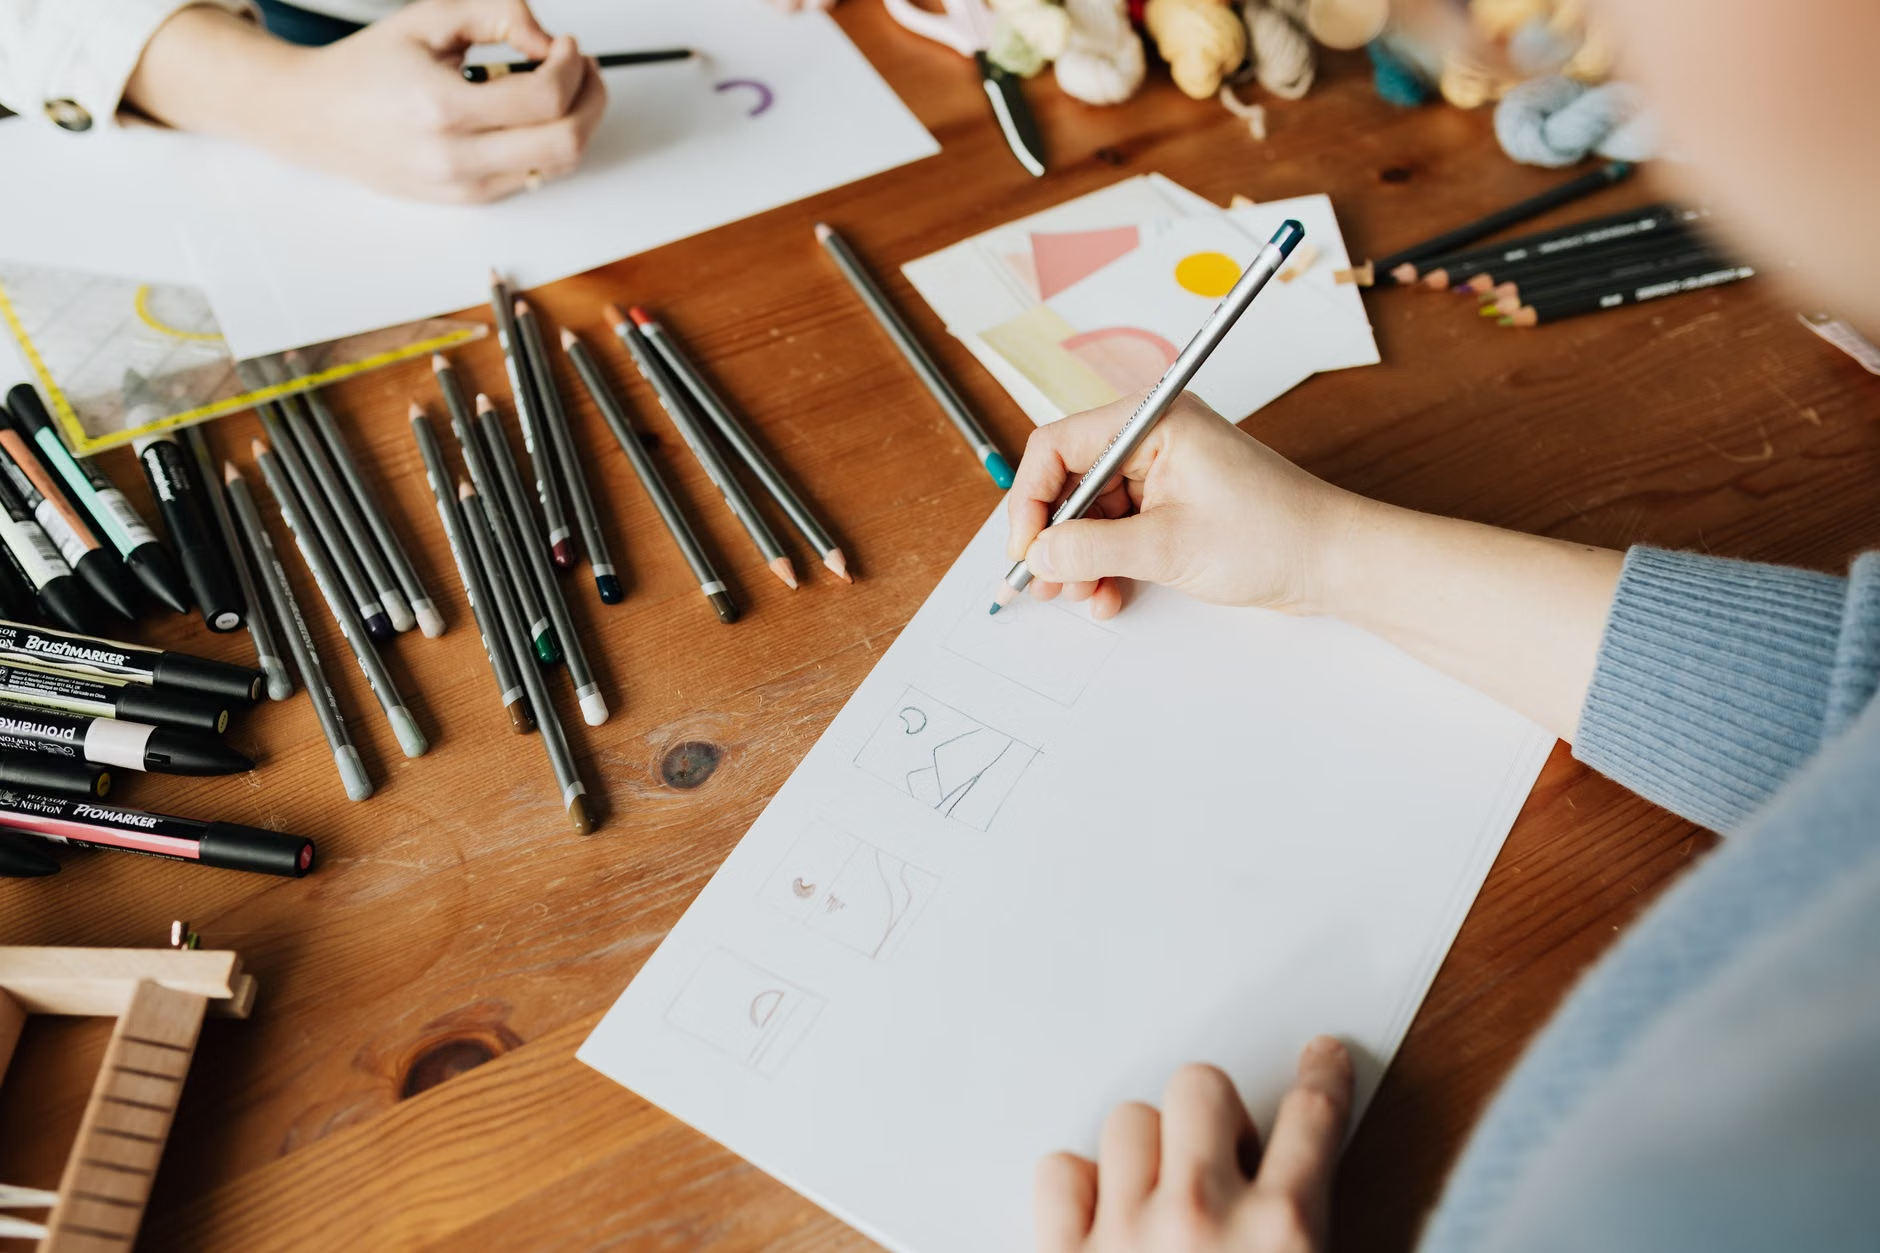
If you are heading outdoors, or even just sketching from a window, follow this sequence to ensure success. This method is designed to maximize stamina and prevent the physical fatigue that can come from hunching over a page for too long.
1. The “Thumbnail” Phase (2 Minutes)
Before you begin your main drawing, draw a tiny rectangle (no larger than a business card) in the corner of your page. Sketch the scene very roughly within this box. This helps you decide on the “composition”—what goes where. If you don’t like the layout, you haven’t wasted time on a large drawing. This is your “map.”
2. The “Structure” Phase (5-10 Minutes)
Using your 2B pencil, lightly outline the major shapes. Do not press hard. These lines are just placeholders. If you are drawing a hill, draw the curve. If there is a building, place the rectangle. Use light strokes that you can easily erase or cover later.
3. The “Value” Phase (10-20 Minutes)
Identify where the light is coming from. If the sun is to the left, the right side of your objects will be in shadow. Use the side of your 4B pencil to gently fill in these shadowed areas. Don’t worry about texture yet; just focus on the “values” (the range from white to black).
4. The “Detail” Phase (As desired)
Only now, if you feel like it, add a few lines to suggest texture—a few jagged marks for the bark of a tree or a few dots to represent pebbles. The beauty of a sketch is that it is often more evocative when it is incomplete.
Practical Tip: Set a timer for 30 minutes. When it goes off, stop. This prevents eye strain and physical discomfort. Remember, your goal is to enjoy the process, not to complete a project in one sitting.
Accessibility and Physical Comfort
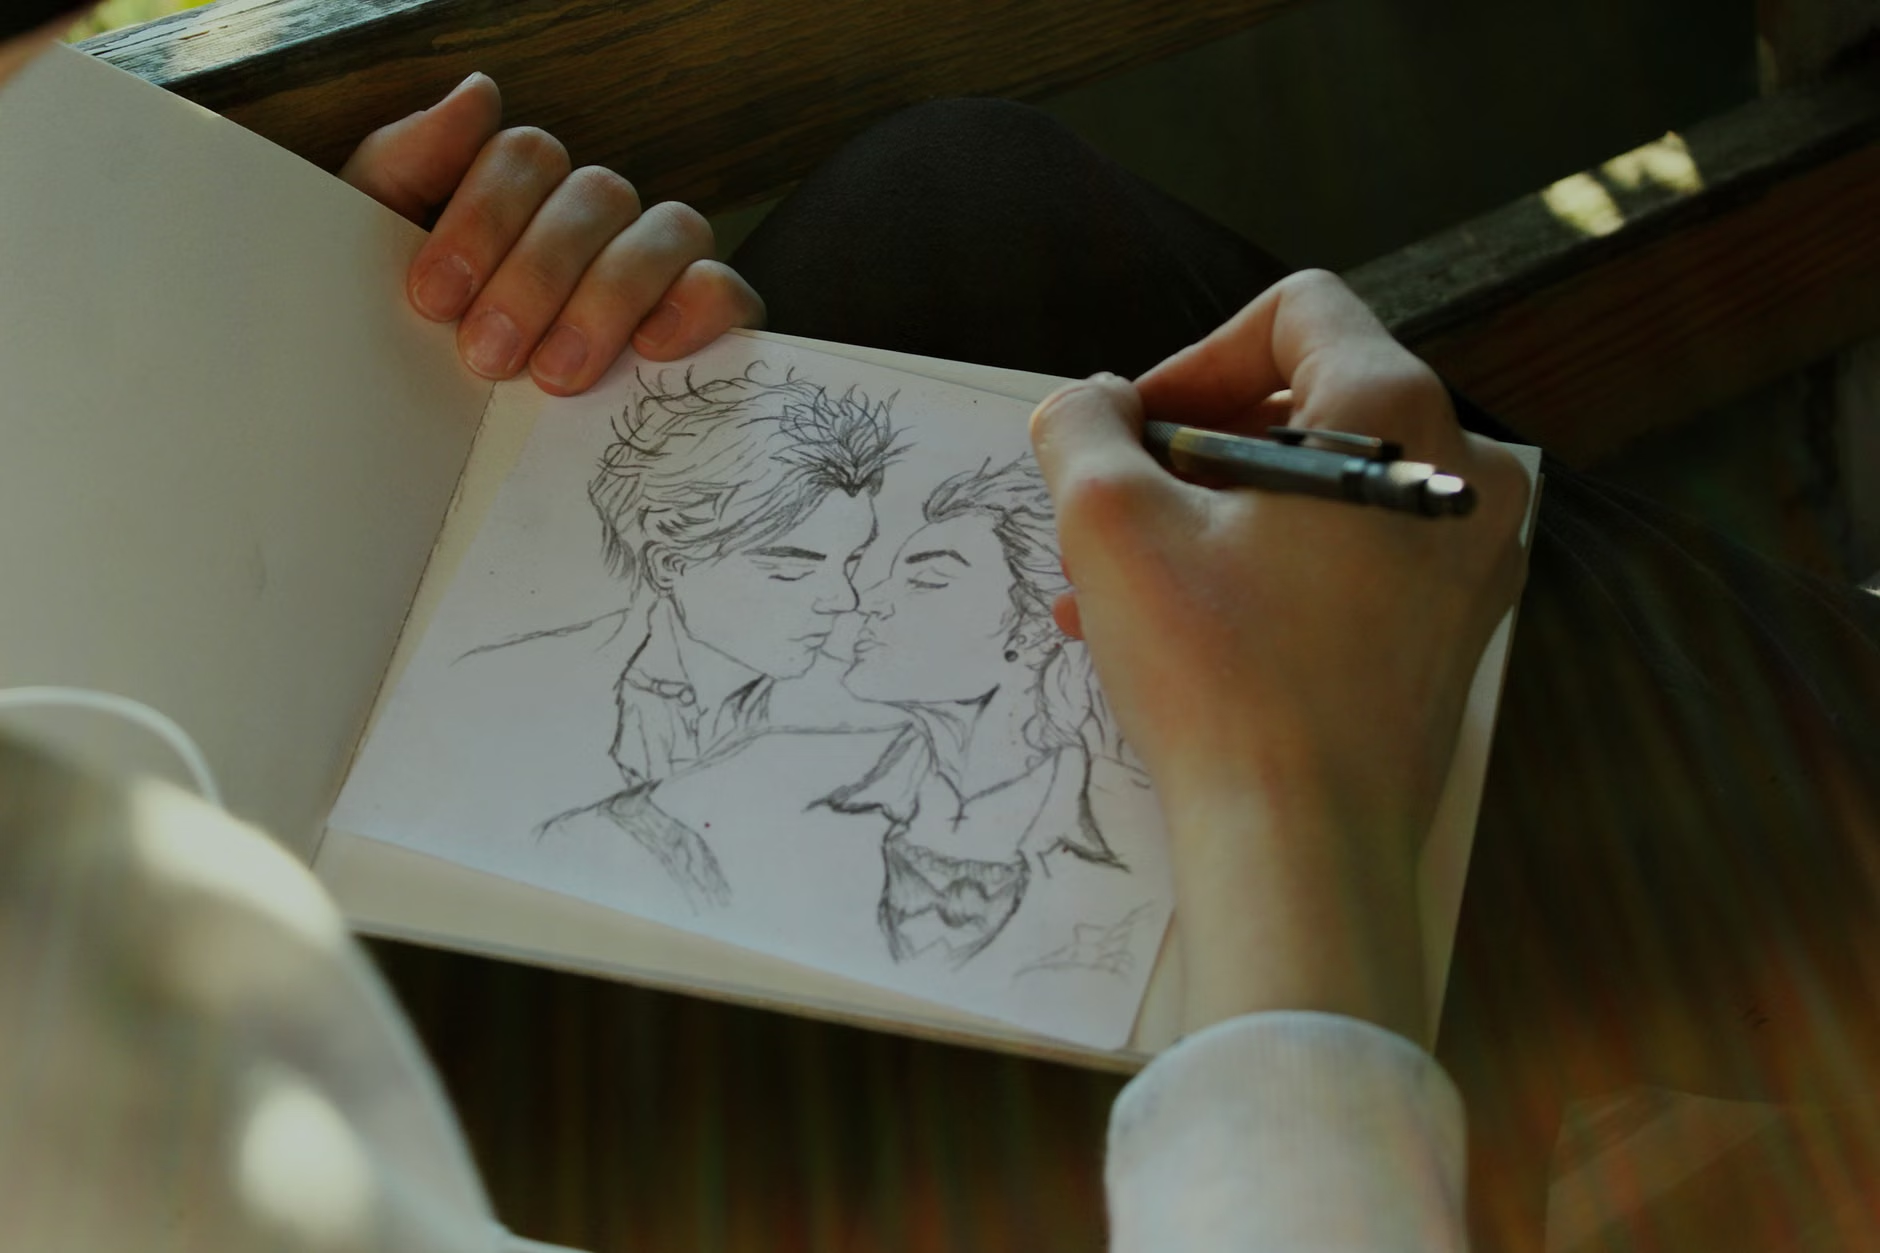
Sketching should be a comfortable experience. If you are drawing outdoors, mobility and stability are paramount. Always choose a location that offers a stable, flat surface to sit on. A lightweight, foldable camping stool is an excellent investment for those who prefer to draw in parks or gardens, as it provides a consistent height and back support that random park benches often lack.
If you experience tremors or difficulty with fine motor control, do not be discouraged. Sketching is a forgiving medium. In fact, many professional artists use a “looser” style that embraces the natural imperfections of the hand. You might find that using a softer pencil (like a 6B) allows you to make marks with less pressure, which can be more comfortable for those with joint stiffness.
Consider the lighting. Avoid sketching in direct, high-noon sunlight, as the glare on white paper can cause significant eye fatigue. Look for dappled shade under a tree or an area with consistent, indirect light. If you are indoors, ensure your desk is well-lit from the side (opposite your drawing hand) to avoid casting your own shadow onto the paper.
Insights for Long-Term Practice
One of the most overlooked aspects of learning to sketch is the “incubation” period. You may find that your drawings look better after you have taken a break. This is because your brain continues to process visual information even when you are not actively holding a pencil. Don’t judge your work immediately upon finishing. Put the sketchbook away and look at it the next day with fresh eyes.
Another important realization is that your “style” will emerge naturally. You do not need to mimic the style of others. Some people prefer clear, crisp lines; others prefer soft, smudged shadows. Both are perfectly valid. Your unique way of seeing the world is what makes your sketches valuable to you. If you find yourself becoming frustrated, it is usually a sign that you are trying to force a level of detail that is unnecessary for a beginner sketch. Return to the “squinting” technique and simplify your shapes.
Finally, keep a record of your progress. It is tempting to tear out pages you don’t like, but keeping them is essential. Looking back at a sketch from two months ago is the most effective way to see how your observation skills have sharpened. You will likely notice that your later sketches have more confidence, even if they aren’t “perfect.”
Conclusion
Landscape sketching is a gentle, rewarding path toward sharper observation and sustained cognitive health. By focusing on the simplicity of shapes, utilizing a minimalist kit, and respecting your own physical comfort, you turn a daunting artistic task into a restorative daily habit. Start small, keep your tools simple, and remember that every line you draw is a way of paying closer attention to the world around you. There is no deadline for your progress, and the joy of the practice lies entirely in the doing.
Frequently Asked Questions
Q: Does it matter if I have poor eyesight or wear glasses for reading?
A: It does not hinder your ability to sketch. In fact, many artists wear their reading glasses to see the fine detail of their pencil marks. If you have difficulty seeing distant landscapes, simply sketch what is in front of you—a garden corner, a houseplant, or a view from a window. The cognitive benefit comes from the act of drawing, not the distance of the subject.
Q: How often should I practice to see improvements in my cognitive focus?
A: Consistency is more important than duration. Practicing for 15 to 20 minutes, three or four times a week, is significantly more effective for building neural pathways than one long, exhausting four-hour session once a month. The goal is to make the “observation phase” a natural part of your daily routine.
Q: Is there a risk of physical strain in my hands or wrists?
A: Like any physical activity, overuse can lead to fatigue. If you feel any tension, stop immediately and stretch your hands by gently clenching and opening them. Ensure you are not gripping the pencil too tightly; if your knuckles are turning white, you are pressing too hard. Use a softer lead pencil (like a 4B or 6B), which requires very little pressure to create a dark, visible mark on the page.
Official guidance on the benefits of creative activities for older adults can be found through resources such as the National Institute on Aging, which highlights how engaging in arts-based activities can support cognitive health and social connection.