Packing for a museum walking tour requires a strategic balance between minimizing weight and maximizing physical support to ensure that mobility and stamina remain high throughout the visit. For travelers aged 60 to 80, the primary challenges of museum visits are not just the distance covered, but the “museum shuffle”—the slow, stop-and-start walking on hard surfaces that can lead to joint fatigue and back pain. By selecting the right gear, from impact-absorbing footwear to climate-appropriate layering, you can transform a potentially exhausting day into an enriching cultural experience.
Key Takeaways:
- Prioritize Footwear Mechanics: Choose shoes with thick EVA or rubber midsoles and a rockered sole design to reduce the strain on the forefoot and ankles during slow-paced walking.
- Manage the Microclimate: Museums are kept at a constant 18–22°C (64–72°F) to preserve artifacts, making lightweight, moisture-wicking layers essential to prevent chills during periods of inactivity.
- Optimize Bag Weight: Use a cross-body bag or a small, ergonomic backpack weighing no more than 2 kilograms (4.4 lbs) to avoid shifting your center of gravity and increasing fall risks.
Choosing the Right Footwear for Hard Museum Floors
The most significant physical challenge in any museum is the flooring. Most major institutions, like the Louvre or the Metropolitan Museum of Art, feature floors made of marble, polished concrete, or hardwood. These surfaces offer zero “give” or shock absorption. When you walk slowly or stand in front of a masterpiece, your body weight is concentrated on the heels and balls of your feet for extended periods.
The Science of Impact Absorption and Rocker Soles
For older adults, the natural fat pads on the bottom of the feet tend to thin over time. This makes the selection of midsole material critical. Look for shoes featuring Ethylene Vinyl Acetate (EVA) or Polyurethane (PU) midsoles. EVA is lighter and provides immediate “cushy” comfort, while PU is denser and offers better long-term structural support for those who may have higher body weight or existing joint concerns.
A “rocker sole” is a specific shoe design where the heel and toe are slightly curved upward. This design helps the foot roll through the gait cycle with less effort from the ankle and midfoot. For someone with arthritis in the big toe or ankle, a rockered sole can significantly reduce the pain associated with the “push-off” phase of walking. Avoid flat-soled loafers or thin-soled “fashion” sneakers, as they provide no protection against the repetitive impact of hard museum floors.
Managing Foot Swelling Throughout the Day
It is a biological reality that feet expand as the day progresses, often by half a shoe size or more, due to gravity-induced fluid retention. This is particularly relevant for museum tours where you are upright for several hours. When packing, ensure your chosen shoes have been tested in the afternoon or evening to confirm they do not become too tight.
Practical Step: Consider packing a pair of light compression socks (15-20 mmHg). These help maintain circulation and reduce the “heavy leg” feeling that often occurs after three hours of gallery wandering. Unlike medical-grade compression, these are easier to put on and take off while still providing enough pressure to prevent significant edema (swelling).
Mastering the Museum Microclimate: Layering Strategies
Museums are unique environments where the temperature is dictated by the needs of the art rather than the comfort of the visitors. To prevent the degradation of oil paintings, textiles, and organic materials, galleries are typically maintained at a cool, constant temperature with controlled humidity. This can feel surprisingly chilly if you are moving slowly or sitting for a lecture.
The Three-Layer Rule for Museum Comfort
To stay comfortable without carrying a heavy coat, utilize a modified three-layer system. This allows you to adapt as you move from a crowded, warm entrance hall to a secluded, air-conditioned manuscript room.
| Layer Type | Recommended Material | Why It Matters for Seniors |
|---|---|---|
| Base Layer | Merino Wool or Silk | Regulates body temperature and wicks moisture without feeling “sweaty” or itchy. |
| Mid Layer | Lightweight Fleece or Cashmere | Provides insulation while remaining highly breathable and easy to pack into a bag. |
| Outer Layer | Unstructured Blazer or Cardigan | Offers a polished look for museum cafes while providing protection against AC drafts. |
Decision Rule: If you are visiting a museum in a historic building (like the Uffizi in Florence), the temperature may fluctuate more significantly than in a modern, purpose-built facility (like the Getty Center in Los Angeles). For historic sites, prioritize a wind-resistant outer layer to protect against drafts in large, high-ceilinged halls.
Why Fabric Choice Affects Stamina
Heavy fabrics like denim or thick cotton can become burdensome over several hours. Synthetic blends or fine natural fibers like Merino wool offer the best warmth-to-weight ratio. This is crucial because every extra ounce of clothing you wear contributes to cumulative fatigue. Additionally, Merino wool is naturally odor-resistant, which is a practical benefit if you are traveling and cannot access laundry facilities daily.
Mobility Aids: Bringing Your Own vs. Using Museum Rentals
Many older adults hesitate to use mobility aids, fearing they are “not ready” for them. However, in a museum context, a mobility aid should be viewed as a tool for stamina preservation rather than a sign of frailty. Using a cane or a rollator allows you to spend your energy looking at the art rather than struggling to maintain balance on uneven gallery floors.
The Utility of Foldable Canes and Portable Stools
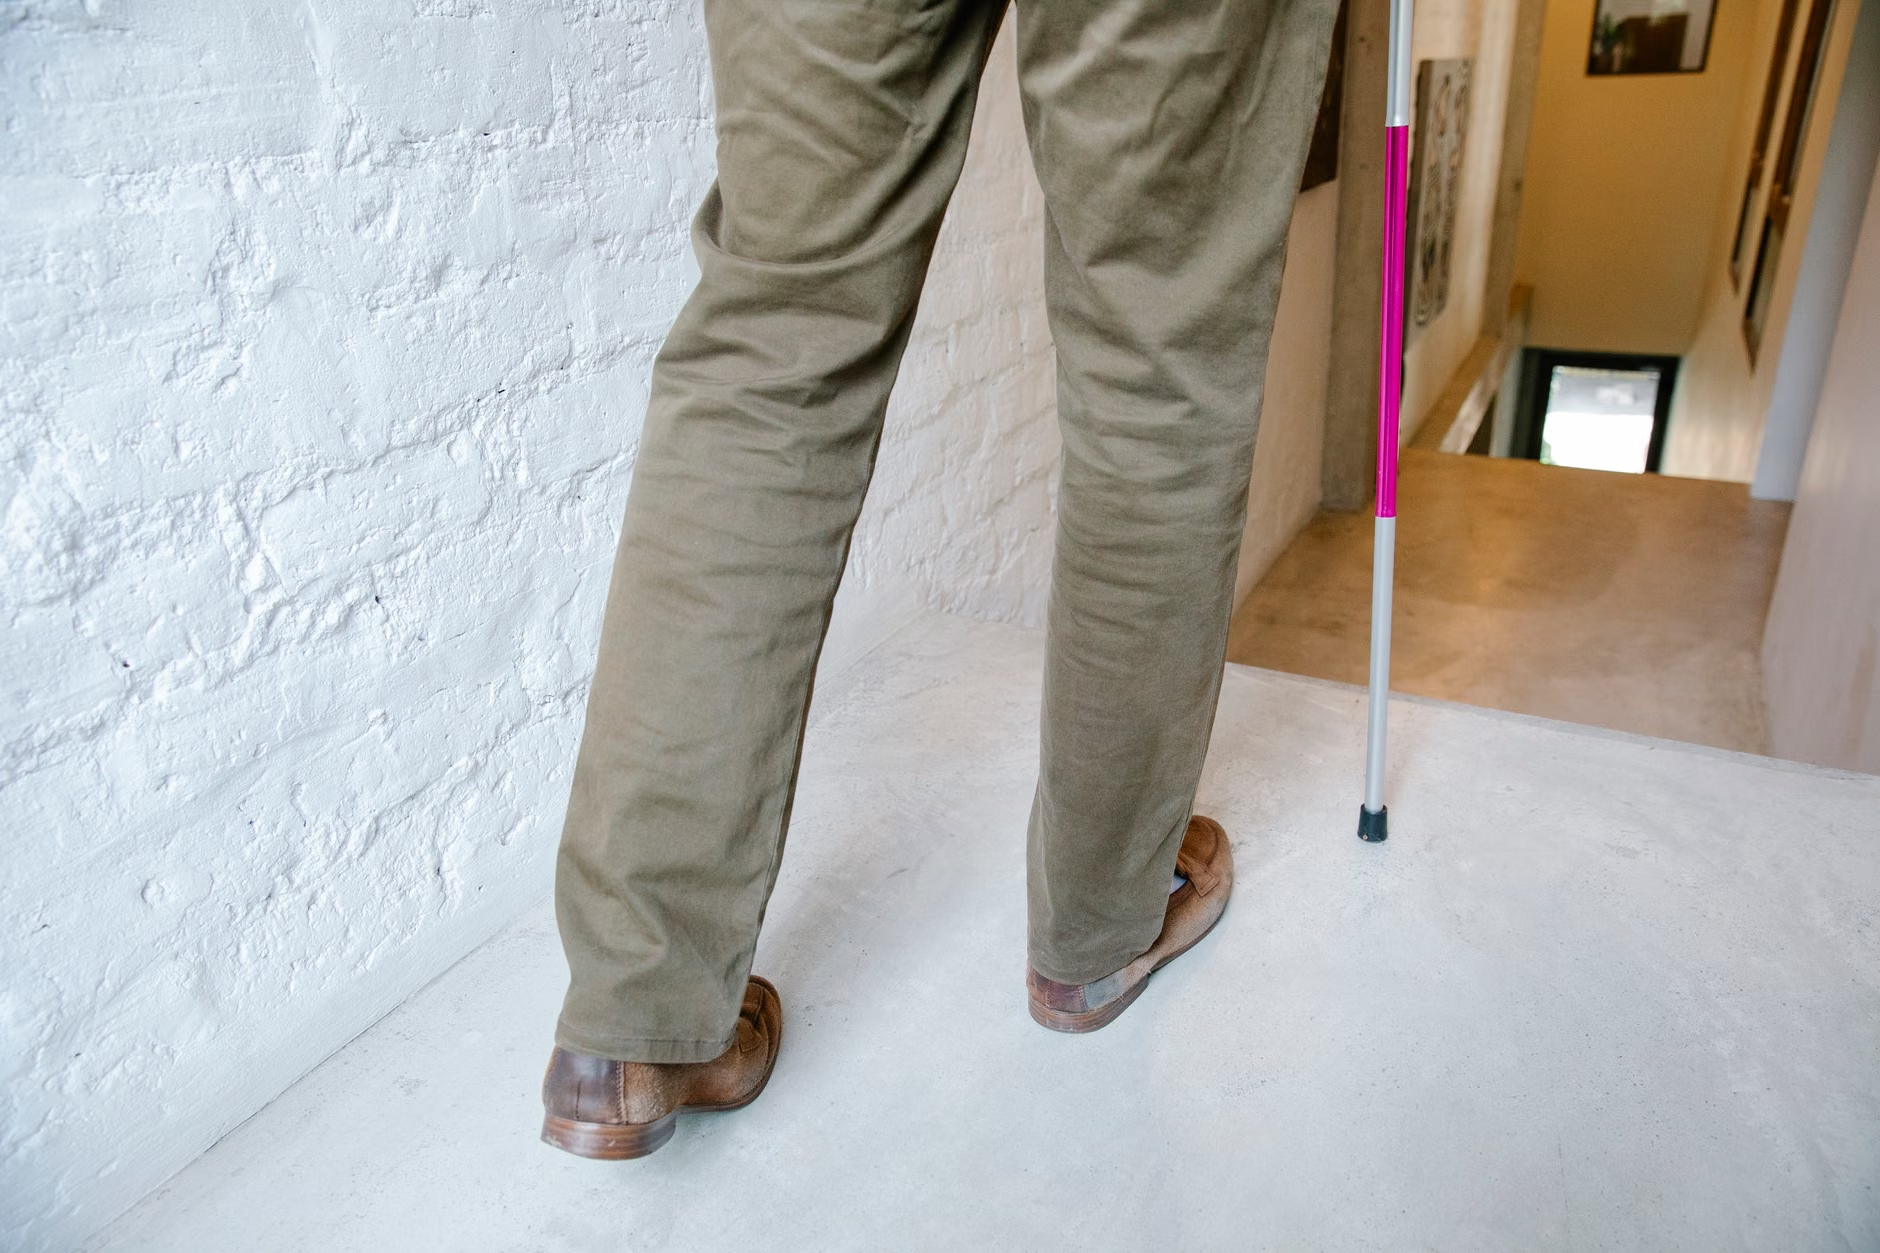
A foldable carbon fiber cane is an excellent packing choice. It fits into a standard carry-on bag and provides an extra point of stability when navigating stairs or crowded elevators. More importantly, it signals to other visitors and museum staff that you may need a bit more space or a seat.
Realistic Scenario: Imagine you are at the British Museum during a special exhibition. The crowd is dense, and seating is limited. A “shooting stick” or a lightweight folding stool (if permitted by the museum) allows you to create your own rest point. Warning: Always check the museum’s website under “Accessibility” or “Prohibited Items” before bringing a portable stool, as some institutions ban them to protect floor surfaces or prevent tripping hazards.
Rollators vs. Manual Wheelchairs
If your walking distance is limited to less than 500 meters without a break, consider the following comparison to decide which aid to pack or request at the venue:
- Rollators (Walker with wheels and seat): Best for those who want to maintain independence and need frequent, short rests. They provide excellent stability and a built-in place to sit whenever a gallery lacks benches.
- Manual Wheelchairs: Best for those who want to see the entire museum without any physical strain. Most major museums offer these for free on a first-come, first-served basis.
Practical Step: If you plan to borrow a wheelchair from the museum, reserve it at least 48 hours in advance via the museum’s official website or accessibility desk. Relying on walk-in availability during peak tourist seasons often leads to disappointment.
The Essential Museum Day-Bag: Weight and Security
The bag you choose to carry is just as important as what goes inside it. For seniors, the goal is to keep the center of gravity stable. A heavy bag hanging off one shoulder can cause the spine to tilt, leading to lower back pain and an increased risk of losing balance.
Cross-body Bags vs. Small Backpacks
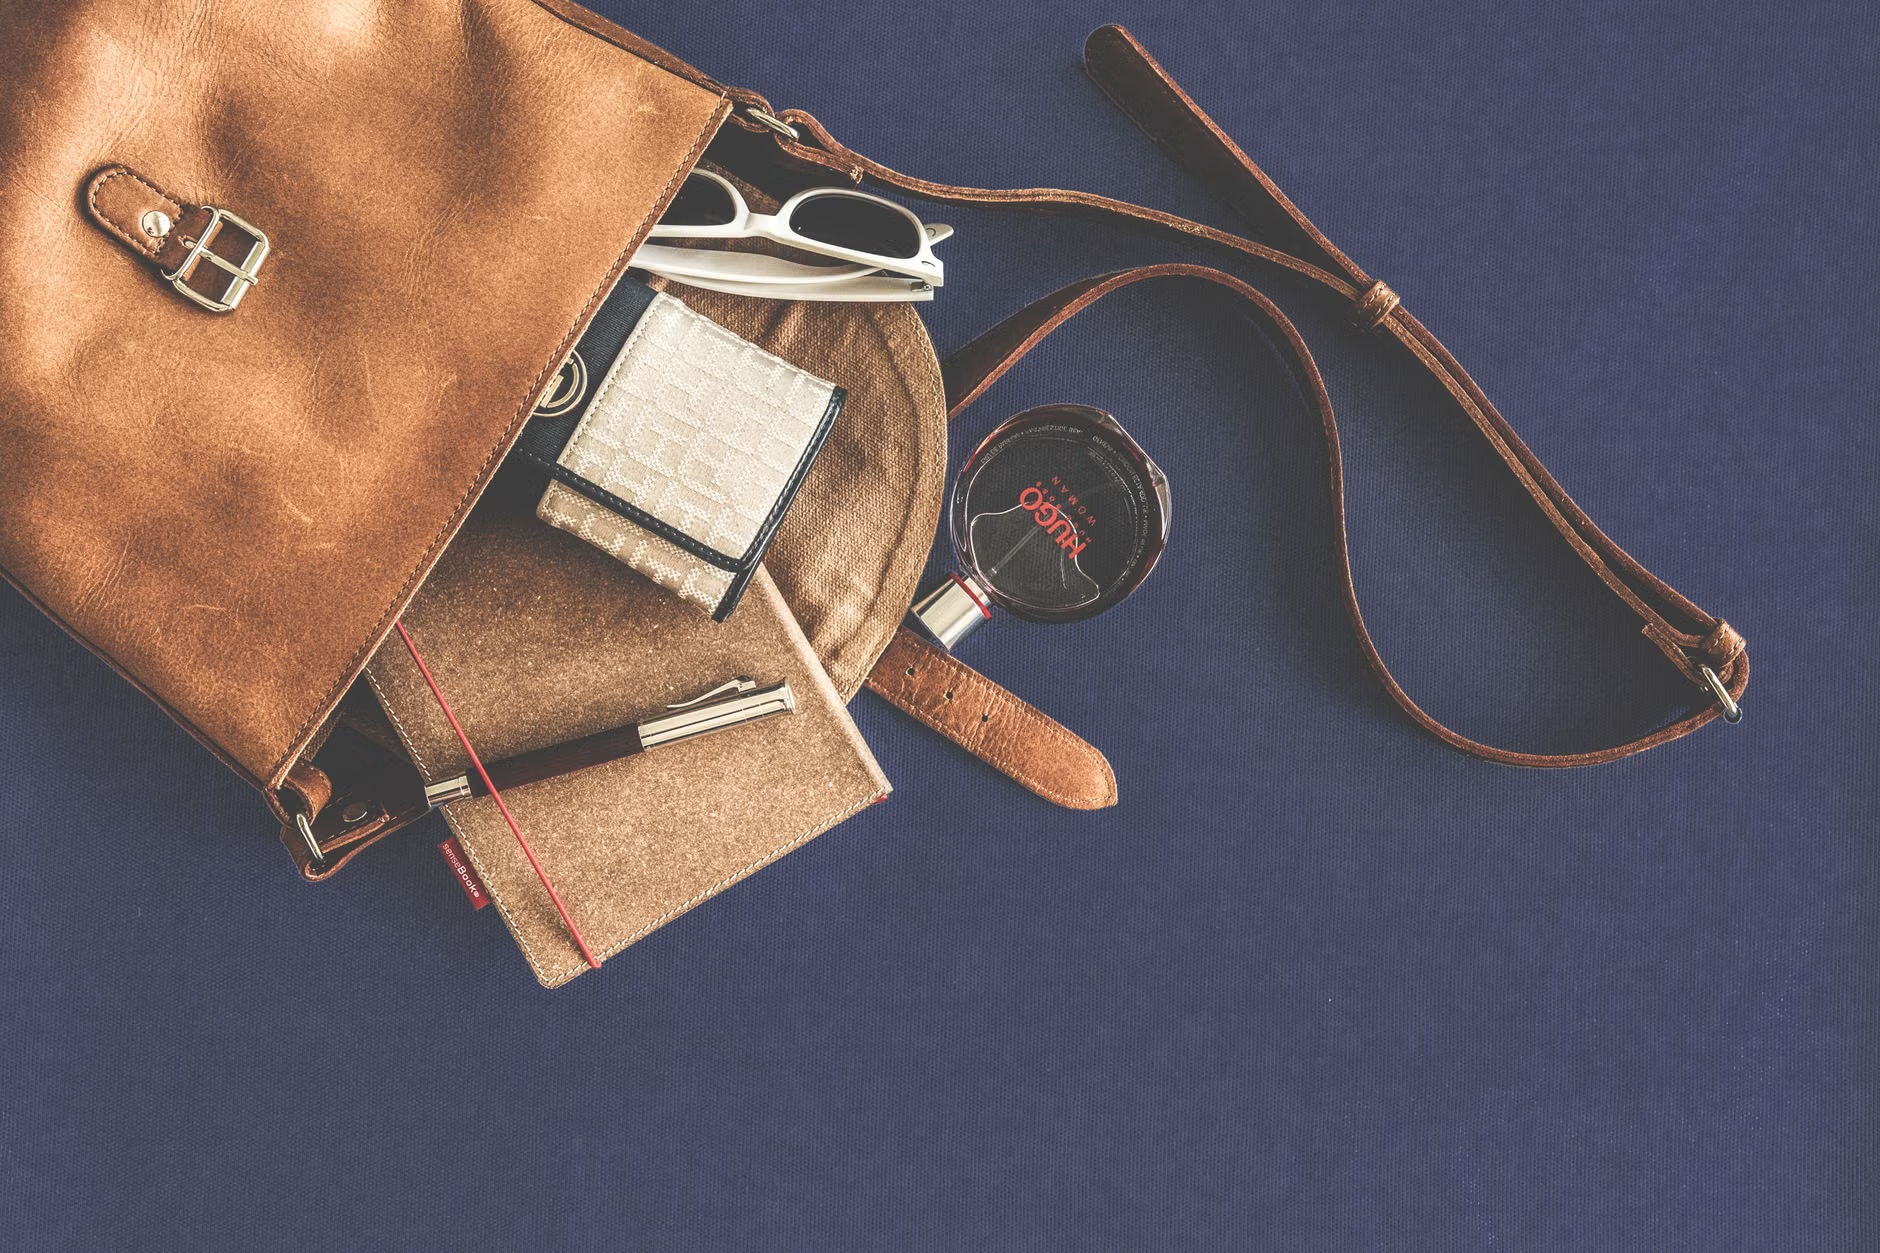
A small, lightweight cross-body bag is often the superior choice for museum tours. It allows for easy access to your glasses, phone, and water bottle without having to remove the bag. Furthermore, many museums (such as the Vatican Museums) require visitors to check backpacks in a cloakroom, which can be a significant inconvenience if you need access to medication or water.
Security Note: In high-traffic museums, pickpocketing can be a concern. Choose a bag with “locking” zippers or one that can be worn on the front of the body. This provides peace of mind, allowing you to focus on the exhibits rather than your belongings.
The “Essentials Only” Checklist
To keep your bag under the 2kg limit, only pack the following items:
- Lightweight Power Bank: Museum apps and audio guides drain smartphone batteries quickly.
- Vision Aids: Both your distance glasses (for large installations) and reading glasses (for small plaques). A small magnifying glass can also be useful for intricate details in jewelry or manuscript exhibits.
- Medication: A small pillbox with “as needed” medications for pain (e.g., paracetamol or ibuprofen) and any scheduled doses you might need if the tour runs long.
- Emergency Contact Card: A physical card with your name, any allergies, and a contact number, kept in a visible pocket of your bag.
Health, Hydration, and Sustaining Energy
Maintaining energy levels is the key to enjoying a full day of culture. For older adults, blood sugar fluctuations and dehydration can lead to sudden fatigue, dizziness, or “brain fog,” making it difficult to process the information presented in the museum.
Strategic Hydration to Minimize Restroom Frequency
One common concern among seniors is the need for frequent restroom breaks, which can discourage adequate hydration. To manage this, use the “Sip, Don’t Gulp” strategy. Instead of drinking a full bottle of water at once, take small sips every 15–20 minutes. This keeps your mouth and throat hydrated and maintains blood volume without overwhelming the bladder.
Note: Most museums allow water in clear plastic bottles, but they must be kept in your bag when in the actual galleries to protect the art. Always step into a hallway or cafe area to take a drink.
Portable Snacks for Blood Sugar Stability
Museum cafes are often expensive and may have long queues. Packing a small, high-protein snack can prevent the “afternoon slump.” Ideal snacks include:
- Unsalted almonds or walnuts (high in healthy fats and protein).
- A protein bar with less than 10g of sugar.
- A small piece of hard fruit like an apple.
Avoid: High-sugar snacks like chocolate or soda, which provide a quick energy spike followed by a sharp crash that can leave you feeling more exhausted than before.
Sensory and Technical Enhancements
Modern museums are increasingly digital. To get the most out of your visit, you need to pack the right technical tools to support your vision and hearing.
Maximizing the Audio Guide Experience
While museums provide headphones for their audio guides, they are often uncomfortable “on-ear” styles that leak sound and don’t block out background chatter. Pack your own comfortable over-ear headphones or high-quality earbuds. Most museum guides use a standard 3.5mm headphone jack. If you use a modern smartphone for the guide, ensure you have your own Bluetooth headphones paired and fully charged.
For those who use hearing aids, check if the museum offers “Induction Loops” (T-coil). This technology broadcasts the audio guide directly to your hearing aid, filtering out background noise and providing crystal-clear sound. You may need to pack a specific “neck loop” receiver provided by the museum, so ask at the information desk upon arrival.

Using Your Smartphone as an Accessibility Tool
Your smartphone is a powerful accessibility device. Before you go, ensure you know how to use the “Magnifier” feature (on iPhone) or “Magnification” (on Android). This allows you to use the camera to zoom in on small text on exhibit labels that might be placed too low or in dim lighting. Practical Step: Increase your phone’s default font size and screen brightness before entering the museum to make navigating the museum’s app easier.
The “ideal” packing list can change slightly depending on where in the world you are visiting. Standards for accessibility vary significantly by country and the age of the museum building.
USA, UK, and Europe: A Comparison
In the United States, the Americans with Disabilities Act (ADA) ensures that almost all museums have elevators, ramps, and accessible restrooms. You can feel confident bringing a standard rollator or wheelchair.
In Europe, many museums are housed in former palaces or medieval buildings. While they strive for accessibility, you may encounter “stair lifts” that require staff assistance or small, cramped elevators. Packing Tip: For European tours, a lightweight, narrow-frame walking aid is better than a wide, heavy-duty model.
In the United Kingdom, most national museums are free, meaning they are often very crowded. Packing a “hidden disabilities” sunflower lanyard can be a useful way to discreetly signal to staff that you may need extra assistance or a place to sit in these busy environments.
Conclusion: Your Path to a Fatigue-Free Museum Visit
Successful museum walking tours for seniors are built on the foundation of preparation over spontaneity. By prioritizing high-rebound footwear, managing your personal microclimate with smart layering, and utilizing mobility aids as stamina-saving tools, you can focus on the beauty of the exhibits rather than physical discomfort.
Your priority next step is to audit your footwear. Go for a 30-minute walk on a hard surface this afternoon. If you feel any aching in your lower back or heels, it is time to invest in a pair of dedicated walking shoes with rocker-sole technology before your next tour. For more information on specific museum accessibility, visit the Smithsonian Accessibility Page or the British Museum Accessibility Guide.
Frequently Asked Questions
1. Can I bring my own folding chair into a museum?
It depends on the specific institution. Many modern museums allow small, tripod-style folding stools if they have rubber tips to protect the floors. However, historic museums often prohibit them to prevent damage to ancient floorings or to keep pathways clear for safety. Always check the “Prohibited Items” section of the museum’s website or email their visitor services in advance.
2. What should I do if I have a medical implant that sets off metal detectors?
Security is standard at major museums. If you have a joint replacement or a pacemaker, you do not need to pack a medical certificate, though having a small card from your doctor can speed up the process. Simply inform the security officer before you walk through the scanner. They will usually direct you to a manual “wand” search or a side entrance to avoid interference with your device.
3. Are museum “loaner” wheelchairs always available?
No. While most major museums provide wheelchairs, they are often in high demand, especially during the summer or special exhibitions. They are usually distributed on a first-come, first-served basis. To ensure you have one, try to arrive within the first hour of the museum opening, or use the museum’s online booking system to reserve one if that option is available.