- Lateral Stability is Key: Ankle eversion strengthens the peroneal muscles, which are crucial for preventing side-to-side instability and ankle sprains.
- Seated Progression: Starting in a seated position allows you to build strength safely without the risk of losing balance, making it ideal for those just beginning a routine.
- Consistency Over Intensity: Small, daily movements that target the lateral ankle muscles are more effective for long-term balance than sporadic, high-intensity workouts.
Introduction: Why Lateral Stability Matters for Balance
Balance is often viewed as a singular ability, but it is actually a complex interaction between your vision, inner ear, and the strength of the muscles surrounding your joints. For adults aged 60 to 80, the ability to maintain stability when moving laterally—moving sideways or shifting weight—is a primary factor in preventing falls. Many people focus exclusively on forward-moving exercises like walking, but our daily lives require us to navigate uneven surfaces, change directions, and recover when we stumble. This is where the ankle, specifically the movement known as eversion, becomes essential.
Ankle eversion is the action of turning the sole of the foot outward, away from the midline of the body. This movement is controlled by the peroneal muscles located on the outside of your lower leg. When these muscles are strong, they act like the guy-wires on a tent, providing the tension necessary to keep your ankle stable when you step on an uneven sidewalk or shift your weight to move around a piece of furniture. This article explores how you can use seated exercises to safely build this strength, improving your confidence and reducing the risk of lateral instability.
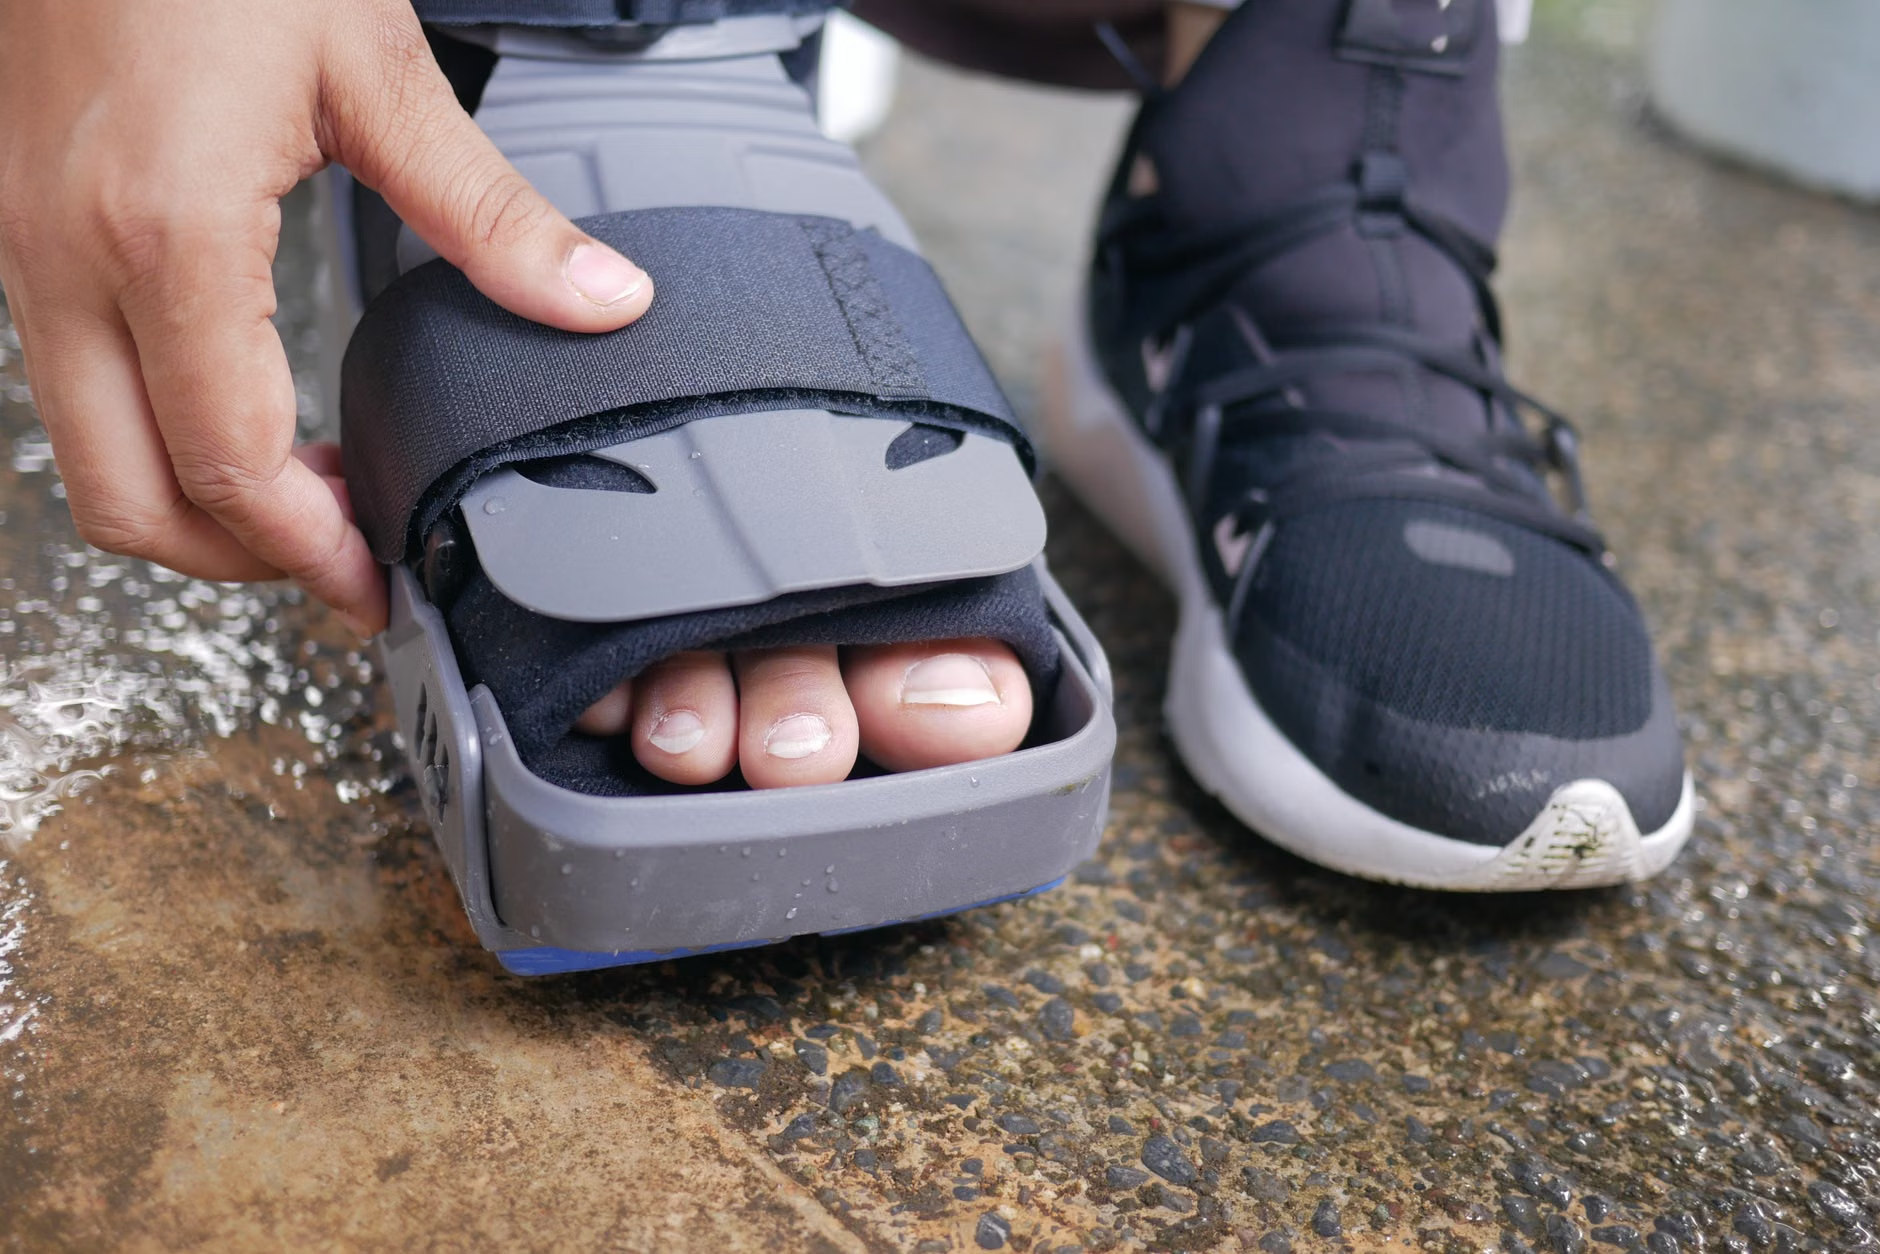
Understanding Ankle Eversion and the Peroneal Muscles
To understand why we target ankle eversion, we must look at the anatomy of the lower leg. The peroneal muscles (the peroneus longus and brevis) run down the outer side of the calf. Their primary job is to pull the foot outward and stabilize the ankle joint during weight-bearing activities.
As we age, these muscles can weaken due to disuse or changes in natural activity levels. When they become weak, the ankle becomes susceptible to “rolling” outward (inversion sprain). This is a common injury, but the real danger is the loss of the ability to quickly correct your position when you feel yourself tipping to the side. By strengthening the eversion motion, you are essentially training your brain and muscles to react faster and more effectively to potential slips.
The Benefits of Starting Seated
Starting your training in a seated position offers several distinct advantages for older adults:
- Reduced Fall Risk: You are already in a stable position. There is no risk of falling while you are learning the movement pattern.
- Isolating the Muscle: By removing the need to support your full body weight, you can focus specifically on the activation of the peroneal muscles without other muscle groups “taking over” the work.
- Joint Preservation: For those with existing knee or hip discomfort, seated exercises allow for strengthening without adding excessive impact or stress to those joints.
Step-by-Step: Performing Seated Ankle Eversion
Before beginning any new exercise routine, ensure you are using a sturdy, non-swivel chair. A kitchen or dining room chair without wheels is ideal. Maintain an upright posture, with your feet flat on the floor and your knees bent at a 90-degree angle.
Phase 1: The Basic Movement (No Equipment)
- Sit toward the front edge of your chair.
- Extend one leg slightly forward, keeping the heel on the ground.
- Slowly rotate your foot outward, lifting the outside edge of your foot while keeping your big toe in contact with the floor if possible.
- Hold this position for 2-3 seconds, feeling the tension along the outside of your calf.
- Slowly return to the starting position.
- Repeat 10-15 times per leg.
Common Mistake: Many people try to rotate the entire leg from the hip. Focus exclusively on the movement happening at the ankle joint. If you see your knee moving side-to-side, stop and reset. The thigh should remain relatively still throughout the motion.

Phase 2: Adding Resistance
Once you can perform the basic movement without discomfort, you can introduce a light resistance band. Resistance bands provide “progressive loading,” which helps muscles adapt and grow stronger over time.
| Resistance Level | Best For | Note |
|---|---|---|
| Light (Yellow/Tan) | Beginners | Focus on form and full range of motion. |
| Medium (Red/Green) | Intermediate | Use once you can do 15 reps with light resistance. |
| Heavy (Blue/Black) | Advanced | Only use if you have no pain and high control. |
To use the band, loop it around the outside of your foot and hold the other end with your hand or anchor it to a table leg on the same side. As you turn your foot outward, the band will push back, forcing your peroneal muscles to work harder. Always move slowly; the goal is control, not speed.
Integration into Daily Life: Beyond the Exercise
Strengthening exercises are only one part of the equation. To truly improve lateral stability, you must consider how your feet interact with the environment. Footwear plays a critical role in how your ankle supports your weight.
Choosing Supportive Footwear
Shoes with a wide, stable base are essential for lateral support. Avoid shoes with soft, “squishy” soles that may allow your ankle to collapse inward or outward. A firm heel counter (the back part of the shoe that hugs your heel) provides the necessary structure to keep the foot aligned.
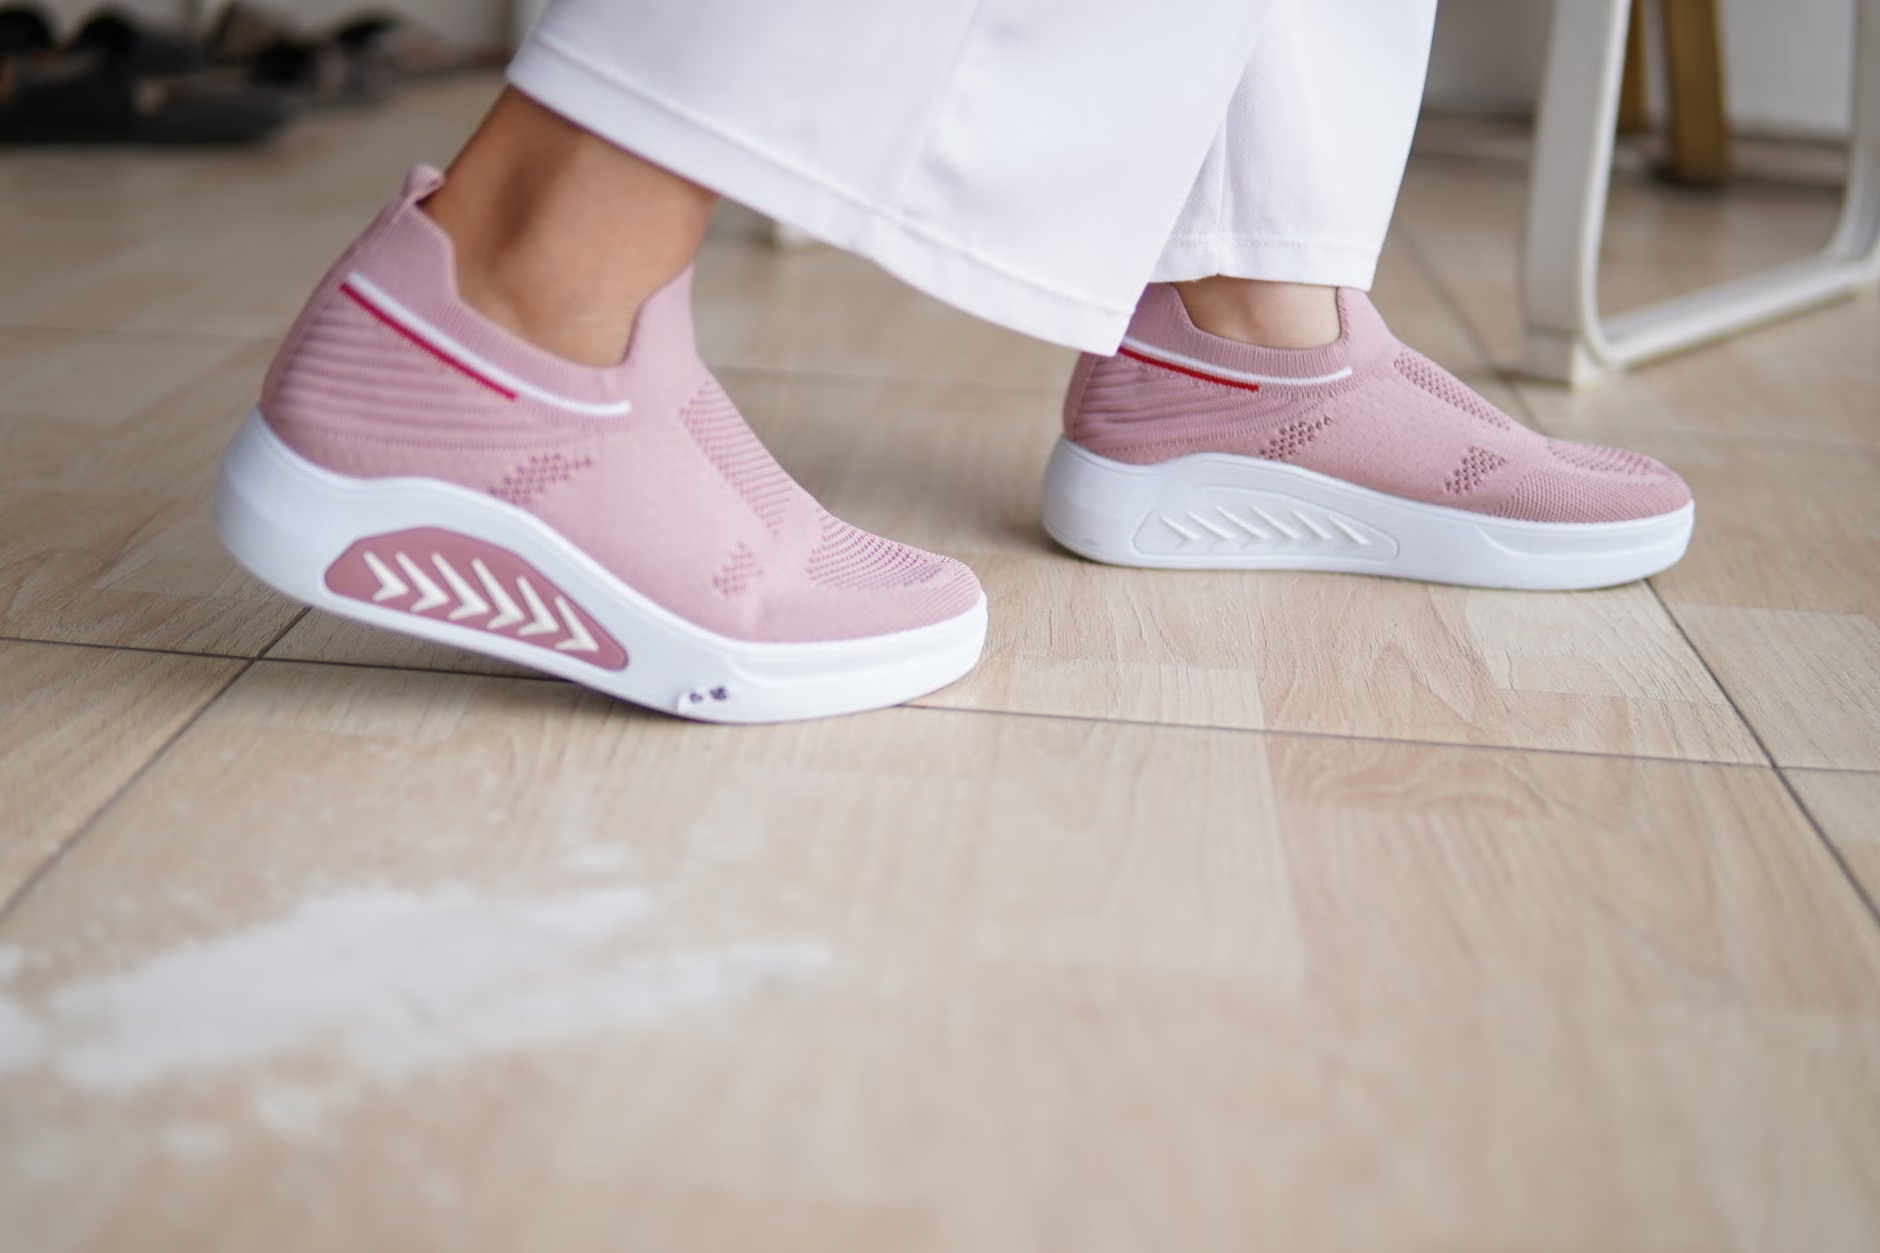
When you are at home, walking in socks on slick surfaces increases the risk of a slip. Consider wearing slippers with rubberized, non-slip soles. If you have hardwood or tile floors, ensure that rugs are secured with non-slip pads. These small environmental modifications, combined with your ankle exercises, create a “safety net” for your mobility.
Practical Decision Criteria for Your Routine
How do you know if you are progressing or if you need to adjust? Use the following criteria to evaluate your routine:
- Pain vs. Discomfort: Muscle fatigue (a burning sensation) is normal. Sharp, shooting pain in the ankle joint is not. If you experience sharp pain, stop immediately and rest for 48 hours.
- Range of Motion: If you notice your range of motion decreasing, it may be due to tightness in the muscles. Incorporate gentle calf stretches after your eversion exercises.
- Balance Checks: Once you have practiced these for 4-6 weeks, you may notice that you feel more “grounded” when standing in line or reaching for items on a shelf. This is the ultimate indicator of success.
Note: If you have a history of severe ankle sprains, chronic ankle instability, or recent surgery, consult a physical therapist before starting. They can provide a personalized assessment to ensure these exercises are appropriate for your specific anatomy.
The Role of Professional Guidance
If you find that your balance is declining, or if you have had a recent fall, do not rely on exercise alone. Schedule an appointment with your primary care physician. When you go, be prepared to discuss your specific concerns. Bring a list of your current medications, as some (such as blood pressure medication or sedatives) can impact balance. Ask your doctor for a referral to a physical therapist who specializes in geriatric care. They can perform a “fall risk assessment,” which might include standardized tests like the Berg Balance Scale or the Timed Up and Go (TUG) test. These provide objective data on your stability and help tailor your exercise plan.
Preparation for your appointment is vital for getting the most out of your visit. Write down when you feel most unstable—is it when you first wake up? When you are walking on uneven ground? Being specific allows the professional to pinpoint the exact nature of the problem, whether it is related to strength, inner ear function, or medication side effects.
Addressing Common Misconceptions
A common myth is that “more is better.” Many people believe that performing 100 repetitions a day will lead to faster results. In reality, the peroneal muscles are small and can fatigue quickly. Overworking them can lead to inflammation and discourage you from continuing. Stick to 2-3 sets of 10-15 repetitions, 3-4 times per week. This frequency is sufficient to stimulate muscle adaptation while allowing for recovery.
Another misconception is that balance is an “all or nothing” ability. In reality, balance is highly trainable at any age. Even into your 80s, your muscles retain the ability to adapt to resistance. The key is the consistency of the stimulus. You are not trying to become an athlete; you are trying to maintain the functional strength required for independent living.
Conclusion: Building a Foundation for Longevity
Lateral stability is a quiet but essential component of your health. By dedicating just a few minutes a day to seated ankle eversion, you are investing in your ability to move through the world with confidence. Remember that this is a process. Start slow, focus on the quality of the movement, and listen to your body. As you become more comfortable, you can gradually increase the resistance, but never at the expense of your form. With consistent effort, you will find that the simple act of strengthening your ankles provides a significant boost to your overall balance and daily quality of life.
For more information on fall prevention and senior mobility, you may consult resources provided by organizations such as the Centers for Disease Control and Prevention (CDC) – Falls Prevention or your local national health authority, which often provides guidelines tailored to your specific region’s healthcare system.
Frequently Asked Questions
- How long will it take to notice improvements in my balance?
Most individuals begin to notice improved ankle control within 4 to 6 weeks of consistent practice. However, significant changes in overall balance often require a combination of strengthening, flexibility, and daily movement. - Can I do these exercises if I have arthritis in my ankles?
Yes, but proceed with caution. If your ankle is inflamed or particularly painful, avoid the exercise on that day. Gentle movement can often help lubricate the joint, but always prioritize comfort and speak with your doctor to ensure it is safe for your specific stage of arthritis. - What should I do if I feel dizzy while exercising?
Stop immediately. Dizziness while seated is not a typical reaction to ankle exercises. It may indicate an issue with blood pressure or inner ear function. Sit quietly until the sensation passes, and contact your healthcare provider to discuss why this is happening.