- Cognitive Engagement: Botanical illustration improves focus and visual observation skills, acting as a meditative practice that enhances mindfulness.
- Low-Barrier Entry: You do not need expensive equipment to begin; a simple graphite pencil, paper, and a magnifying glass are sufficient to start observing plant structures.
- Structured Progression: Success in this hobby relies on a step-by-step approach—starting with basic shapes and light shading before moving to complex color blending and fine detail.
Botanical illustration is more than just drawing flowers; it is the art of scientific observation. For adults looking for a hobby that combines creativity, patience, and a deep appreciation for the natural world, it offers a unique path to cognitive stimulation and artistic satisfaction. Unlike general sketching, botanical illustration requires you to slow down, look at the architecture of a leaf or the curve of a stem, and translate that three-dimensional reality onto a two-dimensional page.
Understanding the Core Philosophy: Observation Over Perfection
Many beginners feel discouraged because they believe they must possess an innate “talent” for drawing. In botanical illustration, however, the most important tool is your eye, not your hand. The goal is to document the botanical accuracy of a subject. When you focus on observing the specific features—such as the serrated edge of a leaf or the exact way a petal attaches to the stem—the drawing becomes a result of your observation rather than an attempt to create a “perfect” image.
This process encourages a state of “flow,” where the outside world fades away, and your focus narrows to the intricate details in front of you. Studies in neurobiology suggest that sustained, focused attention on complex visual patterns can improve cognitive resilience and reduce cortisol levels. In practical terms, this means that even if you never intend to show your drawings to others, the act of drawing itself provides a significant mental health benefit.
The Difference Between Artistic Sketching and Botanical Illustration
It is helpful to distinguish between a “floral sketch” and “botanical illustration.” A floral sketch might capture the general feeling or aesthetic of a flower using loose lines. Botanical illustration, by contrast, is rooted in accuracy. It requires you to understand the plant’s morphology—the study of its form and structure. You aren’t just drawing a tulip; you are drawing the specific way the sepals fold and how the veins follow the contour of the leaf.
For the senior learner, this provides a structured intellectual challenge. You are not just making art; you are learning botany. This dual-purpose engagement keeps the brain active and creates a sense of accomplishment that goes beyond the aesthetic final product.
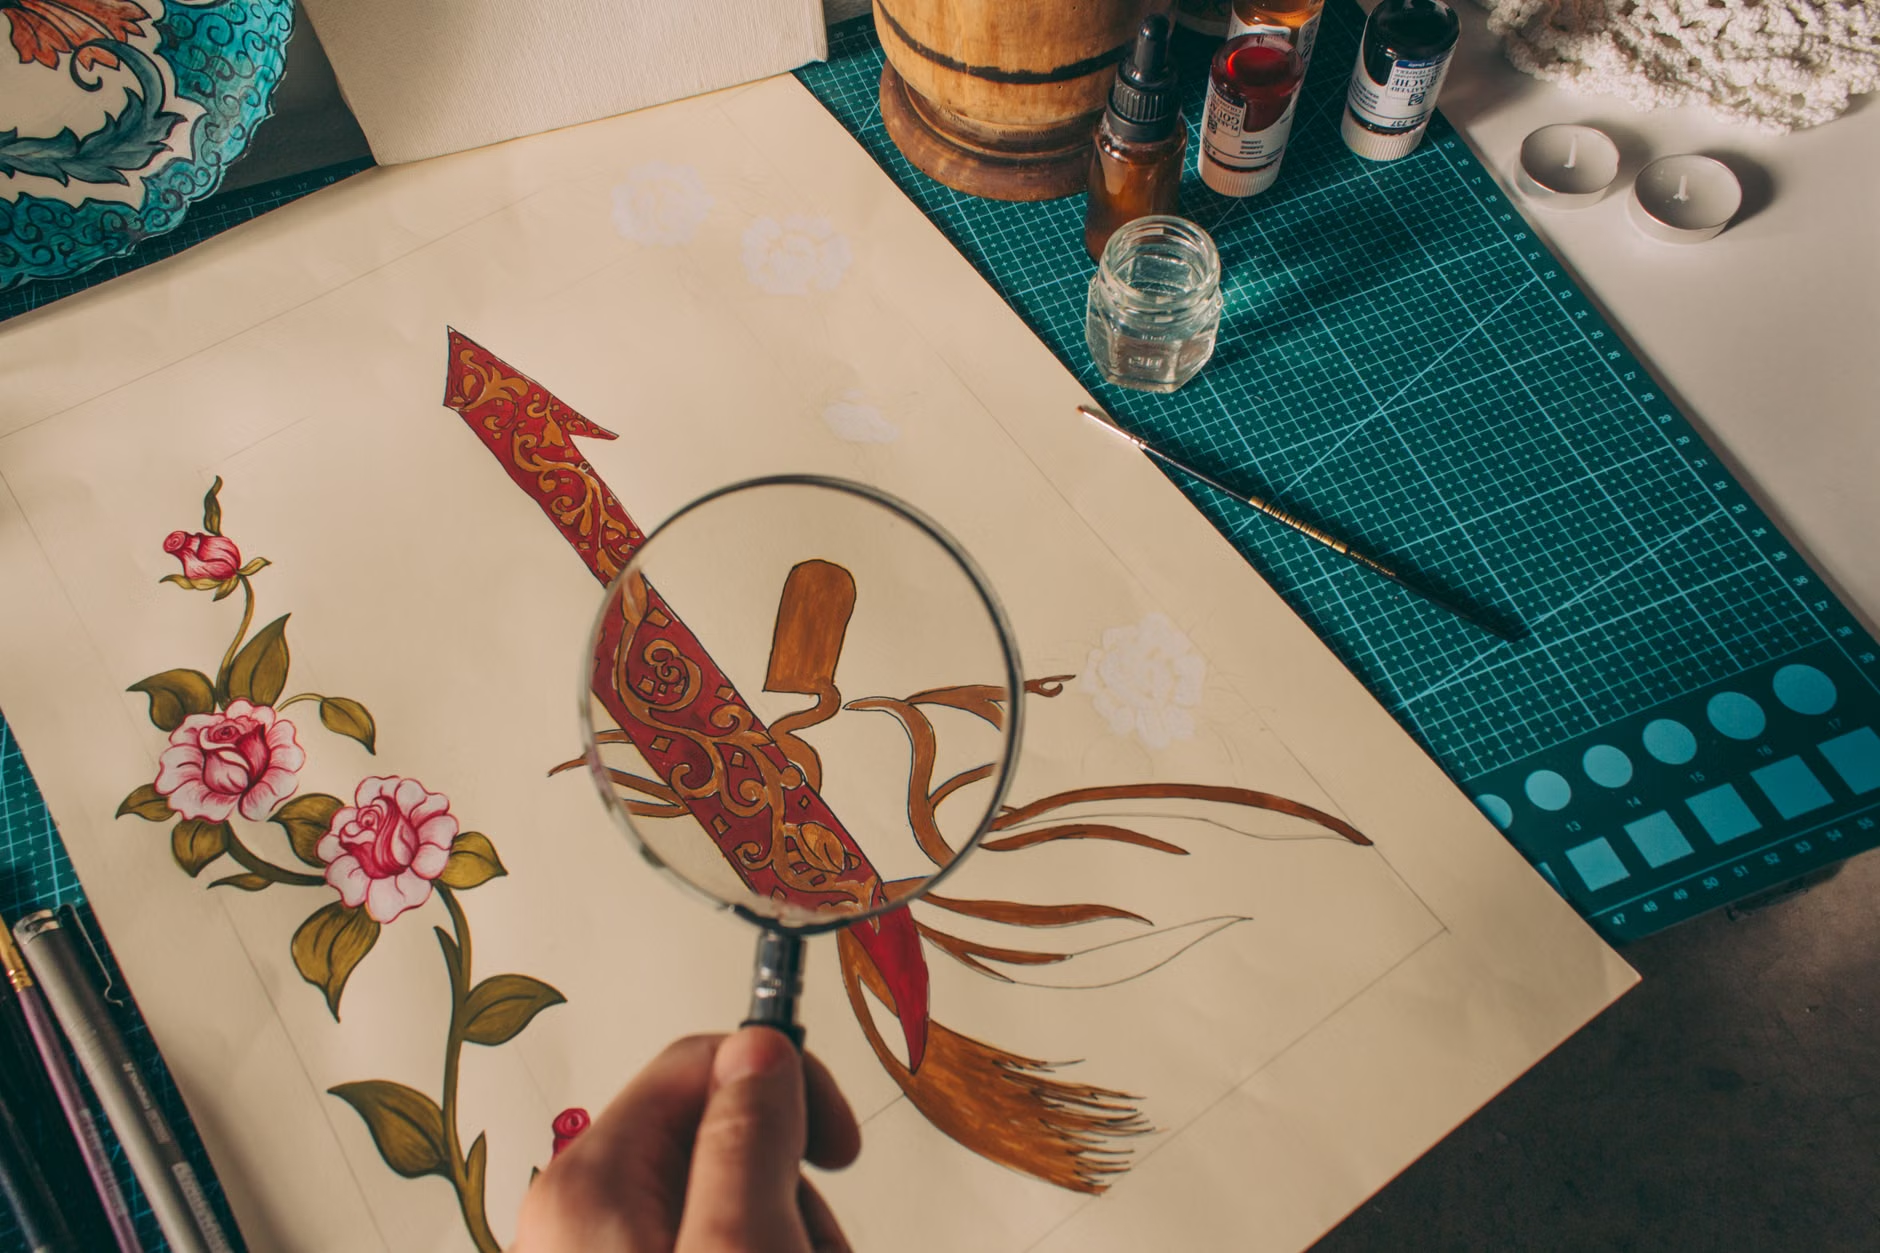
Equipping Your Workspace: A Minimalist Approach
One of the most common mistakes is over-investing in high-end materials before understanding which tools suit your personal style. You do not need a professional studio to start. In fact, keeping your kit simple allows you to set up and start drawing in under a minute, which is critical for maintaining a consistent habit.
| Tool | Purpose | Recommendation for Beginners |
|---|---|---|
| Graphite Pencils | Initial layout and shading | HB for light outlines, 2B for shading. |
| Sketchbook | Documenting progress | Acid-free, 120gsm paper (prevents bleeding). |
| Magnifying Glass | Analyzing structures | A 3x or 5x handheld lens. |
| Eraser | Correction | A kneaded eraser (it lifts graphite without damaging paper). |
The choice of paper is perhaps the most important investment. Cheap printer paper will buckle under pressure and make it difficult to layer colors or build depth with graphite. Look for “acid-free” paper, which ensures your work won’t yellow over time. For those with arthritis or limited grip strength, consider using pencil extenders or ergonomic triangular-shaped pencils, which require less pressure to hold and control.
Step-by-Step Methodology for Your First Study
Do not attempt to draw a complex bouquet on your first day. Start with a single, simple subject, such as a leaf or a single daisy. The following process will help you break down the task into manageable steps:
Step 1: The Observation Phase
Before your pencil touches the paper, spend at least five minutes observing your subject. Use your magnifying glass. Look at how the light hits the surface—does it look velvety, waxy, or hairy? Where do the shadows fall? Understanding the texture before drawing it is the secret to realistic rendering.
Step 2: The “Ghost” Outline
Use your HB pencil to draw a very light, almost invisible outline. This is your “ghost” layer. Do not worry about detail yet; focus only on the main shapes and proportions. If you make a mistake, use your kneaded eraser to gently lift the graphite. Do not scrub the paper, as this damages the fibers.
Step 3: Establishing the Light Source
Decide where your light is coming from (e.g., top-left). Every shadow in your drawing must respect this source. Consistency in lighting is what gives a flat drawing its three-dimensional form. If you are drawing indoors, use a desk lamp positioned to one side to ensure the shadows on your subject remain constant while you work.
Step 4: Layering and Texture
Botanical illustration is built in layers. Start with a light wash of color or a soft layer of graphite. Gradually build up the darkness in the shadowed areas. Avoid “smudging” with your fingers to blend; instead, use light, circular strokes with your pencil to build density. This technique, called stippling or cross-hatching, provides much more control and keeps the paper surface clean.

Overcoming Common Challenges for Older Adults
As we age, our eyes and hands may require different approaches to maintain this hobby. These are not barriers, but rather conditions that require minor adaptations in technique.
Managing Visual Acuity
If you find that your eyes tire easily, consider using a high-quality LED magnifying lamp that clamps to your table. These lamps provide both magnification and consistent, cool-toned light that mimics daylight. Avoid working in dim, yellow-toned ambient light, as this makes it difficult to distinguish between subtle shades of green and brown.
Handling Dexterity and Stamina
If your hands become fatigued, adopt the “15-minute rule.” Rather than trying to complete a drawing in one sitting, break it into 15-minute segments. Botanical illustration is a slow process by design. If you feel tension in your hand, stop and stretch your fingers. You may find that using softer graphite (like 4B) requires less pressure to achieve a deep, dark tone, which is physically easier than pressing down hard with an HB pencil.
The “Perfectionist Trap”
Many adults feel that if a drawing is not “perfect,” it is a failure. In botanical illustration, a “mistake” is often just a detail you haven’t observed closely enough yet. If your leaf looks wrong, stop and look at the real leaf again. Is the mid-rib curved? Is the edge jagged? Use the drawing as a diagnostic tool for your observation skills. Once you shift your mindset from “I am making a drawing” to “I am studying a plant,” the pressure to be perfect vanishes.
Advanced Techniques: Bringing Your Work to Life
Once you are comfortable with graphite, you may want to introduce color. Colored pencils are the most accessible entry point to color in botanical art. Unlike watercolors, which require mastery of water control and drying times, colored pencils are dry and portable.
The key to realistic colored pencil work is burnishing. This is the process of layering colors until the “tooth” of the paper is filled and the drawing looks smooth and vibrant. Start with the lightest color and build toward the darkest. Use a white pencil to blend the edges of your shadows, which creates a soft, natural transition between colors.
Another advanced technique is the use of a “viewfinder”—a small piece of cardboard with a square cut out of the center. By looking through this, you can isolate a specific part of a complex plant, removing the visual clutter of the surroundings. This is particularly useful when you are in a garden and feel overwhelmed by the number of plants in your view.
Integrating Botanical Illustration into Daily Life
To make this a sustainable hobby, integrate it into your daily routine. Many practitioners find that keeping a “nature journal” is more rewarding than creating individual drawings to frame. A journal allows you to document the same plant across different seasons. You might draw the bud in spring, the full bloom in summer, and the seed pod in autumn.
This long-term project provides a sense of continuity. It turns your hobby into a personal archive of the seasons. Furthermore, it encourages you to spend more time outdoors. Even if you have limited mobility, you can bring a small cutting of a plant to your table to study. The connection to nature, even through the lens of a magnifying glass, has been linked to improved mood and reduced feelings of isolation.
Safety and Practical Considerations
While this is a low-risk hobby, there are practical considerations to keep in mind:
- Postural Health: Ensure your chair provides adequate lumbar support. Drawing for long periods can lead to neck and back strain if you are hunching over the table. Use a tilted drawing board to bring the paper closer to eye level.
- Ergonomic Breaks: Set a timer for 30 minutes. When it goes off, stand up, stretch your shoulders, and look at something in the distance to rest your eyes.
- Material Safety: If you use fixatives to protect your finished graphite drawings, ensure you use them in a well-ventilated area, preferably outdoors.
Conclusion: The Value of Slow Art
Botanical illustration is a deliberate rejection of the fast-paced, digital world. It asks nothing of you but your attention. By focusing on the quiet, intricate beauty of a leaf or a petal, you are engaging in a practice that is as much about mental clarity as it is about artistic creation. Start small, be patient with yourself, and remember that every line you draw is a record of a moment spent truly seeing the world around you.
Frequently Asked Questions
1. Do I need to be good at drawing to start botanical illustration?
No. Botanical illustration is based on observation rather than artistic flair. If you can trace the shape of a leaf and observe where the light hits it, you have the necessary skills to begin. It is a learnable technical skill, not a mystical talent.
2. Can I use watercolor instead of colored pencils?
Yes, but watercolor requires more equipment and has a steeper learning curve regarding water control. It is generally recommended to master the basics of light, shadow, and form with graphite or colored pencils first before moving to water-based media.
3. How much time should I dedicate to this hobby to see improvement?
Consistency is more important than duration. Practicing for 20 minutes every other day will yield better results than a single four-hour session once a month. The goal is to train your eyes to see detail, which happens through regular, short bouts of focused practice.
For further reading on botanical techniques, you can explore the resources provided by the American Society of Botanical Artists, which offers extensive educational guides and community support for artists of all levels.