Selecting the right mountain railway for your next journey requires careful evaluation of infrastructure, physical accessibility, and the specific physiological demands of high-altitude travel. This guide provides a framework for choosing routes that balance scenic reward with physical comfort and safety.
- Prioritize “Level-Access” Infrastructure: Always verify if stations and carriages offer step-free boarding, as many historic mountain railways retain legacy architecture that requires climbing steep steps.
- Assess Altitude and Pacing: Rapid elevation changes can impact oxygen saturation; plan for intermediate stops to allow your body to acclimatize before reaching high-altitude summits.
- Verify Support Services: Confirm the availability of station-to-platform assistance and accessible restroom facilities at both the departure and arrival points before booking.
Understanding the Landscape of Accessible Mountain Railways
Mountain railways—including cogwheel trains, funiculars, and cable-hauled systems—are engineering marvels that provide access to terrain that would otherwise be unreachable. However, for the older traveler, these systems present unique challenges. A “scenic” route is only enjoyable if the logistics of boarding, seating, and navigation do not exceed your physical stamina or comfort levels.
When we talk about accessibility in this context, we are looking at three distinct layers: Physical Infrastructure (the ability to get on and off the train), On-Board Experience (seating comfort and cabin navigation), and Station Environment (the ease of reaching the platform from local transport or parking).
The Importance of “Step-Free” Verification
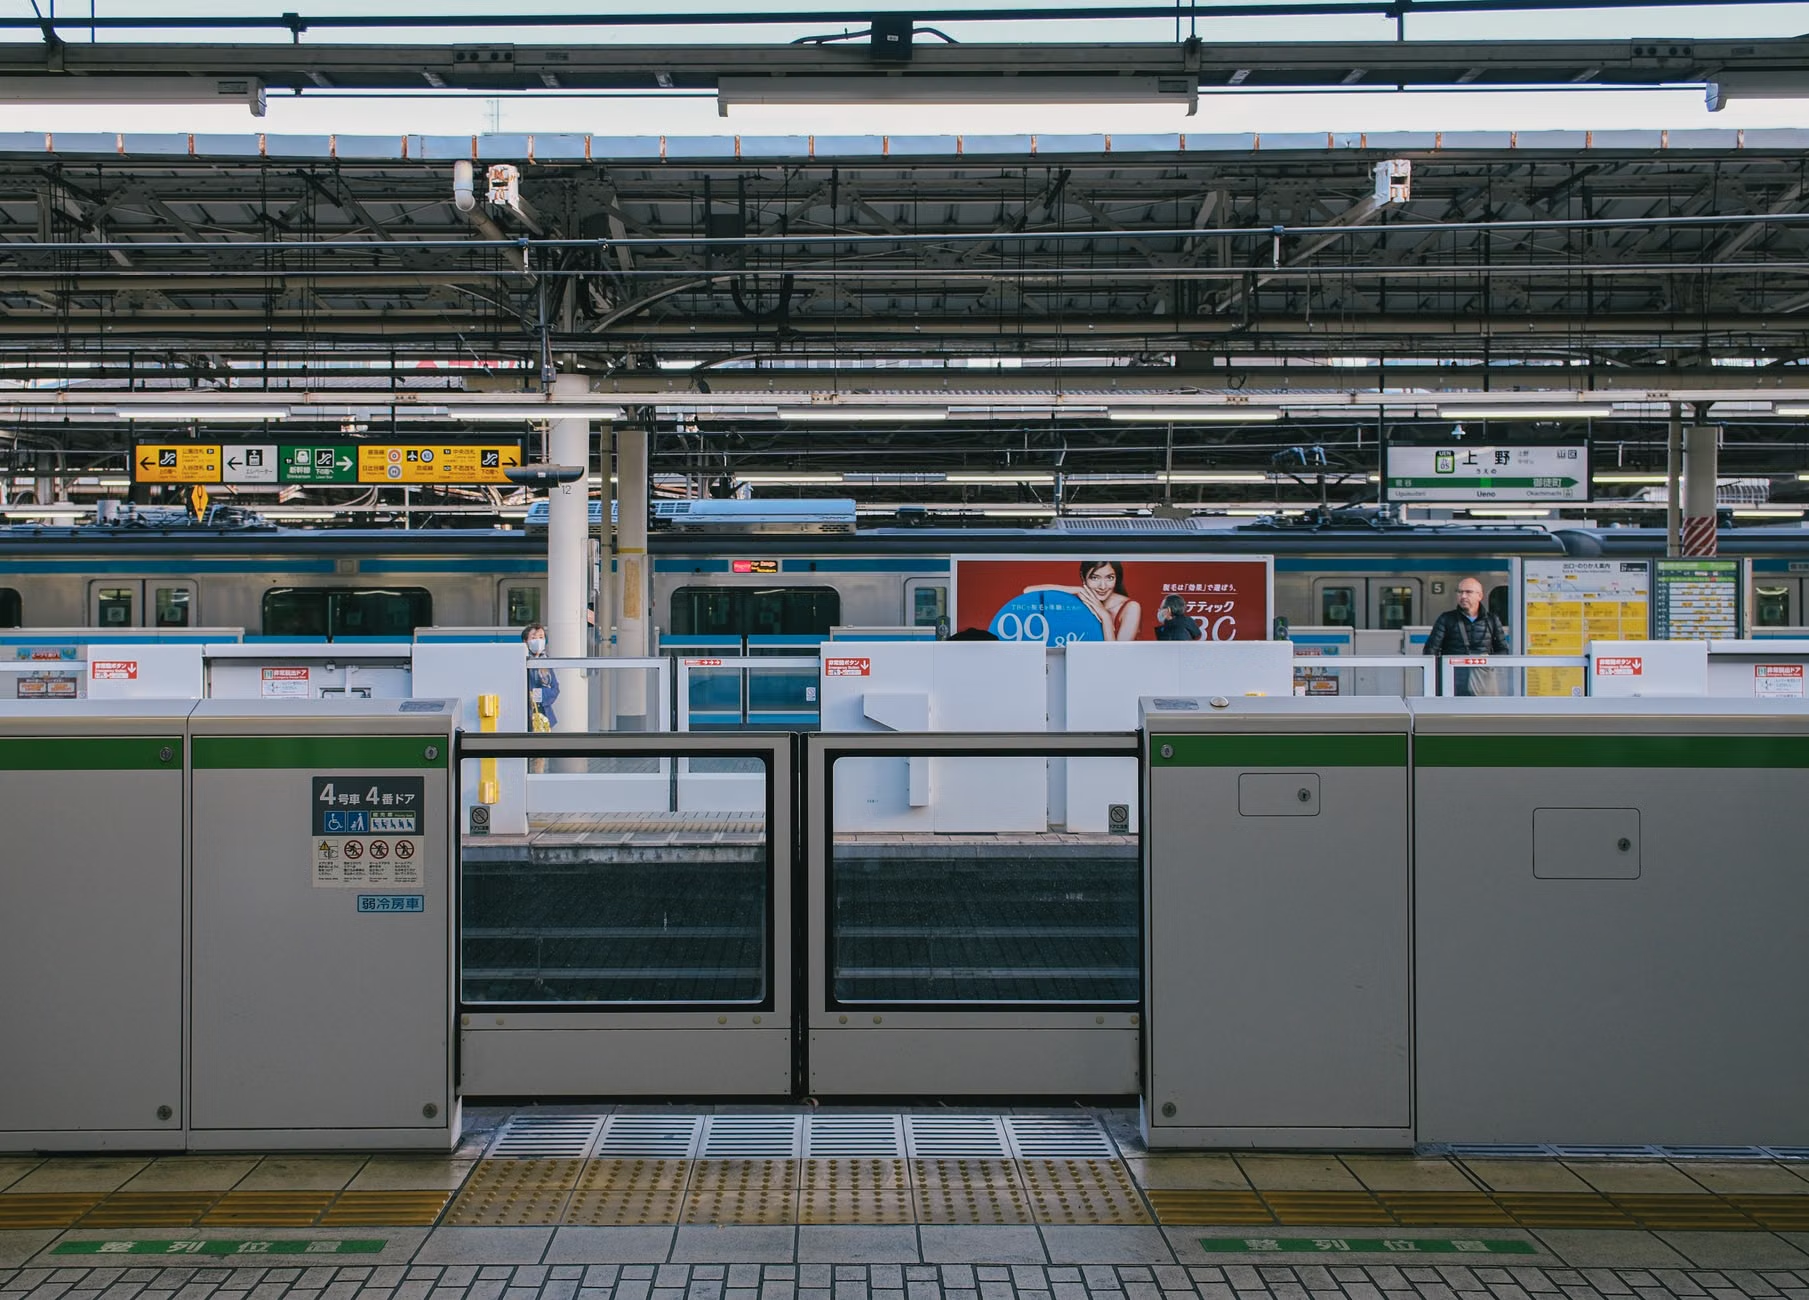
Many mountain railways operate on tracks laid in the 19th or early 20th centuries. While the rolling stock (the trains themselves) may have been updated, the station platforms often remain narrow, curved, or tiered. A common mistake is assuming that “accessible” means the entire journey is flat. Instead, look for specific terminology such as “step-free access” (SFA) or “level-boarding.”
Practical Decision Rule: If a website simply says “accessible,” do not book until you have confirmed the specific boarding mechanism. Does the train require a portable ramp? Is there a significant gap between the platform and the carriage? A gap of more than 10 centimeters can be a significant hazard for those with balance concerns or those using mobility aids.
Evaluating the Physical Demands of High-Altitude Travel
Mountain travel often involves moving from sea level or low-altitude valleys to summits exceeding 2,000 meters in a matter of minutes. This rapid ascent can lead to symptoms of mild altitude sensitivity, even in healthy adults. Symptoms such as lightheadedness, mild fatigue, or shortness of breath can be exacerbated by the physical exertion of navigating train stations.
Managing Altitude and Stamina
The key to a successful mountain excursion is pacing. If you are planning a trip to a high-altitude destination, consider the following checklist to maintain your stamina:
- The 500-Meter Rule: If possible, choose an itinerary that features an intermediate stop. Spend 30 to 60 minutes at an intermediate altitude before continuing to the peak. This allows your cardiovascular system to adjust to the lower air pressure.
- Hydration and Nutrition: Dehydration is more common at high altitudes due to lower humidity. Carry water and avoid heavy meals immediately before boarding, as digestion requires significant energy that your body may need for altitude adjustment.
- Temperature Regulation: Temperatures at a summit can be 10 to 15 degrees Celsius lower than at the base. Dress in layers that are easy to remove or add without requiring significant physical movement or balance-risking maneuvers.

Comparing Railway Types: Which Suits Your Needs?
Not all mountain railways are built the same. Understanding the mechanical differences can help you choose the one that offers the smoothest, most stable ride.
| Railway Type | Stability | Accessibility Potential | Best For |
|---|---|---|---|
| Cogwheel (Rack) Train | High | Moderate/High | Those who prefer a traditional, stable, and enclosed train experience. |
| Funicular | Moderate | High (if modern) | Short, steep ascents; look for “stepped” carriages that keep you level. |
| Aerial Cable Car | Low (Swaying) | Variable | Quick access; only if you have good core strength and balance. |
Analysis of the Table: The Cogwheel train is generally the most suitable for older adults because it provides a grounded, train-like experience with wide aisles and consistent seating. Funiculars are excellent, but you must ensure the station has an elevator (lift) to the platform. Aerial cable cars, while efficient, involve significant swaying and often require standing for the duration of the trip, which can be taxing on the joints and balance.
Practical Planning: A Step-by-Step Approach
Planning for a mountain railway trip should happen at least one month in advance. Do not rely on “on-the-day” decisions, as mountain stations can be crowded and lack the infrastructure to support last-minute assistance requests.
1. Pre-Departure Research
Visit the official railway website. Look for an “Accessibility” or “Special Assistance” page. If the page is missing, this is a red flag. Search for images of the boarding area. If you see stairs, look for a “map of the station” to identify the location of elevators. If you cannot find this information online, contact the station master directly via email. Ask: “Is the boarding process level-access for a person with limited mobility?”
2. Managing Luggage and Mobility Aids
If you use a walking aid, ensure it is foldable. Most mountain railways have limited space for large items. A lightweight, foldable cane or walker is preferable. If you travel with an electric mobility scooter, you must confirm the weight limit of the lift at the station and the turning radius inside the carriage. Many older carriages have narrow entryways that cannot accommodate modern electric scooters.
3. Booking Seating
Whenever possible, book a seat in the middle of the carriage. This is the point of least vibration and movement. Avoid seats near the doors, as these areas are high-traffic zones and are often drafty. If you have a companion, ensure you are seated together to provide mutual assistance during the ascent and descent.
On the day of your trip, arrive at the station at least 45 minutes before departure. This is not just to avoid rushing; it is to allow the station staff to prepare any necessary ramps or assistance for your boarding. Introduce yourself to the platform staff early. They are trained to assist passengers and will often prioritize your boarding to ensure you are settled before the general crowd enters.
Safety Note: If you feel dizzy or short of breath at any point, sit down immediately. Do not attempt to walk to the buffet car or move between carriages while the train is in motion. Mountain railways often have jerky movements due to the steep gradients and the mechanical nature of the track.
The Hidden Variables: What Most Travelers Overlook
Beyond the obvious, there are two variables that often ruin a trip: Weather-Related Delays and Station-to-Attraction Transitions. Mountain weather is notoriously fickle. A beautiful morning can turn into a foggy, high-wind afternoon. Always check the live weather feed for the *summit*, not just the town at the base. If the visibility is low, the summit experience may be limited, and the potential for a bumpy, uncomfortable return trip increases.
Furthermore, consider the “last mile.” Even if the train is perfectly accessible, the walk from the summit station to the viewing platform might be gravel, steep, or uneven. Research the path from the station exit to the main attraction. Is it paved? Are there benches? If the path is difficult, plan to stay at the station, which often provides a scenic view in its own right.
Conclusion: Your Priority Checklist
To ensure a safe and enjoyable journey, your priority should always be predictability. Choose routes that are well-documented for accessibility, travel during off-peak hours (mid-week, mid-morning), and always have a “Plan B” if you feel your stamina is lower than expected. Mountain railways are meant to be a source of wonder, not a source of stress. By meticulously vetting the accessibility of the station and the train, you can focus on the experience rather than the logistics.
Frequently Asked Questions (FAQ)
1. Can I bring my electric wheelchair on a mountain railway?
Most modern cogwheel trains accommodate standard electric wheelchairs, but you must check the dimensions and weight capacity of the specific train. Contact the railway operator 48 hours in advance to ensure they can deploy the necessary boarding ramps.
2. What should I do if I feel dizzy due to the altitude?
Sit down, keep your head level, and drink water. If you are with a companion, inform them immediately. If the symptoms persist or worsen, do not continue to higher altitudes; take the next available train back to the base station.
3. Are there always restrooms on mountain trains?
It depends on the length of the journey. Short funicular rides (under 20 minutes) rarely have on-board restrooms. Longer mountain rail journeys usually do. Always use the restroom at the base station before departure, regardless of the train’s amenities, to avoid the need to navigate potentially cramped or inaccessible facilities during the trip.
For further information on specific regional accessibility standards, please consult the official tourism board websites for your destination (e.g., MySwitzerland or VisitScotland, which provide detailed accessibility guides for their mountain transport networks).