- Seated neck rotations are a controlled, low-impact method to maintain upper cervical mobility, provided they are performed within a pain-free range of motion.
- Correct posture—feet flat on the floor, shoulders relaxed, and spine aligned—is the foundation of safe neck movement and prevents compensatory straining.
- Always prioritize “active range of motion” over aggressive stretching; if you experience sharp pain, dizziness, or radiating numbness, stop immediately and consult a healthcare professional.
Maintaining upper cervical mobility—the movement of the top segments of the neck—is essential for everyday activities, from checking blind spots while driving to scanning a room for a conversation partner. As we move through our 60s, 70s, and beyond, the natural aging of the cervical spine can lead to stiffness. Seated neck rotations serve as a foundational, accessible exercise to help preserve this range of motion while minimizing the risk of falls or overexertion.
Understanding the Anatomy and Purpose of Neck Rotations
The upper cervical spine, specifically the C1 (atlas) and C2 (axis) vertebrae, is responsible for nearly 50% of our head’s total rotation. Unlike the lower segments of the neck, which are designed for stability and support, these top two vertebrae are specialized for mobility. Over time, factors such as forward-head posture—often associated with prolonged screen use or reading—can cause the muscles surrounding these joints to tighten, leading to a restricted range of motion.
A seated neck rotation is not merely a “stretch”; it is a mobility drill. The goal is to move the joint through its natural arc without forcing it. When performed correctly, these rotations help lubricate the facet joints of the neck with synovial fluid, which acts as a natural shock absorber and lubricant for your spine. By incorporating this into your daily routine, you are not trying to “fix” a structural issue but rather maintaining the health of the tissues you use every single day.
The Essential Setup: Preparing Your Body and Environment
Before you begin any neck movement, your starting position is paramount. If your base—your spine and pelvis—is unstable, your neck muscles will have to work twice as hard to stabilize your head, which defeats the purpose of a gentle rotation.
1. Selecting the Right Chair
Choose a chair that is firm and provides adequate support. Avoid deep, cushioned armchairs or sofas that encourage slouching. A standard dining chair is often ideal. If you are using a chair with armrests, ensure they do not force your shoulders upward. Your shoulders should remain in a “down and back” position throughout the movement.
2. Establishing Your Anchor Points
Place both feet flat on the floor, about hip-width apart. This connection to the ground is your anchor. Imagine a string pulling the crown of your head toward the ceiling; this visualization helps lengthen the spine and prevents the chin from jutting forward. This alignment is critical because it aligns your cervical vertebrae, allowing for smooth, friction-free rotation.
| Posture Element | What to Check | Why it Matters |
|---|---|---|
| Feet | Flat on the floor | Provides a stable base for the torso. |
| Shoulders | Relaxed and down | Prevents trapezius muscle tension. |
| Chin | Parallel to the floor | Protects the cervical discs from shear force. |
Step-by-Step Execution: The Controlled Rotation
Once you are seated correctly, follow these steps to perform a safe rotation. Remember, the quality of the movement is more important than the distance you can turn your head.
- The Starting Point: Gaze directly forward at eye level. Pick a spot on the wall to act as your center marker.
- The Initiation: Slowly begin to turn your head to the right. Imagine you are tracking a line on the wall that is exactly parallel to the floor. Do not look up or down; keep your chin level.
- The Turning Phase: Rotate until you feel a gentle, comfortable stretch. This should never be painful. If you feel a “pinching” sensation, you have gone too far.
- The Hold and Return: Pause for one second at the end of your comfortable range. Slowly return to the center. Repeat this on the left side.

It is common to notice that one side feels tighter than the other. This is rarely a cause for alarm; it often reflects our daily habits, such as sleeping on one side or always looking toward a specific monitor or television position. The goal is to encourage balance over time through consistent, gentle practice.
Common Mistakes and How to Avoid Them
Even with the best intentions, many individuals inadvertently introduce stress to the cervical spine during stretching. Being aware of these common pitfalls can help you adjust your technique.
The “Chin-Dip” Error
Many people drop their chin toward their shoulder as they rotate. This shifts the stress from the rotational muscles to the cervical discs. Always maintain a “level chin” throughout the movement. If you find your chin dropping, try placing a finger on your chin to remind yourself to keep it horizontal.
The “Fast-Twitch” Reflex
Avoid jerky or rapid movements. The muscles of the neck are highly sensitive to sudden changes in tension. If you move too quickly, your muscles may initiate a protective reflex, causing them to tighten up further. Perform each rotation over a count of three seconds.
When to Consult a Professional
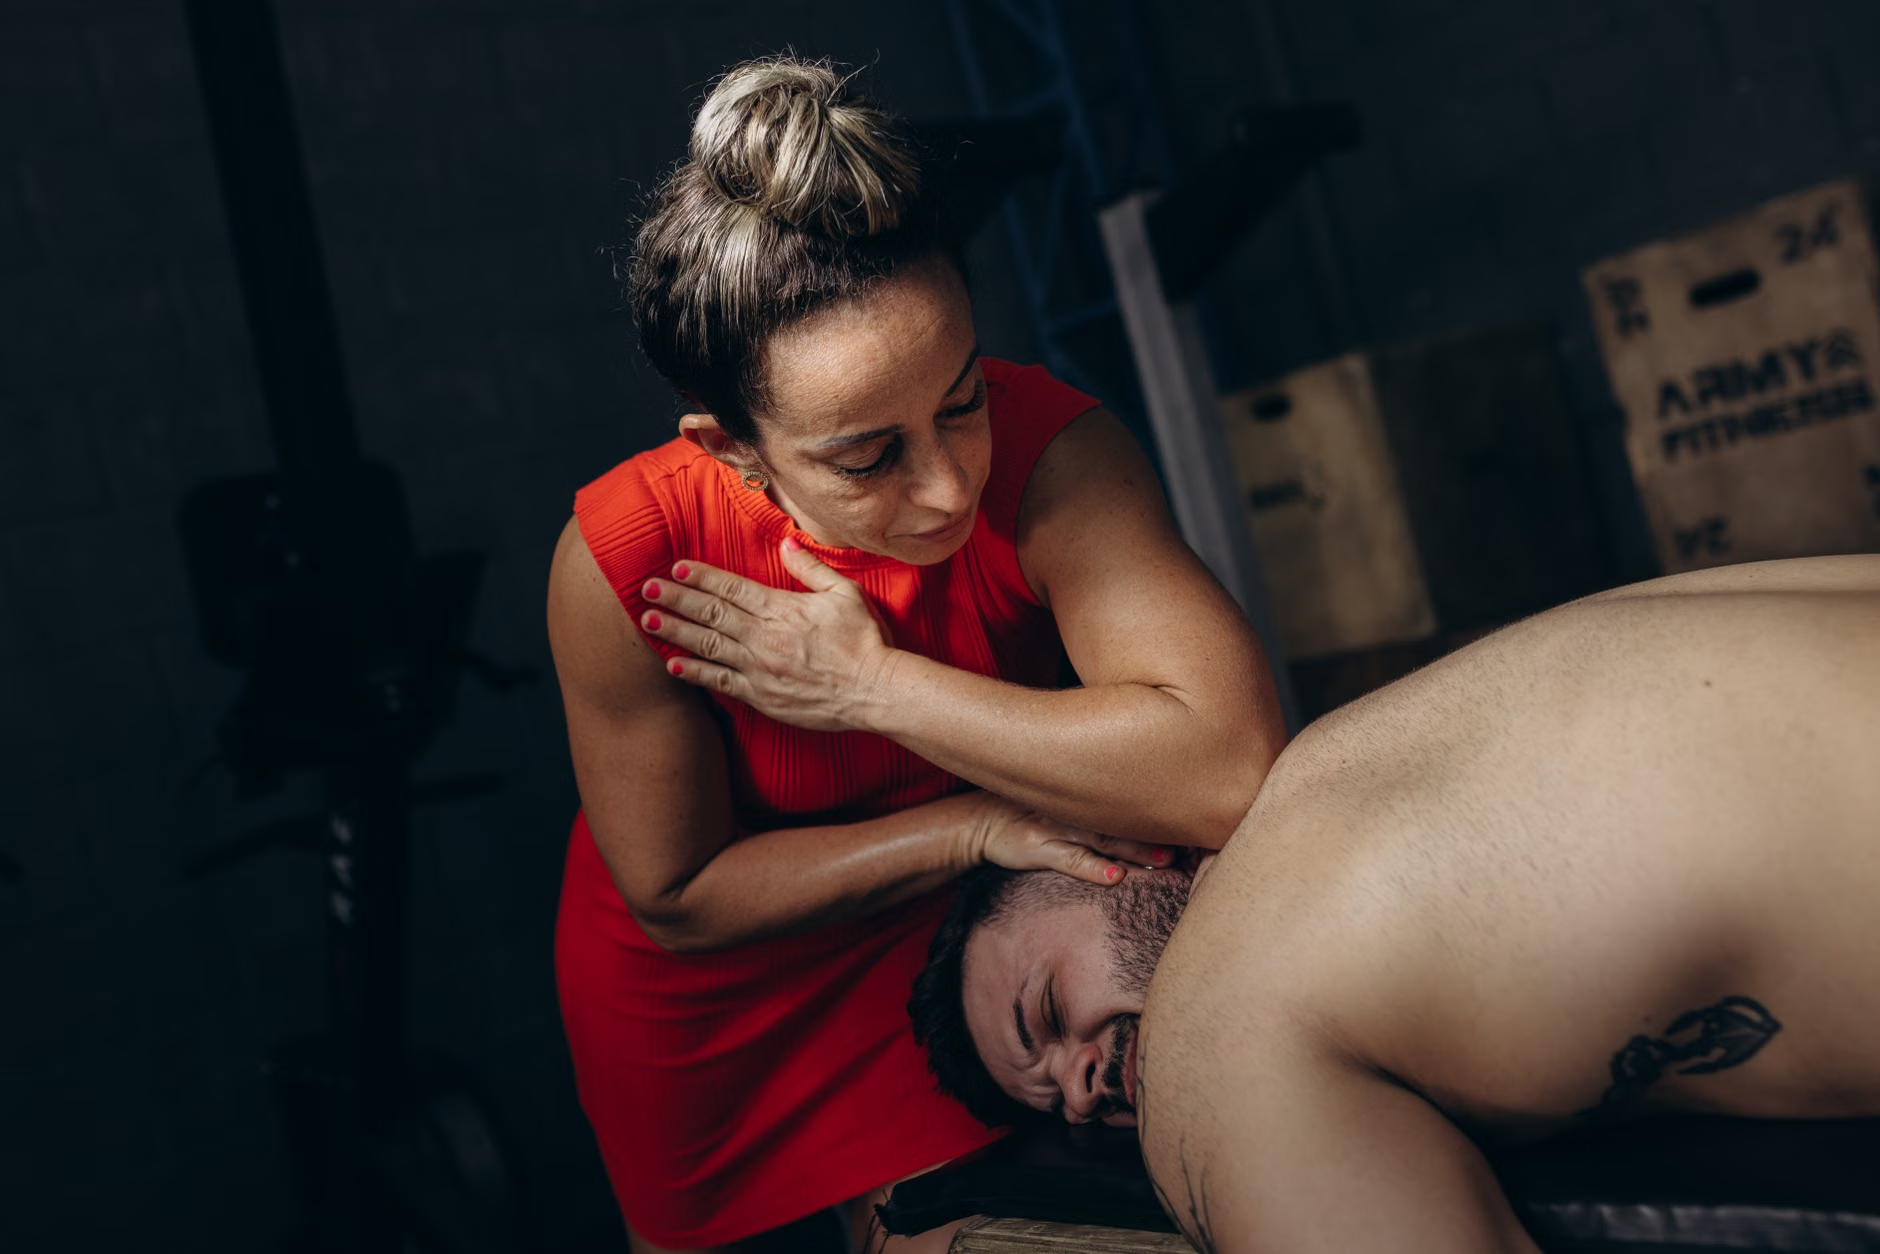
While simple neck mobility exercises are generally safe, there are scenarios where you should pause and seek guidance from a physical therapist or a primary care physician. If you experience any of the following, do not attempt these exercises until you have been cleared by a professional:
- Radiating Pain: Pain that shoots down into your shoulders, arms, or fingers. This may indicate nerve irritation.
- Dizziness or Vertigo: If turning your head triggers a spinning sensation, this could be related to your inner ear or blood flow and requires a clinical evaluation.
- Numbness or Tingling: Any loss of sensation in your hands or arms during the movement.
- A History of Trauma: If you have had significant neck or spinal injuries in the past, consult your doctor regarding specific modifications for your condition.
When you do see a professional, come prepared. Maintain a simple log for one week detailing when you feel stiffness, what activities precede the stiffness, and whether the discomfort is constant or intermittent. Bringing this log to your appointment provides your clinician with objective data rather than relying on memory alone.
Integrating Mobility into Daily Life
The most effective exercise is one that you actually perform. Instead of treating this as a “workout,” treat it as a “micro-break.” If you spend time reading, watching television, or working on a computer, set a timer for every 45 minutes. When the timer goes off, perform three slow rotations to each side. This frequency is far more effective for long-term mobility than performing twenty repetitions once a week.

The “Environment” Factor
Look at your living space. Is your favorite chair positioned in a way that forces you to look over your shoulder to see the television or the door? If so, you are likely holding your neck in a rotated position for hours at a time. Simple adjustments, such as moving your chair to face the television directly or placing a mirror to see who is entering the room, can significantly reduce the cumulative strain on your neck.
Understanding the Limits of Self-Care
While mobility exercises are beneficial, they are not a substitute for medical treatment if you have chronic conditions like cervical spondylosis or arthritis. In these cases, a physical therapist may prescribe specific “isometrics”—exercises where you push against resistance without moving the joint—which can be safer and more effective than pure rotations. Always prioritize professional guidance over generic online advice if you have a diagnosed condition.
Furthermore, recognize the difference between “stiffness” and “pain.” Stiffness is a feeling of resistance or tightness; it is usually manageable through movement. Pain, particularly sharp, stabbing, or persistent pain, is a signal that your body is reaching its limit. Respect that signal. You are not “failing” if you cannot turn your head as far as you could ten years ago; you are simply managing your body’s current requirements.
Long-Term Mobility Strategies
Beyond neck-specific movements, your overall spinal health is influenced by your core strength and thoracic (mid-back) mobility. The neck is often a victim of what happens in the rest of the spine. If your upper back is rounded, your neck is forced to compensate by arching forward. Exercises that focus on opening the chest and strengthening the muscles between the shoulder blades will indirectly make your neck rotations feel easier and more fluid.
Consider incorporating gentle activities like walking, which encourages the natural, rhythmic movement of the entire spine, or water aerobics, where the buoyancy of the water supports your weight, allowing for a broader range of motion without the burden of gravity. These activities are excellent for maintaining the stamina required to keep good posture throughout the day.
Conclusion
Seated neck rotations are a simple yet powerful tool for maintaining upper cervical mobility. By focusing on correct posture, controlled movement, and listening to your body’s signals, you can keep your neck comfortable and functional. Remember that consistency is your best ally. By integrating these small movements into your daily routine, you are taking a proactive step toward maintaining your independence and quality of life. Always listen to your body, respect your limits, and consult with a healthcare provider if you encounter persistent issues.
Frequently Asked Questions (FAQ)
1. How often should I perform these neck rotations?
For most adults, performing these rotations 2 to 3 times per day as part of a “movement break” is ideal. Aim for 3 to 5 slow, controlled repetitions in each direction during each session. Consistency is more important than intensity.
2. Can these exercises help with neck pain caused by arthritis?
If you have diagnosed arthritis, it is essential to consult your doctor or a physical therapist first. While gentle movement is often recommended, the specific type of movement must be tailored to your joint health to avoid inflammation or further irritation.
3. Why do I hear a “clicking” or “cracking” sound when I turn my head?
This is often caused by the movement of tendons or ligaments over bony prominences, or the release of gas bubbles in the joint fluid (a process called cavitation). If the sound is not accompanied by pain, it is typically harmless. However, if the sound is accompanied by pain or grinding, you should consult a professional.
Disclaimer: This article is for informational purposes only and does not constitute medical advice, diagnosis, or treatment. Always seek the advice of your physician or other qualified health provider with any questions you may have regarding a medical condition.
Official Reference Sources: