- Shin strength is a primary defense against trips: The tibialis anterior muscle is responsible for lifting your toes during the “swing phase” of walking; strengthening it directly reduces the risk of “toe-drag” and tripping.
- Accessibility and Safety: Seated toe-taps are a low-impact, gravity-assisted exercise that allows you to isolate the shin muscles without the balance risks associated with standing exercises.
- Consistency Over Intensity: Because the shin muscles are endurance-based, daily high-repetition sets are more effective for gait stability than infrequent, heavy weight lifting.
Seated Toe-Taps: A Practical Guide to Shin Strength and Gait Stability
The ability to walk confidently—without the fear of tripping—is one of the most significant indicators of long-term independence. For many adults aged 60 to 80, the primary culprit behind accidental falls is not a lack of leg strength, but a specific weakness in the lower leg known as the tibialis anterior. This muscle runs along the front of your shin and is responsible for “dorsiflexion,” the action of pulling your toes and foot upward toward your shin.
When this muscle weakens, the toes do not clear the ground sufficiently during the swing phase of your gait. This leads to the classic “toe-drag” phenomenon, where your foot catches on rugs, uneven pavement, or door thresholds. Seated toe-taps are an accessible, evidence-based exercise designed to build the endurance and strength of this specific muscle group, effectively improving your gait stability from the comfort of your own home.
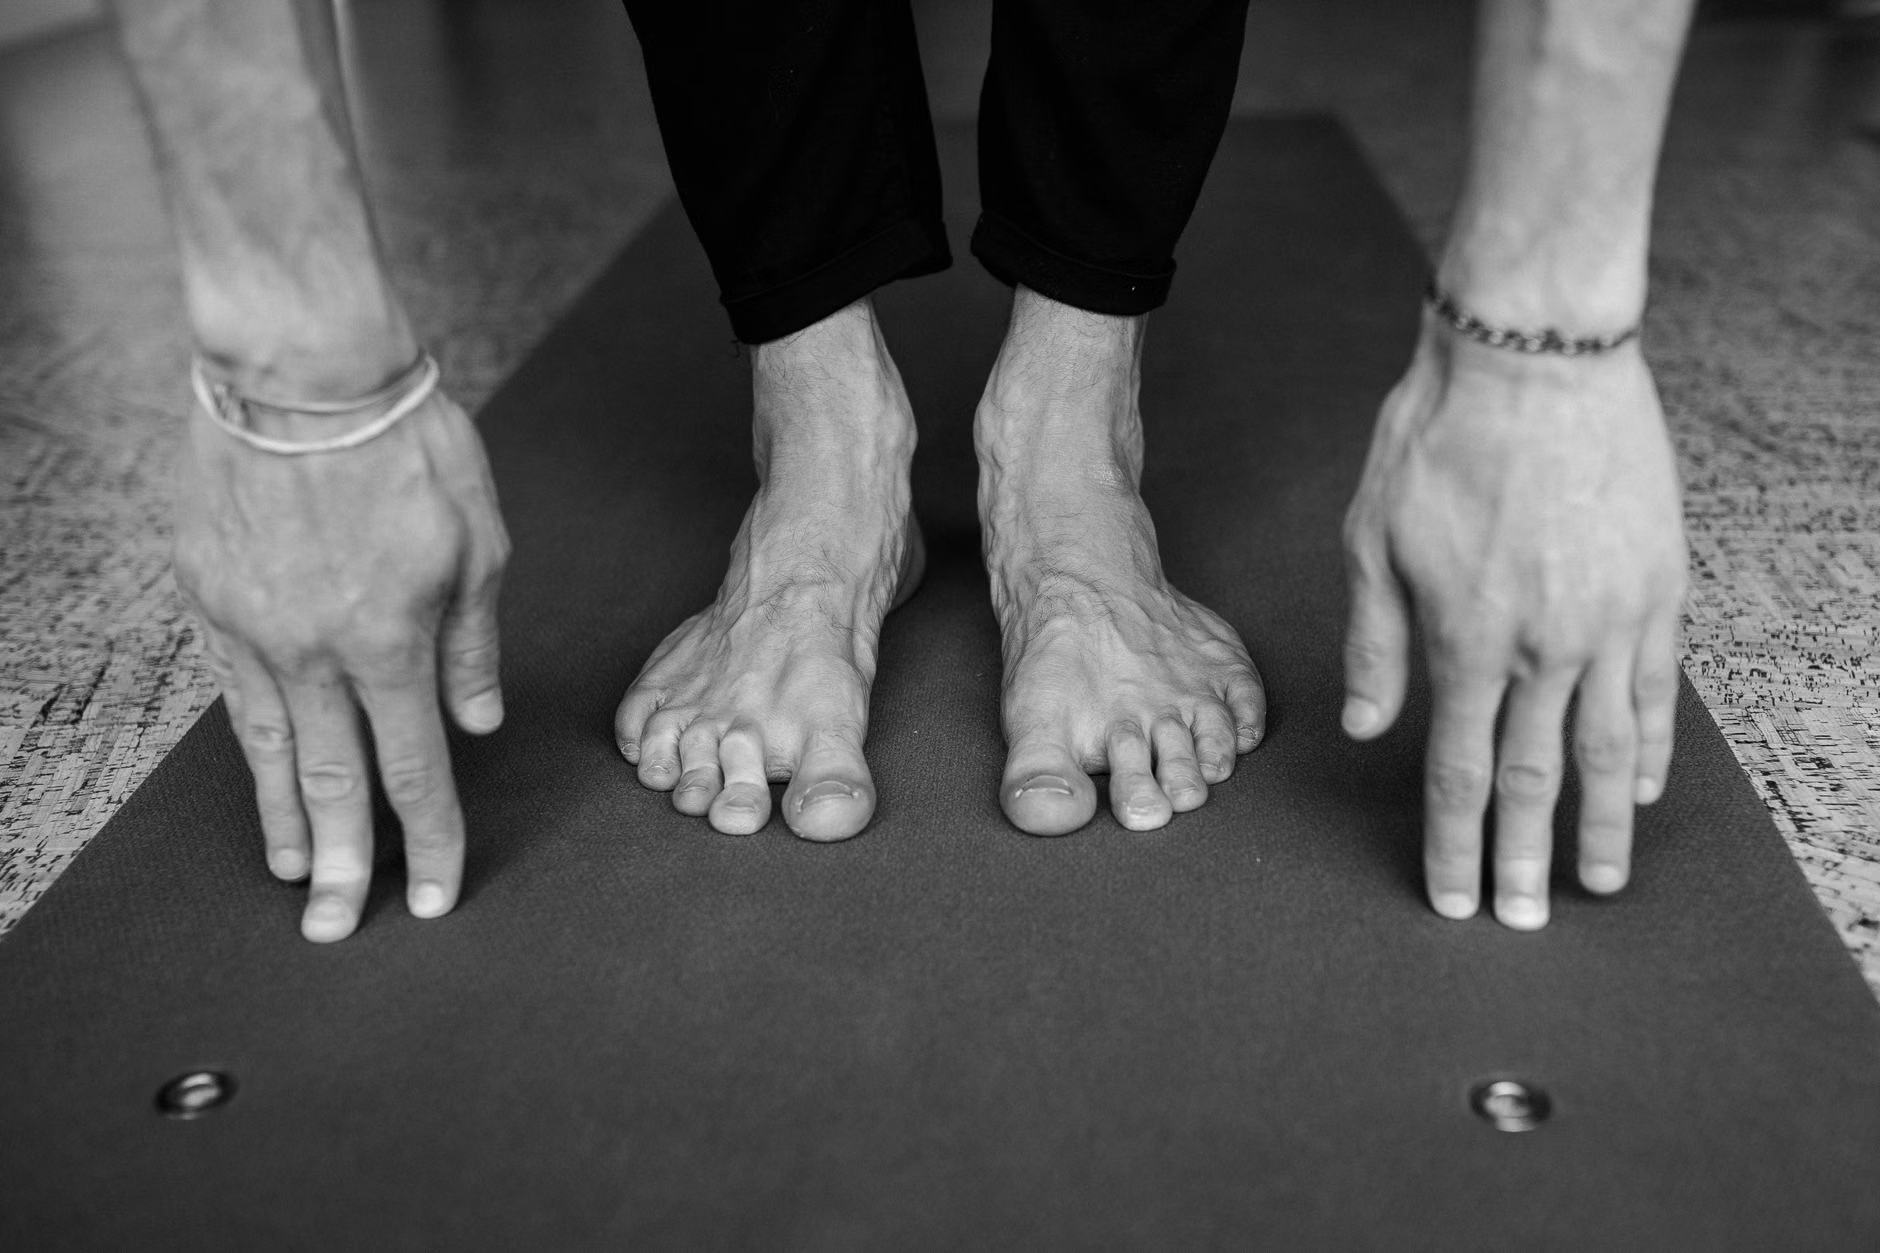
Understanding the Mechanics of Your Gait
To understand why seated toe-taps are effective, it is necessary to look at how we walk. Gait is a complex, repetitive cycle. It involves a “stance phase,” where your foot is on the ground bearing weight, and a “swing phase,” where the foot is in the air moving forward to take the next step. During that swing phase, if your tibialis anterior is not strong enough to hold your foot in a neutral or slightly upward position, your toes point downward. Even a fraction of an inch of “drop” is enough to cause a trip.
As we age, natural physiological changes, including a reduction in muscle fiber diameter (sarcopenia) and potential nerve conduction slowing, can make this dorsiflexion movement less precise. By isolating the tibialis anterior through seated toe-taps, you are essentially “re-training” the neurological pathways and physical capacity of the muscle to ensure a clean foot clearance with every step you take.
The Role of the Tibialis Anterior
The tibialis anterior is a unique muscle. Unlike the quadriceps, which are designed for power, the tibialis anterior is designed for endurance and fine-tuned control. It must activate thousands of times per day to keep your feet from hitting the floor prematurely. Because of this, it responds best to high-repetition, low-resistance training rather than heavy, low-repetition movements.
How to Perform Seated Toe-Taps Safely
The beauty of the seated toe-tap is its simplicity and safety profile. You do not need specialized gym equipment, and the risk of falling during the exercise is non-existent because you are already seated.
- Find the right chair: Choose a sturdy, non-swivel chair with a firm seat. Avoid soft sofas or chairs with wheels, as these do not provide the stable base required to isolate the movement.
- Positioning: Sit toward the front edge of the chair with your feet flat on the floor, hip-width apart. Your knees should be bent at a 90-degree angle.
- The Movement: Keep your heels firmly planted on the floor. Slowly lift your toes toward your shins as high as you comfortably can. Hold for one second at the top of the movement to feel the contraction in the front of your shin.
- The Return: Lower your toes back to the floor in a controlled, slow motion. Do not let your feet “slap” the floor; use your muscles to control the descent.
Recommended Progression and Volume
Because the tibialis anterior is an endurance muscle, you should focus on volume. A common mistake is trying to perform these too quickly or with too little range of motion. Use the following table as a guide for your progression:
| Week | Sets | Repetitions | Goal |
|---|---|---|---|
| Week 1-2 | 2 | 15 per leg | Establish form and range of motion. |
| Week 3-4 | 3 | 20 per leg | Increase muscular endurance. |
| Week 5+ | 3 | 30 per leg | Maintain stability and neuromuscular control. |
The table above suggests a gradual increase in volume. If you feel significant muscle fatigue or “burning” in your shins, that is a positive sign that you are targeting the right muscle group. However, if you experience sharp, shooting pain, stop the exercise immediately and consult with a physical therapist.
Advanced Variations: Adding Resistance
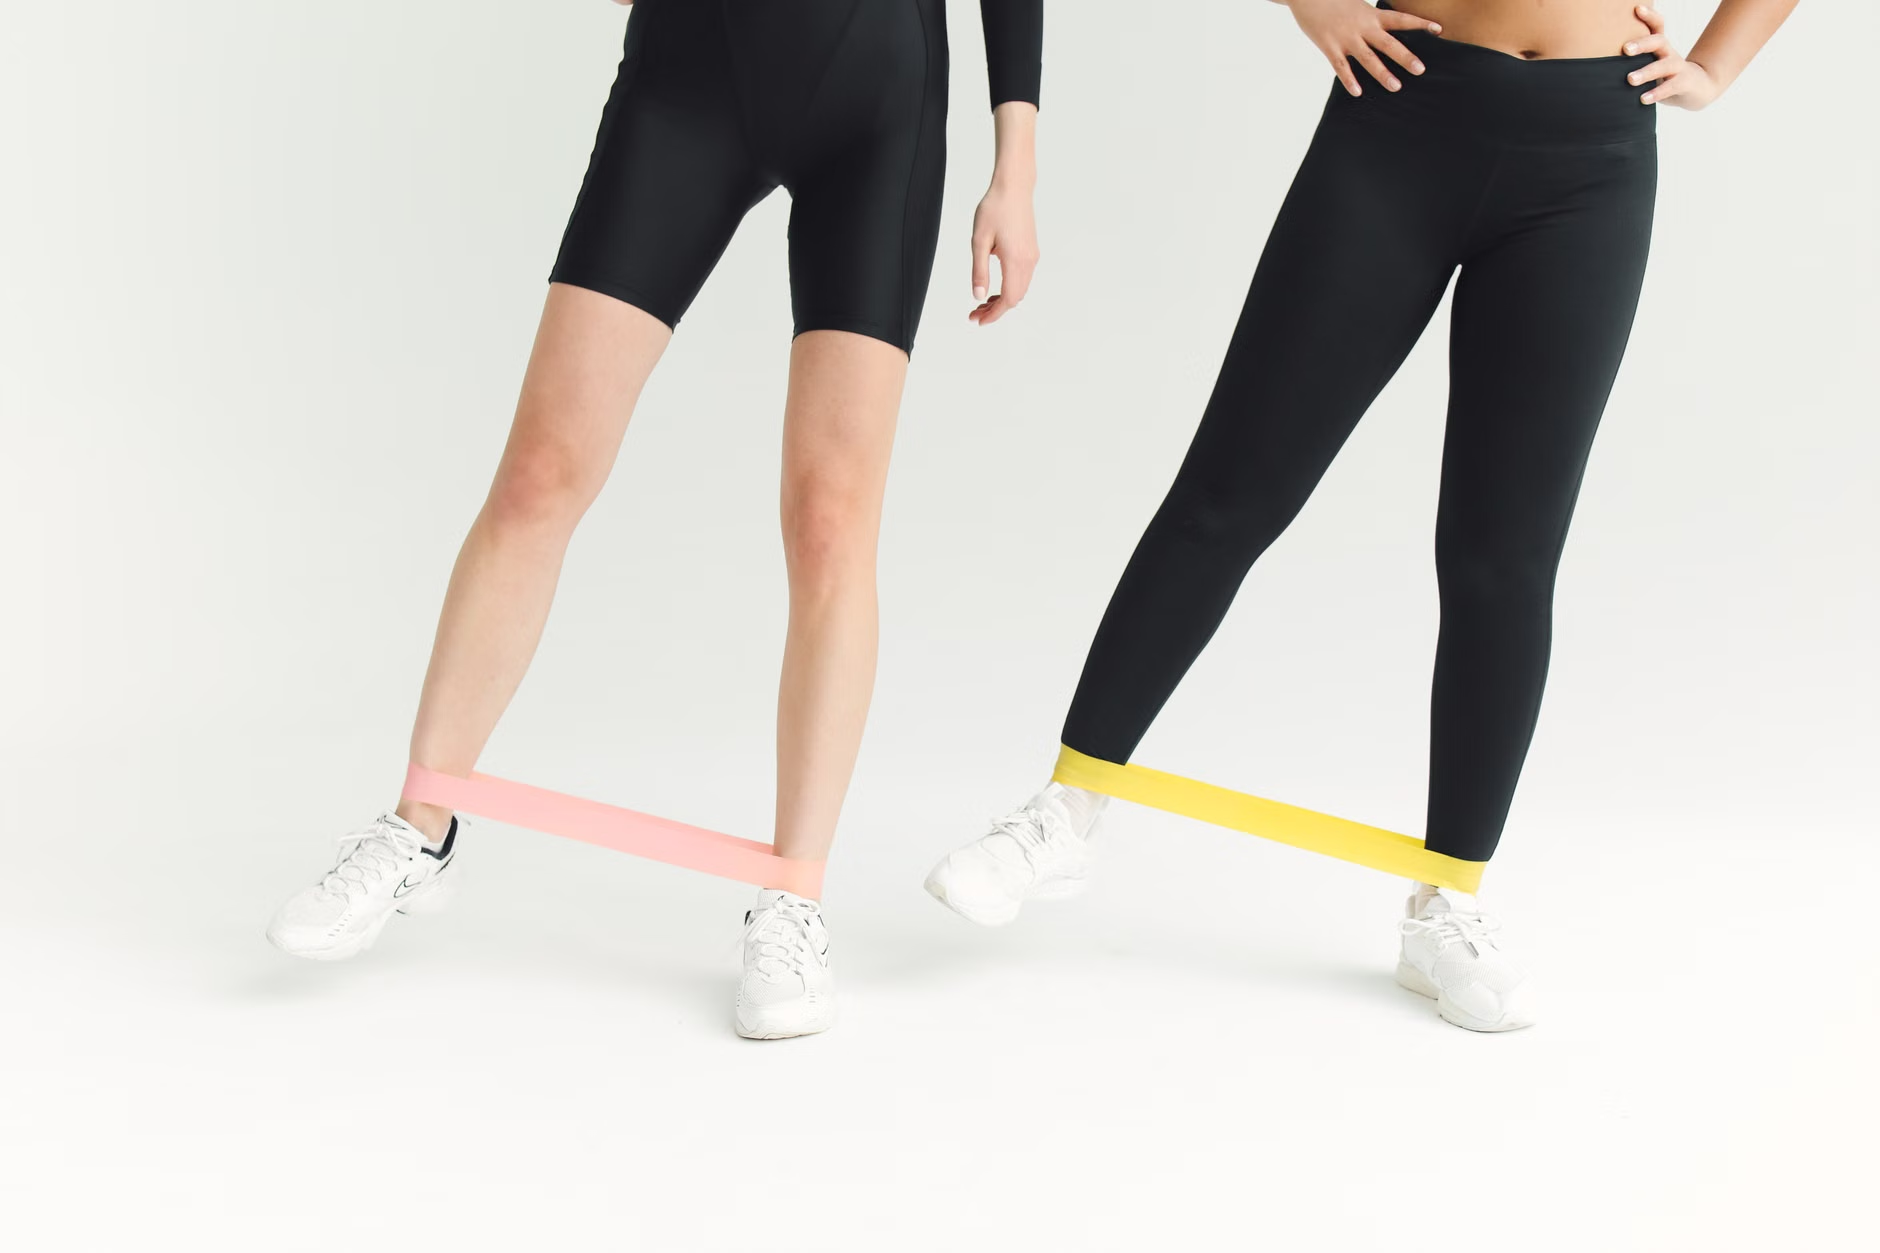
Once you have mastered the basic movement and can complete three sets of 30 repetitions without significant discomfort, you may want to increase the challenge. This is where resistance bands come into play. A resistance band provides constant tension throughout the range of motion, forcing the muscle to work harder during both the upward (concentric) and downward (eccentric) phases.
To use a band: Loop a light resistance band around the ball of your foot. Hold the ends of the band in your hands, pulling gently to create tension. Perform the same toe-tap movement against this resistance. Ensure the band is secure so it does not slip and snap back toward you.
Why “Shin Strength” is Often Overlooked
When most people think of leg strength, they immediately think of the quadriceps (the front of the thighs) or the glutes. While these are vital for standing up from a chair or climbing stairs, they do not directly contribute to the “toe clearance” required for walking. Overlooking the shins is a common oversight in many general exercise programs for older adults.
Furthermore, shin strength is inextricably linked to ankle flexibility. If your ankles are tight, your ability to dorsiflex is restricted regardless of muscle strength. If you find you cannot lift your toes very far even without resistance, consider incorporating gentle ankle circles and calf stretches into your routine before beginning your toe-taps.
Integrating Gait Training into Daily Life
Exercises like seated toe-taps are most effective when they are treated as a “habit” rather than a “workout.” Because they are seated, you can easily perform them while doing other sedentary tasks. For example, you might perform two sets while waiting for a kettle to boil or during the commercials of your favorite television program. This “habit stacking” ensures that you hit the necessary volume to see real-world results in your gait.
Monitoring Your Progress
How do you know if these exercises are working? Look for these practical indicators:
- Reduced “Toe-Stubbing”: You may notice that you are catching your toes less frequently on carpets or uneven surfaces.
- Increased Confidence: You may feel more stable when walking on uneven outdoor terrain.
- Less Shin Fatigue: If you walk long distances, you may find that your legs feel less “heavy” or tired after a walk.
Safety Precautions and When to See a Professional
While seated toe-taps are generally safe, they are not a substitute for medical intervention if you are already experiencing balance issues or frequent falls. If you have a history of peripheral neuropathy—a condition common in some older adults that involves nerve damage, often starting in the feet—you must be cautious. Neuropathy can make it difficult to feel where your feet are in space, which can lead to over-exertion or accidental injury.
If you experience any of the following, consult with your primary care physician or a physical therapist before continuing:
- Persistent pain in the ankle or foot that does not resolve after rest.
- Swelling or inflammation in the lower legs.
- A history of foot surgery or chronic ankle instability.
- Loss of sensation in the feet.
A physical therapist can perform a formal “gait analysis” to determine if your tripping is caused by muscle weakness, joint stiffness, or a neurological issue. They can also provide a tailored program that goes beyond simple toe-taps to include balance training and core engagement, both of which are critical for fall prevention.
The Connection Between Gait and Cognitive Health
Emerging research in geriatric health suggests that gait stability is closely linked to cognitive function. The “dual-task” nature of walking—where we navigate an environment while simultaneously processing information—requires a high level of neurological coordination. When we have to “think” about our feet because they feel unstable, our cognitive resources are diverted away from navigating our environment. By strengthening your shins and improving your gait, you are effectively “automating” your walking, which frees up your brain to focus on your surroundings and social interactions.
Conclusion: The Path to Stable Walking
Gait stability is not a fixed attribute of aging; it is a skill that can be maintained and improved through targeted, consistent effort. By focusing on the tibialis anterior muscle through seated toe-taps, you are taking a proactive step toward maintaining your mobility and independence. Remember that the goal is not to become a marathon runner, but to ensure that your body is capable of moving through the world with confidence and safety. Start small, maintain consistent form, and listen to your body’s signals as you integrate this movement into your daily routine.
Frequently Asked Questions (FAQ)
1. How many times a day should I perform seated toe-taps?
For most healthy older adults, one or two sessions per day is sufficient. Because this is an endurance exercise, the key is consistency rather than intensity. Aim for 3 sets of 20-30 repetitions once daily, and you will likely see improvements in muscle endurance within 4 to 6 weeks.
2. Can I do these if I have arthritis in my ankles?
If you have ankle arthritis, you should perform these movements within your “pain-free” range of motion. Do not force the movement if you feel sharp pain. Gentle, controlled movement is often beneficial for arthritic joints as it helps maintain synovial fluid circulation, but consult your rheumatologist or physical therapist first to ensure the movement pattern is appropriate for your specific condition.
3. Should I wear shoes while doing these exercises?
Performing the exercise barefoot allows for better feedback from the floor and helps strengthen the intrinsic muscles of the feet. However, if you have balance issues or require arch support, wearing supportive house shoes or sneakers is perfectly acceptable. The most important factor is that your feet are supported and you are not prone to slipping on the floor surface.
Disclaimer: This article is for informational purposes only and does not constitute medical advice, diagnosis, or treatment. Always seek the advice of your physician or other qualified health provider with any questions you may have regarding a medical condition or new exercise program.
Official guidance on fall prevention for older adults can be found at the Centers for Disease Control and Prevention (CDC) – STEADI (Stopping Elderly Accidents, Deaths & Injuries) program.