- Seated shoulder-rolls are a low-impact, accessible way to release tension in the trapezius and levator scapulae muscles, which are often tight from prolonged sitting or rounded posture.
- Proper execution requires a three-part motion—up, back, and down—to ensure the shoulder blades engage correctly without straining the neck.
- Consistent practice, integrated into daily routines like reading or watching television, can help prevent the development of a forward-head posture and improve overall spinal alignment.
The human body is designed for movement, yet the modern lifestyle—even in retirement—often involves extended periods of sitting. Whether you are reading, using a computer, or simply relaxing, the muscles surrounding your shoulder girdle, neck, and upper back frequently bear the brunt of gravity and habitual slumping. Over time, this contributes to “rounded shoulders” and a forward-head posture, which can lead to stiffness, reduced range of motion, and discomfort. The seated shoulder-roll is a fundamental, highly effective, and safe movement that helps reset your posture and relieve accumulated tension.
Understanding the Mechanics of Rounded Shoulders

To understand why a shoulder-roll is effective, one must first understand what happens to the body during prolonged sitting. When we sit, especially if we are tired or focused on a task, the chest muscles (pectoralis major and minor) tend to tighten and pull the shoulders forward. Simultaneously, the muscles between the shoulder blades (the rhomboids) become overstretched and weak. This imbalance is not merely an aesthetic concern; it physically alters the mechanics of your upper body.
When your shoulders are rounded forward, your head often follows, moving into a “forward-head” position. Research suggests that for every inch your head moves forward, the weight of the head on the neck increases significantly. This places excessive stress on the cervical spine and the muscles of the upper back. By performing controlled shoulder-rolls, you are essentially asking these muscles to reset and return to their neutral, anatomically efficient position.
The Science of Controlled Movement
Movement is the primary way our joints receive lubrication and nutrition. The shoulder joint is a ball-and-socket joint with the greatest range of motion in the human body. It relies on a complex network of muscles, tendons, and ligaments to remain stable. When we remain stagnant, the synovial fluid—the substance that lubricates joints—thickens, leading to that feeling of “creakiness” or stiffness.
Shoulder-rolls work by engaging the scapulothoracic joint—the area where your shoulder blade glides over the rib cage. By moving through a full range of motion, you are signaling the body to pump synovial fluid into the joint space and encouraging the muscles to release chronic tension. This is not about “building muscle” in the traditional sense of lifting heavy weights; it is about “neuromuscular re-education,” reminding your body what a healthy, open posture feels like.
Step-by-Step: How to Perform a Proper Shoulder-Roll

The effectiveness of a shoulder-roll depends entirely on the quality of the movement. Many people perform them too quickly or with too little range, which results in little more than a shrug. Follow this step-by-step guide to ensure you are getting the maximum benefit from every repetition.
Step 1: Establishing a Stable Base
Sit in a chair that provides adequate lumbar (lower back) support. Your feet should be flat on the floor, hip-width apart. If your chair is too deep, place a small pillow behind your lower back to maintain the natural curve of your spine. Your head should be aligned over your shoulders, not pushed forward.
Step 2: The Three-Phase Motion
- The Lift: Inhale slowly as you lift both shoulders directly toward your ears. Do not strain; think of it as a smooth, controlled elevation.
- The Retraction: As you begin to exhale, roll your shoulders backward. This is the most important part of the movement. Imagine you are trying to squeeze a pencil between your shoulder blades. This action opens the chest and engages the muscles of the upper back.
- The Descent: Finally, allow your shoulders to drop down as far as they will go, away from your ears. Keep your chest broad and your neck long.
Step 3: Repetition and Pacing
Perform 5 to 10 repetitions in a slow, rhythmic fashion. Do not rush. If you feel any “popping” or “clicking,” this is often just air bubbles in the synovial fluid (cavitation) and is generally harmless, provided there is no pain. If you experience sharp pain, stop immediately and consult a physical therapist or your healthcare provider.
| Feature | Incorrect Technique | Correct Technique |
|---|---|---|
| Shoulder Path | Circular, small, and fast | Linear, purposeful, and slow |
| Neck Position | Forward-leaning | Aligned over the spine |
| Breath | Holding breath | Inhale on lift, exhale on roll/drop |
| Focus | Just moving the shoulders | Engaging the shoulder blades |
Integrating Movement into Your Daily Routine
The greatest barrier to better posture is not a lack of knowledge, but a lack of consistency. Rather than setting aside a specific “exercise time,” it is often more effective to link this movement to existing daily habits. This is known as “habit stacking.”
- The “Television Commercial” Rule: Every time a commercial break begins or you pause your show, perform five slow shoulder-rolls.
- The “Morning Tea” Routine: While waiting for your kettle to boil or your coffee to brew, stand or sit and perform your rolls.
- The “Reading Reset”: If you are reading a book or newspaper, make a point to perform a set of rolls every time you finish a chapter or reach the bottom of a page.
By attaching this movement to triggers that happen multiple times a day, you ensure that you are preventing the accumulation of tension rather than trying to fix it after the fact.
Common Mistakes and How to Avoid Them
Even a simple movement can be performed incorrectly. Awareness of these common pitfalls can save you from potential strain.
Mistake 1: Forcing the movement. Never use momentum or jerk your shoulders. If you force the movement, you may irritate the trapezius muscle, leading to increased tension rather than relief.
Mistake 2: Neglecting the lower back. If you slouch your lower back while rolling your shoulders, you lose the benefits of the exercise. Maintain a neutral spine throughout.
Mistake 3: Ignoring pain signals. If you have a history of rotator cuff injuries or shoulder impingement, listen to your body. Shoulder-rolls should feel like a release, not a challenge.
When Professional Guidance is Necessary
While shoulder-rolls are a safe, preventive measure, they are not a substitute for medical treatment if you are experiencing chronic pain or limited mobility. You should consider speaking with a physical therapist or your primary care physician if you notice any of the following:
- Persistent pain that radiates down your arm or into your fingers.
- Numbness or tingling in the hands or arms.
- Significant weakness that prevents you from lifting objects you could previously manage.
- Pain that interferes with your sleep or daily activities.
When visiting a professional, bring a list of your daily activities, the duration of your pain, and a record of any other movements that exacerbate the discomfort. This information helps the clinician determine whether your issues are related to posture or require further investigation, such as imaging or specialized manual therapy.
The Deeper Connection Between Posture and Wellbeing
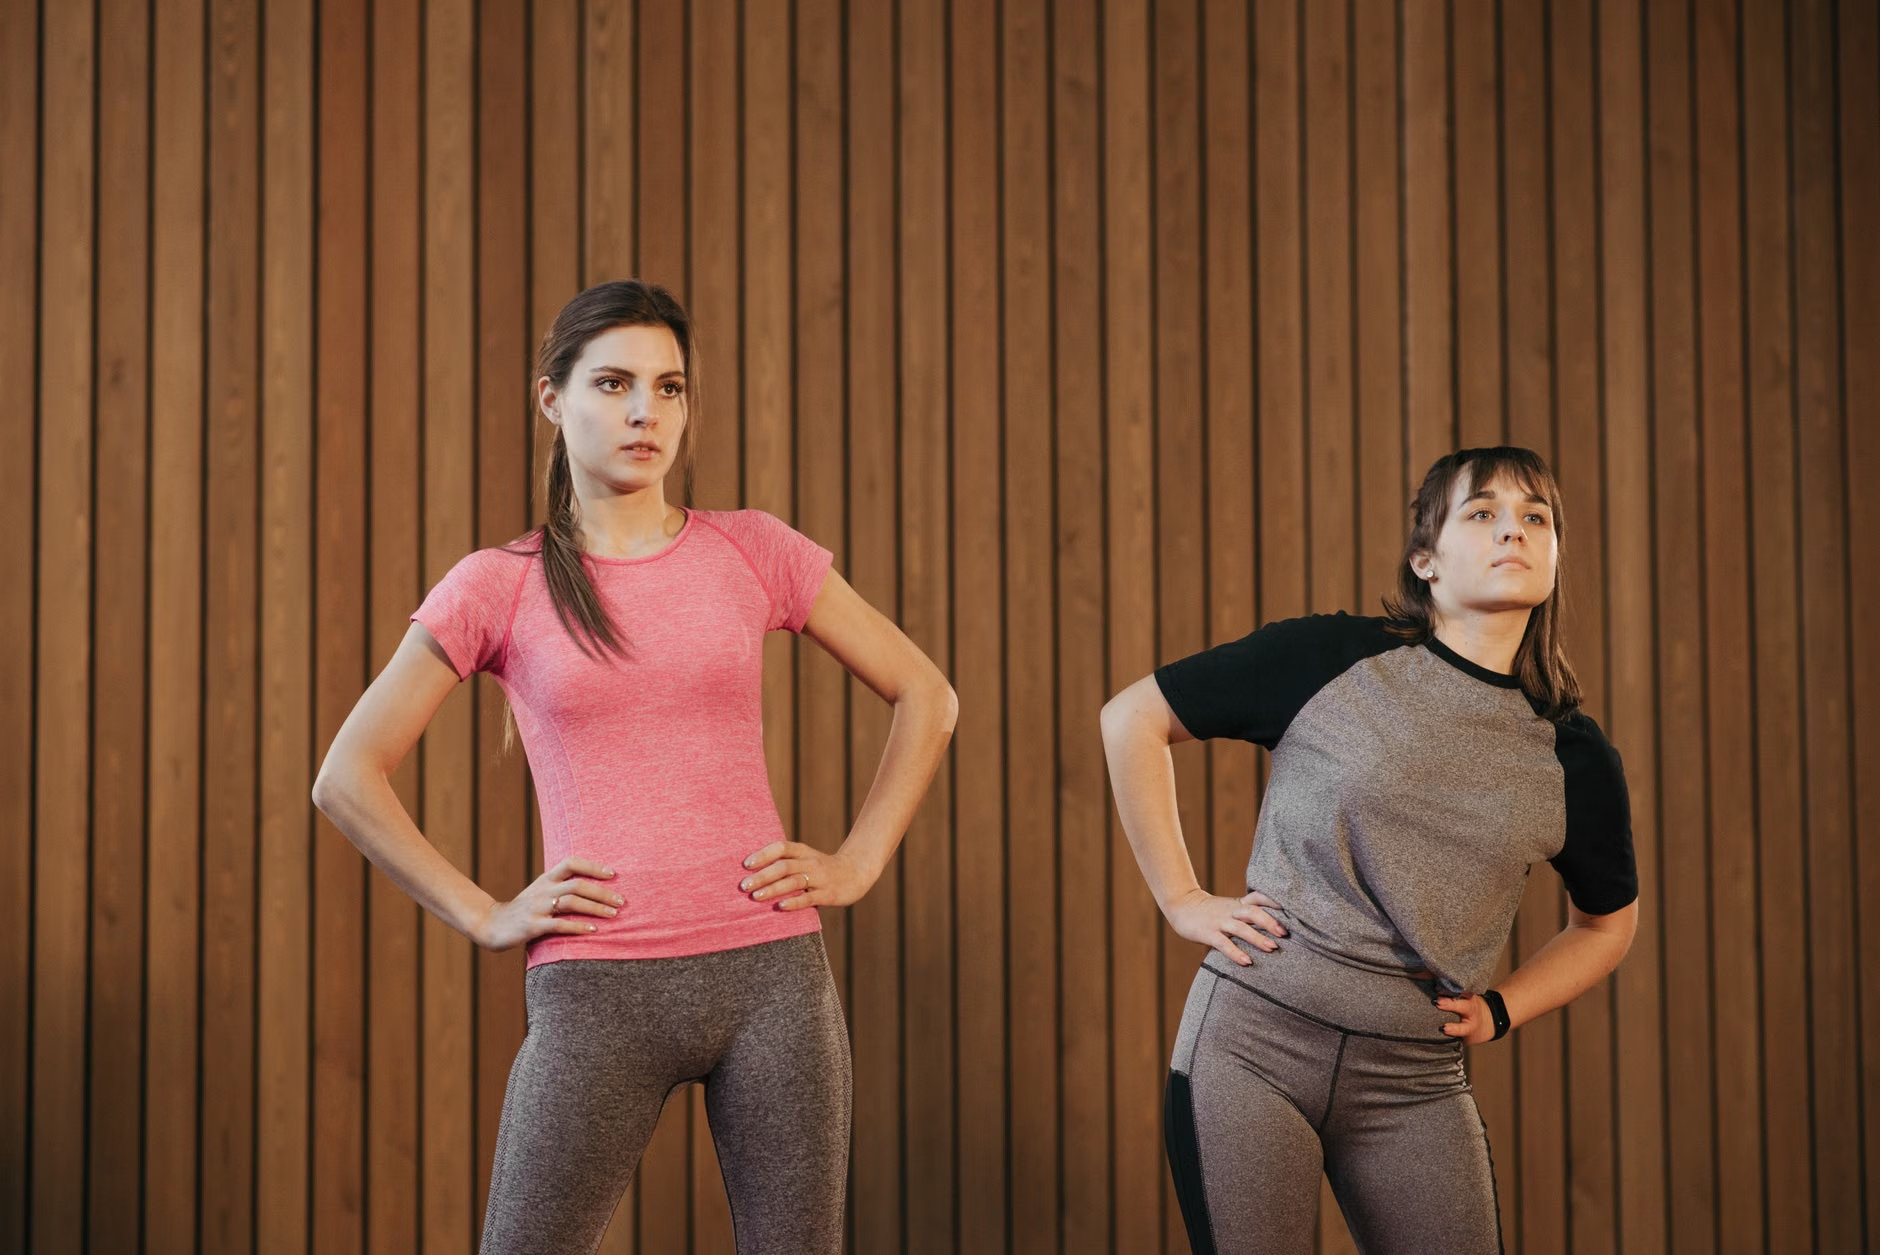
Beyond the physical benefits of muscle relief, there is a psychological component to posture. When we stand or sit tall, we are physically signaling to our brain that we are alert and engaged. Conversely, a slumped posture can be associated with feelings of lethargy or low mood. While this is not a medical diagnosis, many older adults report feeling more “present” and energized simply by being mindful of their physical alignment.
Furthermore, good posture allows for more efficient breathing. When the chest is open and the shoulders are back, the diaphragm has more room to move. This facilitates deeper, more relaxed breathing, which can help lower stress levels and improve oxygen intake. It is a small, subtle change that ripples out to affect many aspects of daily life.
Advanced Postural Awareness: The Wall Test
If you want to check your baseline posture, try the “Wall Test.” Stand with your back against a wall, with your heels about two to three inches away from the baseboard. Your head, shoulders, and buttocks should all be touching the wall. If your head does not naturally touch the wall, or if you feel significant strain trying to keep your shoulders against it, this is a clear indicator that you have developed a forward-head or rounded-shoulder posture. This test is not meant to be a permanent position, but a “reset” to help you feel what neutral alignment is supposed to look like.
Conclusion
Preventive health is built on the accumulation of small, consistent actions. The seated shoulder-roll is perhaps one of the most accessible and effective tools in your postural toolkit. By understanding the mechanics of your shoulder girdle, performing the movement with intention, and integrating it into your daily life, you can significantly reduce the physical toll of sitting. Remember, the goal is not to achieve “perfect” posture at all times, but to move frequently enough that your body does not get locked into the patterns of tension that cause long-term discomfort.
Frequently Asked Questions
Q: Can I perform shoulder-rolls while standing?
A: Absolutely. While this guide focuses on seated rolls, performing them while standing is equally effective. Ensure your feet are hip-width apart and your knees are slightly “soft” (not locked) to maintain stability.
Q: How many times a day should I do these?
A: There is no strict limit. Because this is a gentle movement, you can perform it whenever you feel tension building up. Aiming for 3 to 5 times throughout the day is a great way to maintain suppleness.
Q: Will this fix my rounded shoulders permanently?
A: Posture is a dynamic state, not a static achievement. Shoulder-rolls are a maintenance tool. To see lasting changes, they must be combined with awareness of your posture throughout the day and potentially other exercises that strengthen the muscles between your shoulder blades.
For further information on maintaining mobility and joint health, you may refer to resources provided by the National Institute of Arthritis and Musculoskeletal and Skin Diseases (NIAMS), which offers extensive guidelines on managing musculoskeletal health as you age.