- Bird-sketching is a low-pressure, meditative practice that enhances cognitive focus and observational skills without requiring professional artistic talent.
- Success in bird-sketching relies on focusing on basic shapes and movement patterns rather than achieving photorealistic detail.
- The practice can be adapted for any mobility level, from backyard observation to structured nature walks, making it a highly flexible lifelong hobby.
The Intersection of Mindfulness and Nature
Mindful bird-sketching is more than just drawing; it is a deliberate practice of sustained attention. As we move into our sixties, seventies, and beyond, our ability to filter out distractions is a vital cognitive asset. Bird-sketching forces us to slow down, breathe, and observe the subtle nuances of the natural world. Unlike competitive sports or high-intensity hobbies, bird-sketching asks for nothing more than your presence.
The core concept is simple: to capture the essence of a bird on paper, you must first truly see it. This process of deep observation naturally triggers a state of “flow”—a psychological state where you are fully immersed in an activity, leading to reduced stress and increased mental clarity. For many older adults, this provides a welcome respite from the digital noise and fast-paced nature of modern life.

Understanding the Philosophy: Why Start Now?
Many individuals hesitate to pick up a pencil, fearing they lack “natural talent.” However, in the context of mindfulness, the goal is not to produce a masterpiece for a gallery, but to engage the brain in a process of pattern recognition and hand-eye coordination. This is a functional, creative exercise that serves your mental health.
The cognitive benefits include:
- Visual Processing: Training the eyes to identify shapes, shadows, and textures.
- Patience: Learning to wait for the subject to move or reveal its features.
- Emotional Regulation: Using the rhythmic motion of sketching to calm the nervous system.
By shifting your focus from the “finished product” to the “process of looking,” you remove the performance anxiety that often prevents people from starting creative hobbies later in life.
Equipping Yourself: A Minimalist Approach
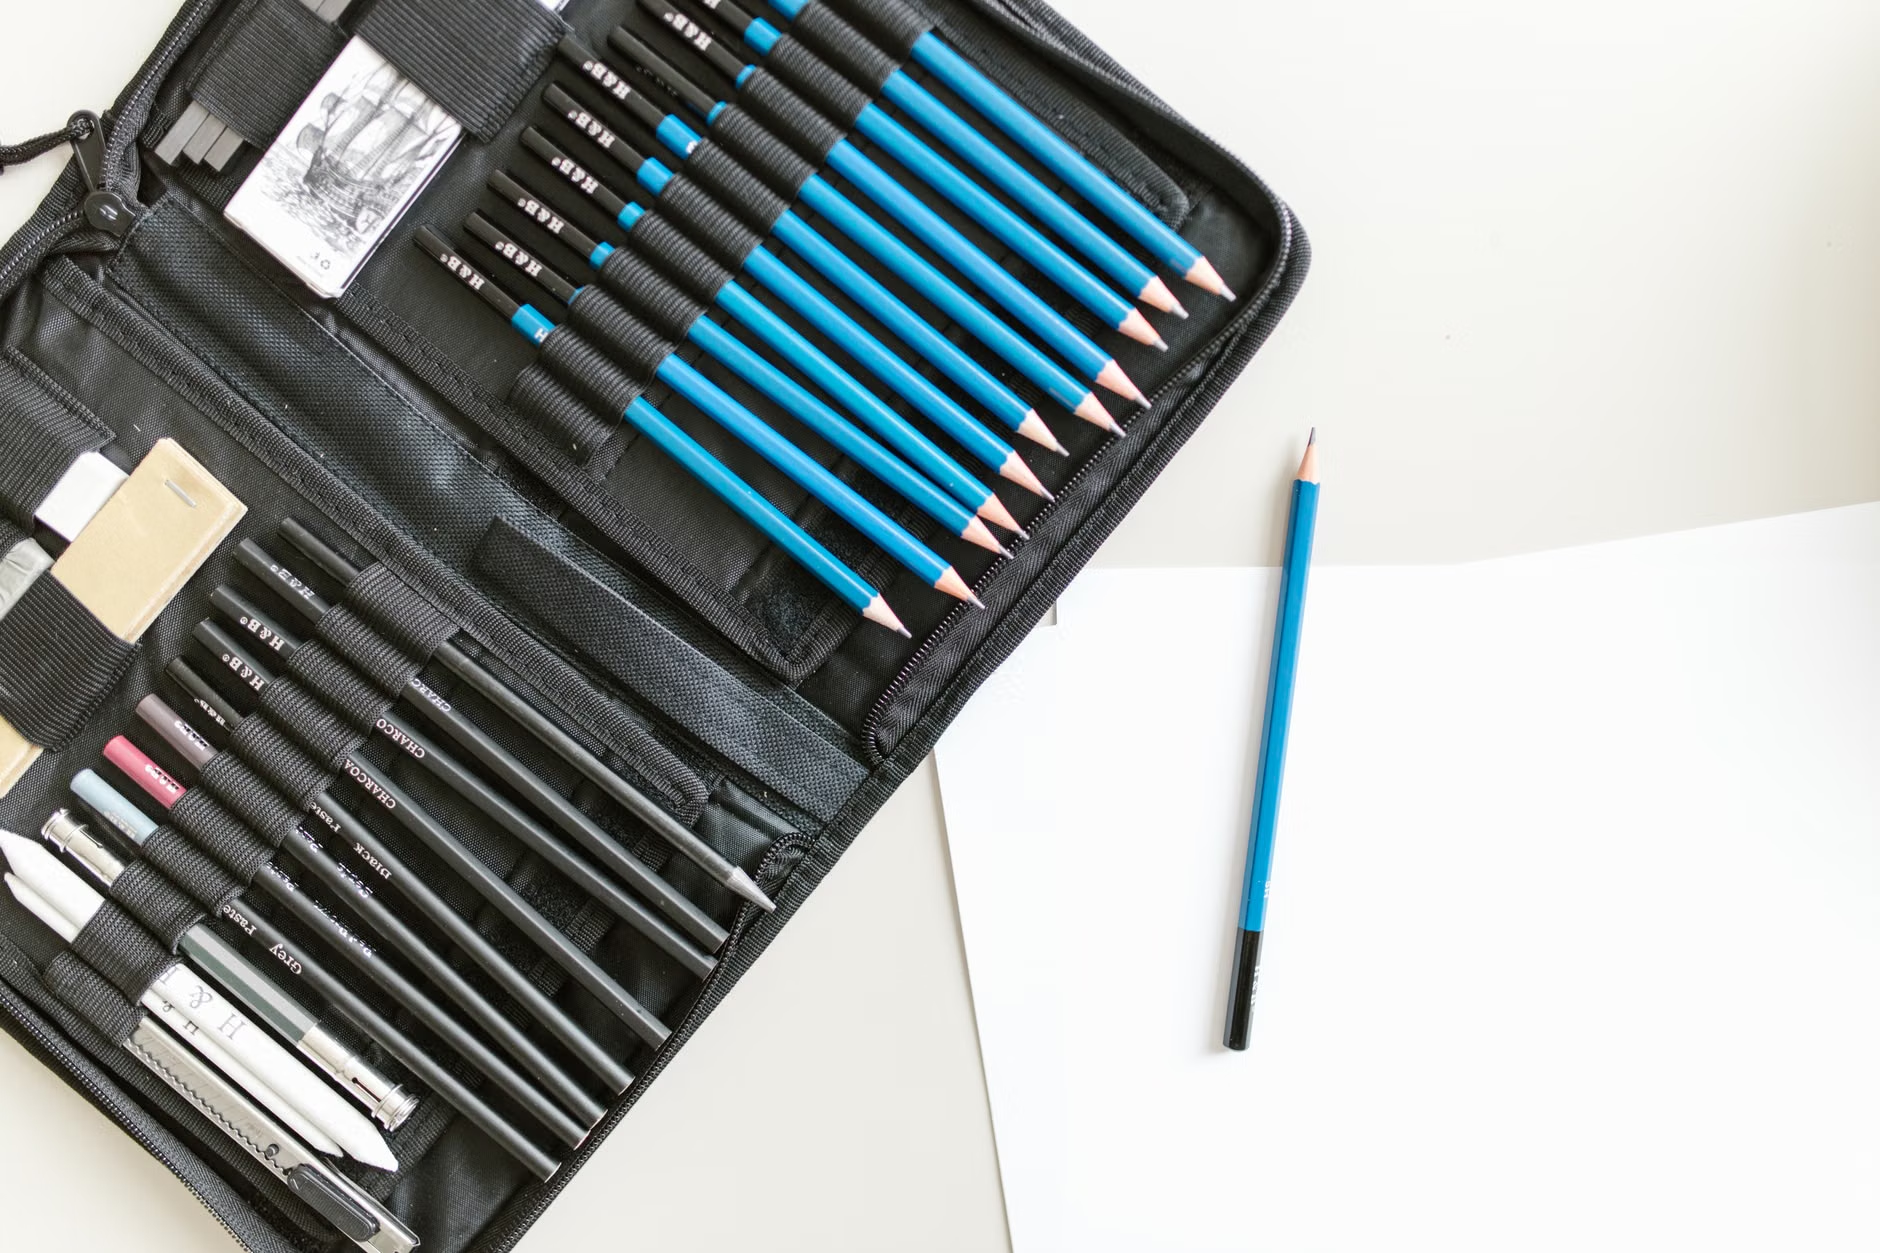
One of the greatest advantages of bird-sketching is the low barrier to entry. You do not need an expensive studio or professional-grade supplies. In fact, a minimalist kit is often more effective because it allows you to start sketching within seconds of spotting a bird.
| Tool | Recommended Specification | Why it Matters |
|---|---|---|
| Sketchbook | A5 size, thick paper (100gsm+) | Small enough to carry; prevents ink/graphite bleed. |
| Pencils | HB and 2B graphite | HB for light outlines, 2B for soft shading. |
| Eraser | Soft vinyl or kneaded eraser | Kneaded erasers are gentler on paper texture. |
| Binoculars | 8×42 magnification | Provides a bright, stable image for identifying features. |
Decision Criterion: If you have limited grip strength, opt for a wider-barrel pencil or a rubberized grip sleeve. If you plan to sketch outdoors frequently, ensure your sketchbook has a hard cover to act as a stable surface when you are away from a table.
Step-by-Step: The Mechanics of a Bird Sketch
When you spot a bird, the temptation is to start drawing the feathers immediately. This is a common mistake that leads to frustration. Instead, follow this systematic approach to capture the bird’s posture and form.
Step 1: The “Gesture” Line
Do not look at the details. Look at the bird’s overall posture. Is it hunched? Is it elongated? Draw a single, simple line that represents the angle of the bird’s body. This is the skeleton of your sketch.
Step 2: The Three-Shape Method
Most birds can be broken down into three simple shapes: a circle for the head, an oval for the body, and a triangle for the tail. Focus on the relationship between these shapes. Are they overlapping? Is the head tiny compared to the body? Sketch these lightly.
Step 3: Defining the Silhouette
Once your shapes are in place, connect the lines to create the outline of the bird. Don’t worry about individual feathers yet. Focus on the silhouette. If you can recognize the shape of the bird from the outline alone, you have succeeded.
Step 4: Adding Key Details
Only now should you add the eye, the beak, and the feet. These are the “anchors” that give the drawing life. A well-placed dot for an eye often does more for the drawing than a hundred hours of shading.
Creating a Sustainable Routine
To make this a lifelong habit, you must integrate it into your daily life without it becoming a chore. Start by setting aside just 15 minutes a day, perhaps during your morning tea or coffee on the porch or near a window.
Practical Tip: Keep your kit in a designated “launch area”—a bag or basket by the door or your favorite chair. If the tools are ready to go, you are far more likely to engage in the activity when the mood strikes. Avoid the “all or nothing” trap; a messy, imperfect sketch done in five minutes is more beneficial than a perfect drawing that you never actually start.

Bird-sketching is highly adaptable. If you experience tremors or limited range of motion in your hands, consider using larger, softer pencils that require less pressure. If standing or sitting for long periods is uncomfortable, use a lightweight, portable stool with a backrest or simply sketch from the comfort of your own home by placing a bird feeder in view of a window.
Safety Note: If you are going into nature, always prioritize your physical safety. Choose well-maintained trails with clear, flat paths. Ensure you have adequate sun protection, hydration, and a fully charged mobile phone. Never venture off-trail to get a better view of a bird; the integrity of the ecosystem and your own safety are paramount.
The Hidden Nuances: Beyond the Sketchbook
As you progress, you will notice that your brain begins to categorize birds not just by name, but by behavior. You might notice that a sparrow has a frantic, “hopping” energy, while a dove has a smooth, “gliding” posture. This is the transition from “looking” to “perceiving.”
One overlooked variable is the importance of light. Sketching at different times of the day will reveal how shadows change the shape of the bird. A bird in the morning light looks different than the same bird in the late afternoon. Embracing these variations will refine your artistic eye and deepen your connection to the local environment.
Practical Preparation for Outings
If you decide to take your sketching to a local park or nature reserve, preparation is key to ensuring you enjoy the experience rather than feeling overwhelmed. Check the accessibility of the location beforehand. Look for:
- Seating: Are there benches along the path?
- Accessibility: Are the paths paved or gravel?
- Facilities: Are there restrooms nearby?
For more information on accessible nature sites, consult your local park authority’s website or resources like the National Park Service (USA) or The Wildlife Trusts (UK), which often provide accessibility guides for their sites.
The Role of Family and Caregivers
If you are a family member or caregiver, you can support this hobby by helping set up a “bird observation station.” This might involve installing a window feeder, which brings the subjects directly to the individual. Encouraging this hobby is a great way to facilitate shared, low-stress time together. You don’t need to be an artist yourself to appreciate the process; simply sitting together while one person sketches and the other reads or relaxes is a powerful way to bond.
Conclusion: The Path Forward
Mindful bird-sketching is a journey, not a destination. It is a tool for self-reflection and a bridge to the natural world. By focusing on the simplicity of shape and the beauty of the moment, you can cultivate a practice that serves your mind, body, and spirit for years to come. Start small, stay consistent, and remember that the most important part of the sketch is the quiet, focused time you spent creating it.
Frequently Asked Questions (FAQ)
1. Do I need to be able to identify the birds I am sketching?
Not at all. While learning the names of birds is a fun secondary benefit, the primary goal of mindful sketching is to focus on the form and movement. You are capturing a shape, not a scientific illustration. If you wish to identify them, there are many excellent, free bird identification apps available, such as Merlin Bird ID, which can help you learn as you go.
2. What if my hands shake or I have arthritis?
Arthritis and tremors do not preclude you from sketching. Use thick-grip pencils, which are easier to hold, and focus on “gesture drawing”—making loose, sweeping motions rather than tight, detailed lines. The beauty of this practice lies in the expression, not the precision. You may also find that using a slightly softer lead, like a 3B or 4B, requires less physical pressure to make a dark mark on the paper.
3. Is this hobby expensive to maintain?
It is one of the most cost-effective hobbies available. Aside from a one-time purchase of a sketchbook and a few pencils, there are no ongoing costs. You do not need to join clubs or pay for lessons. The “subject matter” is free and available in almost any environment, from urban balconies to rural forests. If you choose to use binoculars, you can find high-quality, entry-level options that are durable and lightweight without needing to spend a significant amount.
Disclaimer: This article is for informational purposes only and does not constitute medical advice. Please consult with a healthcare professional regarding any physical limitations or health concerns before starting new physical activities or outdoor excursions.