- Mindful Engagement: Fern pressing is a low-impact, meditative hobby that encourages focus, patience, and a deeper connection to the seasonal changes in your local environment.
- Tool Selection: Success depends on moisture control; using professional-grade blotting paper and consistent, even pressure ensures vibrant results and prevents mold growth.
- Safety and Ethics: Always prioritize safety when foraging by identifying local species, avoiding protected areas, and ensuring you have stable footing when moving through natural settings.
Introduction: Finding Stillness in Nature’s Geometry
In an era defined by rapid digital interactions and constant stimulation, the act of slowing down to preserve the intricate beauty of a fern offers a profound sense of equilibrium. Fern pressing is more than a craft; it is a discipline of observation. It requires the practitioner to notice the subtle venation of a leaf, the specific timing of a season, and the rhythmic patience required to transform a living specimen into a permanent botanical record.
For adults aged 60 to 80, this hobby serves as an excellent exercise in fine motor skills, cognitive focus, and environmental appreciation. Unlike crafts that require intense physical exertion or expensive equipment, fern pressing is accessible, quiet, and deeply rewarding. This guide explores the technical nuances of the process, the importance of material selection, and how to turn your home into a space for botanical study and artistic expression.
Understanding the Biology of the Fern
To press a fern successfully, one must first understand what makes it different from a flowering plant. Ferns are vascular plants that reproduce via spores rather than seeds. Their structure—the frond, the stipe (stalk), and the pinnae (leaflets)—is highly delicate. Because ferns contain a high water content and their structure is often complex, they are more prone to browning or molding if not pressed with sufficient airflow and pressure.
When selecting a fern, look for specimens that are firm and free of blight or insect damage. Avoid ferns that are wilted, as the cellular integrity has already begun to degrade. The best time to harvest is mid-morning, after the dew has evaporated but before the heat of the day causes the plant to lose turgidity. This ensures the plant is hydrated but not excessively wet.
Essential Tools for Consistent Results
While you can press plants between heavy books, a dedicated flower press offers superior results due to its ability to provide even, constant pressure across the entire surface area. Below is a breakdown of the essential components required for a professional-grade setup.
| Component | Function | Recommendation |
|---|---|---|
| Wooden Press Boards | Provide structural rigidity and flat surfaces. | Use two thick pieces of plywood or hardwood. |
| Corrugated Cardboard | Allows airflow to reach the plant through the layers. | Cut to size; ensure the channels are clear. |
| Blotting Paper | Absorbs moisture away from the plant. | Use acid-free, heavy-weight paper. |
| Tension Hardware | Maintains consistent pressure over weeks. | Wingnuts and bolts allow for easy adjustments. |
Why Blotting Paper Matters: Many beginners use newspaper. However, the ink on newsprint can transfer to the delicate fronds of the fern, and the paper itself often lacks the absorbency required to wick moisture away quickly. Investing in acid-free blotting paper prevents the “acid burn” that can turn your beautiful green ferns into brittle, yellowed specimens over time.
The Step-by-Step Process of Botanical Preservation
The transition from a living fern in the woods or your garden to a preserved piece of art involves several distinct phases. Each phase requires a different level of attention.
Step 1: Preparation and Cleaning
Once you have harvested your fern, gently shake it to remove any debris or small insects. Use a soft-bristled brush if necessary. If the fern is dusty, a very light misting of water followed by a gentle pat-down with a paper towel is acceptable, but ensure it is completely surface-dry before it enters the press. Moisture is the primary enemy of the preservation process.
Step 2: The Arrangement
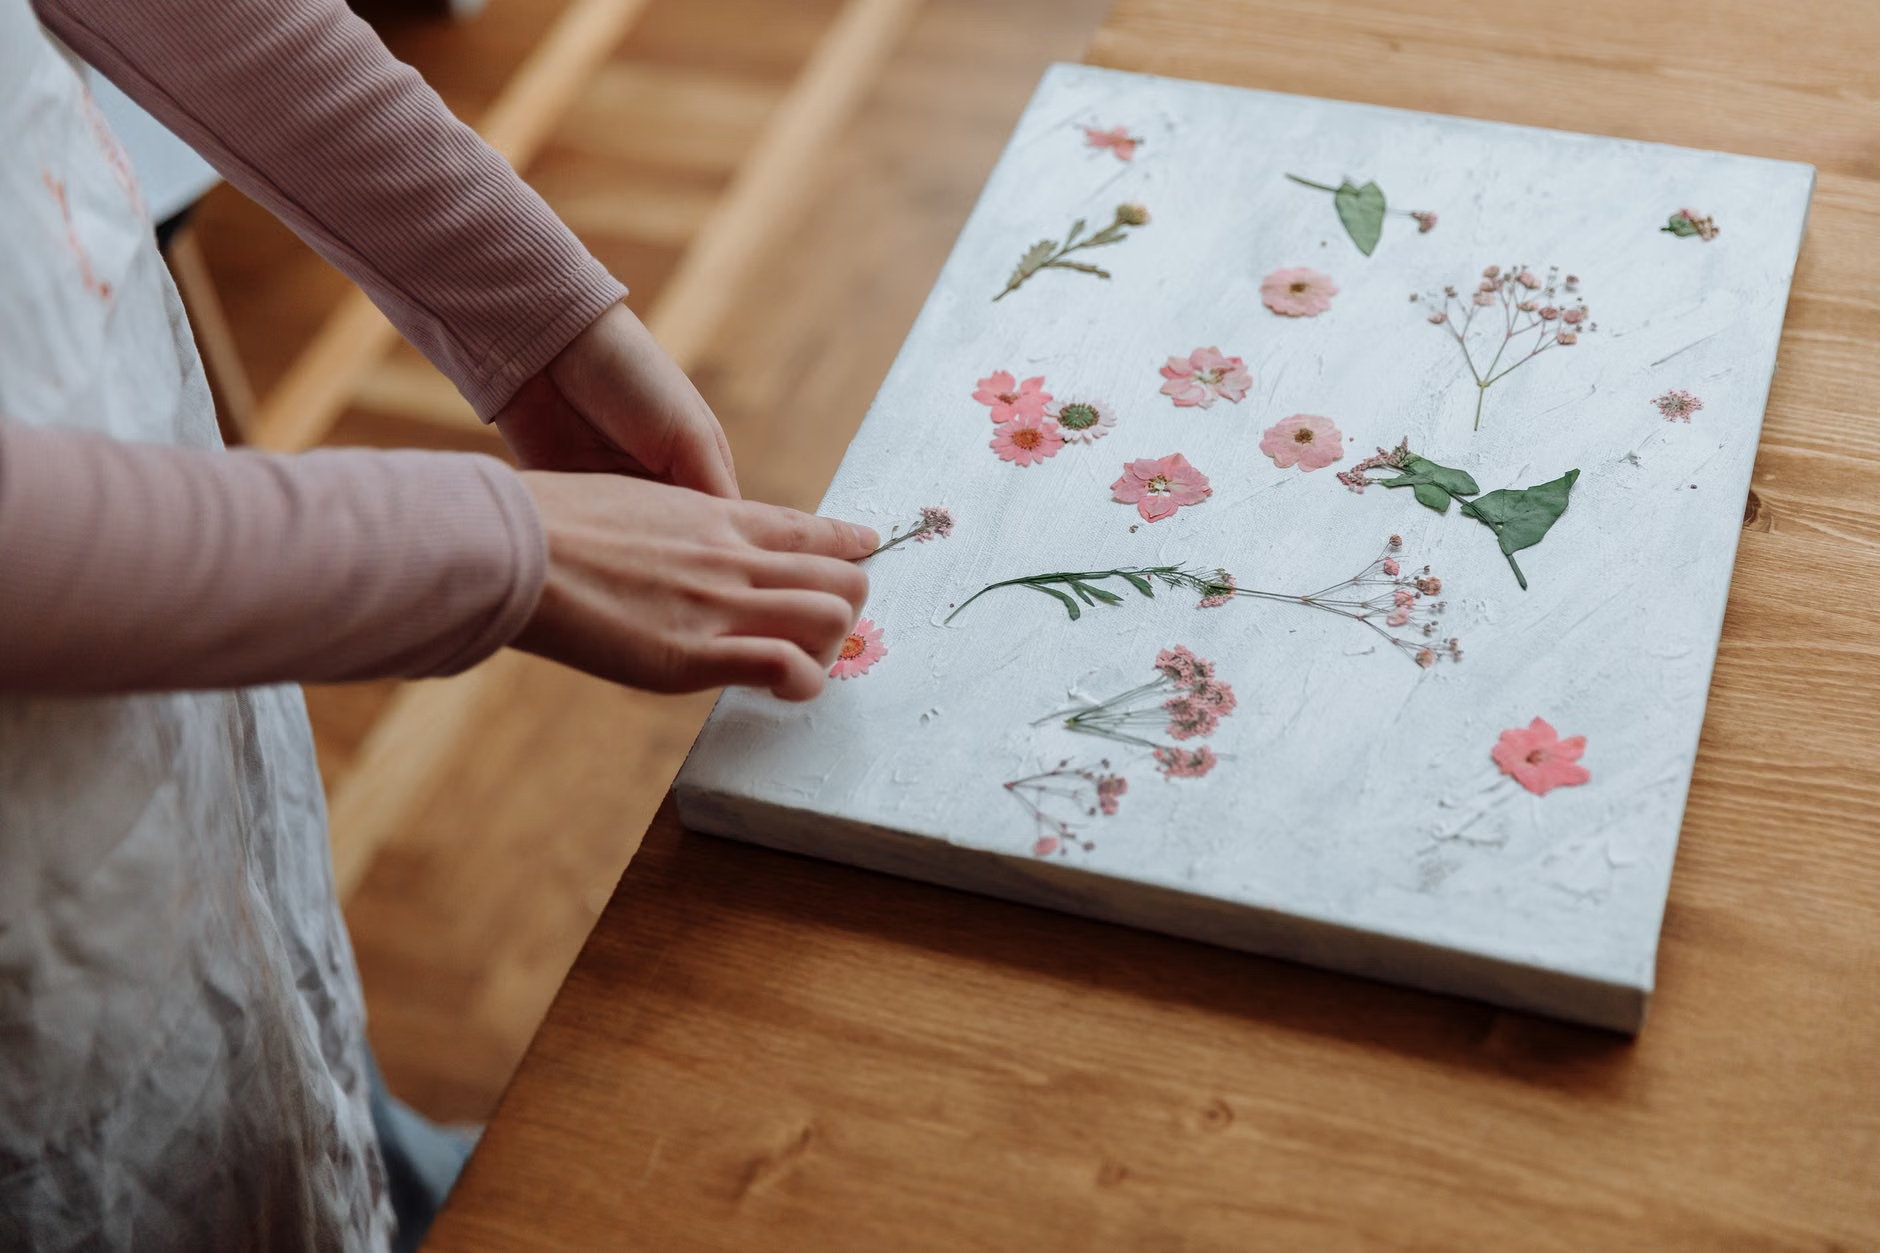
Place your bottom wooden board down, followed by a layer of cardboard, then a sheet of blotting paper. Lay the fern flat. If the fern is large, you may need to trim the stipe or arrange it in a way that respects its natural curvature. Remember that the press will flatten the fern entirely, so if you overlap leaflets, they will remain overlapped once dried.
Step 3: Creating the Stack
Place another sheet of blotting paper over the fern, then a piece of cardboard. This “sandwich” structure is the foundation of your press. You can stack multiple layers, provided you have enough cardboard and blotting paper to ensure each layer is separated. Never place two ferns directly against one another, as they will fuse together due to the moisture release.
Step 4: Applying Pressure
Tighten the wingnuts of your press until you feel a firm resistance. The pressure should be even across all four corners. If you are using a book instead of a press, ensure the book is heavy and that you place the stack in an area where it will not be disturbed. A common mistake is checking the ferns too frequently. Leave the press undisturbed for at least 48 hours before the first “paper change.”
The Science of Moisture Management
The first 48 to 72 hours are critical. During this time, the fern releases the majority of its moisture. If this moisture remains in contact with the plant, it creates a breeding ground for mold. This is why the “paper change” is the most important part of the process.
After the first two days, open the press and replace the damp blotting paper with fresh, dry sheets. You do not need to move the fern itself—simply lift the old paper and place the new one down. Repeat this process every three to four days for the first two weeks. By the end of the second week, the fern should feel paper-thin and dry to the touch. It is then ready for permanent storage or framing.
Safety and Ethical Considerations
Engaging with nature requires a balance between enjoyment and stewardship. When gathering ferns from the wild, always adhere to the principles of “Leave No Trace.”
- Identification: Ensure you are not collecting endangered or protected species. In many jurisdictions, it is illegal to remove plants from public parks or protected nature reserves. Always check local environmental regulations.
- Sustainability: Never take more than 10% of a colony. Ensure the plant population is healthy and abundant before harvesting.
- Physical Safety: When foraging, prioritize your mobility. Avoid steep slopes, uneven terrain, or areas with dense undergrowth that could obscure tripping hazards. If you have concerns about balance or stamina, consider cultivating a small fern garden at home or purchasing ethically sourced ferns from a local nursery.
Integrating Fern Pressing into a Daily Routine
The beauty of this hobby is that it requires only minutes of active work, followed by long periods of waiting. This makes it an ideal activity for those who value a calm, predictable schedule. You might choose to dedicate a specific day—perhaps a Tuesday morning—to checking your presses, replacing the blotting paper, and clearing the old moisture-laden sheets. This creates a routine that provides a sense of accomplishment without the pressure of a deadline.
For those who wish to share this experience, the process is highly collaborative. Grandparents can teach grandchildren about local flora, or caregivers can work alongside those they support to create beautiful, framed displays for the home. It is a shared activity that facilitates conversation and tactile engagement, which is often more stimulating than passive entertainment.
Advanced Techniques: Color Retention and Arrangement
While some people enjoy the vintage, sepia-toned look of naturally dried ferns, others prefer to retain the vibrant, chlorophyll-rich green of the plant. Maintaining color is a challenge of speed and environment. The faster the plant dries, the more color it retains.
Pro-Tip: If you live in a humid climate, your ferns may take longer to dry, increasing the risk of color loss. In such cases, you can place your press in a warm, dry room or near a dehumidifier. Avoid direct sunlight, as the UV rays will bleach the pigment from the fronds regardless of how well you press them.
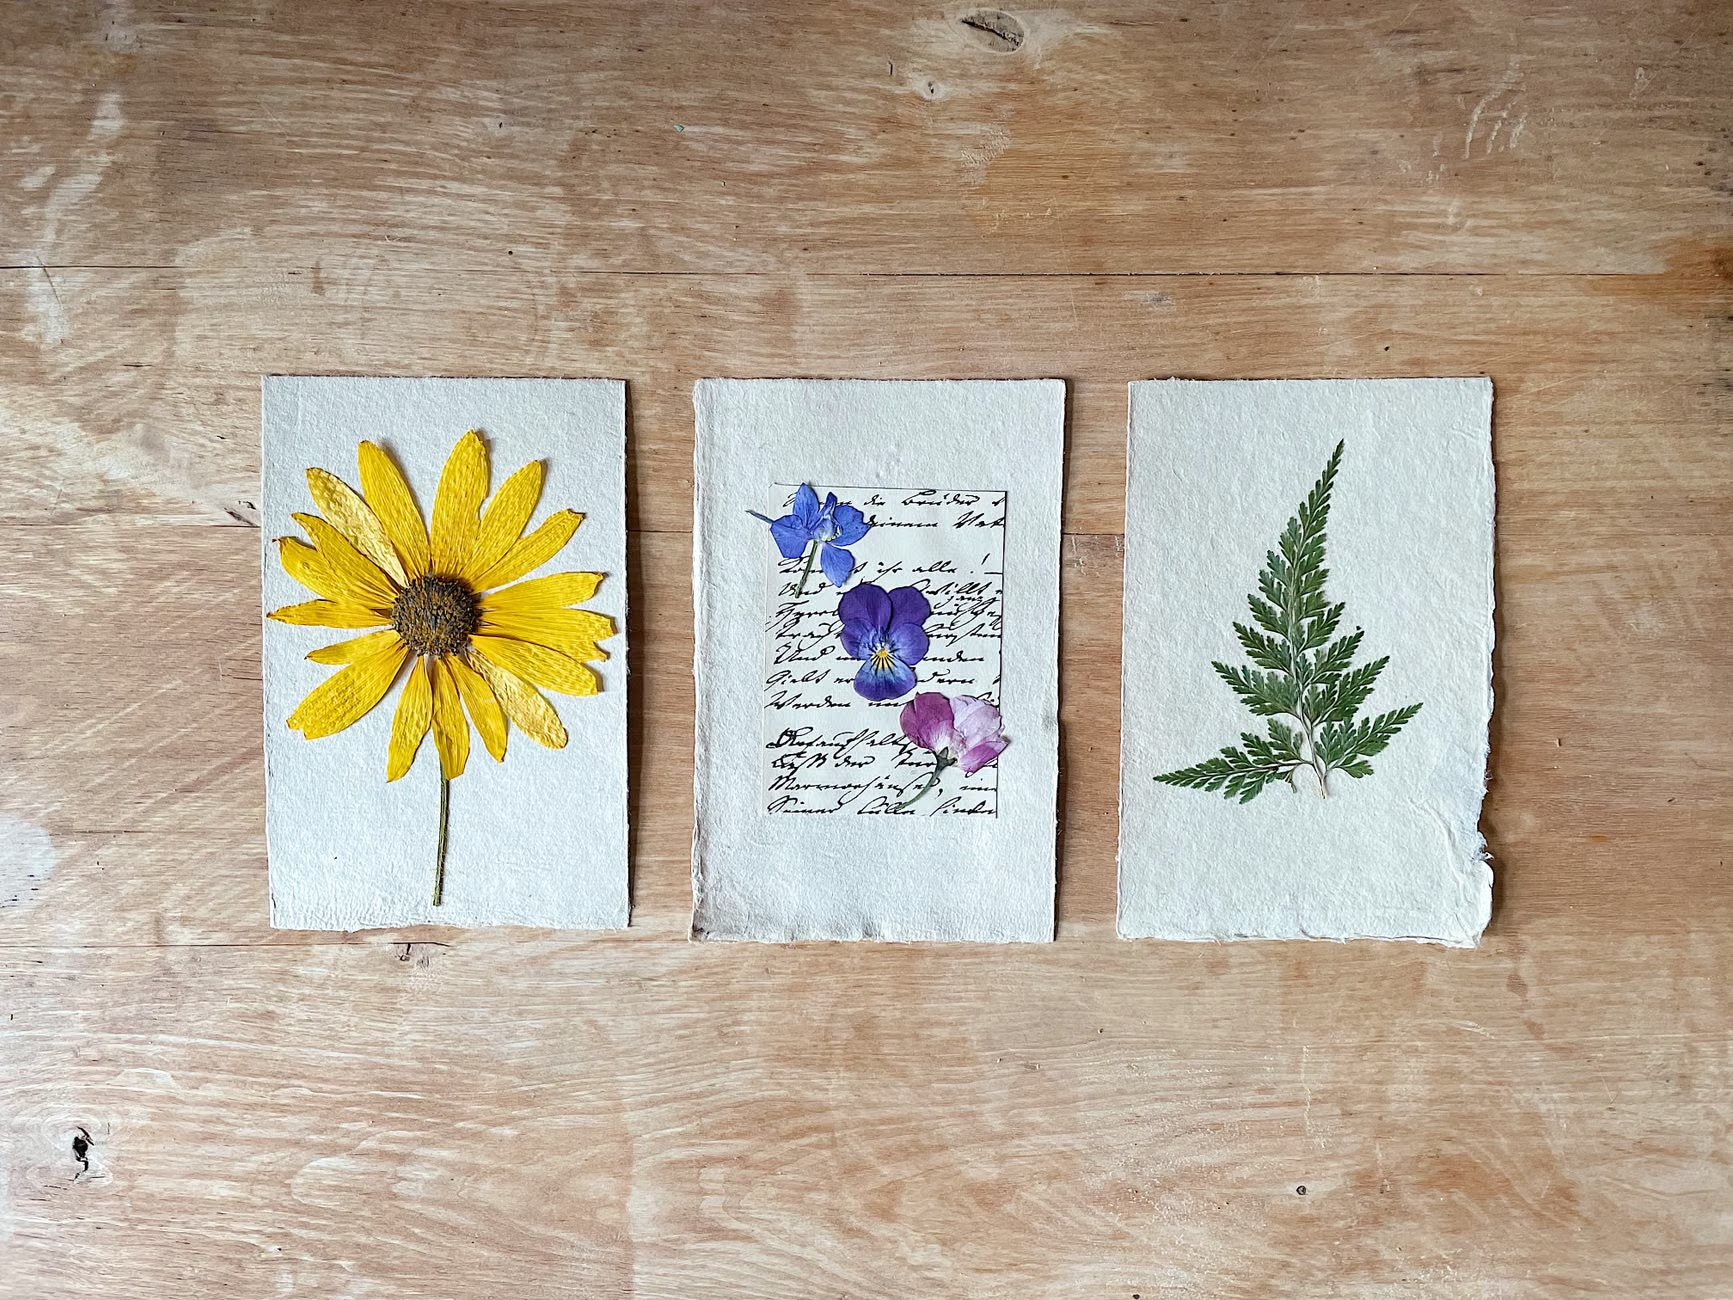
When it comes to arrangement, consider the “negative space.” A fern is a complex, fractal-like structure. Placing it on a stark white or cream-colored archival paper creates a minimalist aesthetic that highlights the elegance of the plant. Use a small amount of archival-quality mounting adhesive at the base of the stipe to keep the fern in place, rather than gluing the entire length of the frond. This allows the fern to retain a slight, natural dimensionality.
Troubleshooting Common Issues
Even with careful preparation, challenges can arise. Below are common issues and how to address them.
| Issue | Cause | Solution |
|---|---|---|
| Mold growth | Excess humidity or insufficient paper changes. | Discard the affected fern; clean the press with mild soap/water and dry completely. |
| Brown/Black spots | Plant was too wet or pressed too slowly. | Ensure faster drying; use more absorbent paper. |
| Brittle/Cracking | Over-dried or low humidity environment. | Remove from press sooner; store in a humidity-controlled area. |
If you find that your ferns are consistently browning, examine your blotting paper. If it is thin, it may be reaching its saturation point too quickly. Doubling the thickness of the blotting paper layers can often solve this without requiring a change in the overall technique.
The Psychological Benefits of Mindful Crafting
There is a specific cognitive relief found in repetitive, low-stakes tasks. As we age, the ability to focus on a single, tangible project can act as a buffer against the anxiety of a fast-paced world. Fern pressing requires “flow”—a state of concentration where the outside world recedes, and the focus rests entirely on the alignment of the leaflets and the smoothness of the paper.
This practice also encourages “nature connectedness,” which has been shown in various studies to improve mood and reduce cortisol levels. By bringing a piece of the outside world into your home, you maintain a connection to the cycles of the seasons. You begin to notice the first fiddleheads of spring and the deep, mature greens of mid-summer, grounding your perception of time in the natural world rather than the calendar.
Once your ferns are fully dried, they are fragile. Proper storage is essential if you are not framing them immediately. Keep your pressed specimens in an acid-free document box. Avoid plastic sleeves, as they can trap residual moisture and cause the ferns to rot or grow mold over time. If you choose to frame them, use UV-filtering glass to prevent the colors from fading over the years. A simple, floating frame—where the fern is pressed between two sheets of glass—is a beautiful way to display the intricate details of the fronds, as it allows the light to pass through the plant structure.
Integrating Technology for Better Results
While the craft itself is analog, you can use digital tools to enhance your experience. Consider keeping a digital journal of your pressing dates and results. Taking a photo of the fern before and after pressing can help you learn which species retain their color best and which ones are more prone to brittleness. This creates a personal record of your botanical journey that can be easily shared with family members or fellow enthusiasts.
Conclusion: The Lasting Value of a Slow Hobby
The joy of mindful fern pressing lies in its quiet persistence. It is a hobby that does not demand perfection, but rather rewards attention. By providing a structure for your creativity and a reason to observe the natural world, it offers a sustainable, low-cost, and deeply fulfilling way to spend your time. Whether you press a single frond to tuck into a letter for a friend or create a large-scale collection to adorn your walls, you are participating in a tradition of preservation that spans generations. Start small, be patient with your materials, and allow the process to unfold at its own natural pace.
Frequently Asked Questions (FAQ)
1. Can I press ferns that I have bought from a florist?
Yes, but be aware that florist ferns are often treated with preservatives or dyes to keep them looking fresh. These chemicals can sometimes interfere with the natural drying process or cause discoloration. If you use store-bought ferns, ensure they are rinsed and dried thoroughly before pressing, and expect potential variations in color retention compared to wild-harvested specimens.
2. How long do pressed ferns last if stored correctly?
If kept in an acid-free environment, away from direct sunlight, and in a climate-controlled room, pressed ferns can last for decades. They are essentially organic specimens that have been dehydrated; as long as they are protected from humidity and physical damage, they will remain beautiful for a very long time.
3. Is it necessary to use a professional press, or are books sufficient?
Books are perfectly acceptable for occasional pressing, but they have limitations. Books do not allow for the same level of airflow as a wooden press with corrugated cardboard. If you use books, choose ones with heavy, non-glossy pages, and be prepared to change the paper more frequently to manage moisture. If you plan to press ferns regularly, a dedicated press is a worthwhile investment for the quality of the results it produces.
For further reading on botanical preservation techniques, you may refer to the Royal Botanic Garden Edinburgh, which provides comprehensive information on plant specimen management and herbarium standards.