- Mindful Cultivation: Orchid care is a rhythmic, low-impact activity that promotes patience and sensory engagement, serving as a powerful tool for daily stress reduction.
- Ergonomic Gardening: By using waist-high shelving and lightweight tools, you can enjoy gardening while protecting your joints and maintaining physical comfort.
- Precision over Frequency: Orchids thrive on consistent observation rather than constant interference; learning to read the plant’s roots and leaves is the secret to long-term success.
The Intersection of Mindfulness and Botany
For many adults, the pursuit of a hobby is not just about passing time; it is about finding a practice that offers both cognitive stimulation and a sense of calm. Indoor orchid cultivation is uniquely suited for this. Unlike fast-growing annuals that require constant, high-energy maintenance, orchids invite a slower pace. They demand observation—not intervention.
When you cultivate an orchid, you are engaging in a practice that mirrors the principles of mindfulness. You learn to notice the subtle changes in leaf color, the texture of the growing medium, and the slow, deliberate progression of a flower spike. This focus on the present moment can significantly lower cortisol levels and provide a grounding routine in an otherwise busy life.
Furthermore, the physical act of caring for plants—gently cleaning leaves, adjusting light exposure, and monitoring moisture—provides gentle, functional movement. It keeps the fingers nimble and encourages postural awareness, all while remaining within the comfort and safety of your home environment.
Understanding the Basics: Why Orchids are Different
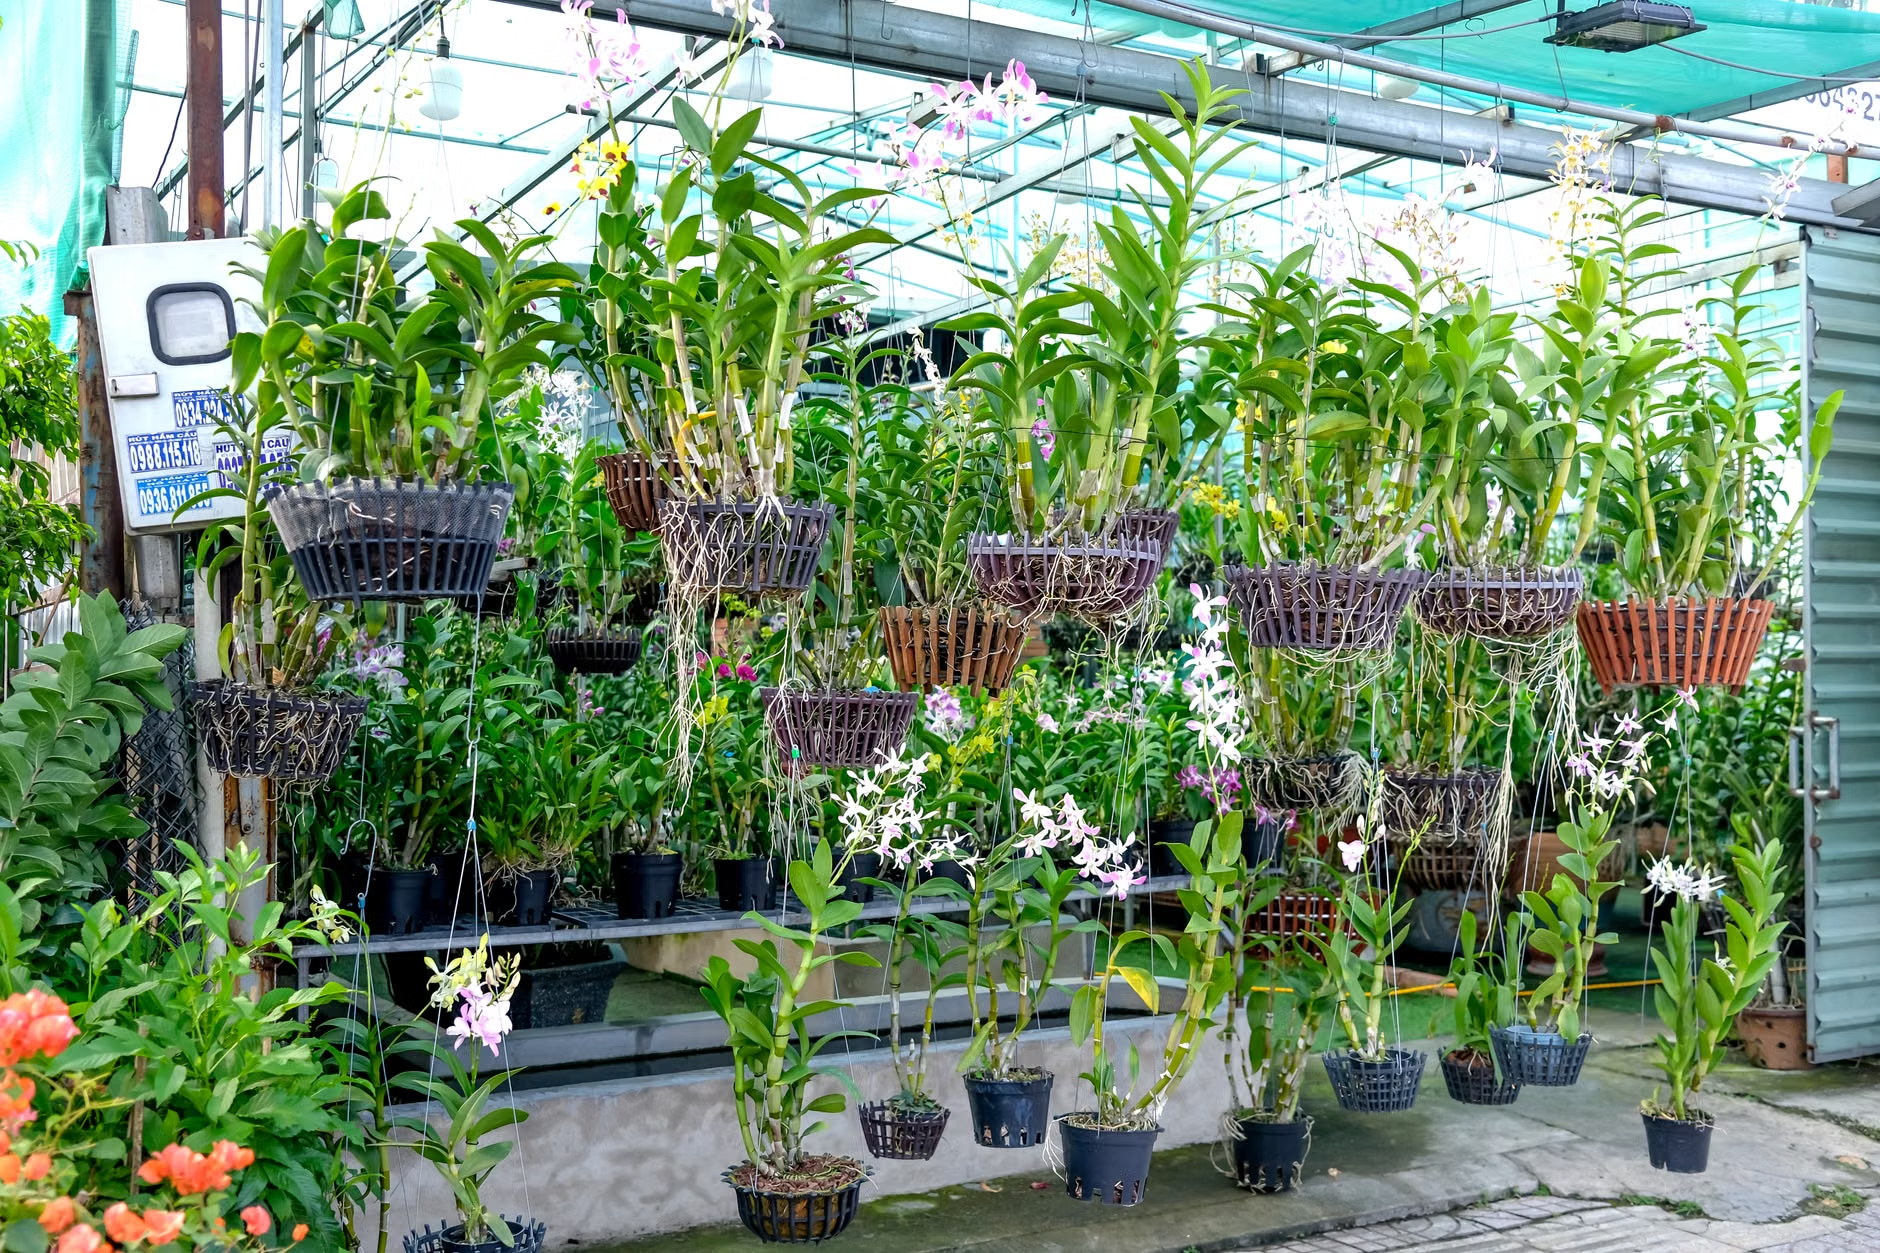
The most common mistake new growers make is treating orchids like standard houseplants. Most indoor plants grow in soil, which retains water for long periods. Orchids, specifically the popular Phalaenopsis (Moth Orchid), are epiphytes. In their natural habitat, they grow on tree branches, not in the ground. Their roots are designed to absorb moisture from the air and rain, and they require high airflow to prevent rot.
The Golden Rule of Orchid Roots
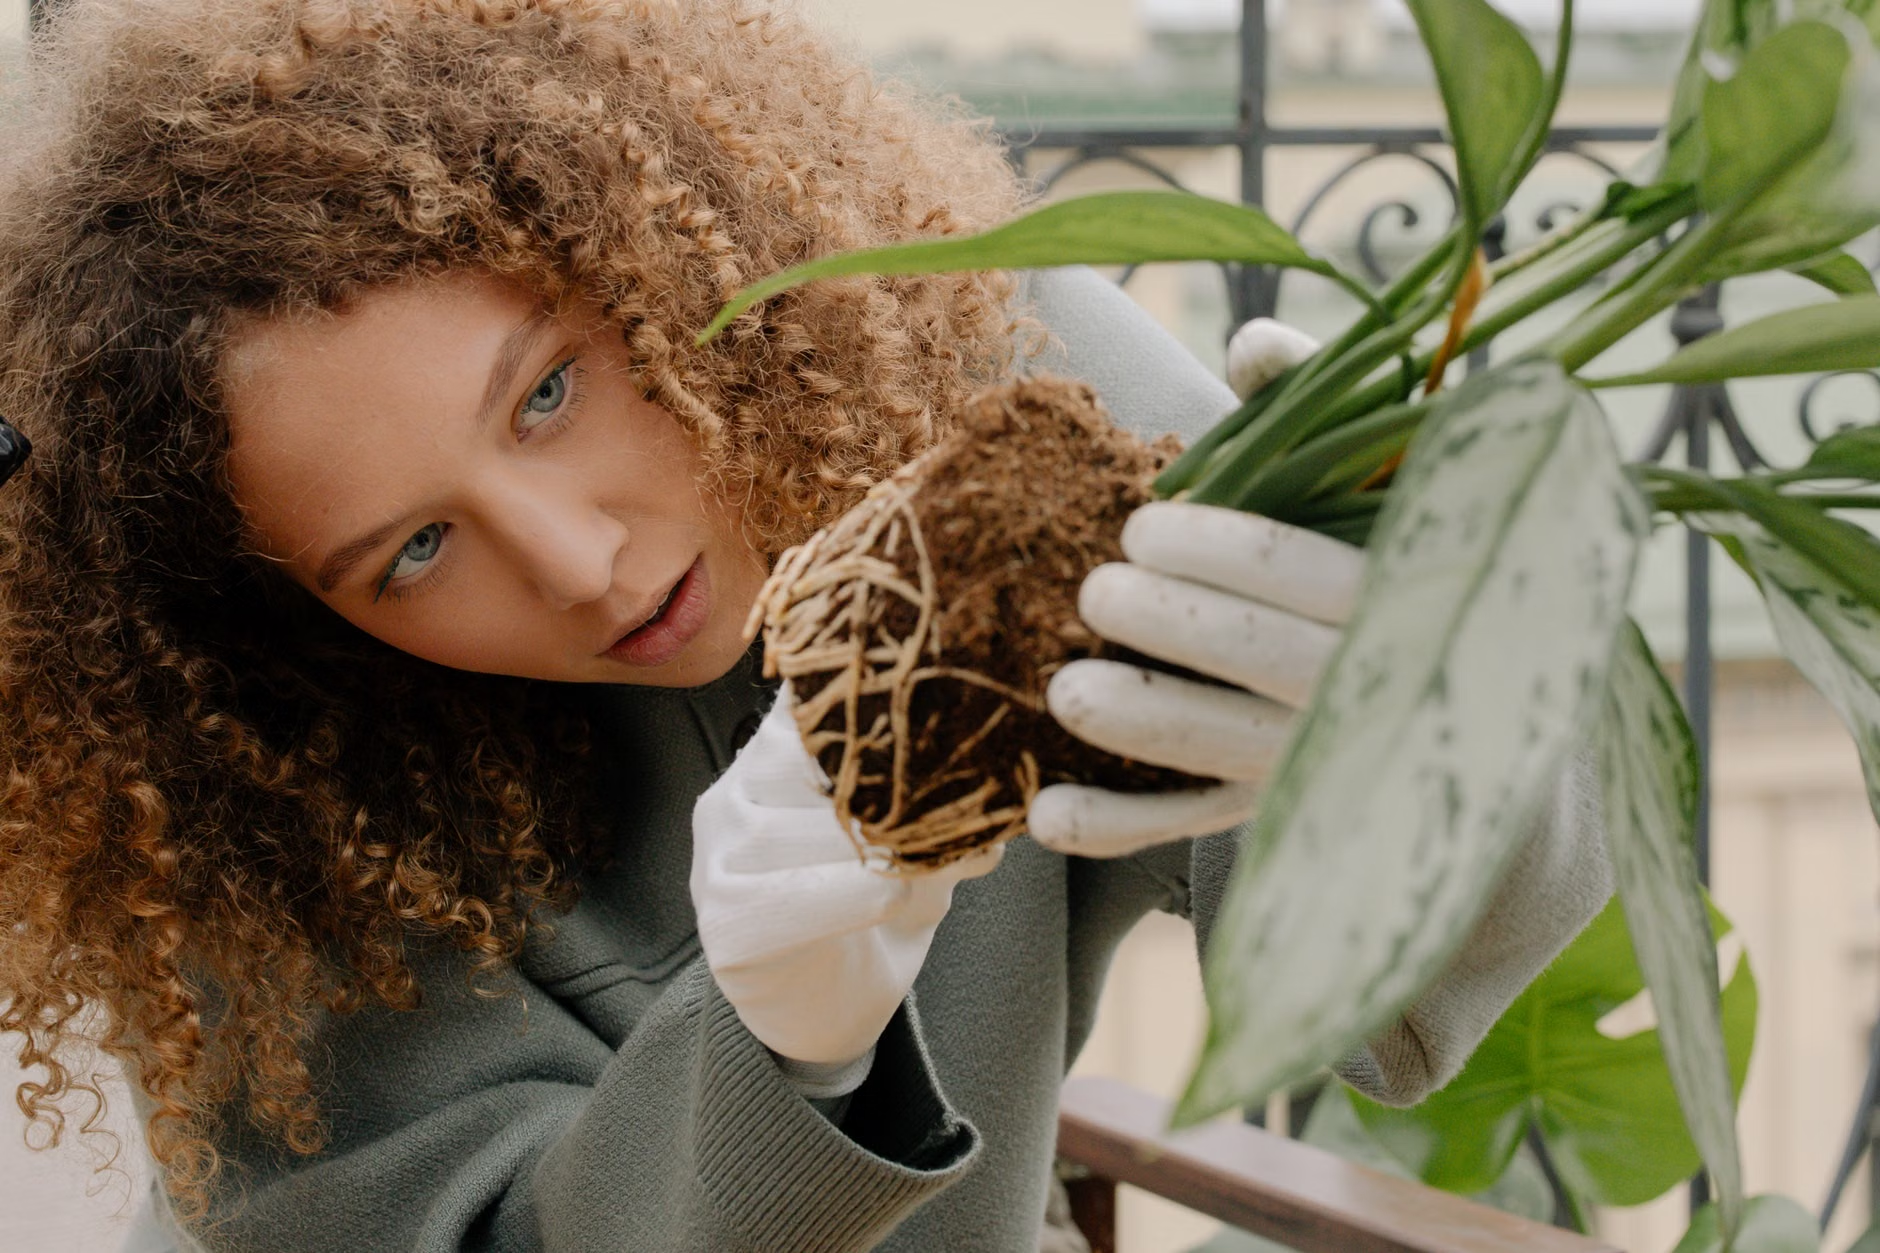
If you want to understand your orchid, look at its roots. Healthy Phalaenopsis roots are firm and appear silvery-green or bright green. If the roots are shriveled and gray, the plant is dehydrated. If they are brown, mushy, or smell of decay, the plant is likely suffering from “root rot” due to overwatering. This visual feedback loop is the most reliable diagnostic tool for any grower.
| Root Appearance | Meaning | Recommended Action |
|---|---|---|
| Bright Green | Well-hydrated | No water needed; wait until they turn silvery. |
| Silvery-Grey | Ready for water | Water thoroughly; ensure drainage is complete. |
| Brown/Mushy | Root rot | Remove dead roots; repot in fresh, airy bark medium. |
This table serves as your primary decision-making guide. For those with limited mobility or vision, using a clear plastic pot allows you to inspect the root health without having to lift the plant out of its container, making the process both safe and efficient.
Creating an Accessible Gardening Environment
Gardening should not be a chore that causes back pain or fatigue. To turn orchid cultivation into a sustainable, lifelong hobby, your environment must be optimized for your physical needs.
Ergonomic Workspace Setup
- Waist-High Shelving: Avoid placing plants on the floor or on low coffee tables. Use a sturdy, waist-high plant stand or a dedicated utility cart with wheels. This prevents unnecessary bending and allows you to sit comfortably in a chair while tending to your plants.
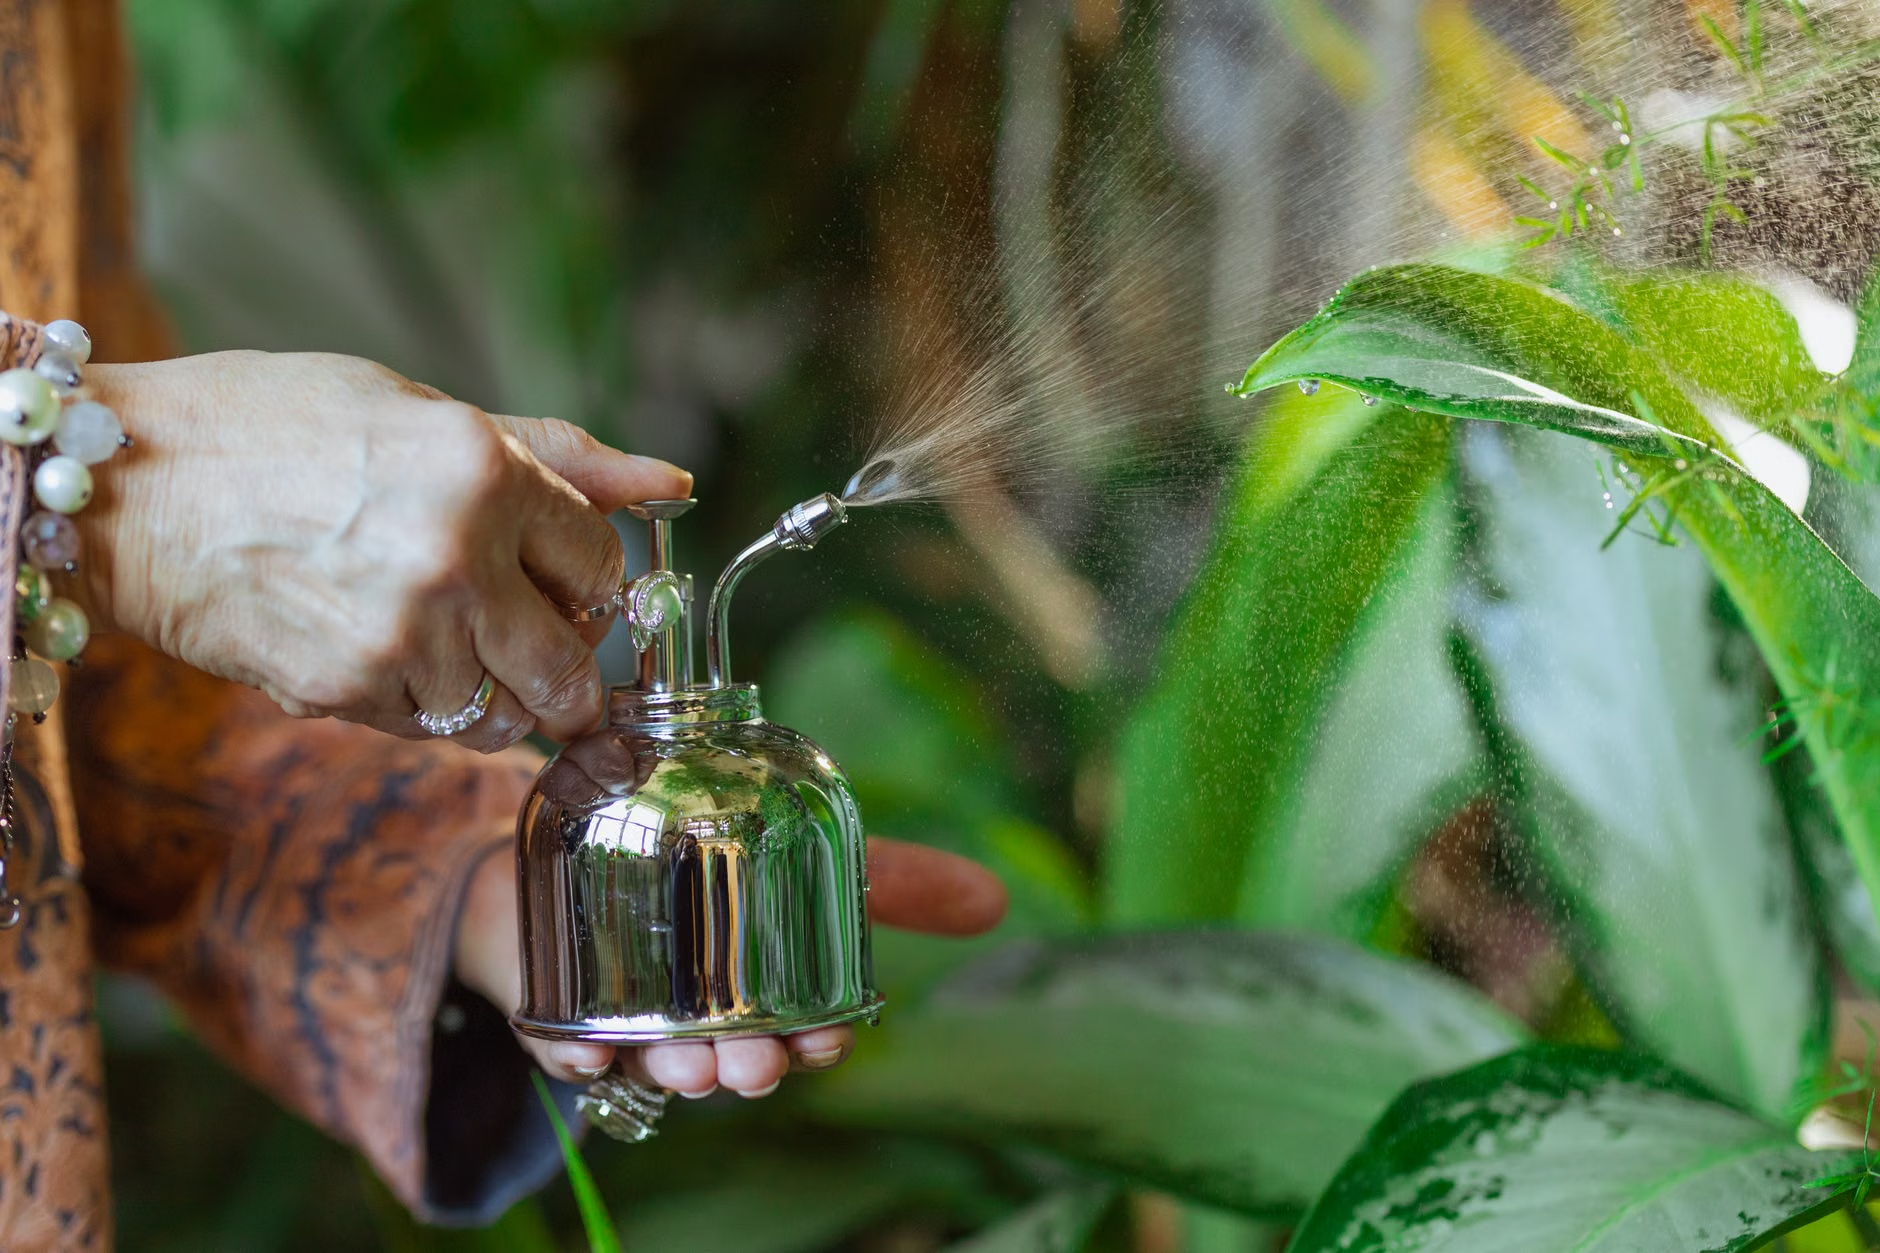
- Lightweight Watering Systems: Instead of heavy, full-size watering cans, use a small, long-spouted pitcher. This reduces the strain on your wrists and provides better precision when pouring water into the pot without splashing the leaves.
- Magnification and Lighting: If you find it difficult to inspect small details, use a magnifying glass or a head-mounted lamp. Good lighting is essential not just for the plant, but for your safety when navigating around your workspace.
Managing Stamina and Pacing
Treat your gardening time as a “micro-break.” You do not need to attend to every plant at once. Dedicate specific days to specific tasks. For example, Monday might be “Inspection Day” where you simply observe and record which plants need attention. Thursday might be “Watering Day.” By breaking the tasks into smaller, manageable chunks, you avoid physical overexertion and maintain a sense of accomplishment.
The Science of Light and Air
Orchids are often perceived as “difficult,” but they are simply “specific.” Their primary requirements are bright, indirect light and excellent air circulation. If your home has a window that gets bright morning sun but is shielded from the harsh afternoon heat, you have the perfect location for an orchid.
The “Hand Test” for Light
To determine if your light levels are appropriate, place your hand between the window and the plant during the brightest part of the day. If your hand casts a soft, blurry shadow, the light is perfect. If there is no shadow, it is too dim. If the shadow is sharp and dark, the light is too intense and may burn the leaves.
The Role of Air Circulation
Stagnant air is the enemy of the indoor orchid. It encourages fungal growth and attracts pests. A small, quiet desktop fan placed near your orchids can mimic the gentle breezes they would experience in the wild. This is particularly important in winter when indoor heating can make the air dry and still. Ensure the fan is not blowing directly on the blooms, as this can cause them to drop prematurely.
Repotting: A Step-by-Step Guide
Repotting is a necessary task that should be done every 18 to 24 months, or whenever the potting medium (the bark chips) begins to break down into a fine, soil-like consistency. This breakdown prevents air from reaching the roots, leading to suffocation.
- Preparation: Gather your supplies—fresh orchid bark, a clean pair of sterilized scissors, and a pot with adequate drainage holes.
- Removal: Gently remove the orchid from its old pot. If the roots are stuck to the sides, soak the pot in water for 10 minutes to loosen them.
- Inspection: Trim away any dead, papery, or mushy roots using your sterilized scissors. Sterilization (wiping blades with isopropyl alcohol) is crucial to prevent the spread of disease between plants.
- Placement: Place the orchid in the new pot, ensuring it is at the same depth it was previously. Gently fill the gaps with fresh bark, tapping the pot on the table to help the bark settle.
- Stabilization: If the plant feels wobbly, use a small bamboo stake to support it until it establishes itself in the new medium.
Common Misconceptions and Troubleshooting
There is a pervasive myth that orchids should be watered with ice cubes. This is generally not recommended. Orchids are tropical plants; ice cubes can shock the root system and cause long-term damage. Instead, use room-temperature water. Pour it through the medium until it runs freely out of the bottom drainage holes, then let the pot sit for a few minutes to ensure the excess is fully drained before returning it to its saucer.
What to do if the plant stops blooming
If your orchid has lost its flowers, it has not “died.” It has simply finished its blooming cycle. Continue to care for it with the same light and water requirements. To encourage a new spike, many orchids benefit from a temperature drop of about 5–10°C (roughly 10–18°F) at night for a few weeks, which mimics the changing seasons in their natural habitat. If your home is climate-controlled, placing the plant near a cooler (but not drafty) window at night during the autumn months can often trigger a new spike.
The Hidden Benefits for Caregivers
For family members or caregivers, introducing an orchid to a senior’s living space can provide a shared project. It is a topic of conversation that is positive and forward-looking. If mobility is an issue for the senior, the caregiver can assist with the heavier lifting (such as carrying plants to the sink for watering), while the senior takes the lead on the observation and decision-making. This fosters a sense of agency and purpose for the senior, while providing a bonding activity that is quiet and soothing for both parties.
Conclusion
Orchid cultivation is a rewarding, life-affirming hobby that rewards patience and observation. By setting up an ergonomic space, understanding the specific needs of your plants, and treating each task as a moment of mindfulness, you can transform your home into a thriving, beautiful sanctuary. Remember that orchids are resilient; they communicate their needs clearly through their roots and leaves. Listen to them, provide them with the right environment, and you will enjoy the quiet, consistent joy they bring for many years to come.
Official Resources and Further Reading
For those interested in diving deeper into the specific species or troubleshooting complex care issues, the following resources are highly recommended for their evidence-based approach:
- American Orchid Society (AOS) – Orchid Care Basics: A comprehensive repository of care sheets for specific orchid genera.
- Royal Horticultural Society – Growing Orchids Indoors: Expert guidance on indoor environment management and pest control.
Frequently Asked Questions (FAQ)
1. How often should I fertilize my orchids?
Orchids are light feeders. A common rule of thumb is “weekly, weakly.” Use a balanced, water-soluble orchid fertilizer diluted to one-quarter of the recommended strength once a week. If you are using a bark medium, this helps provide nutrients that the decaying bark can no longer supply. During the winter months, you can reduce this to once a month.
2. Can I keep my orchids in the bathroom?
Bathrooms can be excellent locations for orchids because of the natural humidity generated by showers. However, ensure the room has adequate natural light. A dark bathroom will lead to weak growth, regardless of the humidity levels. If your bathroom lacks a window, consider rotating the plant between the bathroom and a brighter room every few days.
3. What are the signs that my orchid is getting too much sun?
The most tell-tale sign is the color of the leaves. A healthy Phalaenopsis leaf should be a medium, grassy green. If the leaves turn a yellowish or reddish-tinged color, it indicates that the plant is receiving too much light. Move the plant to a spot with more shade immediately to prevent permanent leaf burn, which can damage the plant’s ability to photosynthesize effectively.