- Moisture Management: The secret to successful herb drying is rapid, low-heat evaporation to prevent mold and preserve essential oils.
- Selection Matters: Choose drying methods based on the herb’s moisture content; high-moisture herbs like basil require faster drying than woody herbs like rosemary.
- Storage Longevity: Proper storage in airtight, light-protected glass jars ensures your dried herbs retain their potency for up to 12 months.
Drying herbs at home is a timeless practice that bridges the gap between gardening and culinary satisfaction. For many, it is more than just a method of food preservation; it is a mindful, sensory-rich activity that encourages patience and connection to the seasons. Whether you are harvesting from a windowsill herb garden or a larger backyard plot, understanding the science and technique behind drying ensures you capture the peak flavor and aromatic qualities of your plants.
Understanding the Science of Herb Preservation
At its core, drying herbs is the process of removing water from plant tissue. Water is the primary driver of microbial growth and enzymatic activity, both of which can cause herbs to spoil or lose their vibrancy. By reducing the moisture content, you effectively “pause” the plant’s life cycle while locking in the essential oils that provide flavor and scent.
Why does this matter for your daily habits? Commercially dried herbs often sit in warehouses for months, losing their potency before they even reach the grocery store shelf. When you dry your own, you control the environment, resulting in a superior product that elevates your cooking without the need for excess salt or artificial flavor enhancers.
The Role of Essential Oils
Essential oils are volatile compounds located in the tiny glands on the surface of herb leaves. These oils are highly sensitive to heat and light. If you dry herbs in direct sunlight, these oils evaporate prematurely, leaving behind a dull, flavorless leaf. Therefore, the “art” of drying is essentially the management of these oils through controlled temperature and airflow.
Preparation: Harvesting for Peak Quality
The quality of your dried herbs is determined before you even begin the drying process. Timing is everything. The best time to harvest is mid-morning, just after the dew has evaporated but before the heat of the day has forced the plant to pull its essential oils into its roots.
- Harvesting woody herbs: (Rosemary, thyme, oregano, sage) These should be harvested just before they begin to flower, as this is when the oil concentration is at its highest.
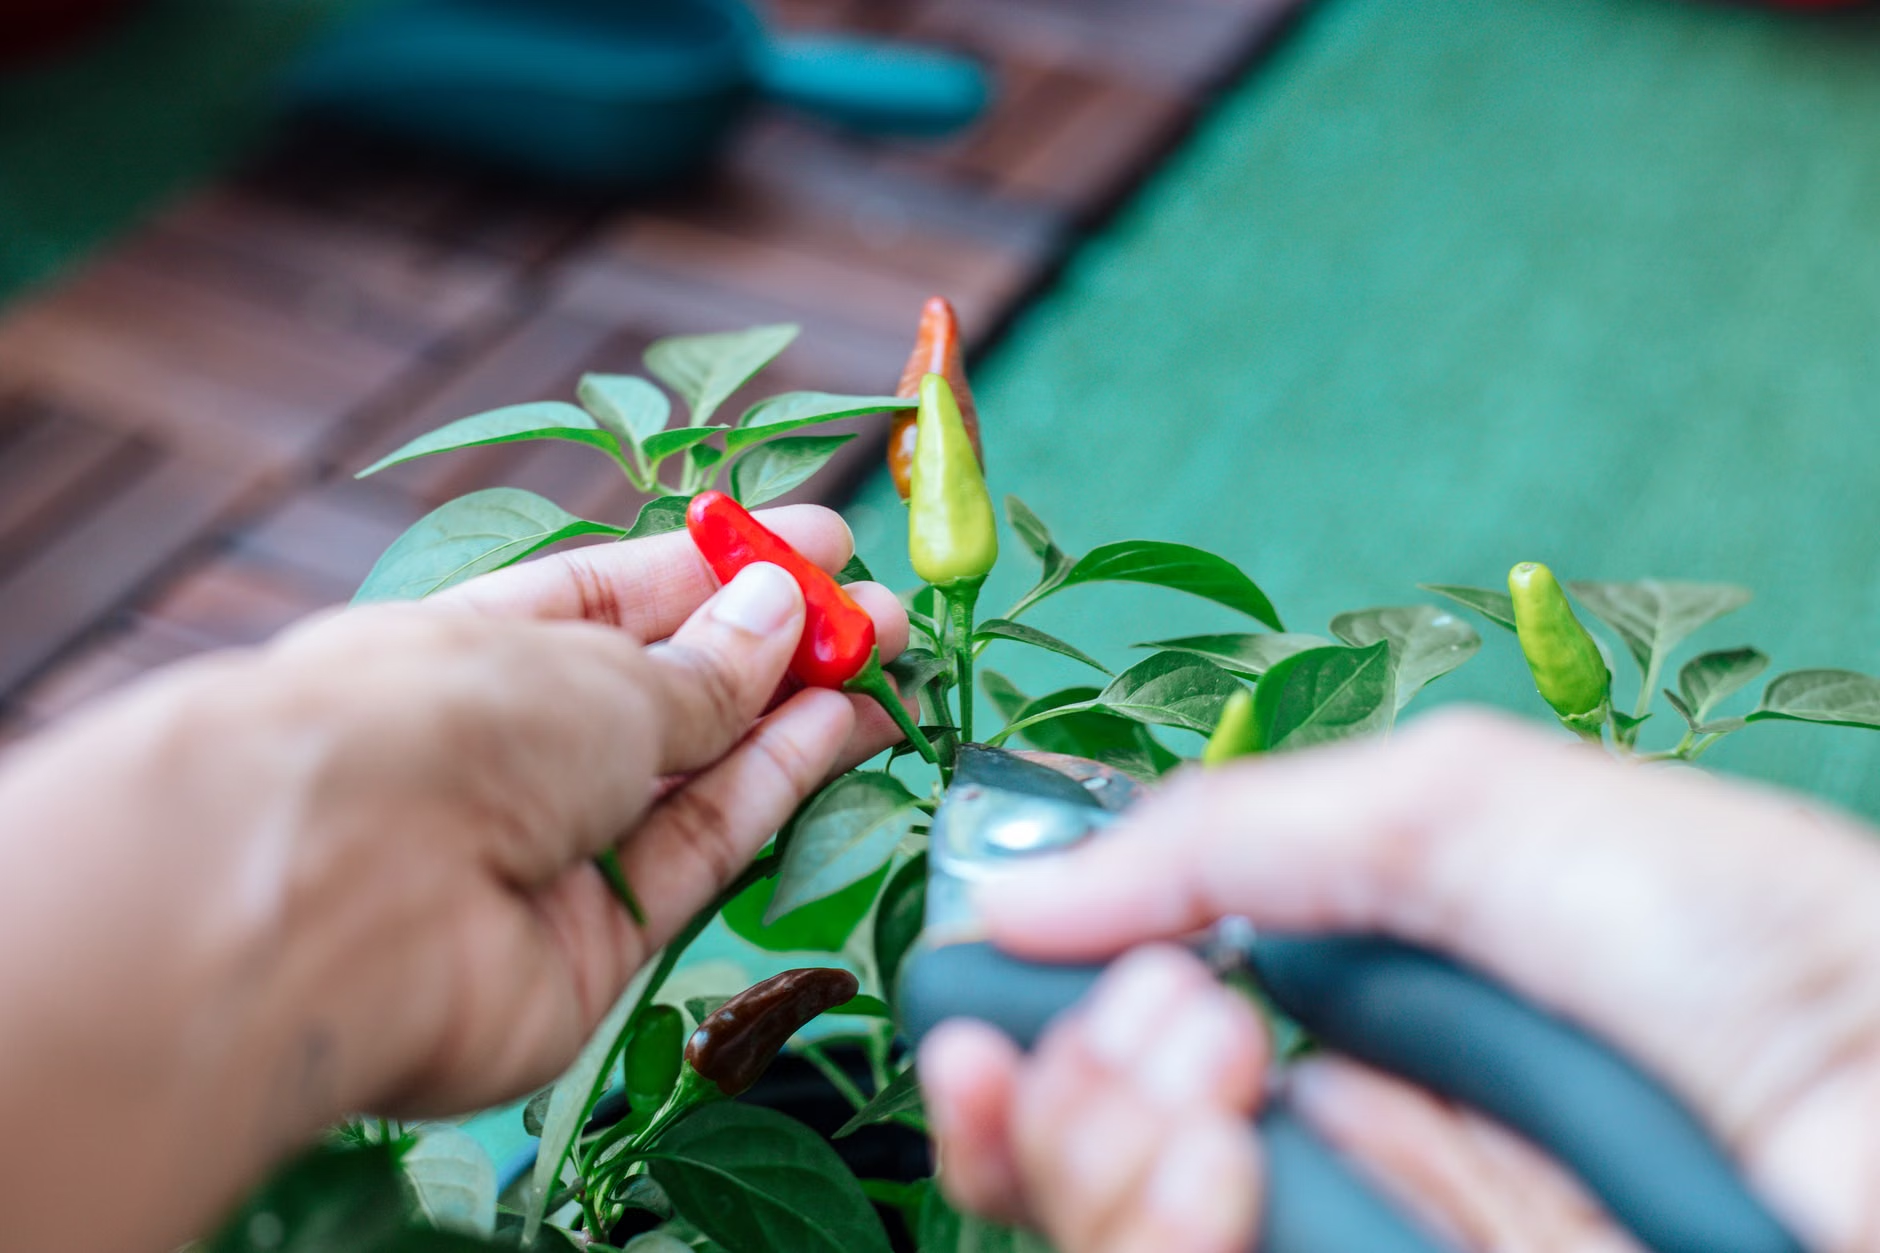
- Harvesting soft-leaf herbs: (Basil, cilantro, parsley, mint) These are best harvested throughout the growing season. Regular pruning actually encourages the plant to produce more foliage.
Common Mistake: Washing herbs before drying. Unless your herbs are visibly dusty or dirty, avoid washing them. If you must wash them, ensure they are completely patted dry with a clean kitchen towel. Any residual water on the surface increases the risk of mold growth during the drying process.
Choosing the Right Drying Technique
There is no “one size fits all” method. The best approach depends on the texture of the herb and your local climate. Humidity is the greatest enemy of the herb dryer; if you live in a high-humidity region, air drying may be ineffective, and you may need to use a dehydrator or oven.
| Method | Best For | Pros | Cons |
|---|---|---|---|
| Air Drying | Woody herbs (thyme, rosemary) | Zero energy cost, traditional | Slow, risky in humid climates |
| Dehydrator | All herbs | Consistent, fast, prevents mold | Requires equipment purchase |
| Oven Drying | Quick batches | Accessible to everyone | Easy to overheat/cook the herbs |
Air Drying: The Traditional Approach
This method involves bunching herbs and hanging them upside down. Use a piece of kitchen twine to tie the stems together—don’t make the bundles too thick, or the center will not dry and will likely mold. Hang these bundles in a dark, warm, and well-ventilated room. A pantry or a kitchen corner away from the stove is ideal. The darkness is crucial for preserving the green color of the leaves.
The Dehydrator Method
For those who prefer a more precise, tech-assisted approach, an electric food dehydrator is an excellent investment. Set the temperature to the lowest possible setting—usually between 35°C and 40°C (95°F to 105°F). This low heat is sufficient to remove moisture without damaging the delicate essential oils. Arrange the leaves in a single layer on the trays to ensure maximum airflow.
Step-by-Step: Managing the Drying Process
Once you have initiated the drying process, the “mindful” part of the hobby begins. You must monitor the progress daily. This prevents over-drying, which can turn herbs into bitter, dust-like substances.
- Inspection: Check the herbs after 24 hours. If using a dehydrator, check every 2-3 hours.
- The Snap Test: The herbs are ready when they are “crisp.” For leaves, they should crumble easily between your fingers. For stems, they should snap rather than bend.
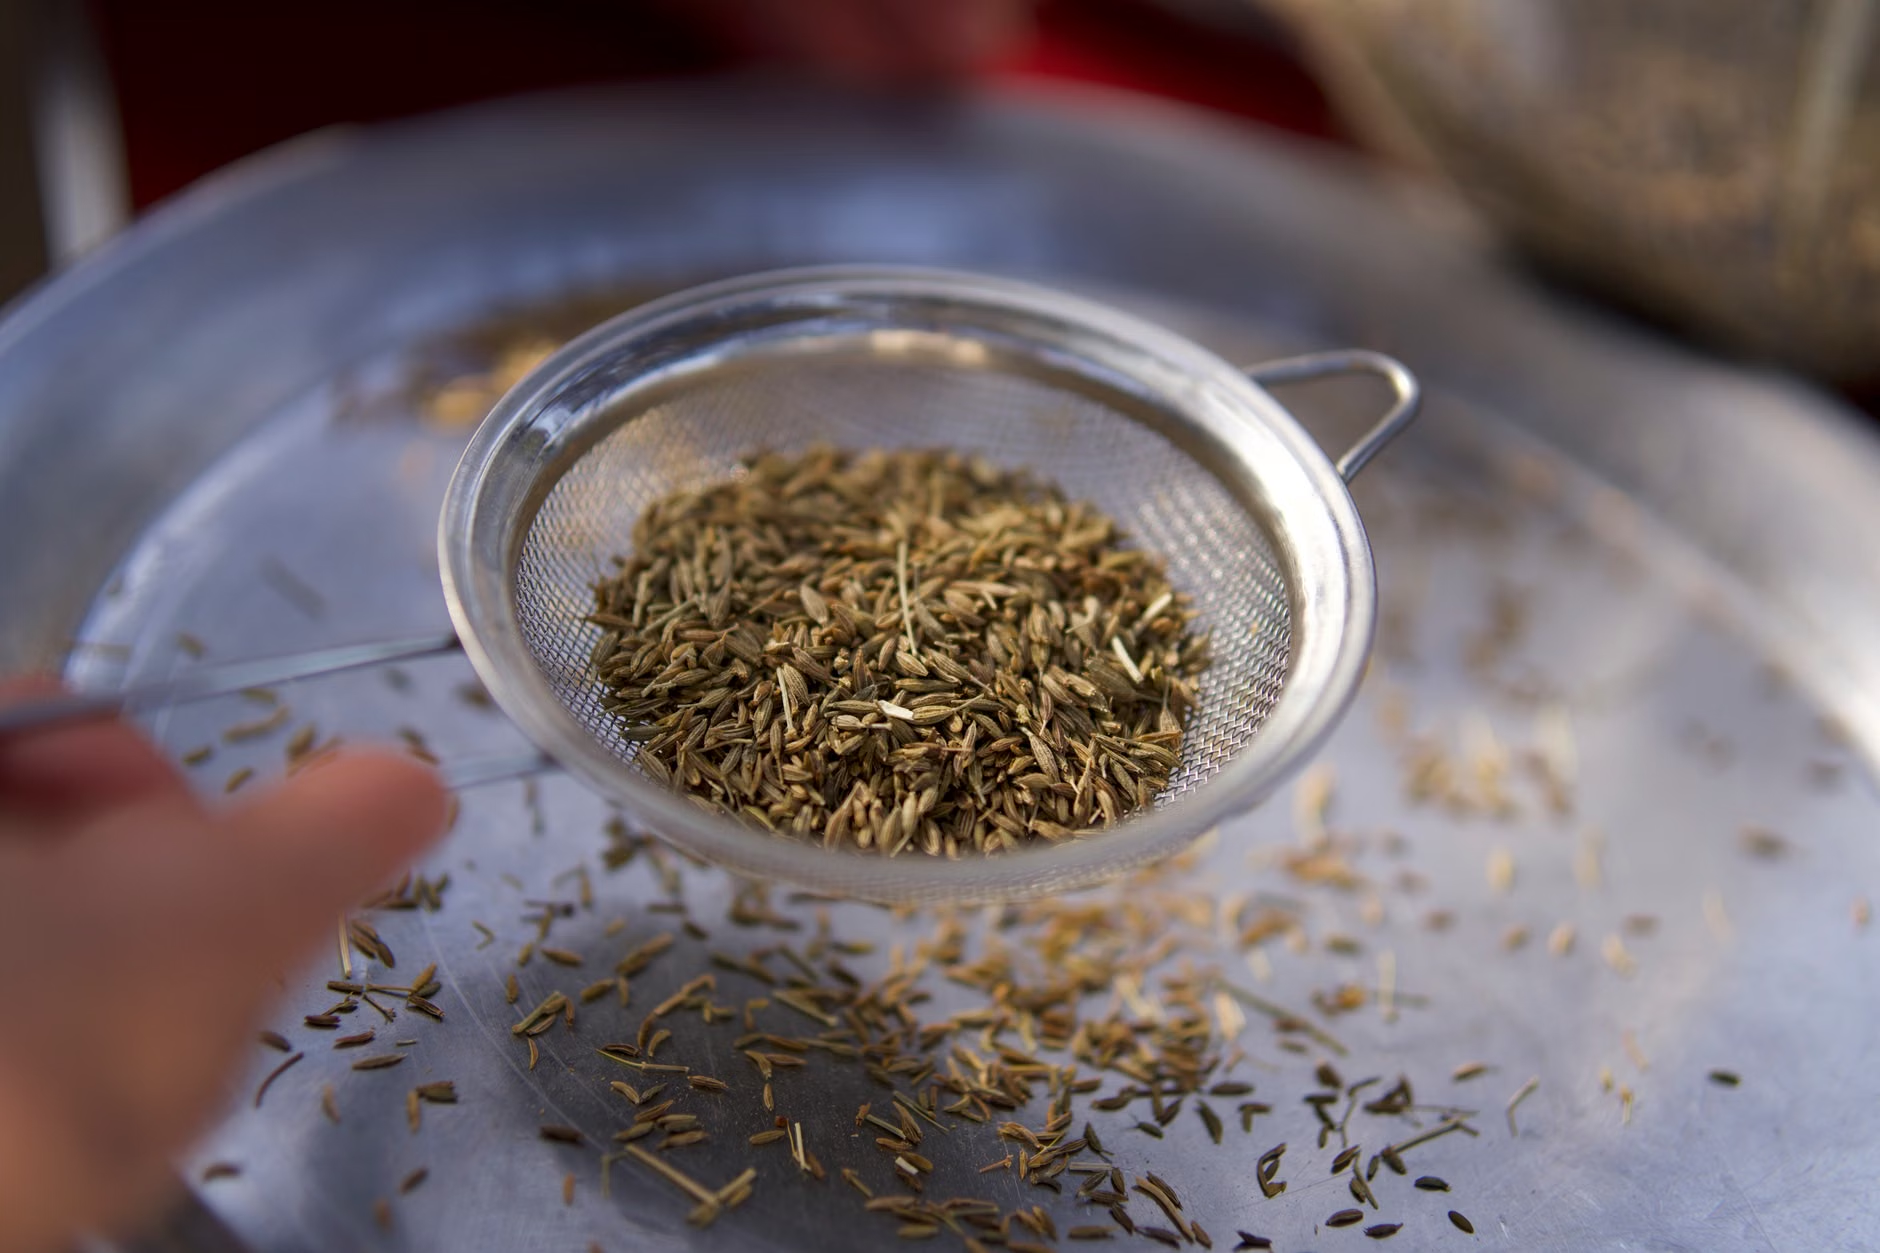
- Stripping: Once fully dried, strip the leaves from the stems. It is often easier to keep the leaves whole and crush them only when you are ready to use them in a recipe. Whole leaves retain their oils much longer than pre-crushed ones.
Storage: Protecting Your Harvest
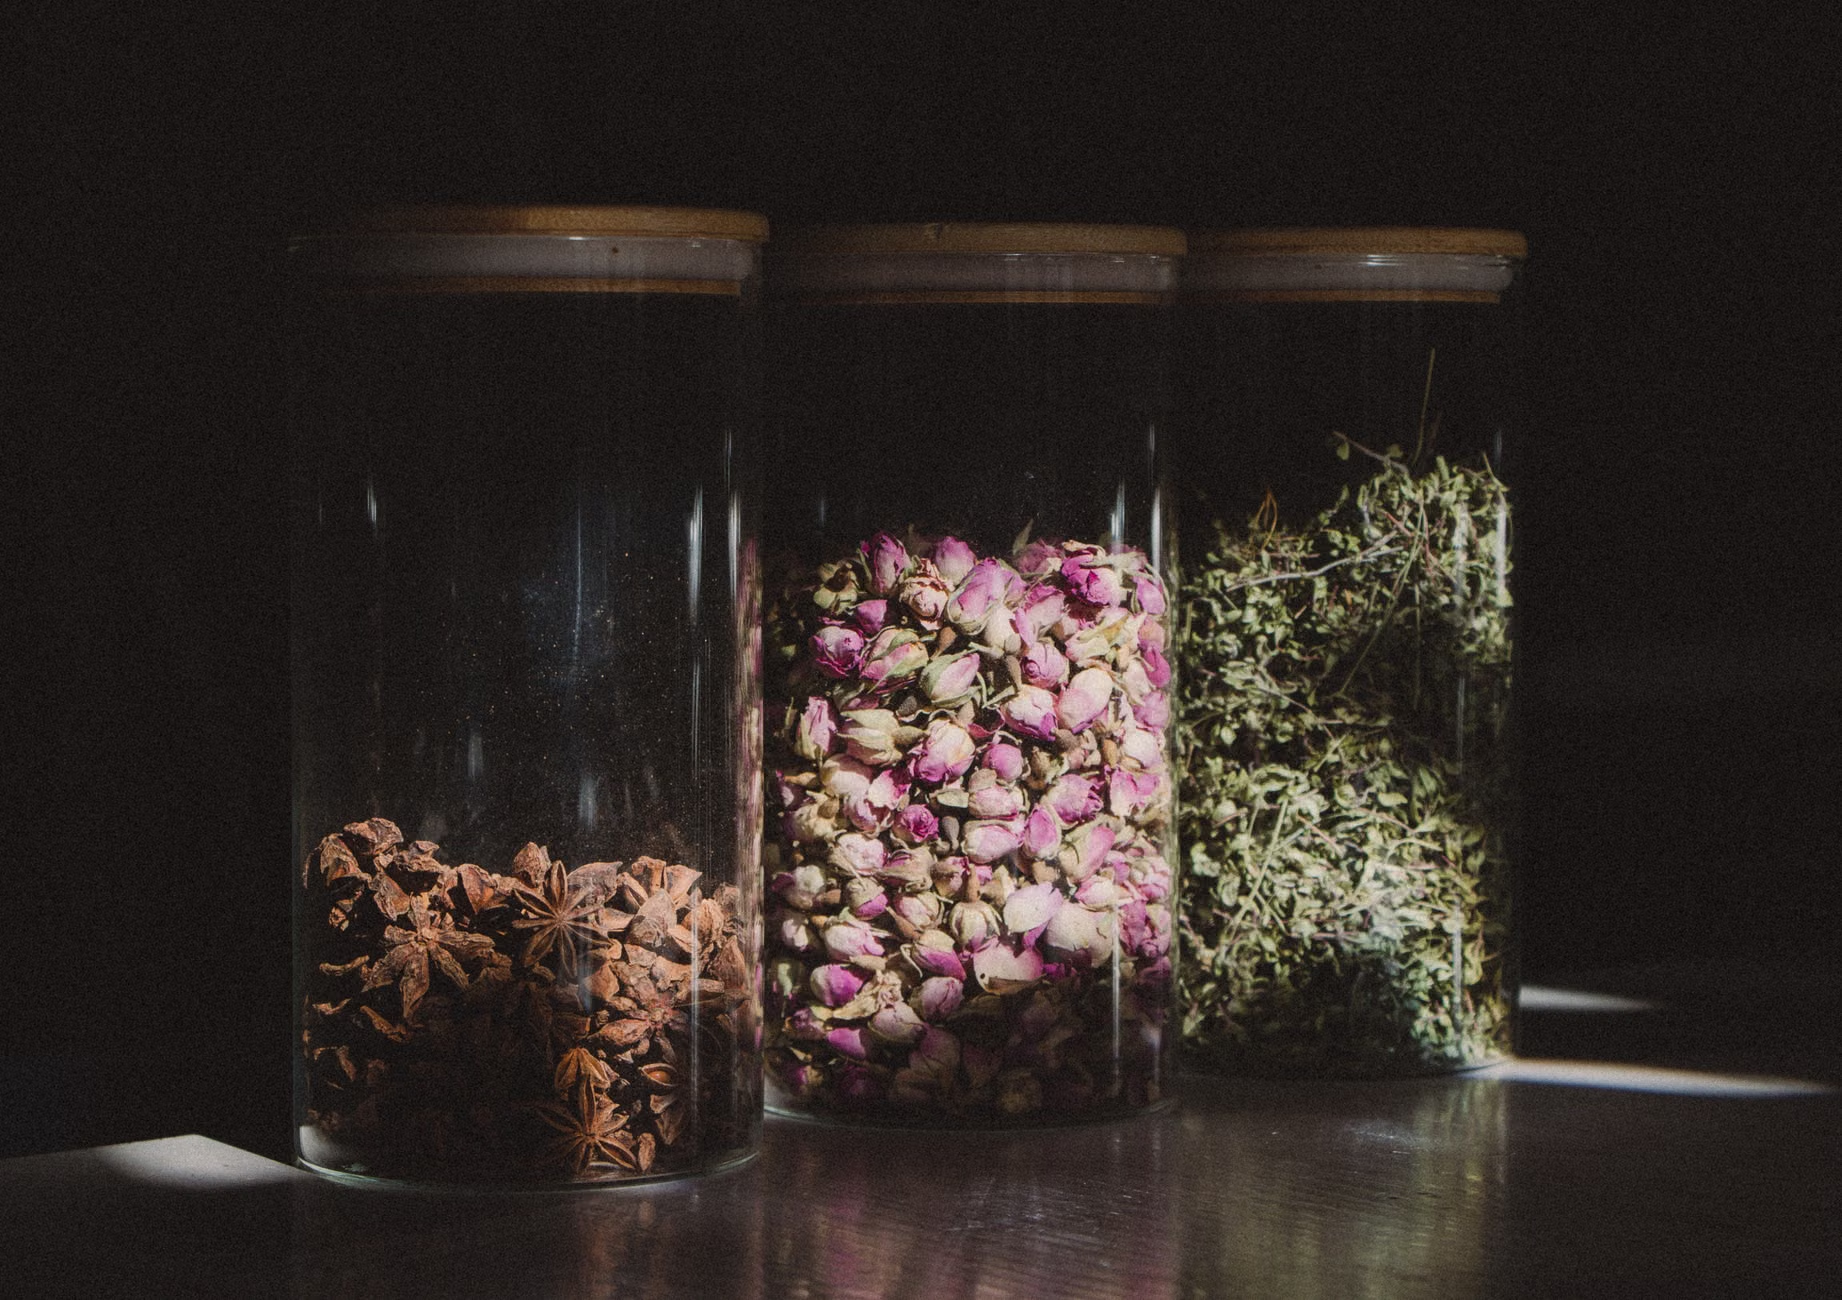
Proper storage is the final hurdle. Many people spend weeks drying their herbs only to store them in a clear jar on a sunny windowsill. Light and heat are the two factors that destroy dried herbs. Store your finished product in airtight glass jars—amber or cobalt glass is best if you have it, but standard clear glass is fine if kept in a dark cupboard.
Insight: Place a small, food-grade silica gel packet in the jar if you live in a humid environment. This extra step can prevent the herbs from re-absorbing moisture from the air, which is the most common cause of spoilage in home-dried goods.
Labeling and Rotation
Always label your jars with the name of the herb and the date of drying. A simple piece of masking tape works perfectly. Use a “first in, first out” system. Dried herbs typically remain at their peak for 12 months. After a year, they are usually safe to consume, but they will have lost most of their aromatic complexity.
The Mindful Perspective
Why engage in this process when dried herbs are available at any supermarket for a few dollars? The answer lies in the cognitive benefits of slow-paced, methodical tasks. Engaging in the rhythmic process of cleaning, sorting, and drying herbs can be a form of active meditation. It encourages focus on the present moment, enhances fine motor skills, and provides a tangible sense of accomplishment.
Furthermore, this hobby encourages a deeper understanding of food systems. By participating in the preservation of your own ingredients, you become more conscious of the food you consume. You may find that your palate becomes more sensitive to the nuances of different herbs, leading to more creative and healthy cooking in your daily life.
Safety Considerations and Best Practices
While herb drying is generally safe, there are precautions to follow to ensure the quality and safety of your final product. The most significant risk is the development of mold, which can occur if herbs are dried in damp environments or stored before they are completely dehydrated. If you notice any fuzzy growth or a musty smell, discard the entire batch. Do not attempt to salvage it.
Additionally, if you are currently managing health conditions that require strict dietary monitoring, remember that while dried herbs are a healthy way to add flavor without salt, they can be highly concentrated. Always use them in moderation. If you are taking blood-thinning medication, consult with your primary care physician or pharmacist before significantly increasing your intake of certain herbs like parsley or sage, as these can have high vitamin K content which may interact with your medication.
Integrating Herbs into Your Daily Life
Once you have your pantry stocked, the practical application is where the joy truly begins. Dried herbs are not just for soups and stews. They can be used to create custom herb blends, infused oils, or even herbal teas. For example, a blend of dried rosemary, thyme, and oregano can be used to season roasted vegetables, providing a flavorful alternative to salt-heavy seasoning packets.
When cooking with dried herbs, remember that they are more potent than fresh ones. A general rule of thumb is to use one-third the amount of dried herbs compared to fresh. If a recipe calls for one tablespoon of fresh thyme, start with one teaspoon of dried thyme. You can always add more, but you cannot take it out.
Developing Your Own Blends
Creating your own signature herb blend is a rewarding way to personalize your cooking. Try combining your dried herbs with other pantry staples like black pepper, garlic powder, or lemon zest. Not only does this make your cooking more flavorful, but it also allows you to control the sodium content, which is a key part of maintaining long-term cardiovascular health.
Conclusion
The art of mindful herb drying is a simple, low-cost, and highly rewarding hobby that fits perfectly into the lifestyle of active, health-conscious adults. By taking control of the preservation process, you ensure the highest quality ingredients for your kitchen while enjoying the calming, meditative benefits of working with nature. Start small with one or two herbs, master the technique, and gradually expand your repertoire. Your pantry—and your palate—will thank you.
Frequently Asked Questions
- 1. How do I know if my herbs are completely dry?
- The herbs should be brittle to the touch. If you can bend a leaf without it cracking or snapping, it still contains moisture and needs more time. If you store herbs that are not 100% dry, they will develop mold within a few days.
- 2. Can I dry herbs in the microwave?
- While it is possible to dry herbs in the microwave by heating them in short, 30-second bursts between paper towels, it is generally not recommended. The intense heat often cooks the herbs rather than drying them, which destroys the essential oils and flavor. For the best results, stick to air drying or a low-heat dehydrator.
- 3. How long do my home-dried herbs last?
- If stored in an airtight, light-protected container in a cool, dry place, your home-dried herbs will maintain their peak flavor for approximately 12 months. After this time, they are still safe to eat, but they will have lost most of their scent and taste.
For further information on food safety and home preservation techniques, you can visit the National Center for Home Food Preservation for evidence-based guidelines and resources.