- Optimal Preservation: Air-drying is the most cost-effective and energy-efficient method for low-moisture herbs like rosemary and thyme, while high-moisture herbs like basil require faster drying to prevent spoilage.
- Safety First: Proper airflow and complete moisture removal are critical to prevent mold growth, which can render dried herbs unsafe for consumption.
- Culinary Potency: Drying concentrates the essential oils in herbs; as a rule of thumb, use one teaspoon of dried herbs for every tablespoon of fresh herbs in your recipes.
The practice of drying herbs is a timeless hobby that bridges the gap between gardening and the kitchen. For many, it serves as a meditative activity that offers a tangible connection to the seasons. Beyond the pleasure of working with fragrant plants, drying your own herbs allows you to control the quality of your ingredients, avoid the additives sometimes found in commercial products, and enjoy the essence of your garden long after the growing season ends.
Understanding Herb Classification for Successful Drying
Not all herbs are created equal when it comes to the drying process. Understanding the moisture content of your specific plants is the most important variable in ensuring success. We categorize herbs into two primary groups based on their leaf structure and water retention.
Hardy Herbs: Low Moisture, High Resilience
Hardy herbs are those with woody stems and low moisture content. These are the easiest to dry and are highly forgiving of various techniques. Examples include rosemary, thyme, oregano, bay leaves, and sage. Because they contain less water, they are less prone to spoiling during the drying process, making them ideal for beginners.
Tender Herbs: High Moisture, High Risk
Tender herbs have soft, fleshy leaves and higher water content. These require a faster drying process to prevent them from turning black or developing mold before they dry out. Common examples include basil, mint, parsley, lemon balm, and cilantro. These herbs often retain more flavor when frozen, but they can be successfully dried if you prioritize airflow and speed.
| Herb Type | Examples | Best Drying Method |
|---|---|---|
| Hardy | Rosemary, Thyme, Oregano | Air-drying in bundles |
| Tender | Basil, Mint, Parsley | Dehydrator or quick-oven method |
The Essential Preparation Phase
The quality of your dried product begins long before you hang the bundles. Preparation is about hygiene, timing, and selection.
Timing the Harvest
The ideal time to harvest herbs for drying is in the morning, just after the dew has evaporated but before the heat of the midday sun reaches its peak. This is when the concentration of essential oils—the compounds responsible for flavor and aroma—is at its highest. If you wait until the late afternoon, the plants may have already “used up” some of these oils to survive the heat.
Cleaning and Inspection
Once harvested, inspect your herbs carefully. Remove any damaged, yellowing, or soil-covered leaves. If your herbs are dusty, give them a gentle rinse in cool water and pat them completely dry with a clean kitchen towel. Never attempt to dry herbs that are damp from washing or rain, as the trapped moisture will almost certainly lead to mold.

Techniques for Effective Drying
The goal of drying is to remove moisture while retaining the volatile oils that provide flavor. There are three primary methods suitable for home use.
1. Traditional Air-Drying
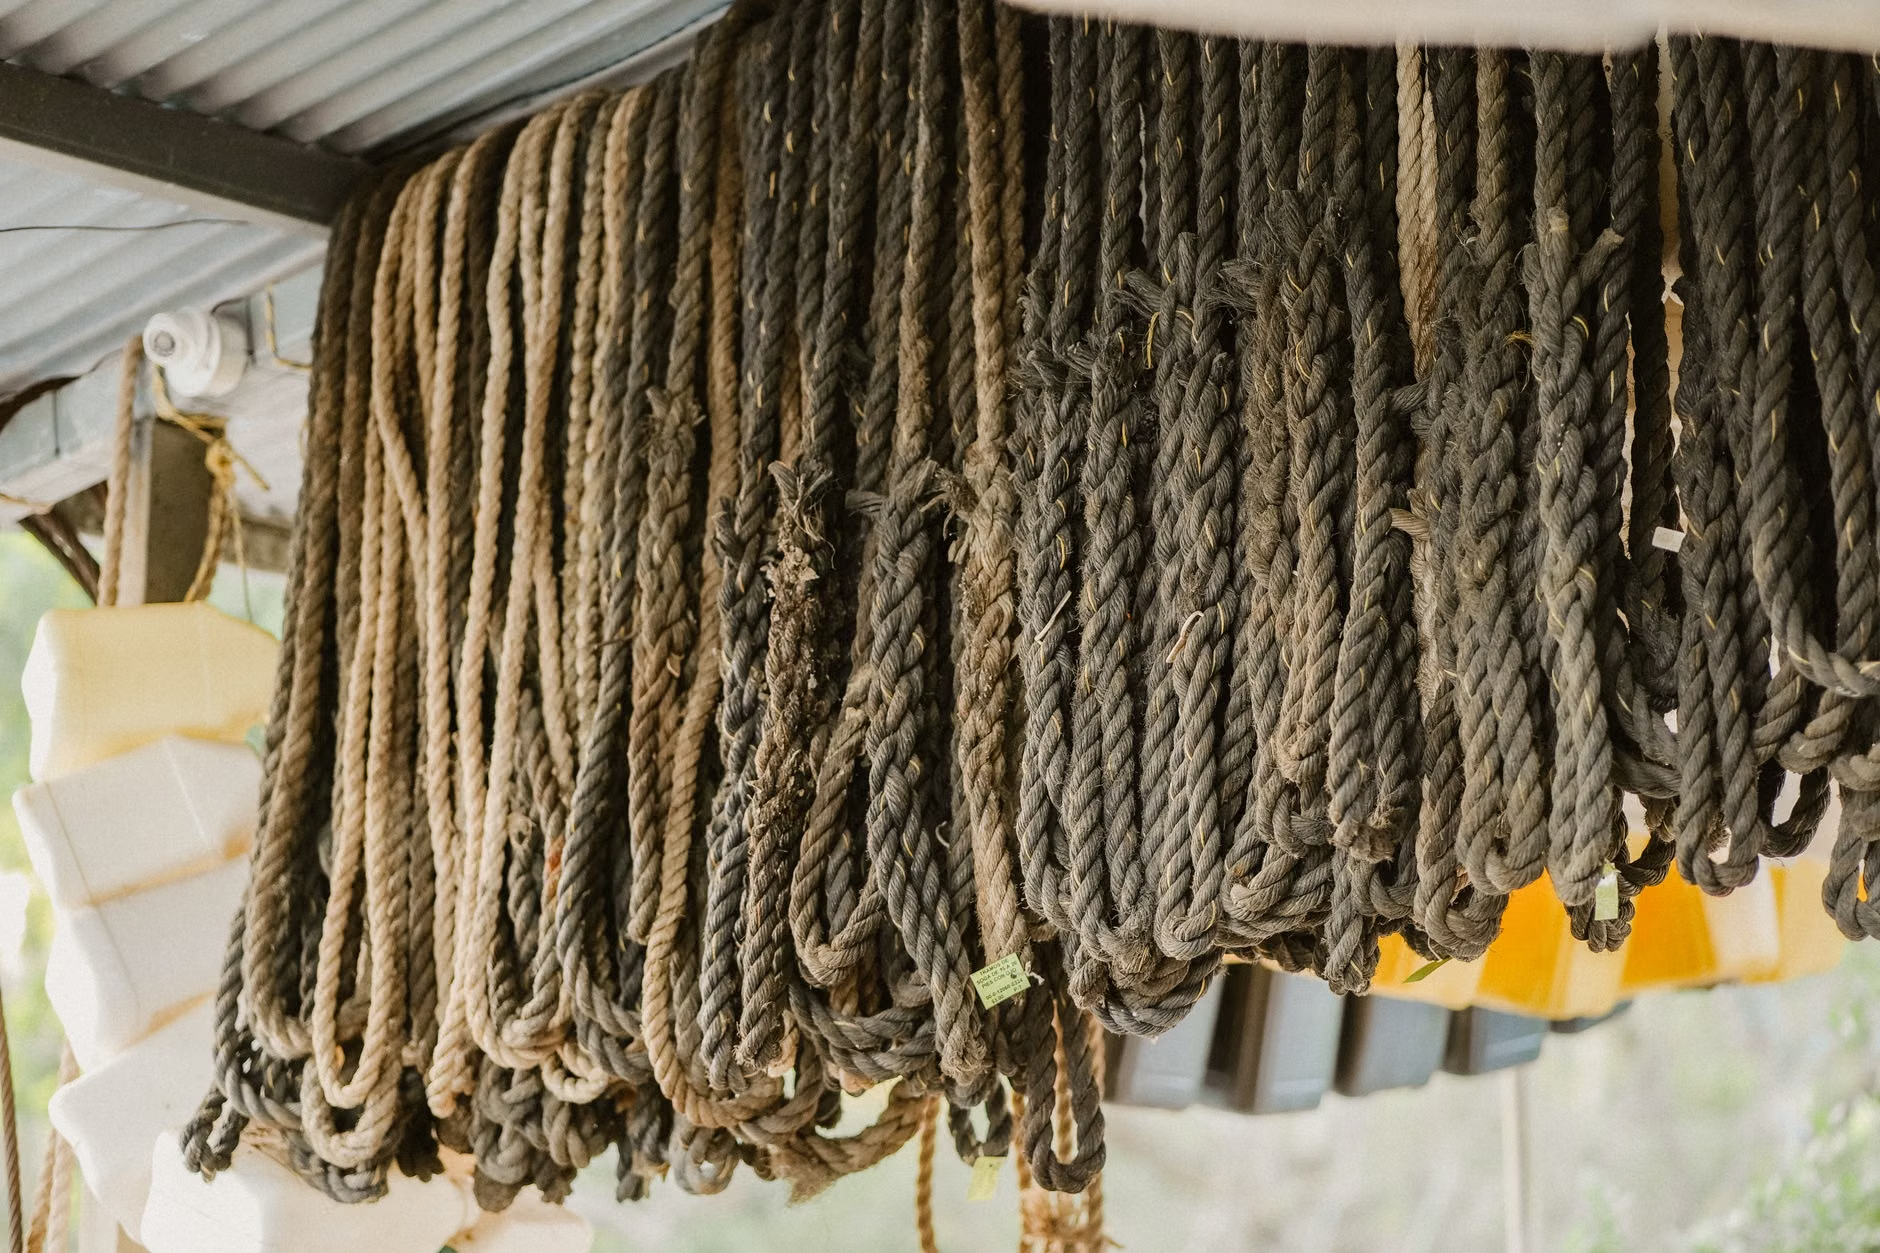
This is the most traditional and energy-efficient method. It is best suited for hardy herbs. Gather small bundles of stems and tie them together with natural twine or a rubber band. As the stems dry, they shrink; a rubber band will contract with the stems, preventing the bundle from falling apart. Hang the bundles upside down in a warm, dry, and well-ventilated area that is out of direct sunlight. Sunlight can bleach the leaves and cause the oils to dissipate prematurely.
2. The Dehydrator Method
For those who prefer speed and consistent results, a food dehydrator is an excellent investment. This method is particularly effective for tender herbs. Arrange the leaves in a single layer on the trays, ensuring they do not overlap. Set the temperature to its lowest setting—usually between 35°C and 40°C (95°F to 105°F). Higher temperatures can cook the herbs rather than dry them, leading to a loss of flavor.
3. The Oven Method
If you do not have a dehydrator, your oven can serve as a drying tool, provided it can hold a very low temperature. Use a baking sheet lined with parchment paper. Spread the herbs in a single layer and place them in the oven with the door slightly propped open to allow moisture to escape. Use the lowest possible setting. Check the herbs frequently, as this method can dry them out very quickly.
Recognizing When Drying is Complete
A common mistake is removing herbs from the drying process too early. Herbs are ready for storage only when they are completely brittle. If you can bend a stem and it feels flexible or leathery, it still contains moisture. A leaf should crumble instantly between your fingers when it is ready. If you store herbs that are not 100% dry, moisture will migrate from the center of the leaves to the edges inside the jar, creating a breeding ground for mold.
Storage and Long-Term Preservation
Once dried, the way you store your herbs determines how long they will remain potent. Light, heat, and moisture are the enemies of dried herbs.
Glass Jars and Airtight Seals
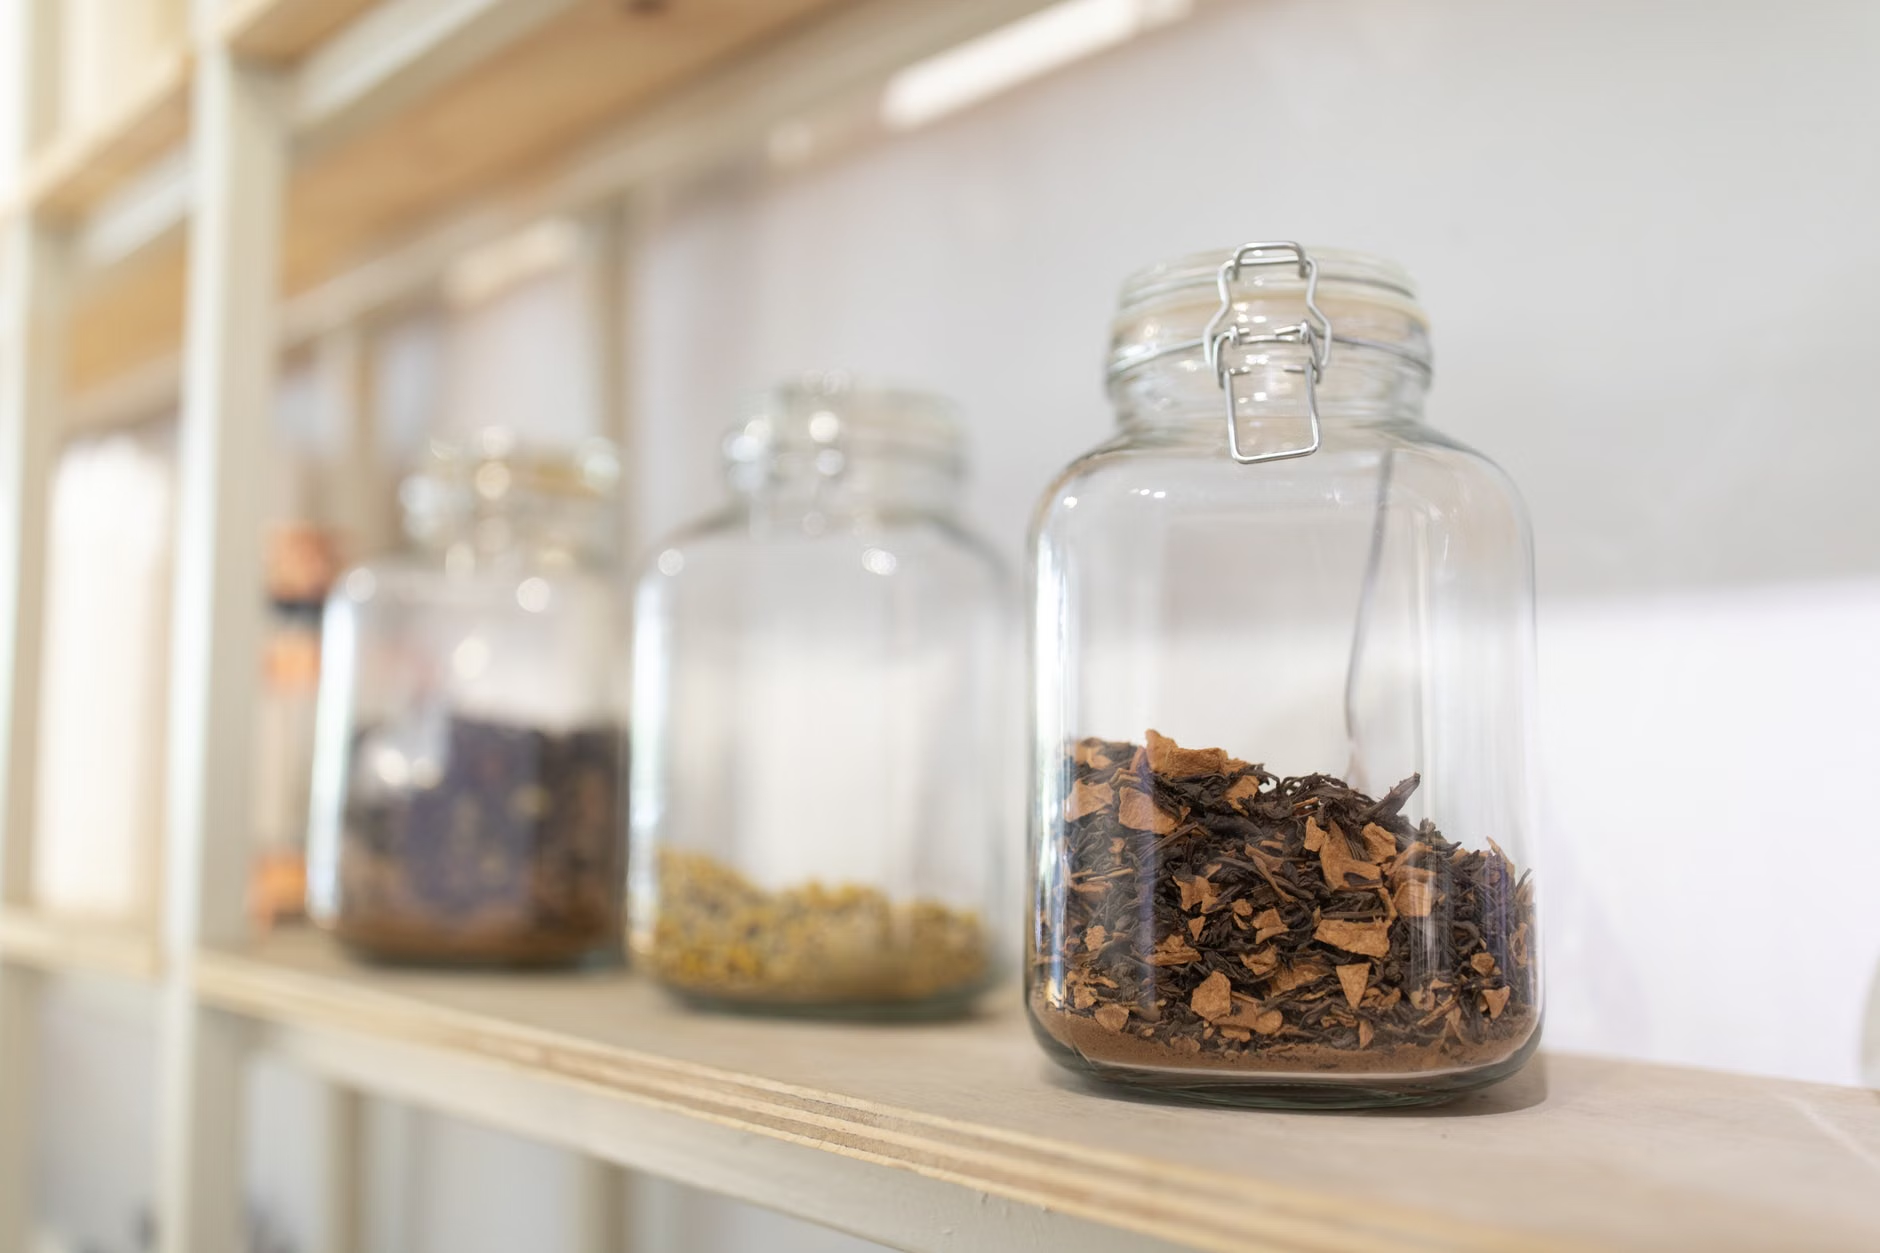
Store your dried herbs in airtight glass jars. Amber or opaque glass is ideal because it protects the contents from light. If you use clear glass, store the jars in a dark pantry or cupboard. Label each jar with the herb name and the date of drying. As a rule of thumb, dried herbs retain their best flavor for about six to twelve months.
Whole vs. Crumbled
For the best flavor retention, store your herbs whole and crumble them only when you are ready to use them in a recipe. Once you crush the dried leaves, you break the cell walls and release the oils. While this smells wonderful, it also means the flavor will dissipate more quickly. If you must crumble them beforehand, ensure the storage container is as small as possible to minimize the amount of air trapped inside with the herbs.
Practical Application: Using Your Harvest
Using dried herbs is an art of moderation. Because the drying process removes the water weight of the plant, the flavor is significantly more concentrated than in fresh herbs. A standard culinary conversion is to use one-third of the amount of dried herbs compared to fresh. For example, if a recipe calls for one tablespoon of fresh chopped thyme, use one teaspoon of your dried thyme.
When cooking with dried herbs, add them earlier in the cooking process than you would fresh herbs. Dried herbs take longer to rehydrate and release their flavor into soups, stews, and sauces. Adding them at the beginning of a simmer allows the heat and liquid to coax the essential oils back out of the dried leaves.
Safety and Quality Control
While drying herbs is a safe hobby, it is important to be vigilant about quality. If you notice any signs of mold, discoloration, or an “off” smell—such as a musty or damp odor—discard the entire batch immediately. Do not attempt to salvage herbs that have been exposed to mold. Prevention is the only reliable safety measure: ensure constant, gentle airflow during the drying process and verify that the herbs are brittle before sealing them in jars.
If you are managing specific health conditions that require a low-sodium diet, dried herbs are an invaluable tool. They allow you to add significant depth and complexity to your meals without relying on salt. By experimenting with combinations, such as a custom “poultry blend” of sage, rosemary, and thyme, you can create flavorful dishes that support your dietary needs without sacrificing the joy of eating.
Beyond Culinary Use: The Sensory Experience
The benefits of this hobby extend beyond the dinner plate. The physical act of stripping leaves from stems and bundling them is a rhythmic, calming task that encourages mindfulness. Many people find the process of drying herbs to be an excellent way to maintain fine motor skills and engage the senses. The scent of drying lavender or mint can have a grounding effect, turning a simple kitchen task into a moment of relaxation.
Furthermore, dried herbs make wonderful, thoughtful gifts. A small jar of your own dried garden basil or a bundle of rosemary tied with a ribbon is a personal, low-cost gift that carries the effort of your time and care. It is a way to share the harvest with family and friends, fostering connections through the simple act of providing something handmade.
Advanced Tips for the Enthusiastic Hobbyist
As you become more comfortable with the basics, you may want to explore more nuanced techniques. For instance, you can experiment with “herb salts” by grinding dried herbs with sea salt. This not only preserves the herbs but also creates a versatile seasoning blend that is ready to use on roasted vegetables or meats.
Another technique is to create custom tea blends. Dried peppermint, lemon balm, and chamomile can be mixed in various proportions to create your own signature evening tea. When blending, store the components separately and mix them just before use to maintain the individual integrity of the flavors. Always research the properties of any herbs you intend to consume as teas, especially if you are taking medications, as some herbs can interact with standard treatments.
Planning Your Drying Space
To make this a sustainable hobby, consider your home environment. You do not need a dedicated greenhouse or a large kitchen. A small, dry corner of a pantry, a shelf away from direct sunlight, or even a small tabletop dehydrator can suffice. The key is consistency. If you live in a humid climate, air-drying may be difficult. In such environments, a dehydrator or the oven method is not just a preference—it is a necessity to ensure the herbs dry before they spoil.
If you have limited mobility, set up your workspace at a comfortable table where you can sit. Use a tray to catch stems and leaves, which makes cleanup easier and allows you to work at your own pace. The goal is to keep the process enjoyable and stress-free. There is no deadline for finishing a batch; if you get tired, simply place the herbs in a paper bag and return to them later, provided they are not left in a warm, damp environment for too long.
Conclusion
The art of drying herbs is a rewarding hobby that combines practical skill with sensory pleasure. By selecting the right herbs, ensuring proper drying conditions, and storing your harvest with care, you can enjoy the bounty of your garden throughout the entire year. Whether you are enhancing your favorite recipes or creating custom blends for tea, the process of preserving your own herbs is a simple, effective way to take charge of your kitchen and find a moment of calm in your daily routine.
Frequently Asked Questions
1. How can I tell if my dried herbs have gone bad?
Dried herbs have gone bad if they lose their vibrant color and turn gray or brown, have no noticeable aroma, or show any signs of mold. If you see mold, discard them immediately. If they simply have no scent, they are not harmful, but they will not add flavor to your food.
2. Is it safe to mix different types of herbs in the same drying bundle?
It is generally better to dry herbs in separate bundles. Different herbs have different moisture contents and drying times. Mixing them can lead to uneven drying, where one herb becomes perfectly dry while another remains damp and prone to spoilage.
3. Can I use a microwave to dry herbs?
While some sources suggest using a microwave for speed, it is generally discouraged for high-quality results. Microwaves can cook the herbs, destroying the essential oils and flavor. If you must use one, it should be done at a very low power setting for short bursts, but this method rarely yields the consistent, high-quality results of air-drying or a proper dehydrator.
For further reading on food safety and preservation standards, you may refer to the National Center for Home Food Preservation for comprehensive guidelines on drying techniques and safety protocols.