- Relief block printing is a low-impact, tactile hobby that improves fine motor coordination without requiring significant physical strength.
- Safety is paramount: always carve away from your body and use specialized blocks designed for easier cutting to avoid hand strain.
- Start with water-based inks and soft rubber or vinyl blocks to minimize cleanup time and physical resistance during the carving process.
Relief block printing is an ancient art form that remains one of the most rewarding hobbies for adults seeking a blend of creativity, mindfulness, and tangible results. At its core, the process is simple: you carve a design into a surface, apply ink to the raised areas, and press that surface onto paper or fabric to create an image. Unlike painting or drawing, which require constant freehand adjustment, block printing allows you to design your image once and reproduce it multiple times, making it an excellent choice for creating personalized greeting cards, home décor, or gifts.
Understanding the Mechanics of Relief Printing
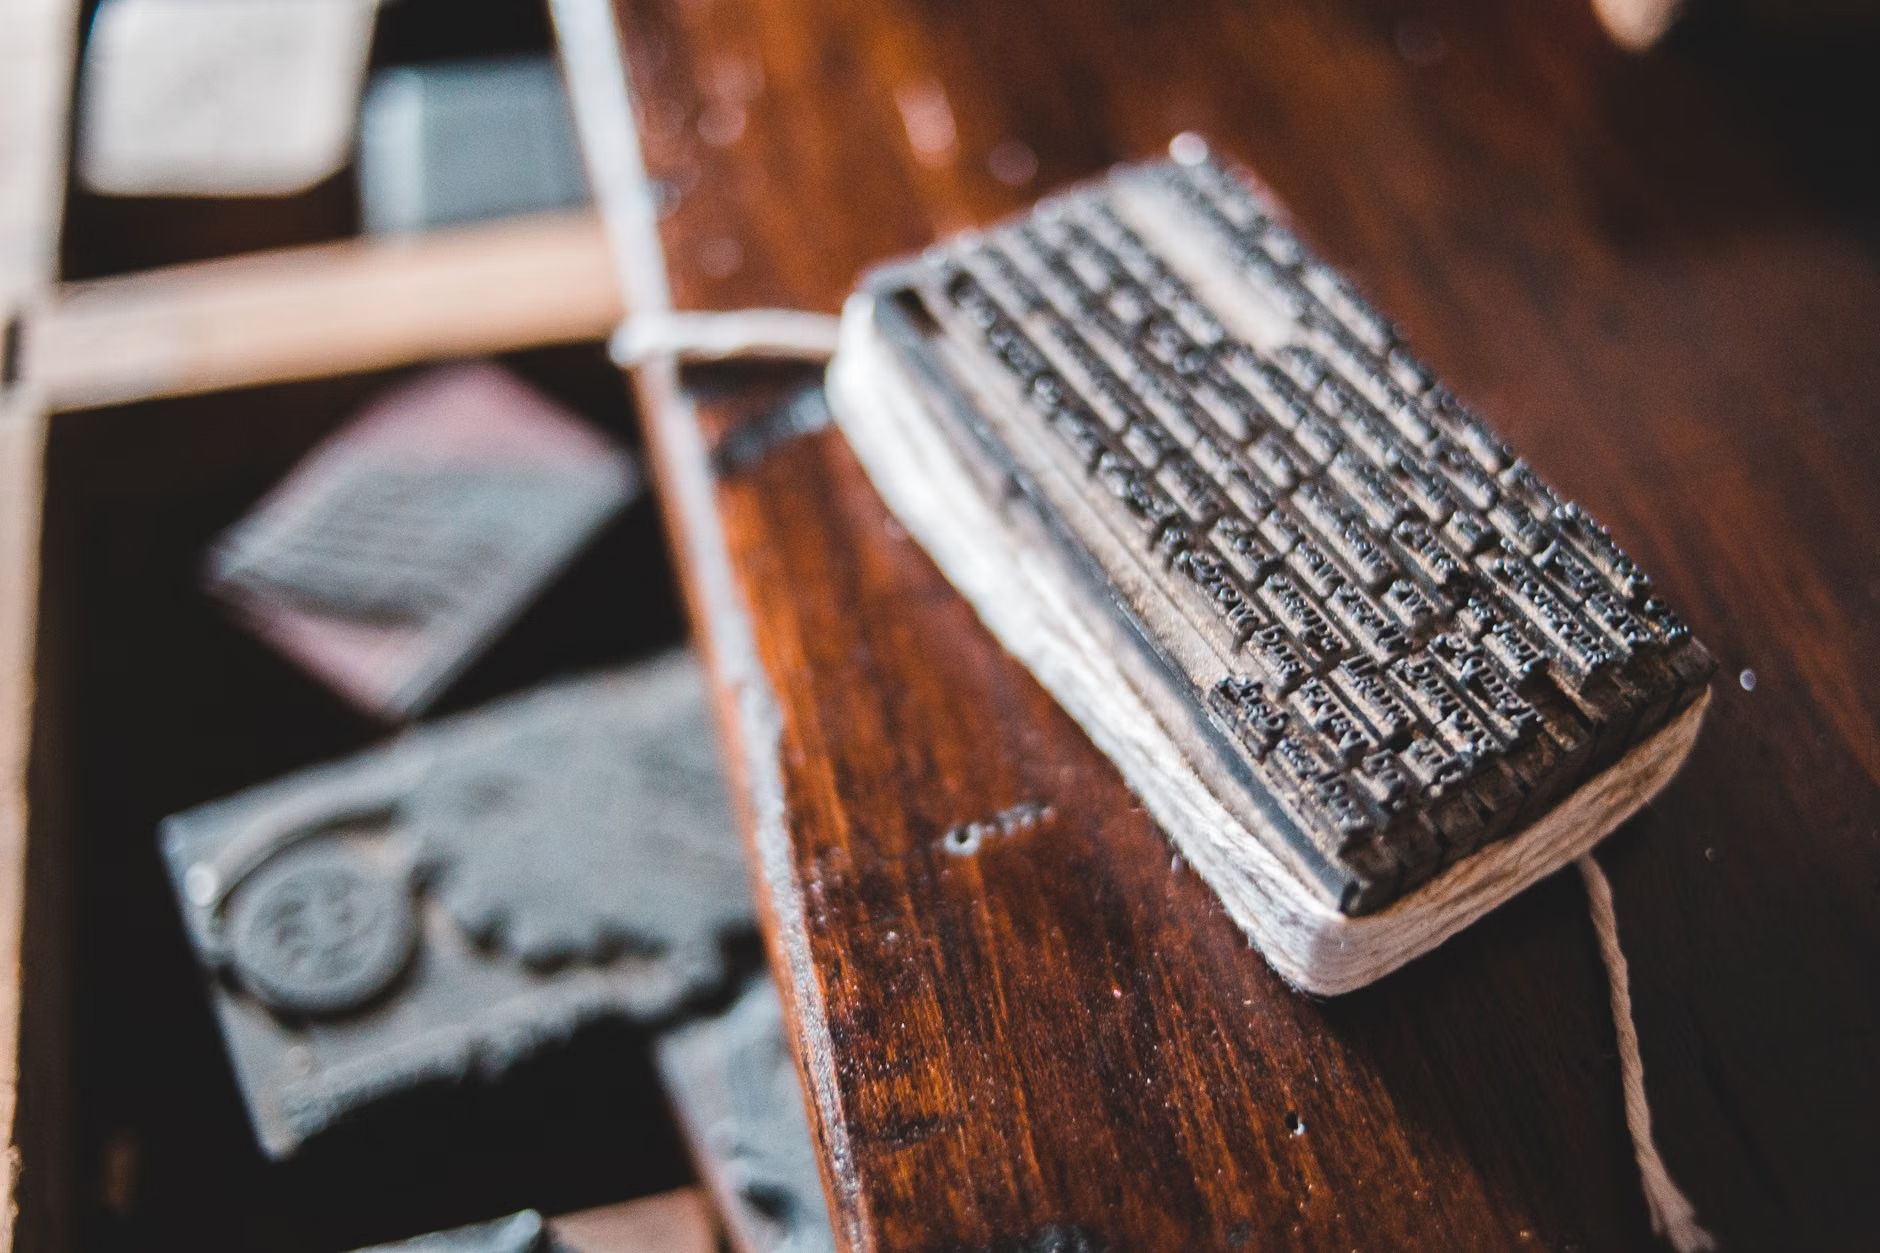
Relief printing is defined by the fact that the ink sits on the highest surface of the block. Everything you carve away remains uninked, creating the negative space in your final print. For the adult learner, this process offers a unique cognitive benefit: it requires you to visualize your design in reverse and as a series of positive and negative shapes.
Why it is suitable for your lifestyle
Unlike complex woodworking or large-scale oil painting, block printing requires minimal space and can be done at a standard kitchen or dining table. Because the materials—specifically modern rubber or “soft-cut” vinyl blocks—are much easier to carve than traditional wood, you do not need significant grip strength or heavy-duty tools to achieve professional-looking results. It is a hobby that can be picked up for ten minutes or several hours, allowing for complete flexibility based on your current energy levels.
Essential Gear and Material Selection
One of the most common mistakes beginners make is purchasing professional-grade woodcut tools, which require significant force and are designed for dense, seasoned wood. For a comfortable experience, focus on materials that prioritize ease of use.
| Component | Recommendation for Beginners | Why it matters |
|---|---|---|
| Block Material | Soft rubber or vinyl (e.g., “Soft-Kut”) | Reduces hand fatigue; requires very little pressure to carve. |
| Ink Type | Water-based block printing ink | Clean up with soap and water; no harsh chemicals or solvents needed. |
| Carving Tools | Linoleum cutters with ergonomic handles | Provides better leverage and reduces the risk of cramping. |
When selecting your ink, look for “water-miscible” or “water-based” labels. While oil-based inks produce a richer finish, they require specialized solvents for cleanup, which can be irritating to the skin and lungs. Water-based inks provide a perfectly acceptable finish for home crafting while maintaining a safe, low-odor environment.
Step-by-Step: From Design to Final Print
To ensure a successful experience, follow this structured workflow. By breaking the process into distinct phases, you avoid the frustration of rushing or miscalculating your design.
Step 1: Planning and Transferring
Draw your design directly onto the block using a permanent marker or a soft pencil. Remember that your final print will be a mirror image of what is on the block. If you are carving letters, you must draw them backward on the block so they print correctly on the paper. Keep designs simple; bold, geometric shapes or stylized floral patterns are much easier to carve than intricate, thin lines.
Step 2: The Carving Process
Always use a non-slip mat under your block. The most important safety rule is to never have your fingers in front of the cutting tool. If you feel resistance, do not force the blade; instead, make several shallow passes to remove the material. This “layering” approach protects your wrists and ensures cleaner edges on your design.
Step 3: Inking the Block
Squeeze a small amount of ink onto a flat surface, such as a piece of glass or a plastic tray. Use your brayer (the rubber roller) to spread the ink into a thin, even layer. You are looking for a sound similar to “sizzling bacon” as you roll; this indicates the ink is properly distributed. Roll the brayer over your block until the raised surfaces are evenly coated.
Step 4: The Transfer
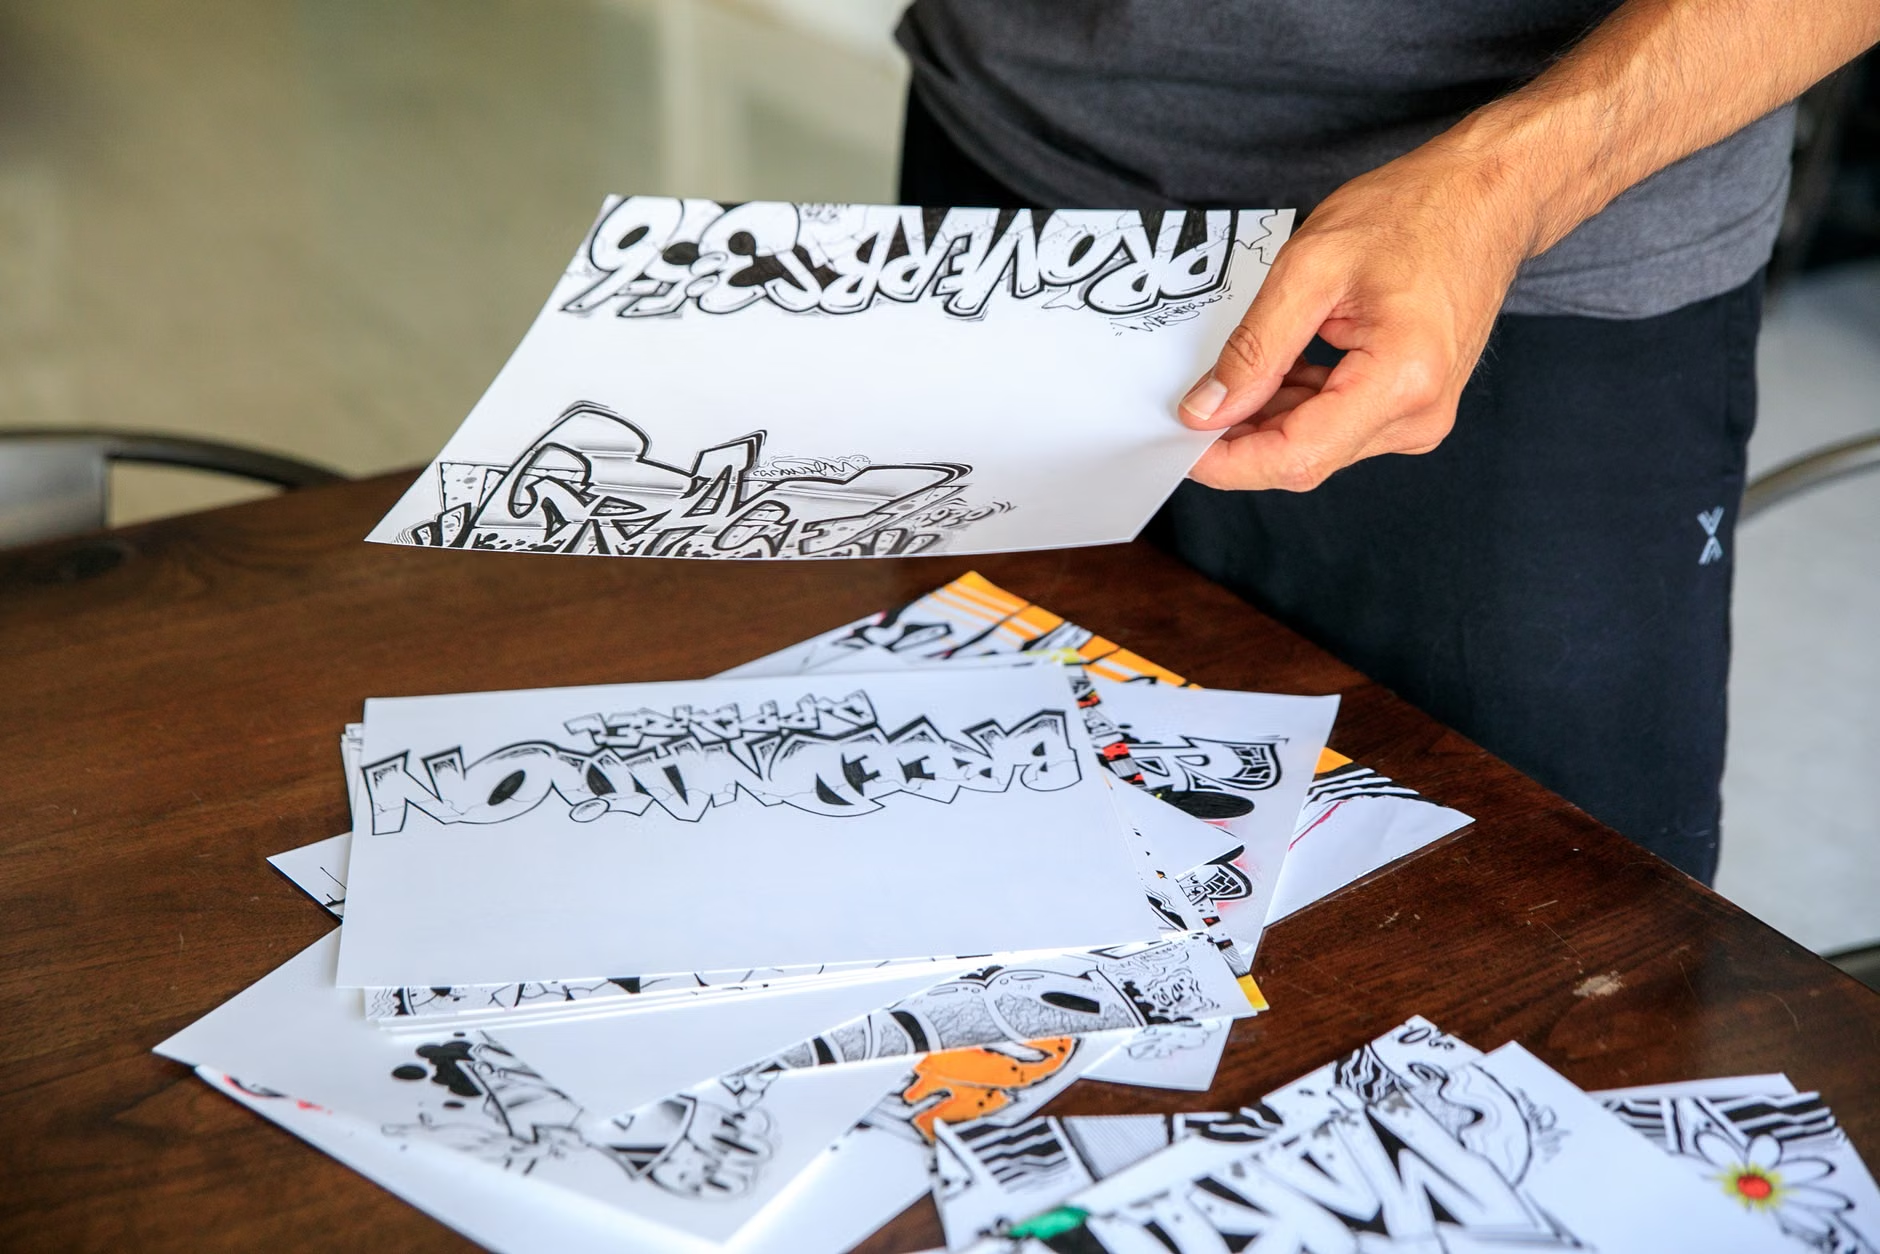
Place your paper carefully onto the inked block. Use a clean brayer or the palm of your hand to apply firm, even pressure across the back of the paper. Gently peel the paper away to reveal your print. If you are using fabric, ensure you use fabric-specific ink and heat-set it with an iron according to the manufacturer’s instructions once dry.
Addressing Common Challenges
Even experienced printers encounter issues, but most can be solved with minor adjustments to your technique.
- Patchy prints: This usually means you haven’t applied enough ink or the paper isn’t making full contact with the block. Try using a slightly heavier paper or applying more pressure.
- Too much ink: If your fine lines are disappearing, you are likely using too much ink. Clean the block and try a thinner application.
- Hand fatigue: If your hands ache, check your posture. Ensure you are sitting at a table that allows your elbows to rest at a 90-degree angle. Take a 15-minute break for every hour of carving to stretch your fingers and wrists.
Health and Ergonomic Considerations
While block printing is a sedentary activity, it is not without its physical demands. Repetitive motion is the primary concern. To keep your hobby sustainable over the long term, consider these adjustments:
- Ergonomic Grips: If you find the small handles of standard carving tools difficult to grip, you can wrap them with foam tubing or add a larger handle attachment.
- Lighting: Proper task lighting is essential to prevent eye strain. Use a bright, adjustable desk lamp that allows you to see the contrast between the carved and uncarved areas clearly.
- Stamina Management: Do not feel pressured to complete a print in one session. The beauty of block printing is that the carved block can be stored indefinitely, allowing you to return to the printing phase when you have the energy to stand or apply consistent pressure.
A Note on Creative Freedom
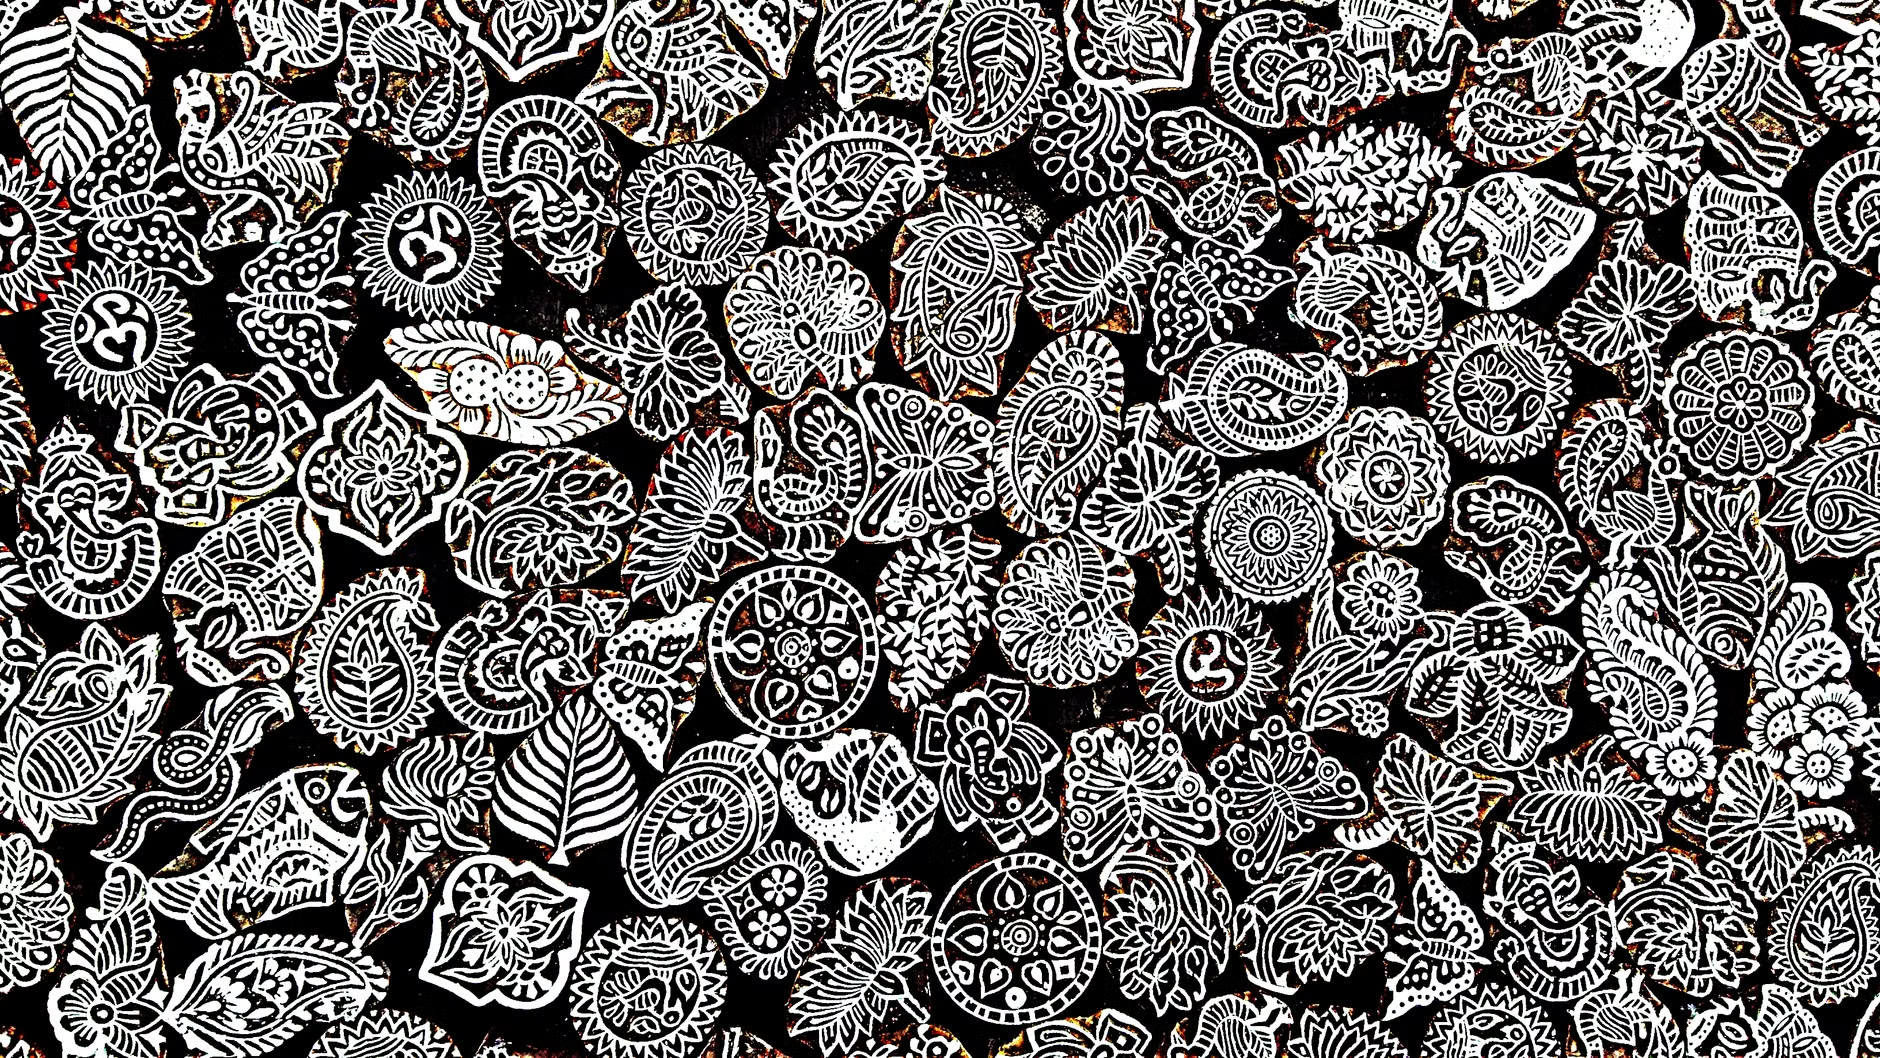
The most significant insight for the beginner is that “perfection” is not the goal. The slight variations in ink density and the hand-pressed texture are exactly what give block prints their charm. Unlike digital printing, every single piece you create is an original work of art. Do not be discouraged if your first print doesn’t look like a professional gallery piece; the joy lies in the tactile experience of creation and the satisfaction of seeing your own design transformed into a physical object.
FAQ
Q: Can I use regular paper for block printing?
A: Yes, but avoid very glossy or coated papers, as the ink may not absorb properly and can smudge. Lightweight drawing paper, newsprint, or even high-quality construction paper work well for practice. For final projects, look for “printmaking paper” which is designed to accept ink without buckling.
Q: How do I know if my ink is dry?
A: Water-based inks generally dry to the touch within 30 to 60 minutes, but it is best to leave them for 24 hours to ensure the ink has fully set. If you are printing on fabric, wait at least 48 hours before heat-setting to prevent smearing.
Q: Is this hobby expensive to start?
A: It is one of the most cost-effective crafts. A beginner kit containing a brayer, a few carving blades, and a small tube of ink can often be purchased for under $30 USD. Once you have the tools, your only ongoing expense is paper and ink.
For further exploration of printmaking techniques and safety standards, you may consult resources provided by organizations such as the Print Council, which offers guidance on materials and preservation of prints.