The safest way to fly with a wheelchair, scooter or airport assistance is to make the request early, describe exactly what help you need, and confirm the plan at every hand-off. Do not rely on a single booking code or a verbal promise. Keep the operating airline’s confirmation, your mobility-device details and a simple arrival checklist together.
- Ask the operating airline for precise assistance, then reconfirm before departure.
- Record the device’s size, weight, battery type and handling instructions; photograph it before check-in.
- Agree on transfers and delivery points before anyone moves you or your device, and report damage before leaving the airport.
Accessible air travel rules are improving, but they are not identical worldwide. A flight may involve the law of the departure country, the arrival country and sometimes the airline’s home country. This guide therefore gives a practical international method, with examples from current official rules. Always check the authority for your own route.
Why this matters in 2026
Travel remains important to older adults. AARP’s 2026 travel research found that nearly two-thirds of surveyed adults aged 50 and over expected to travel during the year. Health and accessibility needs shaped how people planned rather than automatically stopping them from travelling.
Airline procedures are also changing. In the United States, the Department of Transportation’s wheelchair rule included training and delayed-device accommodation requirements with a June 17, 2026 implementation date. The wider direction is clear: safer physical assistance, better device handling and clearer accountability. That does not mean every airport experience will be identical.
Start with the help you actually need
“Wheelchair assistance” can mean several different services. One traveller may walk to a seat but need help across a large terminal. Another may be unable to use stairs. A third may need an aisle chair to reach the aircraft seat. State the task, not only the diagnosis.
| Need | Useful wording | Confirm |
|---|---|---|
| Long distances | “I can walk a few steps, but not through the terminal.” | Meeting point and connection assistance |
| No stairs | “I cannot safely climb aircraft stairs.” | Lift, ramp or level boarding |
| Cabin transfer | “I need an aisle chair and transfer assistance.” | Transfer method and trained staff |
| Personal device | “I use my own wheelchair until the aircraft door.” | Where it will be returned |
If you have pain, weakness, breathing difficulty or another condition that makes transfers uncertain, discuss the journey with your usual clinician before travelling. This is preparation, not a test of endurance.
A seven-step booking and airport plan
1. Contact the operating airline
The company that sold the ticket may not operate the aircraft. Find the “operated by” line on the booking. Ask that airline about assistance deadlines, aircraft limitations, batteries, check-in time and connections. Many systems use standard assistance codes, but plain-language notes reduce misunderstandings.
Request help when booking when possible. If the airline sets a notice period, meet it. Late requests may still be accepted under some laws, but advance notice gives staff more time to arrange equipment and trained assistance.
2. Make a one-page mobility profile
Record the device make and model, weight, folded and unfolded dimensions, removable parts, safe lifting points and how to switch power on and off. For a powered chair or scooter, identify the battery chemistry and rating from the manufacturer’s label or manual. Do not guess.
Add a contact number and handling instructions in clear language. Keep one copy with you and attach a weather-resistant copy to the device without covering controls.
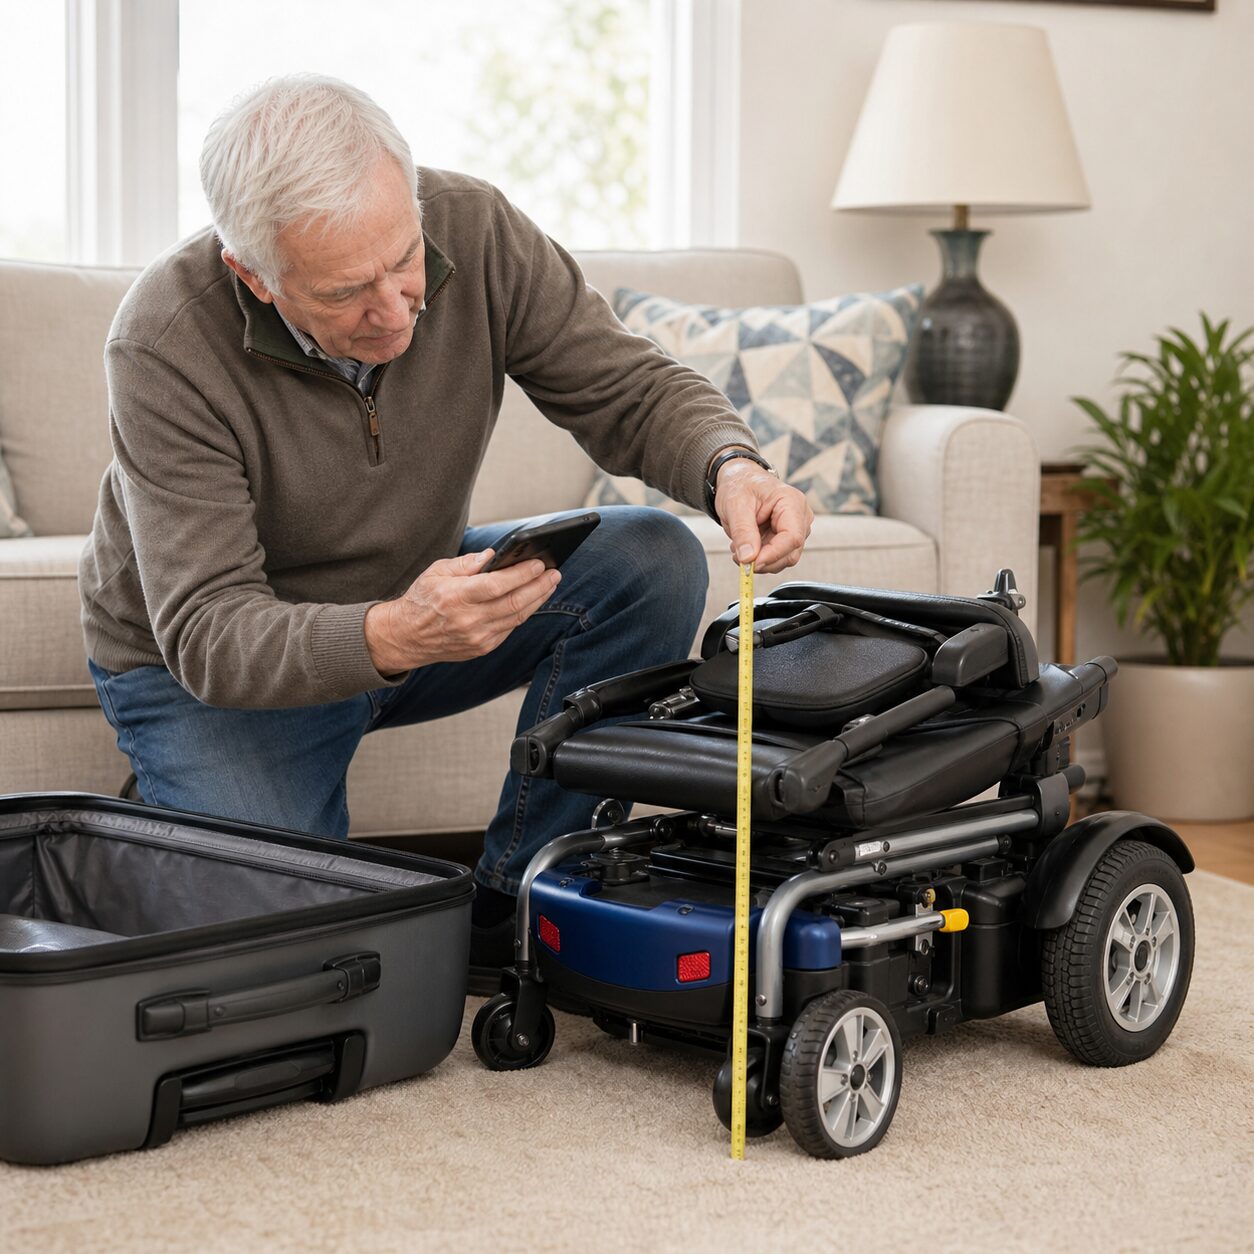
3. Photograph the device before hand-over
Take clear pictures from every side in good light. Include the control unit, footrests, cushions, wheels and existing marks. A short video can show that a powered device operates normally. Store the files where you can retrieve them without airport Wi-Fi.
Remove loose accessories if the manufacturer permits it. Carry essential cushions or detachable controls in the cabin when airline rules allow. Label parts discreetly with your contact information.
4. Plan the transfer before it begins
You are the expert on your body and device. Explain whether you can stand, pivot, bear weight or move your arms. Say which areas should not be pulled. Ask staff to describe each step before touching or lifting you.
If the proposed method feels unsafe, stop and ask for a supervisor or the airline’s accessibility specialist. In the United States this person may be called a Complaint Resolution Official, or CRO. Other countries use different titles.

5. Confirm where the device will return
Ask whether your wheelchair will be delivered at the aircraft door, jet bridge or baggage area. Repeat the request at check-in and at the gate. On a connection, confirm who will assist you between flights and whether your device remains checked through.
Build in more connection time than an airline’s bare minimum. Deplaning assistance may take longer, and a terminal change can add distance. A calmer itinerary is often worth more than a tight connection.
6. Inspect before leaving arrivals
Check wheels, brakes, frame, controls, cushions, footrests and accessories. Power the device on if appropriate. Compare it with the pre-flight images. If anything is missing or damaged, report it immediately and obtain a written reference number.
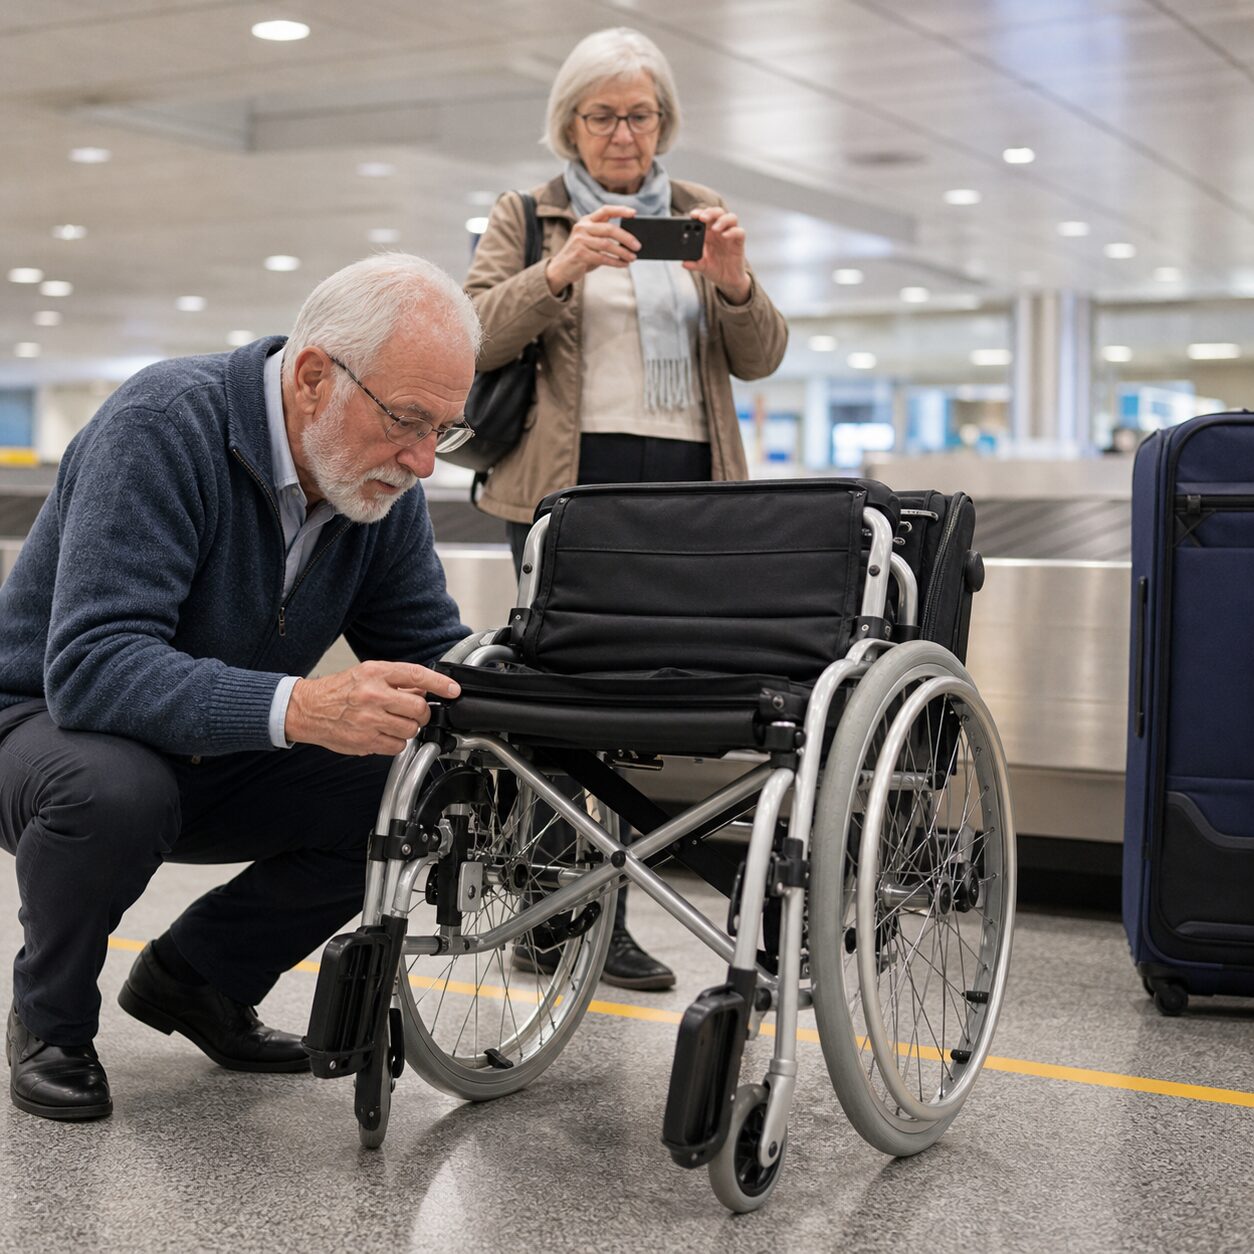
7. Keep receipts and escalate in writing
Record names, times and locations. Keep receipts for reasonable emergency transport, equipment hire or repairs. Ask the airline for its claims process and deadline. A calm written timeline with photographs is usually more useful than a long account from memory.
What rights may apply
Rights depend on the route. Use this table as a starting point, not a substitute for the official page.
| Jurisdiction | Official starting point | What to check |
|---|---|---|
| United States | DOT Airline Passengers with Disabilities Bill of Rights | Assistance, devices, seating, CRO and complaints |
| European Union | Your Europe: passengers with reduced mobility | Free assistance, notice, airport and airline roles |
| United Kingdom | UK Civil Aviation Authority special assistance | Booking assistance and airport service expectations |
| Canada | Canadian Transportation Agency | Accessible transport obligations and complaints |
For broader policy context, the International Civil Aviation Organization publishes accessibility material. The rules that control your individual trip, however, come from the relevant national authority and carrier conditions.
Battery-powered chairs and scooters need extra preparation
Battery rules vary by chemistry, design and whether the battery can be removed. Ask the operating airline for written acceptance instructions. Use the manufacturer’s manual to identify the battery and safe isolation procedure. Protect controls against accidental activation.
- Do not improvise battery removal. If you are unsure, ask the manufacturer or a qualified mobility-equipment technician.
- Do not rely on colour or appearance. Confirm chemistry and rating from reliable documentation.
- Do not pack loose batteries casually. Spare and removable lithium batteries have specific cabin and terminal-protection rules.
The International Air Transport Association provides passenger baggage guidance at IATA passenger baggage information. The operating airline’s acceptance decision and current dangerous-goods rules remain decisive.
A compact day-of-travel checklist
- Assistance confirmation and airline contact saved offline
- Device profile, battery information and handling sheet
- Pre-flight photographs and essential accessories
- Medicines and critical medical items in cabin baggage, within security rules
- Extra time for check-in, security, boarding and connections
- Transfer method discussed before movement
- Return point confirmed at check-in and gate
- Device inspected before leaving the airport
A companion can help with notes and photographs, but staff should speak directly to the traveller unless asked otherwise. Assistance is not permission to remove a person’s control over decisions.
When the plan breaks down
First protect immediate safety. Ask staff not to move you using an unsafe method. Request the airline accessibility lead or supervisor. If your device is delayed, ask what suitable loaner equipment and safe seating are available.
Before leaving, obtain the complaint or property-irregularity number. Then submit a written claim to the airline and, if needed, the relevant transport regulator. Include the booking, route, device description, photographs, timeline and receipts.
Official sources checked
- US DOT final wheelchair rule
- US DOT Disability Bill of Rights
- European Union passenger assistance guidance
- UK CAA special assistance guidance
- Canadian Transportation Agency accessible transport
- AARP 2026 Travel Trends
Frequently asked questions
FAQ: How early should I request airport wheelchair assistance?
Request it when booking, then check the airline’s stated notice period. Reconfirm before travel and at check-in. Some jurisdictions require reasonable efforts even after late notice, but advance information gives the airport and airline more time to prepare.
FAQ: Does my wheelchair count as normal checked baggage?
In many jurisdictions, mobility aids receive special treatment and do not count as ordinary baggage. Exact rules depend on the route and carrier. Ask about fees, priority handling, cabin stowage for folding chairs and the return point.
FAQ: What should I do if my wheelchair is damaged?
Photograph the damage, report it before leaving the airport, obtain a written reference number and keep receipts. Ask about a suitable loaner and the repair or replacement process. Escalate to the relevant transport authority if the airline does not resolve the claim.