A useful emergency phone setup is not simply a switch you turn on. It is a small plan: accurate emergency information, two reliable contacts, a tested SOS shortcut, and a paper backup. For an older adult who lives alone or travels, those four parts can make it easier to ask for help without making the phone the only safety net.
1. Add only emergency information that is current and genuinely useful; lock-screen details may be visible to anyone holding the phone.
2. Learn and test the exact SOS action on your own device, because features vary by model, country, network and settings.
3. Keep a wallet card and agreed contact plan so a flat battery, lost phone or weak signal does not end the plan.
This guide is for preparation, not diagnosis or individual medical advice. Ask your clinician or pharmacist what information responders should know about your health and medicines. In an active emergency, contact the local emergency service.
Why a phone alone is not an emergency plan
Modern smartphones can store emergency contacts and selected health information. Some can call emergency services, share a location, or notify chosen contacts after a shortcut is pressed. These tools can be useful, but availability differs.
Google says Android emergency features depend on the device, Android version, country, carrier, permissions and connectivity. Apple likewise explains that Medical ID and Emergency SOS settings should be reviewed on the individual device. That is why a written plan and a real test matter more than assuming a feature is active.
| Layer | What it does | Main limitation |
|---|---|---|
| Lock-screen information | Lets a helper see chosen contacts or health details without the passcode | The same details may be visible to anyone holding the phone |
| Emergency SOS | Provides a quicker route to an emergency call or other configured actions | The gesture and follow-up actions vary |
| Trusted contacts | Give responders or helpers a person who knows your situation | A contact may be asleep, abroad or unable to answer |
| Paper backup | Works without a battery, passcode or data connection | It must be kept current and easy to find |
Step 1: Choose two contacts and agree on the job
Select a primary contact and a backup. Choose people who are likely to answer, know enough about you to be useful, and are comfortable being listed. They do not have to be relatives.
Ask before adding them. Confirm their numbers, including country codes if you travel internationally. Explain whether they may receive an automatic location message or emergency alert. Agree on what they should do: call you, contact a neighbour, or speak with responders.
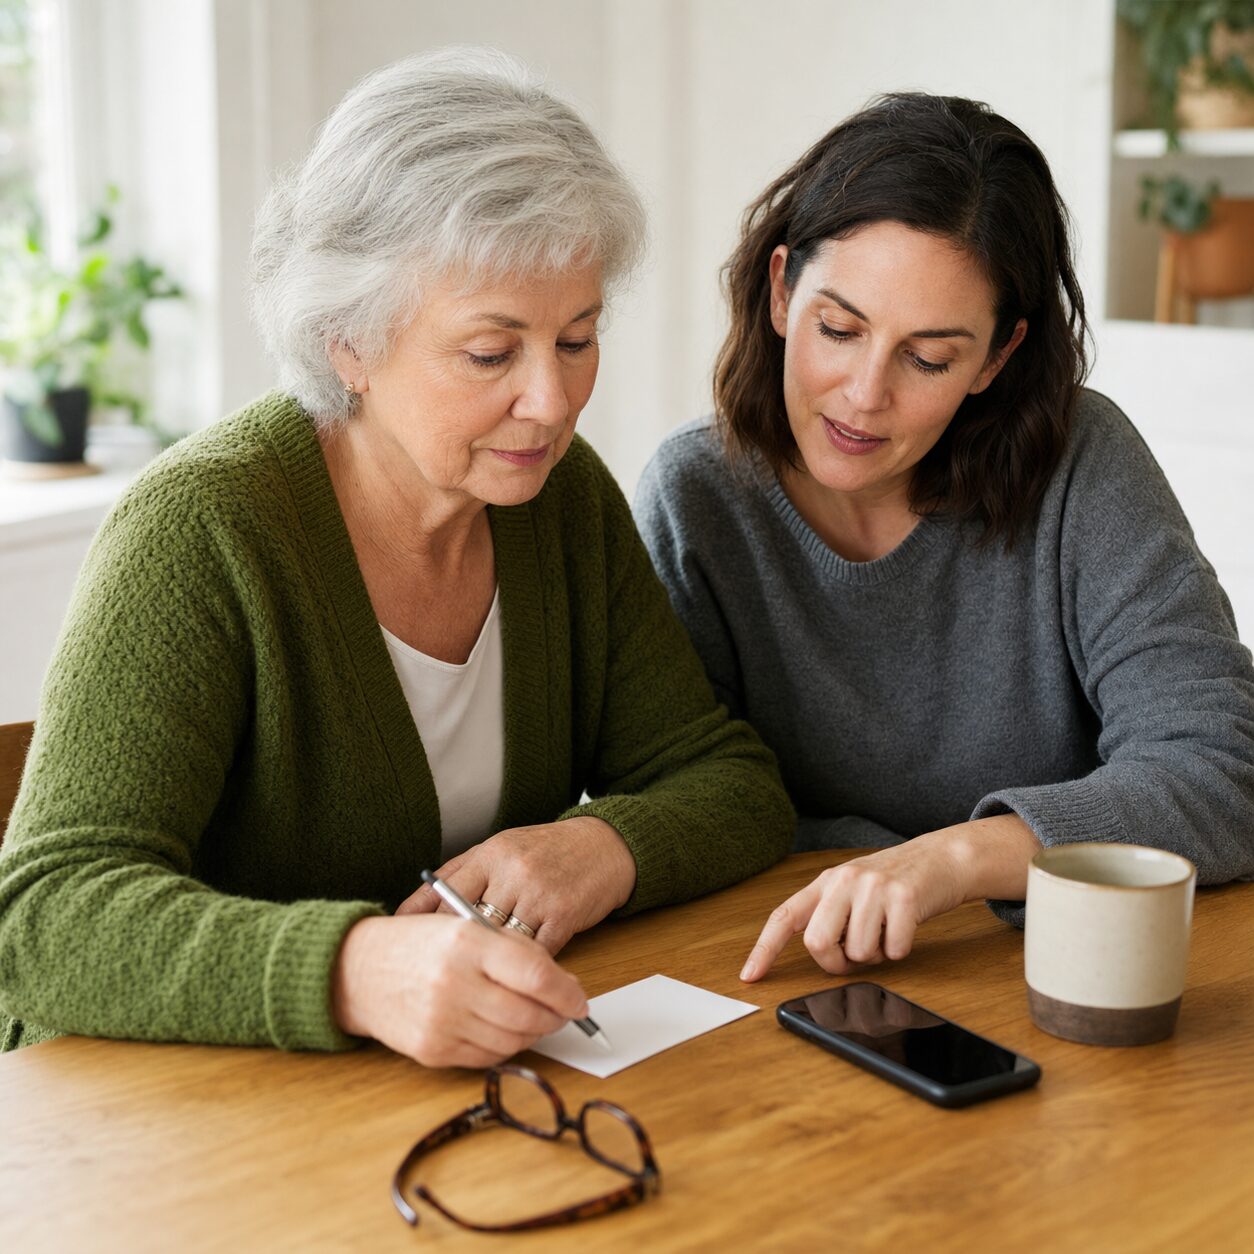
A simple contact plan can prevent confusion. If the first person cannot answer, the second should know that they are the backup. Review both contacts every six months and before a long trip.
Step 2: Decide what belongs in emergency information
Emergency profiles commonly allow entries such as name, age, allergies, medical conditions, medicines, blood type and emergency contacts. More detail is not automatically better. Information should be accurate, concise and useful in urgent care.
- Use current names and doses only if you choose to list medicines.
- Describe confirmed allergies clearly. Do not guess.
- Include essential communication or mobility needs when they could change how someone helps you.
- Remove outdated entries after medicines, contacts or conditions change.
Ask a clinician or pharmacist to review the health portion if you are unsure. A phone entry does not replace an official medicine list, medical record, identification document or advance-care document required in your country.
Balance access with privacy
Lock-screen emergency information is designed to be accessible without unlocking the phone. Google explicitly warns that anyone holding the device may be able to see information shown there. Apple allows users to choose whether Medical ID is available when the phone is locked.
List what a helper needs, not your entire history. Avoid account passwords, banking details, identity-document numbers and unrelated private notes. If you are uncomfortable displaying a detail, keep it on a wallet card or in a secure record and discuss another approach with your care team.
Step 3: Find the settings on your own phone
On an iPhone
Apple’s current instructions place Medical ID in the Health app. Users can add emergency contacts and decide whether the information is shown when the phone is locked. Emergency SOS settings are under Settings and should be checked on the actual phone because button behaviour and available options can differ.
On Android
On many Android phones, search Settings for Safety & emergency, Emergency information, or Emergency SOS. Google’s Personal Safety features can include emergency information, contacts, SOS, emergency sharing and safety checks, but not every feature is available on every device or in every location.
If the menu names do not match, use the phone maker’s official support page or ask a trusted person to help while you control the device. Do not install an unfamiliar app from an advertisement just because it promises emergency protection.
Step 4: Practise the SOS gesture without creating a false alarm
Knowing that SOS exists is different from being able to use it under stress. Read the official instructions first. Check whether the shortcut starts a countdown, sounds an alarm, calls immediately, shares location, or records anything.
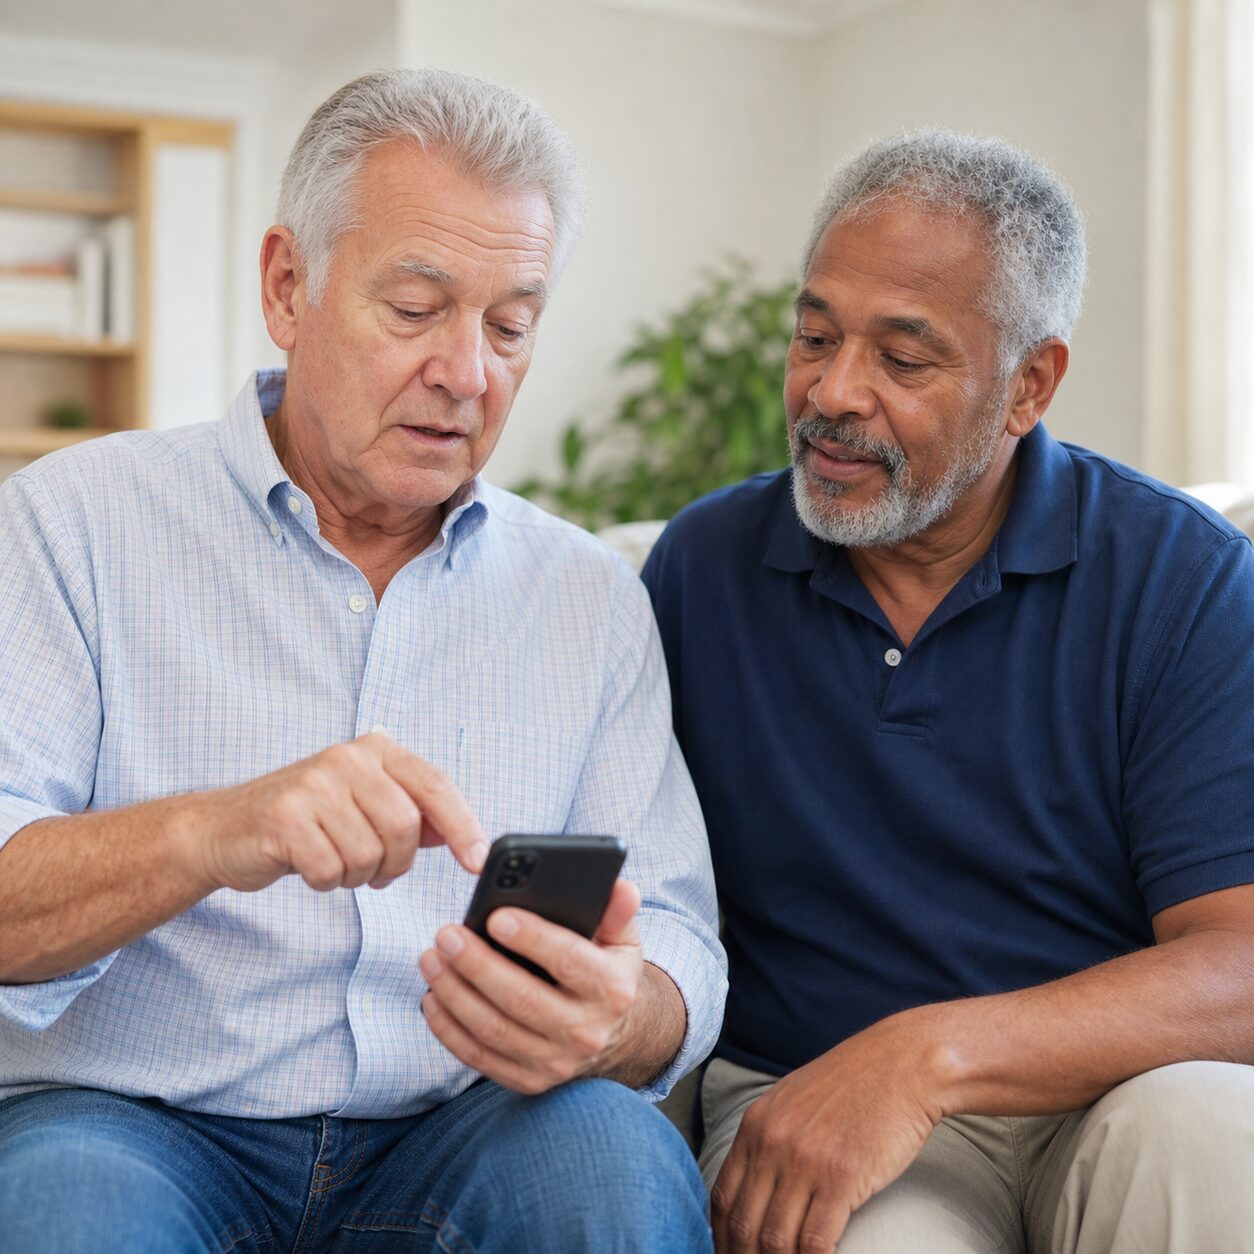
For a safe practice, rehearse the button sequence only to the point before an emergency call begins. If your device offers a demonstration or setup preview, use it. Do not call an emergency number merely to test the feature unless your local authority explicitly provides a test process.
Then test the non-emergency parts with permission: call both contacts normally, send them a message, and confirm that any location-sharing feature you intend to use works. Repeat after a major operating-system update or phone replacement.
Step 5: Check the conditions that can make features fail
A phone may behave differently when it is locked, offline, roaming, in battery-saver mode or in airplane mode. Google notes, for example, that some Android SOS actions need mobile or Wi-Fi data, and feature availability varies by country and carrier.
| Check | Question to answer |
|---|---|
| Lock screen | Can a helper find the emergency page without your passcode? |
| Sound and countdown | Will the phone make noise or call automatically? |
| Location | Is location sharing enabled, and who receives it? |
| Connectivity | Which actions need mobile data, Wi-Fi or a SIM/eSIM? |
| Travel | What is the local emergency number, and will roaming settings affect contact messages? |
Step 6: Build a paper and power backup
Write a wallet card with your name, two contact numbers, essential allergies, critical medicines or needs, and the date last reviewed. Use large, dark print. Keep another copy in a travel bag or emergency kit. Avoid displaying financial or identity information.
At home, keep the phone charged and place the charger where it is easy to reach. For travel, pack the correct cable and a compliant portable battery. Airlines generally require spare lithium batteries and power banks in carry-on baggage, subject to the operating airline’s rules.
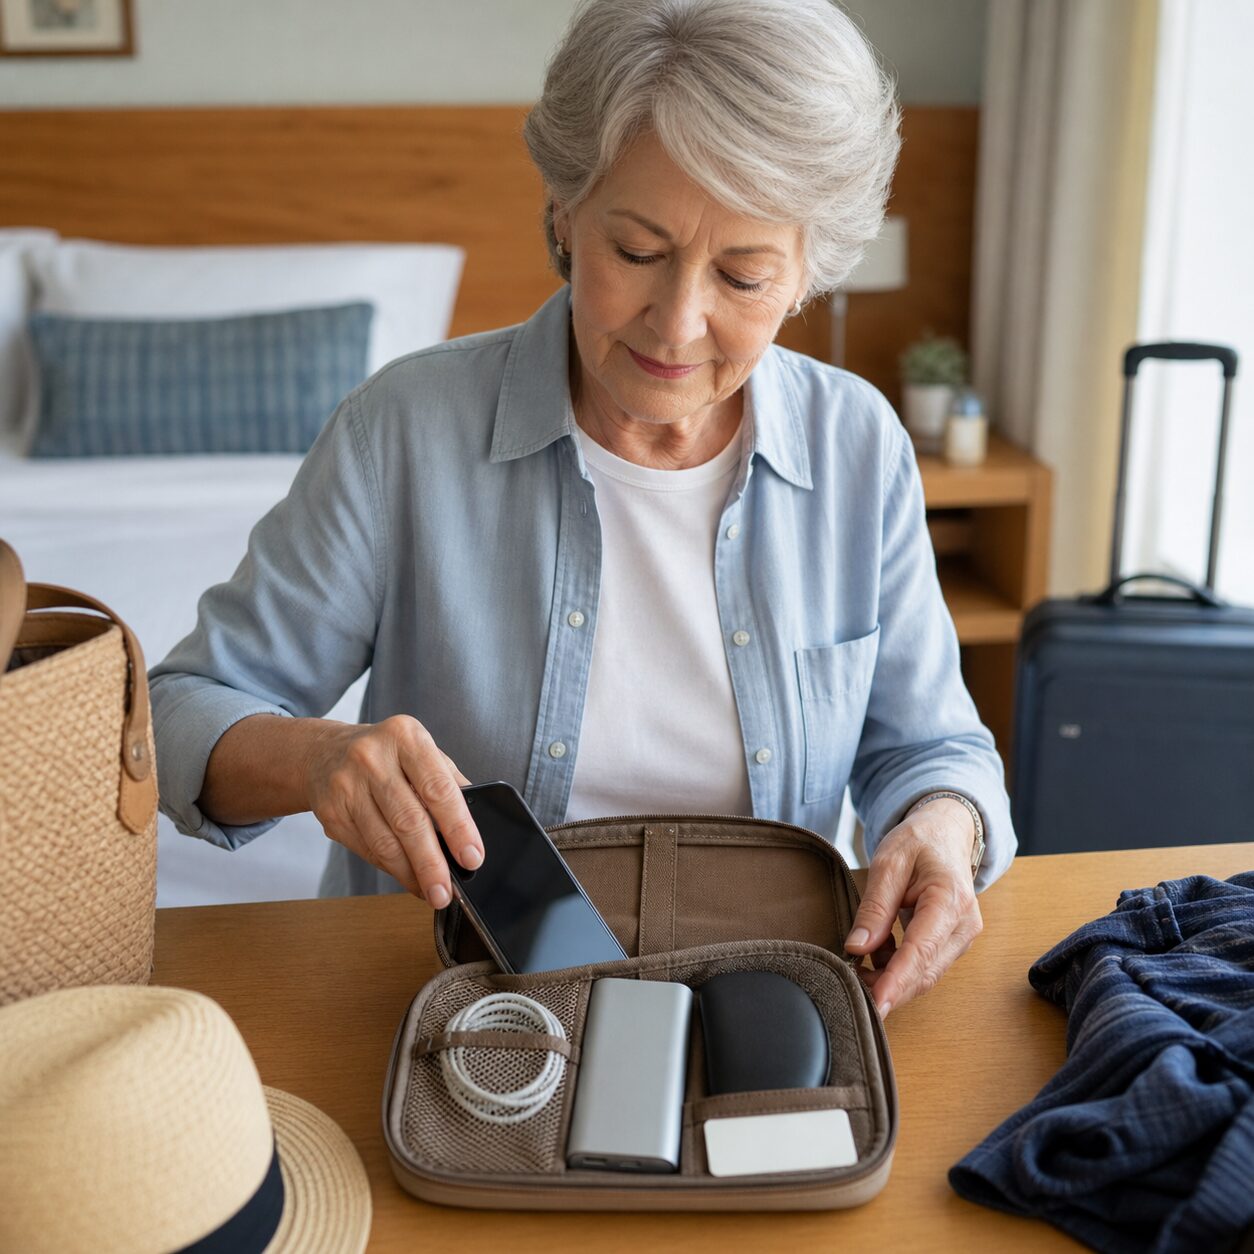
A small list of local emergency numbers is useful when travelling. The familiar number from home may not work abroad. Save the accommodation address in both the phone and on paper.
Step 7: Review after every important change
Review the plan every six months and after a new phone, new number, major software update, medicine change, move, bereavement or change in your support network.
- Confirm both contacts still agree to help.
- Update health and medicine information with professional input where needed.
- Check lock-screen access and privacy choices.
- Rehearse the SOS shortcut without placing a false call.
- Replace the wallet card and check the charger and backup battery.
If pressing buttons quickly is difficult because of vision, dexterity or tremor, ask the device maker’s accessibility support, an occupational therapist, or a trusted helper about safer settings. The goal is a method you can reliably use, not the most complicated feature set.
Official resources
- Apple Support, Medical ID: https://support.apple.com/guide/iphone/set-up-and-view-your-medical-id-iph08022b192/ios
- Apple Support, Emergency SOS: https://support.apple.com/guide/iphone/contact-emergency-services-iph3c99374c/ios
- Android Help, emergency features: https://support.google.com/android/answer/9319337
- Ready.gov, older adults: https://www.ready.gov/older-adults
- World Health Organization, older people in emergencies: https://extranet.who.int/agefriendlyworld/resources/age-friendly-in-practice/older-people-in-emergencies/
Frequently asked questions
FAQ: Can emergency responders always see my phone’s medical information?
No. Access depends on the device, settings and whether lock-screen access is enabled. A damaged or flat phone may be unusable. Keep a concise wallet card as a backup.
FAQ: Should I put my full medical record on the lock screen?
No. Include only accurate information that is useful in an emergency and acceptable to expose from a locked phone. Ask a clinician or pharmacist what matters for you, and never include passwords or financial details.
FAQ: Will Emergency SOS work when I travel abroad?
Do not assume it will work exactly as at home. Emergency numbers, carrier support, roaming, connectivity and available actions vary. Check official device and destination guidance before departure and carry written contacts.