- Hip stability is the foundation of balance: Strengthening the gluteus medius and minimus muscles through seated lateral leg lifts directly reduces the risk of falls by stabilizing the pelvis during walking.
- Consistency over intensity: For adults aged 60–80, small, controlled movements performed daily are more effective for joint health than high-impact, infrequent training.
- Safety first: Always use a firm, non-swivel chair and maintain an upright, engaged core to ensure the movement targets the hip abductors rather than causing lower back strain.
The ability to walk confidently, navigate stairs, and maintain balance during daily activities depends heavily on the health and stability of the hip joints. As we age, the muscles surrounding the hip—specifically the hip abductors—can weaken, leading to a “waddling” gait or a loss of lateral stability. Seated lateral leg lifts are a highly accessible, low-impact exercise designed to target these stabilizing muscles without putting excessive stress on the knees or ankles.
This guide explains why hip stability is a cornerstone of aging well, how to perform lateral leg lifts safely, and how to integrate this movement into your daily routine to maintain independence and mobility.
Understanding Hip Stability and Why It Matters
The hip joint is a ball-and-socket structure that supports the weight of the upper body. Surrounding this joint are several muscle groups, most notably the gluteus medius and minimus. These muscles are responsible for “abduction,” or moving the leg away from the midline of the body. When you stand on one leg—which happens every time you take a step—these muscles contract to keep your pelvis level. If they are weak, the pelvis tilts, which can cause you to lean or stumble, increasing the risk of falls.
For adults aged 60 to 80, the primary goal of any exercise program should be the preservation of functional movement. Hip stability is not just about strength; it is about proprioception—your body’s ability to sense its position in space. When your hip muscles are stable, your brain receives clearer signals about your alignment, which translates to a more confident stride and better postural control.
The Risks of Ignoring Hip Weakness
Ignoring hip weakness often leads to compensation patterns. If the hips are unstable, other parts of the body, such as the lower back or the knees, may attempt to compensate for the lack of support. This often manifests as chronic lower back pain or knee discomfort, as these joints are forced to handle forces they were not designed to absorb. By strengthening the hips, you protect the entire kinetic chain from the lower back down to the feet.
Preparing for Seated Lateral Leg Lifts: Safety and Setup
Before beginning any new exercise routine, it is essential to ensure your environment is safe. For seated lateral leg lifts, the chair you choose is just as important as the exercise itself.
- Chair Selection: Use a sturdy, armless chair with a firm seat. Avoid swivel chairs, rolling office chairs, or soft sofas, as these do not provide the stable base required to isolate the hip muscles.
- Surface Stability: Place the chair on a non-slip surface, such as a rug with a rubber backing or directly on a floor where the legs will not slide.
- Body Alignment: Sit toward the front edge of the chair, but ensure your sit-bones are firmly planted. Keep your feet hip-width apart and flat on the floor. Imagine a string pulling the crown of your head toward the ceiling to maintain a neutral spine.
Step-by-Step Execution: How to Perform the Movement
The goal of the seated lateral leg lift is to isolate the hip abductors. It is not about how high you lift your leg, but how well you control the movement.
- Starting Position: Sit upright with your core engaged. Place your hands on your hips or hold the sides of the seat for stability.
- The Lift: Slowly slide your right foot out to the side, keeping your toes pointing forward. Do not rotate your foot outward. Lift your leg a few inches off the floor, moving it away from your body.
- The Hold: Pause for one second at the top of the movement. You should feel the muscles on the outer side of your hip engage.
- The Return: Slowly lower your foot back to the starting position with control. Do not let your leg drop.
- Repetition: Aim for 8 to 10 repetitions on one side before switching to the left leg.
Common Mistake: A frequent error is leaning the torso in the opposite direction to help lift the leg. This reduces the work the hip muscles have to do and shifts the load to the spine. To prevent this, keep your shoulders level and imagine that a wall exists on either side of you that you cannot lean against.
Progressing Your Routine: Moving Beyond the Basics
Once you are comfortable with the basic movement, you may find that you need more resistance to continue seeing improvements in strength. It is important to increase intensity gradually to avoid muscle strain.
| Progression Level | Method | When to Use |
|---|---|---|
| Level 1: Bodyweight | Controlled movement, no added weight. | When you are starting or recovering from inactivity. |
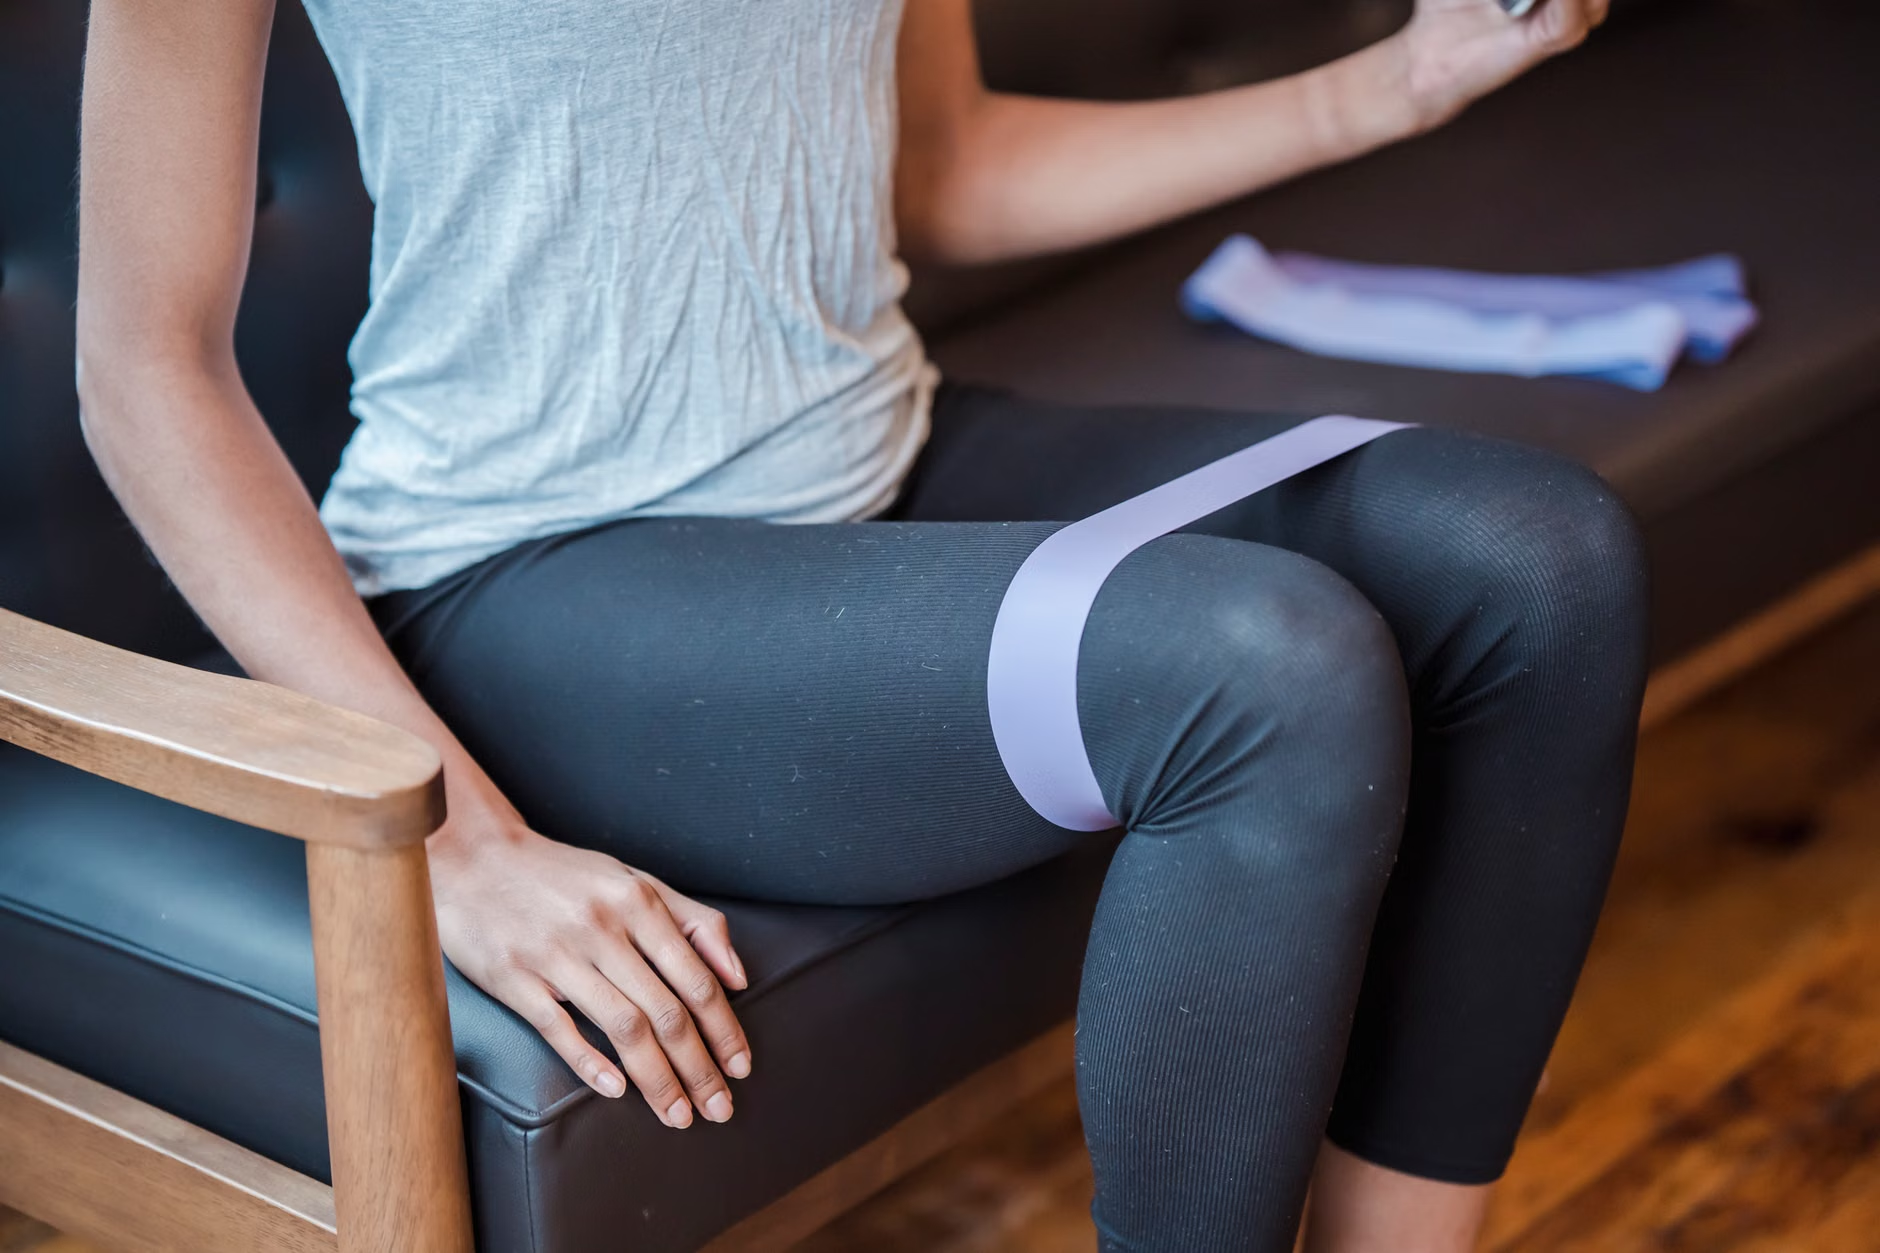
| Level 2: Resistance Band | Loop a light resistance band around your thighs. | When 15 repetitions feel easy and without fatigue. |
| Level 3: Ankle Weights | Use 0.5kg or 1kg weights on the ankles. | Only when you have mastered Level 2 with perfect form. |
When using resistance bands, ensure they are placed above the knees, not directly on the joint. The band should provide enough tension that the last few repetitions of your set feel challenging, but not so much that you cannot maintain your form. If you notice yourself compensating by leaning or jerking the leg, reduce the resistance immediately.
Integrating Exercise into Daily Wellbeing
The success of a preventive health routine lies in its integration into your daily life. Rather than viewing this as a “workout,” consider it a form of “movement maintenance.”
Finding the Right Time
Many people find success by linking the exercise to a habit they already have. For example, perform your sets while waiting for the kettle to boil, or during the commercial breaks of your favorite television program. Because this exercise is done seated, it requires no special equipment or changing of clothes, making it highly convenient.
Monitoring Your Progress
Keep a simple log of your repetitions. You don’t need a complex app; a wall calendar or a small notebook will suffice. Recording your progress helps you stay motivated and allows you to see how your endurance improves over weeks and months. If you experience sharp pain—as opposed to the dull, expected fatigue of muscle work—stop the exercise and reassess your form or consult a physical therapist.
When to Seek Professional Guidance
While seated lateral leg lifts are generally safe, there are scenarios where you should seek the advice of a healthcare professional, such as a physical therapist or a doctor, before starting.
- Recent Surgery: If you have had hip replacement surgery or any other abdominal or pelvic surgery, consult your surgeon regarding your recovery timeline and allowed movements.
- Persistent Pain: If you experience persistent, sharp pain in the hip joint, groin, or lower back that does not subside after rest, this may indicate an underlying issue such as bursitis or osteoarthritis that requires a professional assessment.
- Balance Concerns: If you feel unsteady even while seated, or if you experience dizziness when moving your legs, this may indicate inner ear issues or blood pressure fluctuations that need clinical attention.
When visiting a professional, bring a list of your current medications and a clear description of where you feel the pain and what movements trigger it. This information is vital for the provider to differentiate between muscle weakness and potential joint pathology.
Scientific Context and Clinical Guidance
Research consistently shows that targeted hip abductor strengthening is a primary intervention for preventing falls in older adults. According to the World Health Organization (WHO) guidelines on physical activity, older adults should engage in activities that enhance balance and muscle strength at least three times a week. Seated lateral leg lifts fulfill the “muscle strengthening” portion of these guidelines while minimizing fall risk during the exercise itself.
It is important to note that while exercise is a powerful tool for prevention, it is not a cure for advanced degenerative conditions. If you have been diagnosed with significant hip arthritis, your exercise plan should be tailored by a professional to ensure you are not causing further inflammation. The goal is to maintain the function you have and prevent further decline.
Conclusion
Building hip stability through seated lateral leg lifts is a simple, effective, and accessible way to invest in your long-term mobility. By focusing on controlled, consistent movement and respecting your body’s signals, you can significantly improve your balance and confidence. Start slowly, maintain proper form, and remember that every small movement contributes to your overall independence. Your future self will thank you for the time you invest in your physical foundation today.
Frequently Asked Questions
1. Can I do these exercises if I have knee pain?
Yes, generally. Since these exercises are performed seated and do not involve weight-bearing on the knee, they are often recommended for those with knee discomfort. However, if the movement causes sharp pain in the knee, reduce the range of motion or consult a physical therapist to ensure your leg alignment is correct.
2. How long will it take to see results?
Consistency is key. Most individuals notice improvements in their feeling of stability and ease of movement within 4 to 6 weeks of performing the exercises 3 to 4 times per week. Strength gains are gradual and cumulative.
3. Should I feel muscle soreness the next day?
Mild muscle soreness, often called Delayed Onset Muscle Soreness (DOMS), is normal when starting a new exercise routine. It usually feels like a dull ache in the outer hip area. If the soreness is severe or prevents you from moving comfortably, take an extra rest day before your next session.
Official Resources for Further Reading: