- Calligraphy serves as a “brain workout” that integrates fine motor coordination, visual-spatial reasoning, and sustained attention.
- Success in calligraphy for older adults depends on ergonomic setup: prioritizing pen grip, lighting, and posture to prevent strain.
- The practice is not about artistic perfection but about the physiological and psychological benefits of rhythmic, intentional movement.
The Intersection of Art and Cognitive Health
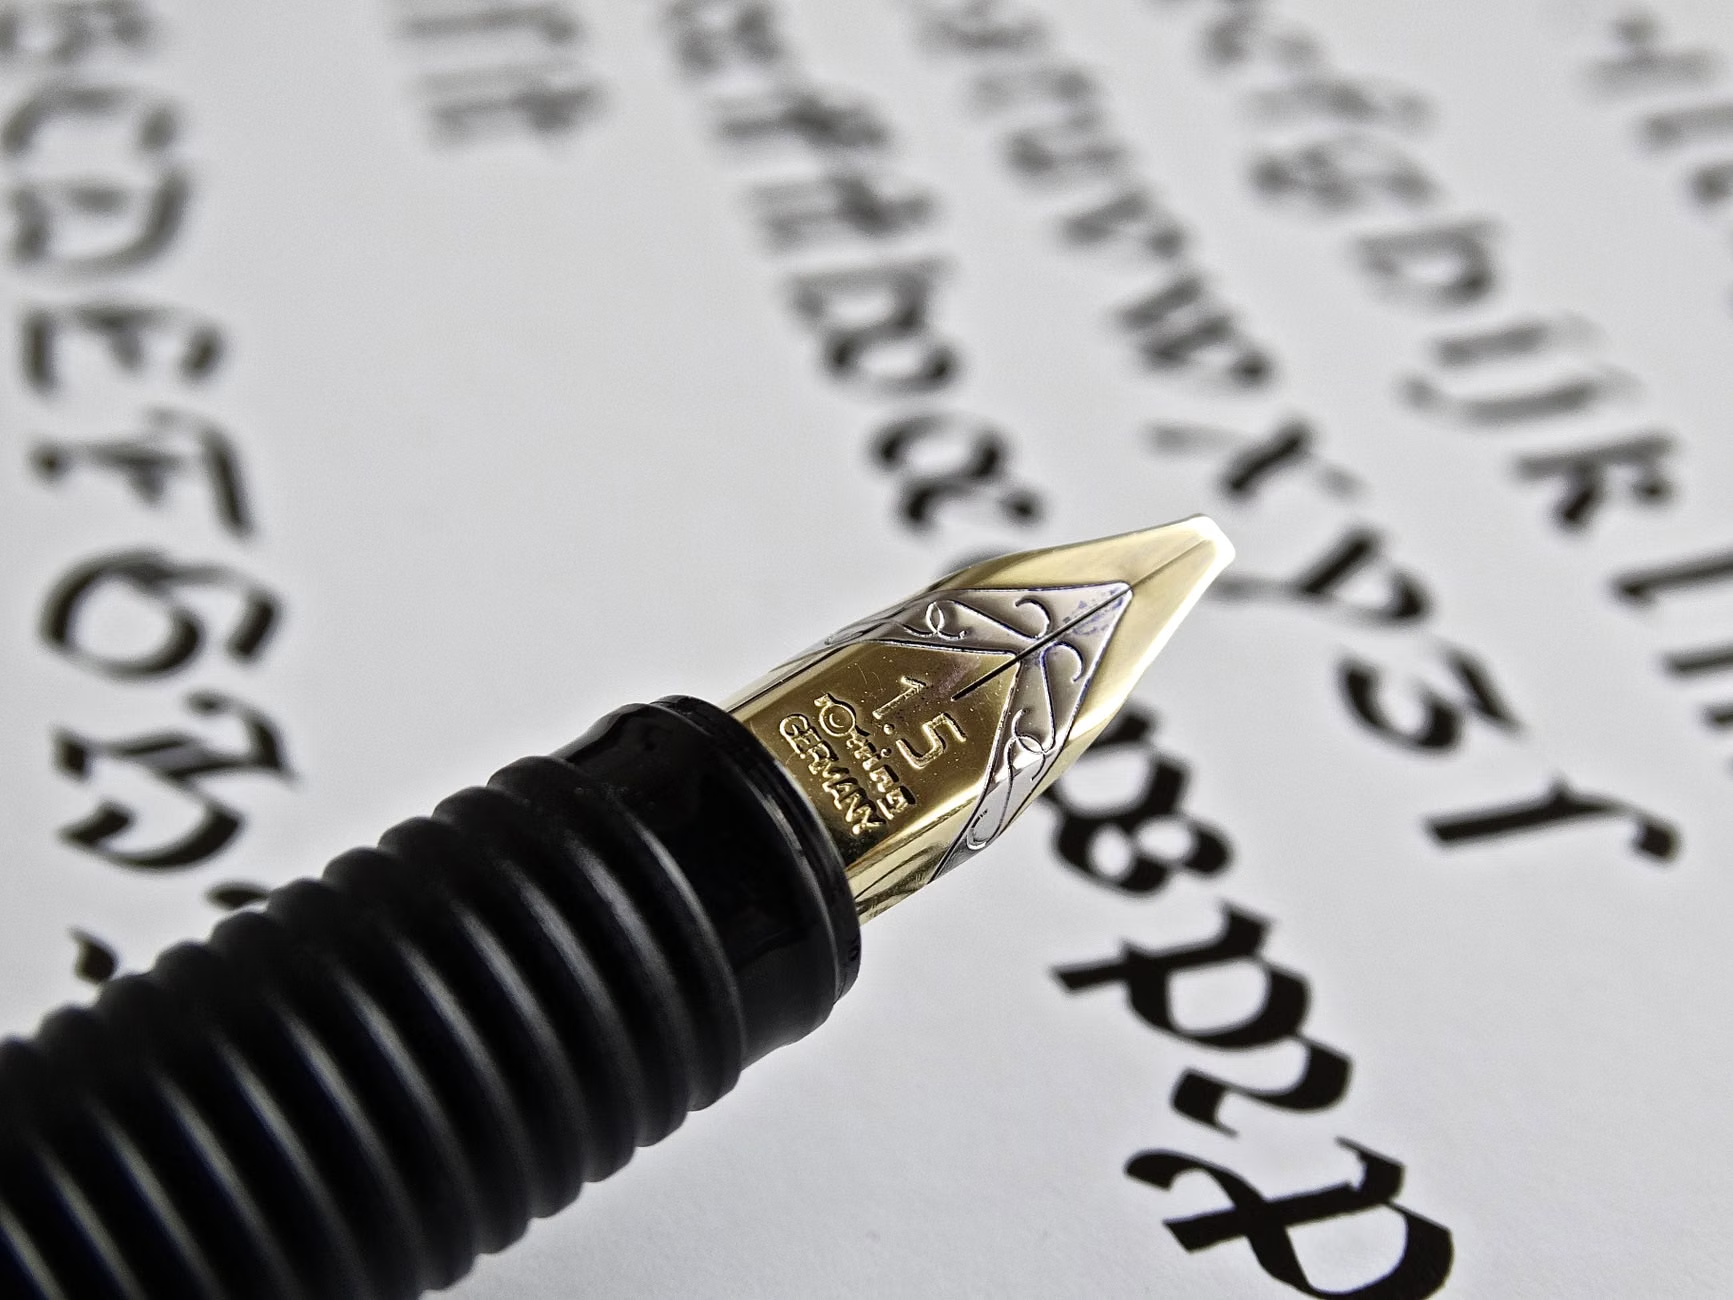
For many adults aged 60 to 80, the pursuit of a new hobby is often evaluated through the lens of utility and enjoyment. Calligraphy—the art of beautiful writing—offers a unique intersection between fine motor skill development and meditative cognitive engagement. Unlike digital communication, which relies on rapid, repetitive typing, calligraphy demands slow, deliberate, and controlled movements. This shift in pace is precisely what makes it a valuable practice for brain health.
When you practice calligraphy, your brain is not merely performing a motor task. You are engaging in a complex sequence of visual-spatial processing. You observe the angle of the pen, calculate the pressure required to produce a thick or thin stroke, and maintain a consistent rhythm. This multisensory feedback loop strengthens neural pathways associated with focus and hand-eye coordination. Research into “neuroplasticity”—the brain’s ability to reorganize itself by forming new neural connections—suggests that engaging in novel, complex tasks is one of the most effective ways to maintain cognitive resilience as we age.
Understanding the Physiological Benefits
Calligraphy is often described as “moving meditation.” In a world characterized by constant stimulation, the requirement to slow down and focus on a single stroke has profound effects on the nervous system. By regulating your breathing to match the flow of your pen, you can lower your heart rate and reduce cortisol levels, the primary hormone associated with stress.
Beyond the mental state, there is a physical component. Maintaining the dexterity of the small muscles in the hands and fingers is vital for preserving functional independence. Stiffness or reduced range of motion in the joints can be mitigated through the gentle, repetitive motions required for lettering. However, it is essential to approach this as a form of “active recovery” rather than a rigorous exercise. Over-exertion can lead to fatigue or strain, so the focus should always be on fluidity rather than duration.
Ergonomics: The Foundation of Sustainable Practice
One of the most common mistakes beginners make is ignoring the physical setup. If you are sitting in a chair that lacks back support or using a desk that is too high or too low, you will naturally tense your shoulders and neck. This tension is the enemy of fluid calligraphy.
- Chair Height: Your feet should rest flat on the floor, and your knees should be at approximately a 90-degree angle.
- Desk Height: Your elbows should be slightly above the desk surface, allowing your forearm to rest naturally without having to reach upward.
- Lighting: Position your light source to prevent shadows from falling across your paper. If you are right-handed, the light should come from the left; if left-handed, it should come from the right.
Choosing Your Path: Modern vs. Traditional
Not all calligraphy is the same. Understanding the differences between styles will help you choose a path that aligns with your interest and physical comfort.
| Style | Tool Requirements | Physical Demands | Best For |
|---|---|---|---|
| Faux Calligraphy | Standard ballpoint or gel pen | Minimal | Beginners wanting to learn letter structures |
| Brush Lettering | Flexible brush pen | Moderate (requires wrist control) | Expressive, modern creative projects |
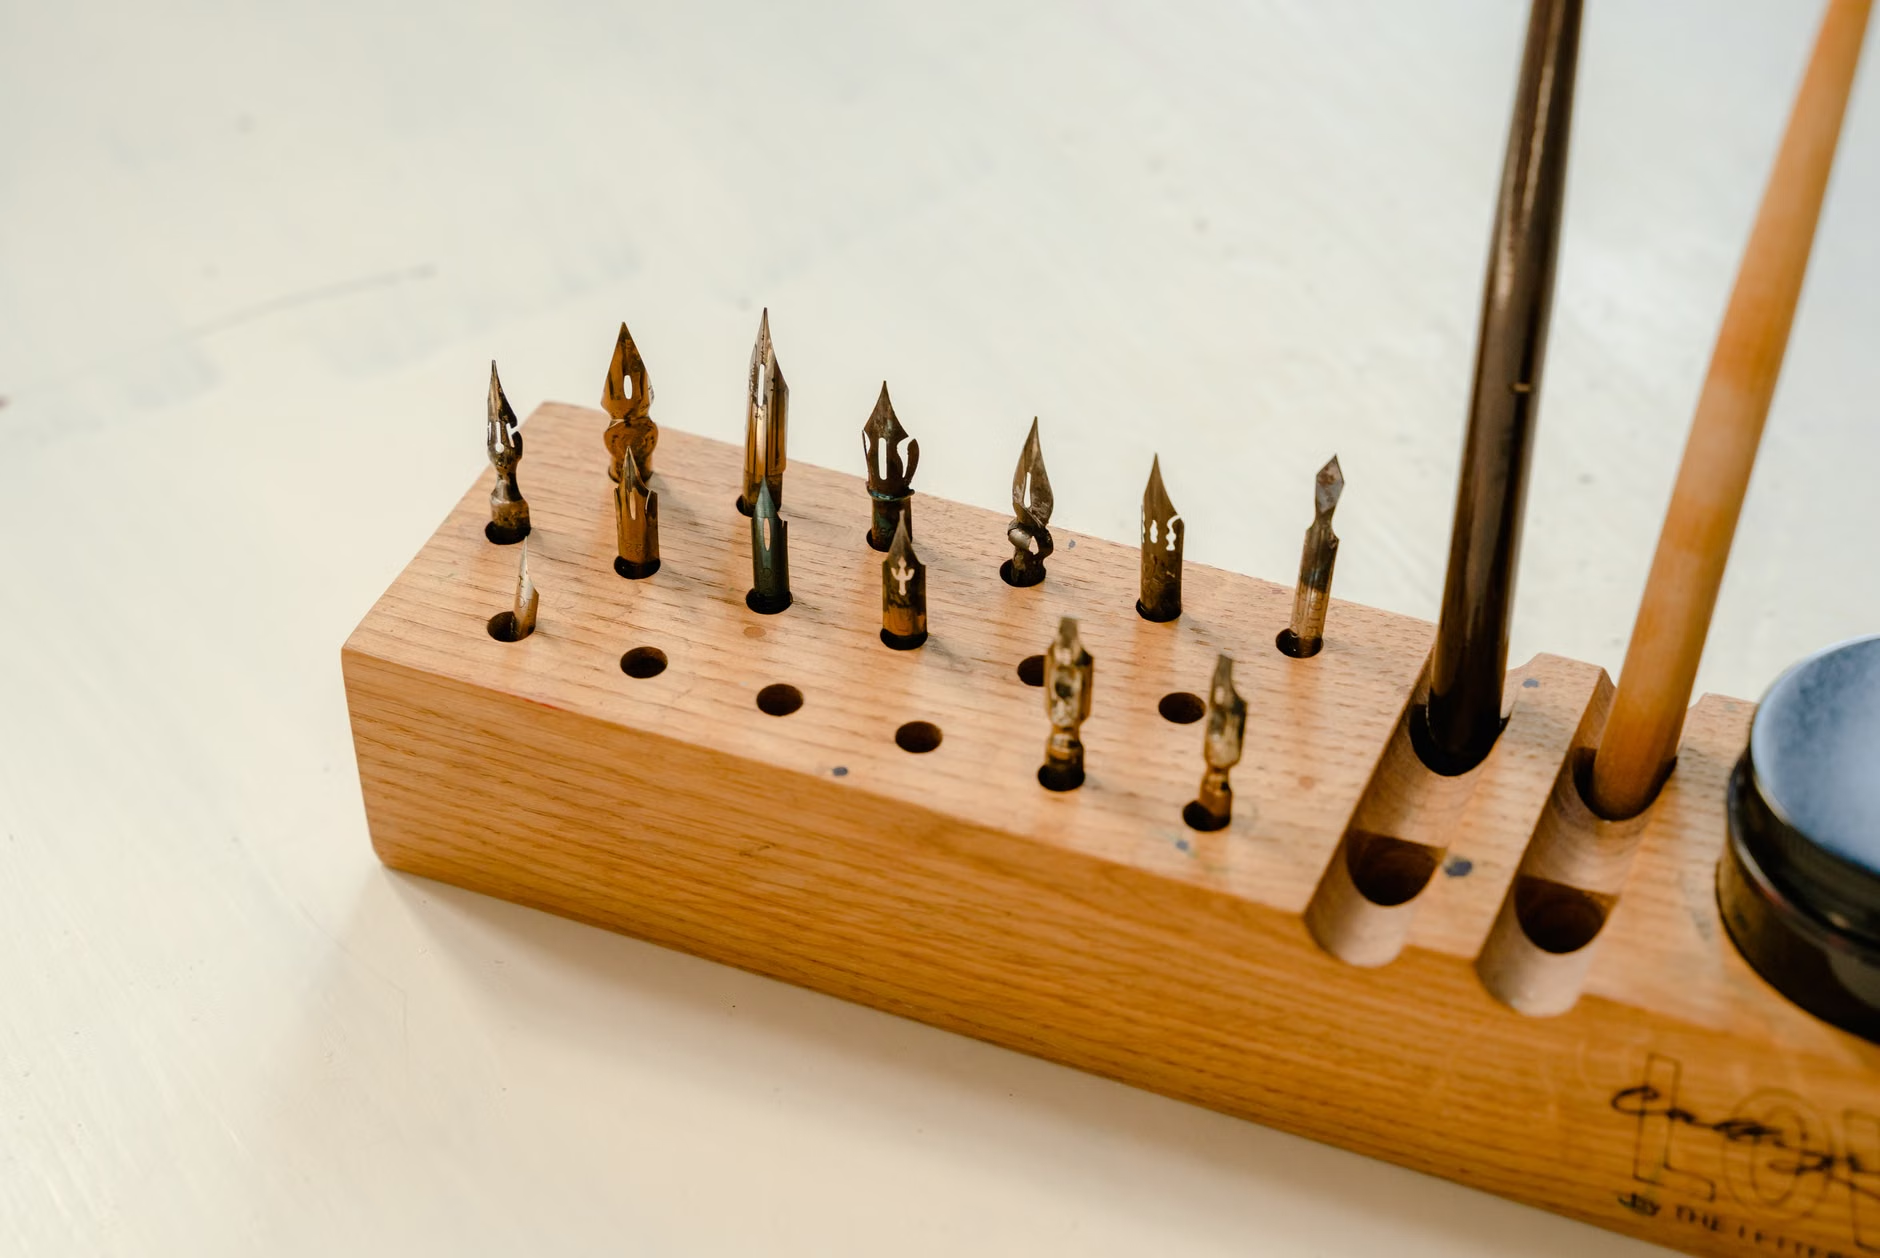
| Traditional Dip Pen | Nibs, holders, and ink | High (requires steady pressure) | Detail-oriented, historical enthusiasts |
If you are experiencing mild arthritis or joint discomfort, Faux Calligraphy is an excellent starting point. It requires no specialized tools and allows you to focus on the shape of letters without the added complexity of managing ink flow or nib pressure. As your hand strength improves, you might eventually transition to brush pens or dip pens.
Step-by-Step Guide to Your First Session
To begin, do not try to write full sentences or complex quotes. Start with the fundamental building blocks of the alphabet. Calligraphy is essentially a series of basic strokes: the “upstroke” (thin line), the “downstroke” (thick line), and the “curve.”
- The Warm-up: Spend five minutes drawing simple ovals and horizontal lines. This helps calibrate your pressure and gets your hand accustomed to the tool.
- The Basic Stroke: Practice the “entrance stroke.” This is a light, upward flick. Focus on keeping your hand relaxed. If you feel your knuckles turning white, you are gripping the pen too tightly.
- The Connection: Once you can control individual strokes, try connecting them. The goal is not to write fast, but to write smoothly.
- The Limit: Limit your practice to 20 or 30 minutes. Cognitive fatigue can set in, and the quality of your work will diminish if you push yourself past the point of enjoyment.
Overcoming Common Challenges
Many seniors feel discouraged when their early attempts do not look like the professional examples found on social media. It is important to remember that those examples are the result of years of practice. Your goal is the process, not the product.
Hand Tremor Considerations: If you have a slight tremor, calligraphy can actually be a therapeutic tool to help stabilize your hand. Use pens with a thicker barrel, as they are easier to grip and require less fine muscle control than thin, traditional nibs. You can also use rubber grips to increase the width of the pen.
Vision and Clarity: If you wear bifocals or progressive lenses, you may find that looking through the “reading” portion of your glasses while leaning over the desk causes neck strain. Consider using a dedicated pair of single-vision reading glasses for your desk work, or use a document stand to keep your practice sheet at eye level, which keeps your neck in a neutral position.

Integrating Calligraphy into Daily Life
Once you are comfortable with the basics, you can apply your skills in ways that add value to your daily life. Writing out a grocery list, a birthday card for a grandchild, or a thank-you note takes on a new meaning when done with intentionality. This turns a mundane task into a creative exercise.
Furthermore, calligraphy can be a wonderful social activity. Many community centers offer “lettering circles” or pen-pal groups. Engaging in these groups provides a sense of community and accountability, which are strong predictors of mental well-being in older adulthood. If you cannot find a local group, there are many online forums and global calligraphy communities where you can share your work and receive constructive, encouraging feedback.
Advanced Considerations: Ink, Paper, and Maintenance
As you advance, you will realize that the quality of your materials significantly impacts your experience. Cheap paper is often porous, causing ink to “bleed” or “feather,” which can be frustrating. Look for paper labeled as “marker paper” or “heavyweight bond,” which provides a smooth surface for your pen to glide across.
Regarding ink, if you are using a dip pen, keep a small jar of water and a lint-free cloth nearby. Cleaning your nib every 10 minutes prevents ink from drying and clogging, which is the most common cause of “scratchy” or inconsistent lines. If you are using fountain pens, ensure you flush the ink feed with water every time you change colors to maintain the longevity of the pen.
The Psychological Shift: From Perfection to Presence
A significant hurdle for many adults is the desire for perfection. We are often trained to value productivity and error-free output. Calligraphy, by nature, is filled with “imperfections.” An ink smudge or a slightly shaky line is not a failure; it is a record of a human hand in motion. Embracing these small variations is part of the mindfulness journey. When you catch yourself feeling frustrated by a “mistake,” pause and take a deep breath. Acknowledge that the practice is about the doing, not the done.
If you find that your hands are feeling tired, stop. Do not view this as a lack of discipline. It is a sign that you are listening to your body. Consistency is far more important than intensity. Practicing for 15 minutes every day is significantly more beneficial for both your motor skills and your cognitive health than practicing for three hours once a week.
Conclusion: Your Next Steps
Embarking on the journey of calligraphy is an invitation to slow down and reconnect with the simple, tactile pleasure of creating something by hand. It is a hobby that respects your time, rewards your patience, and provides tangible benefits for your cognitive and physical health. Start small. Find a comfortable chair, gather a basic pen and paper, and focus entirely on the movement of the nib. You may be surprised at how quickly the world fades away, leaving only the rhythm of the ink on the page.
For further inspiration and to find community resources, you can explore the resources provided by the International Association of Master Penmen, Engrossers and Teachers of Handwriting (IAMPETH), which offers a wealth of historical and technical information for enthusiasts of all levels.
Frequently Asked Questions (FAQ)
1. Do I need expensive tools to start learning calligraphy?
No. You can begin with a standard fine-liner or a felt-tip pen you already have at home. The most important elements are the paper (which should be smooth) and your focus on letter shapes. Only invest in specialized dip pens or brush pens once you are sure you enjoy the practice.
2. I have arthritis; is calligraphy still an option for me?
Yes, but you must adapt your equipment. Use pens with thicker barrels or add custom foam grips to standard pens. Keep your practice sessions short—10 to 15 minutes—and prioritize relaxed posture over long hours of practice to avoid joint strain.
3. How long does it take to see improvements in my handwriting?
Most individuals see noticeable improvements in their control and letter consistency within four to six weeks of consistent, 15-minute daily practice. Remember that the goal is the health benefits of the practice, not achieving a specific “look” by a certain date.