- Lateral mobility is essential for maintaining balance, reaching for objects, and preventing the “stiff spine” sensation common in later adulthood.
- Seated side-bends offer a low-impact, gravity-assisted way to improve flexibility without the risks associated with standing balance exercises.
- Consistency over intensity is the golden rule; performing gentle, controlled movements daily is significantly more effective than infrequent, intense stretching sessions.
The ability to move the spine laterally—from side to side—is often one of the first ranges of motion to diminish as we age. When the muscles and connective tissues surrounding the ribcage and spine tighten, simple daily tasks like reaching for a seatbelt, pulling a book from a shelf, or turning to look behind you while sitting can become restricted or uncomfortable. Seated side-bends provide a safe, accessible method to regain and maintain this lateral mobility.
This article explores the mechanics of seated side-bends, why they are a cornerstone of preventive spinal health for adults aged 60 to 80, and how to perform them safely within your daily routine.
Understanding Lateral Spinal Mobility
The human spine is a complex structure designed for flexion (bending forward), extension (bending backward), rotation (twisting), and lateral flexion (side-bending). Lateral flexion occurs primarily in the thoracic spine (the middle back) and the lumbar spine (the lower back). As we age, the intervertebral discs may lose some hydration, and the surrounding musculature—specifically the obliques, intercostals, and latissimus dorsi—may lose elasticity.
When lateral mobility is neglected, the body compensates by using other joints, such as the hips or the lower lumbar segments, which can lead to localized strain. The seated side-bend is a “targeted isolation” exercise. By keeping the pelvis anchored on a chair, you remove the instability of the legs, allowing you to focus purely on the stretch through the torso.
Why Seated Exercises are Ideal for Seniors
For many adults between 60 and 80, balance can be a limiting factor when performing traditional standing stretches. The seated side-bend eliminates the risk of falling, making it a “stable-base” exercise. Furthermore, it allows for a controlled range of motion where the user can easily adjust the intensity based on their current comfort level.
Preparing for Your Session: Safety and Setup
Before beginning any mobility routine, your environment and equipment must be appropriate. Not all chairs are suitable for exercise. A dining room chair with a flat, firm seat and no armrests is generally the best choice.
Checklist for a Safe Practice
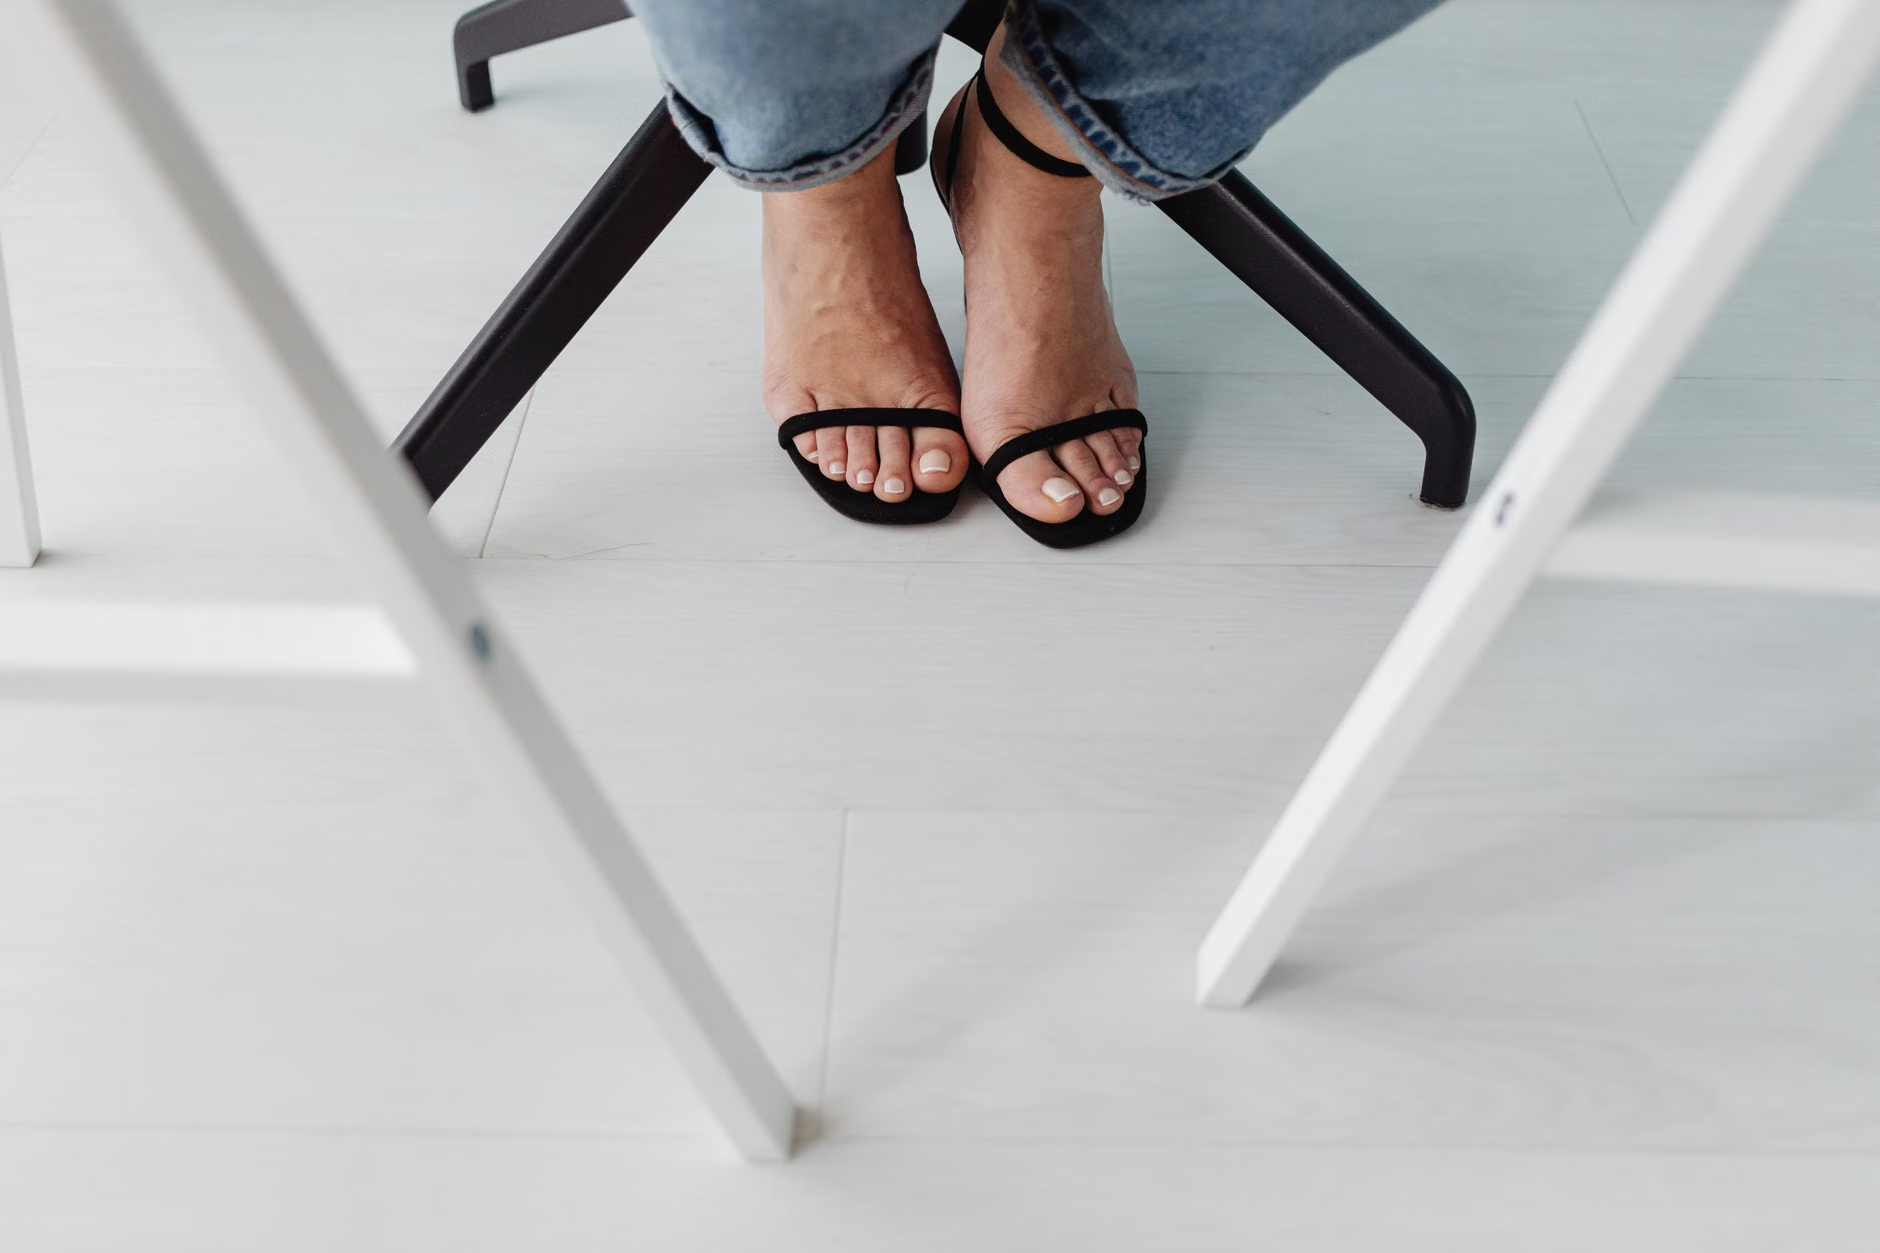
- Chair Stability: Ensure the chair is on a non-slip surface, such as a rug or a rubber mat. Do not use rolling office chairs.
- Foot Placement: Your feet should be flat on the floor, hip-width apart. If your feet do not reach the floor, place a stable block or a thick book under them.
- Clothing: Wear breathable, non-restrictive clothing. If you feel a “pulling” in your clothes, it will subconsciously cause you to tighten your muscles, which defeats the purpose of the stretch.
- Pain vs. Discomfort: It is normal to feel a mild “stretching” sensation. It is never normal to feel sharp, shooting, or stabbing pain. If you feel pain, stop immediately.
Step-by-Step: Executing the Seated Side-Bend
The goal of this movement is to create space between your ribs and your pelvis. Follow these steps to ensure you are moving safely.
- The Starting Position: Sit upright with your spine neutral. Imagine a string pulling the crown of your head toward the ceiling. Keep your shoulders relaxed and down.
- The Anchor: Place your left hand firmly on the side of the chair seat or let it hang down toward the floor. This acts as an anchor to prevent your left hip from lifting.
- The Reach: Inhale deeply. As you exhale, reach your right arm up toward the ceiling.
- The Bend: Slowly begin to lean your upper body to the left. Crucial: Keep both sit-bones glued to the chair. Do not let your right hip lift off the seat.
- The Hold: Hold the position for 15 to 30 seconds. Breathe normally throughout the hold. Do not hold your breath.
- Return: Inhale as you return to the center. Repeat on the other side.
Common Mistakes to Avoid
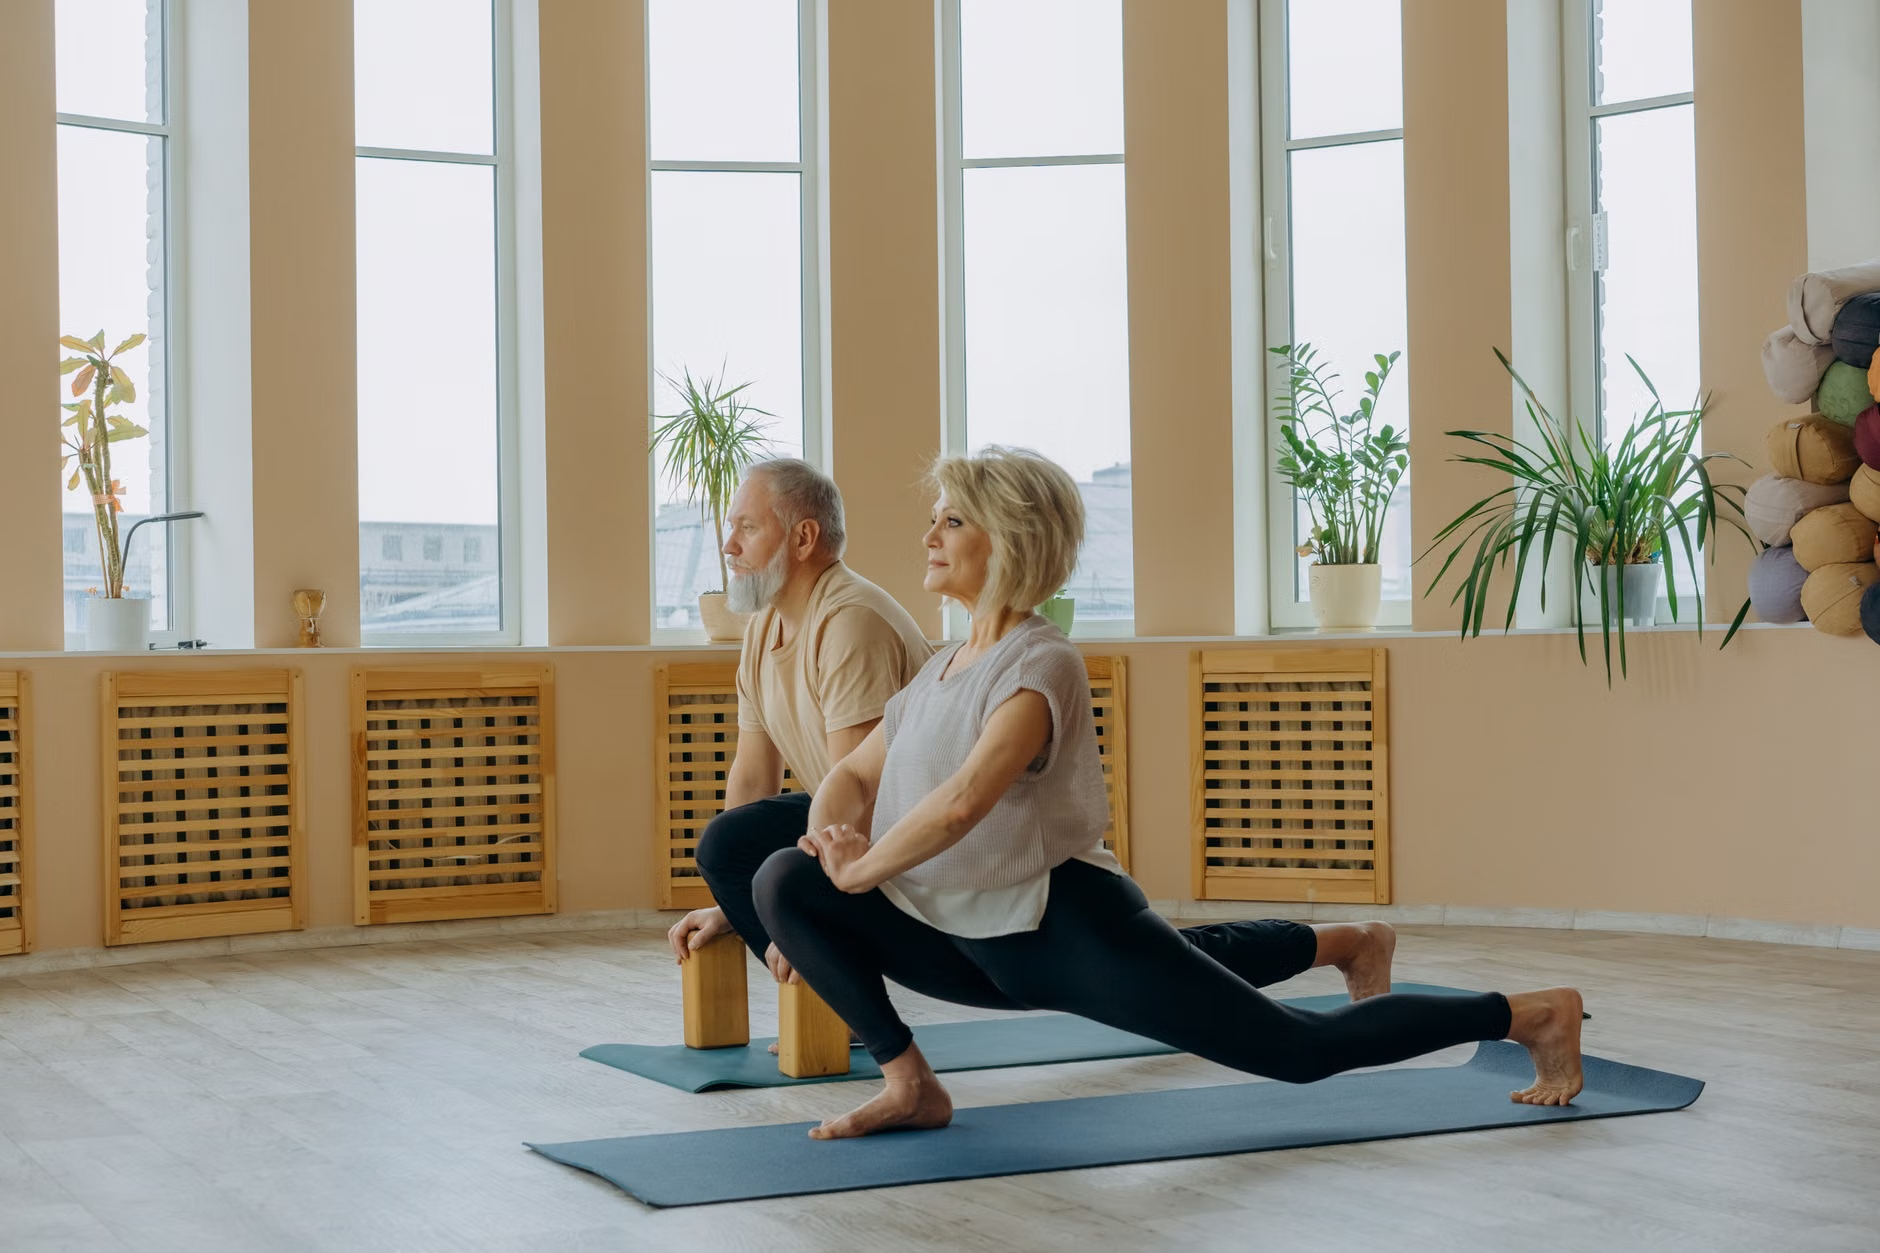
Many people inadvertently turn the side-bend into a forward fold or a rotation. If you find your chest pointing toward the floor, you are losing the lateral focus. Keep your chest facing forward throughout the entire movement. Another common error is “collapsing” the neck. Keep your head in line with your spine; do not tuck your chin or let your head flop to the side.
Integrating Mobility into Your Daily Life
Mobility is a “use it or lose it” function. Rather than treating this as a heavy gym workout, think of it as “movement hygiene.” Just as you brush your teeth daily, you can perform these stretches to maintain spinal health.
| Frequency | Duration | Best Time |
|---|---|---|
| Daily | 3–5 minutes total | Morning or after long periods of sitting |
| 3-4 times/week | 10-15 minutes | As part of a dedicated mobility routine |
The table above suggests a flexible approach. For those with chronic stiffness, daily, shorter sessions are generally more effective than a single long session once a week. The body responds best to consistent, low-intensity input.
Advanced Considerations and Potential Limitations
While seated side-bends are generally safe, there are specific conditions where you should consult with a physical therapist before starting. If you have a history of spinal disc herniation, severe osteoporosis, or have recently undergone back surgery, the mechanics of a side-bend might need to be modified.
When to Seek Professional Guidance
If you experience any of the following, pause your routine and speak to a healthcare professional:
- Numbness or tingling that travels down your arm or leg during the stretch.
- A feeling of “locking” in the spine that prevents you from standing back up straight.
- Dizziness or lightheadedness when reaching overhead.
A physical therapist can assess your specific spinal range of motion and provide “modifications.” For example, if reaching your arm overhead causes shoulder pain, they may suggest keeping your hand on your hip while performing the lateral tilt. This preserves the spinal benefit while removing the shoulder strain.

The Role of Hydration and Nutrition in Tissue Health
While often overlooked, the health of your spinal discs and connective tissues is heavily dependent on hydration. Discs are largely composed of water. As we age, the ability of these discs to rehydrate can decrease. Drinking adequate water throughout the day ensures that your tissues remain pliable. Furthermore, a diet rich in anti-inflammatory foods—such as leafy greens, fatty fish, and berries—can support the overall health of the connective tissues surrounding the spine. While no “miracle food” will instantly fix spinal stiffness, systemic inflammation reduction makes the process of regaining mobility significantly smoother.
Understanding the “Hidden” Benefits
Beyond the obvious increase in flexibility, there are secondary benefits to lateral spinal mobility. Improved thoracic mobility often leads to better respiratory function. When the intercostal muscles (the muscles between your ribs) are tight, they restrict the ribcage’s ability to expand fully during inhalation. By stretching these muscles, you may find that you can take deeper, more comfortable breaths. This is particularly important for adults who spend a significant amount of time sitting, as the “slumped” posture often associated with chairs naturally inhibits deep breathing.
Refining Your Technique: A Practical Framework
To maximize the effectiveness of your seated side-bends, focus on the “Reach-Anchor-Breathe” framework:
- Reach: Think about creating space between each rib. You aren’t just bending; you are elongating.
- Anchor: The stability of your base determines the quality of your stretch. If your hip lifts, the stretch is lost.
- Breathe: Use your breath to signal your nervous system that it is safe to relax into the stretch.
If you have been inactive for a long time, do not attempt to reach your maximum range of motion on the first day. Start with 50% of your perceived capability. Your spine is a living, adapting structure; it will respond to gentle, consistent encouragement far better than it will to forced, aggressive stretching.
Conclusion: The Path to Consistent Mobility
Maintaining lateral spinal mobility is a proactive investment in your future independence. By incorporating seated side-bends into your routine, you are not just “stretching”—you are actively preserving the functional integrity of your spine. Remember that progress in mobility is often measured in millimeters, not inches. Celebrate the small improvements in your ability to reach, turn, and breathe comfortably. By prioritizing these simple, effective movements today, you are ensuring that your spine remains a reliable partner in your daily life for years to come.
Frequently Asked Questions
1. Can I do these side-bends if I have lower back pain?
If you have existing lower back pain, it is vital to distinguish between muscular tightness and structural issues. If the pain is localized and feels like “muscle soreness,” gentle, controlled movement is often beneficial. However, if you have a known condition like a herniated disc or spinal stenosis, you must consult your doctor or a physical therapist. They can determine if lateral flexion is appropriate for your specific condition or if you should avoid it.
2. How long does it take to see improvements in spinal flexibility?
Consistency is more important than speed. Most individuals notice a reduction in “morning stiffness” within two to three weeks of consistent daily practice. Significant improvements in range of motion often take six to eight weeks. Keep a simple log if it helps you stay motivated, but focus on how your body feels during daily activities rather than just the angle of your bend.
3. Is it better to hold the stretch or move dynamically?
For most adults, a combination is best. Start with a few “dynamic” repetitions—moving slowly into the stretch and back to center—to warm up the tissues. Follow this with a “static” hold of 15 to 30 seconds to allow the muscles to release. Never use “bouncing” movements, as this can trigger a protective reflex in the muscles and actually increase tension.
Disclaimer: This article is for informational purposes only and does not constitute medical advice. Always consult with your primary healthcare provider or a licensed physical therapist before starting any new exercise program, especially if you have chronic health conditions or a history of injury.
Official resources for senior health and mobility: