- Leaf pressing is a low-impact, meditative hobby that encourages outdoor movement and sensory engagement with nature.
- Success depends on moisture control: choosing the right leaves and using absorbent materials are more important than the weight applied.
- Beyond aesthetics, this practice serves as a cognitive exercise in patience, observation, and fine motor coordination.
The transition of seasons offers a unique opportunity to slow down and observe the intricate details of nature. Leaf pressing—the process of drying and flattening botanical specimens—is a timeless hobby that combines outdoor activity with quiet, indoor mindfulness. For many, this practice is not merely about preserving color; it is a way to engage with the rhythm of the changing year, requiring focus, dexterity, and a gentle touch.
The Therapeutic Value of Nature-Based Hobbies
Engaging in activities that require steady hands and observation can provide significant mental health benefits. As we navigate our daily routines, the act of selecting a leaf, cleaning it, and positioning it within a press encourages a state of “flow.” This is a psychological state where a person is fully immersed in an activity, leading to reduced stress and increased feelings of contentment.
Furthermore, the physical component of this hobby starts outdoors. Walking to find the perfect specimens provides low-impact cardiovascular exercise. It encourages us to look closely at our surroundings, turning a standard walk into an exploration. When we return home, the transition from the active outdoors to the quiet focus of the workspace helps create a balanced daily rhythm.
Selecting and Preparing Your Specimens
Not all leaves are created equal when it comes to long-term preservation. Understanding which leaves respond best to pressing is the first step toward a successful project.
What to Look For
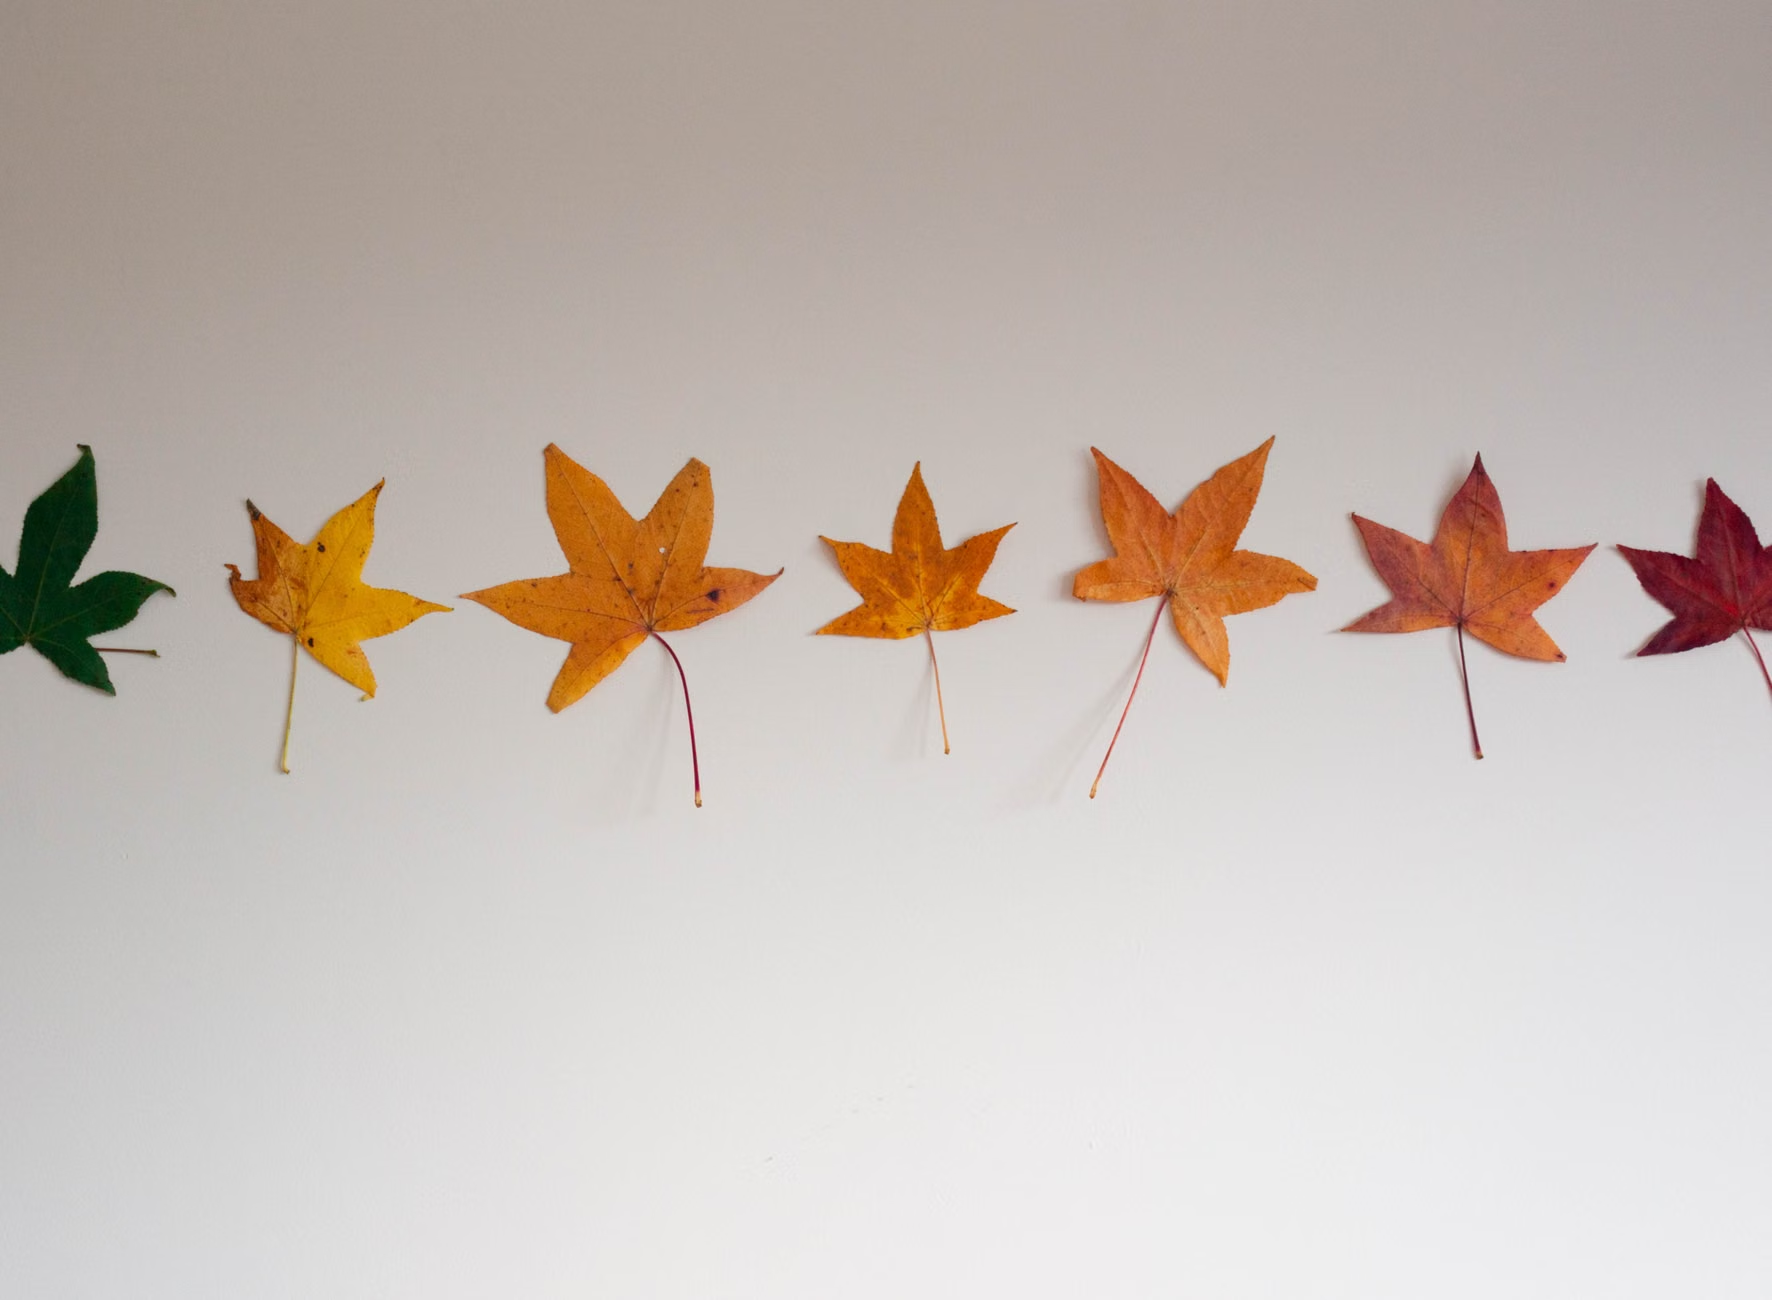
Look for leaves that are flexible and not yet brittle. If a leaf is already curled or dry on the tree, it will likely shatter during the pressing process. The ideal specimen is one that has just begun to change color but still retains its structural integrity. Avoid leaves that are damp from rain or dew, as excess moisture is the primary enemy of a well-pressed leaf; it can lead to mold and discoloration.
Preparation Steps
- Gathering: Choose a variety of shapes and sizes to keep your collection interesting.
- Cleaning: Gently wipe the leaves with a soft, dry cloth to remove dirt or insects. Do not wash them with water.
- Inspection: Ensure the leaf is free of deep tears or rot. Small imperfections are part of the natural beauty, but structural damage will make the leaf difficult to handle.
The Mechanics of Moisture Removal
The goal of pressing is to remove the moisture from the leaf cells slowly enough that the leaf flattens rather than wrinkles or rots. If you dry a leaf too quickly (such as with heat), it will become brittle. If you dry it too slowly in a humid environment, it may mold.
Effective Pressing Materials
You do not need expensive equipment. The most effective materials are those that absorb moisture efficiently.
| Material | Suitability | Why it works |
|---|---|---|
| Uncoated Printer Paper | High | Absorbent and provides a smooth surface. |
| Newsprint | Medium | Very absorbent, but ink may transfer to light-colored leaves. |
| Cardboard | High | Provides structural support and airflow. |
| Glossy Magazines | Low | Non-absorbent; will trap moisture and cause mold. |
Pro Tip: Always place your leaves between two layers of absorbent paper (like plain white printer paper) before putting them between cardboard or inside a book. This protects your book pages and ensures the leaf remains clean.

Step-by-Step: The Pressing Process
Once you have selected your leaves and gathered your paper, follow these steps to ensure the best results.
1. The Setup
Open a heavy, hardcover book. Place a sheet of white paper on the page. Arrange your leaves so they do not overlap; overlapping creates uneven pressure and can cause the leaves to stick together.
2. The Layering
Place another sheet of paper over the leaves. If you have many leaves, you can repeat this process using pieces of corrugated cardboard between the paper layers to help wick away moisture.
3. The Weight
Close the book and add extra weight on top. A stack of other heavy books or a sturdy, flat object works perfectly. The key is even pressure, not necessarily excessive force. If the weight is uneven, the leaves on one side may not flatten properly.
4. The Waiting Period
Patience is essential. Leave the leaves undisturbed for at least 7 to 10 days. Check on them after a week. If they still feel cool or damp to the touch, they need more time. A leaf is fully pressed when it feels like thin, dry paper.
Preventing Common Pitfalls
Even with careful preparation, some issues can arise. Here is how to navigate the most frequent challenges.
- Mold: If you notice dark, fuzzy spots on your leaves, they were likely too damp when you started. Discard these immediately so they do not contaminate the rest of your collection.
- Browning: If your vibrant red or yellow leaves turn dark brown, it usually means the drying process was too slow. In the future, ensure you are using more absorbent paper or check your leaves after 48 hours and change the paper if it feels damp.
- Curling: This happens when the pressure is uneven. Ensure your stack is on a perfectly flat surface and that the weight is distributed across the entire area of the top book.
Displaying Your Pressed Specimens
Once your leaves are perfectly preserved, you have several options for displaying them. Because pressed leaves are sensitive to light and humidity, it is important to choose a method that protects them.
Framing
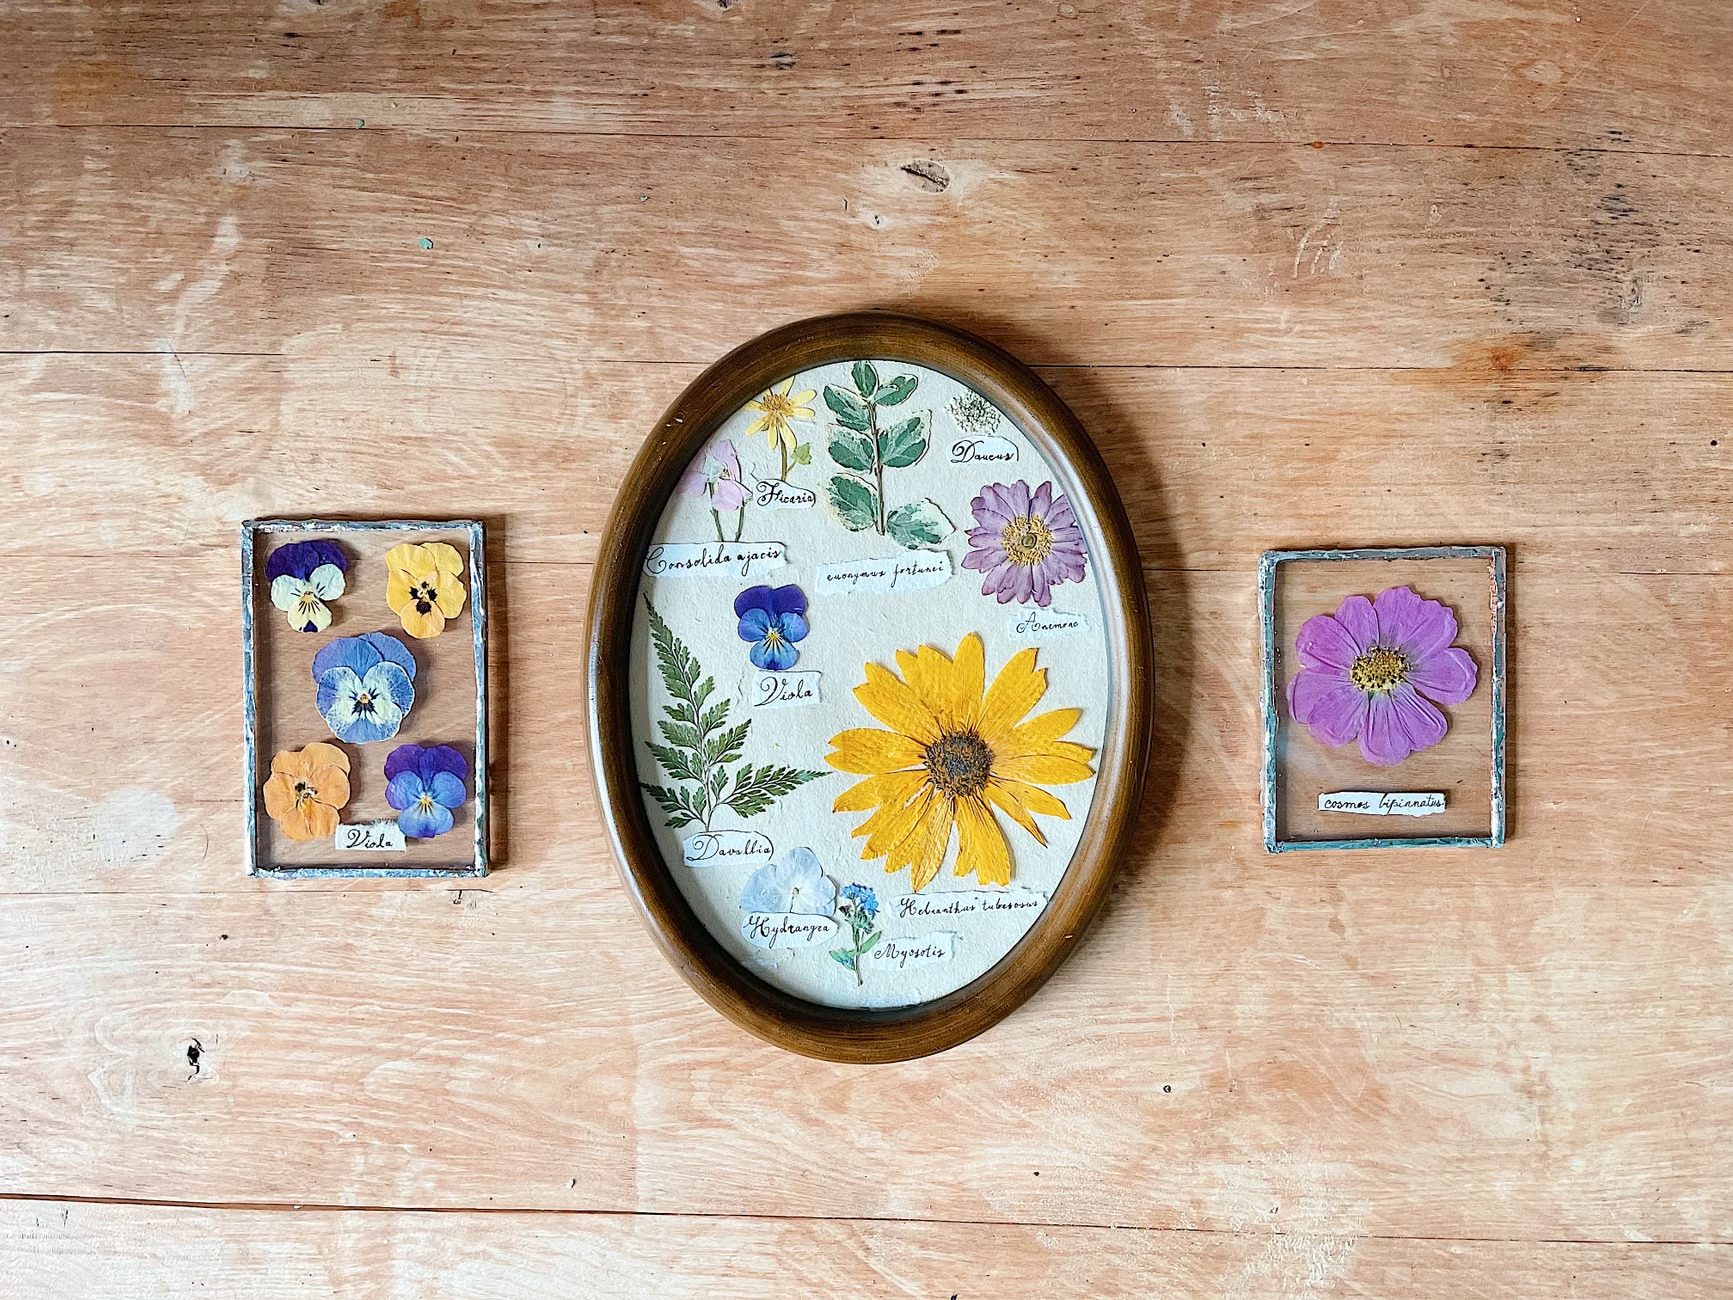
Using a floating frame—where the leaf is placed between two pieces of glass—is a popular choice. This allows you to see the leaf from both sides. When framing, ensure the item is not in direct sunlight, as UV rays will cause the colors to fade over time. You may also consider using UV-protective glass if you intend to display them in a bright room.
Memory Albums
Creating an album is a wonderful way to document the season. You can include notes about where and when you found each leaf. Use acid-free tape or archival-quality photo corners to secure the leaves to the page. This prevents the chemicals in standard adhesives from damaging the botanical material over time.
Safety and Mobility Considerations
While leaf pressing is a gentle hobby, it is important to consider your physical needs when gathering specimens.
- Footwear: Choose supportive, non-slip shoes when walking in areas with fallen leaves. Wet leaves can be slippery, and uneven ground in parks or forests can pose a tripping hazard.
- Stamina: Do not feel pressured to cover long distances. The best specimens are often found in local parks or even your own backyard. Focus on quality over quantity.
- Accessibility: If mobility is an issue, consider choosing locations with paved paths. Many botanical gardens offer excellent accessibility, including benches for rest and well-maintained, flat surfaces.
- Hydration and Pacing: Always carry water and ensure you have a planned route that allows for frequent rests. If you are going out alone, ensure someone knows your general location and expected time of return.
The Cognitive Benefits of Mindfulness
The practice of mindfulness is often associated with meditation, but it can be applied to any activity that requires our full attention. When you are pressing leaves, you are engaging in “active mindfulness.” You are using your senses—touching the texture of the leaf, observing the veins and color variations, and concentrating on the precise placement of the specimen.
This type of focus can help interrupt cycles of worry or rumination. By anchoring your attention to the physical task at hand, you give your brain a rest from complex problem-solving or social stressors. Over time, this practice can improve your ability to concentrate on other tasks in your daily life, reinforcing the idea that hobbies are not just “time fillers” but essential components of cognitive health.
Advanced Techniques: Preserving Color
While pressing naturally results in some color change, you can maximize color retention by using a few simple techniques.
Ironing (with caution): If you are in a hurry, you can place a leaf between two pieces of parchment paper and use a warm iron (no steam) on a low setting. Move the iron slowly over the paper for a few minutes. Note: This requires careful monitoring to prevent scorching.
Silica Gel: For thicker leaves or petals, silica gel (a desiccant) can be used. This is a more advanced method where the specimen is buried in the gel. It preserves the 3D shape and color better than traditional pressing, though it is more expensive and requires more supplies.
Creating a Seasonal Routine
To truly integrate this hobby into your life, consider making it a seasonal ritual. Just as many people have routines for gardening in the spring, you can establish a “Harvest and Preserve” phase in the autumn. This provides a sense of structure to the year, helping you mark the passage of time in a meaningful way.
You might dedicate one afternoon a week during the peak of autumn to go for a “leaf walk.” By the time winter arrives, you will have a collection of preserved memories that serve as a reminder of the beauty you encountered. This process creates a narrative of your year, one that is rooted in the natural world.
Final Thoughts on the Practice
The joy of leaf pressing lies in its simplicity and the tangible result of your effort. In a world that is increasingly digital and fast-paced, there is a profound satisfaction in creating something that is slow, organic, and lasting. Whether you create a single framed piece for your home or an extensive collection in an album, you are participating in a tradition that celebrates observation and patience.
Remember that the goal is not perfection. Some leaves will tear, some will mold, and some will fade. This is part of the process. Each leaf is unique, and each attempt is a chance to refine your technique and learn more about the plants in your local environment. Allow yourself the grace to experiment, and enjoy the quiet moments that this hobby provides.
For more information on the botanical diversity of your local area, you can visit resources such as the Botanic Gardens Conservation International to find gardens near you that may offer educational programs on local flora.
Frequently Asked Questions
1. Can I press leaves that have already fallen on the ground?
Yes, but be selective. Leaves on the ground are often already dry or have started to decay. Look for leaves that have fallen very recently and still feel flexible. Avoid leaves that are wet from rain or have visible signs of insect damage or brown spots.
2. How long do pressed leaves last?
When pressed and stored correctly—away from direct sunlight, moisture, and high humidity—pressed leaves can last for many years. Some people have collections that are decades old. The key is to ensure all moisture is removed during the initial pressing phase to prevent long-term degradation.
3. What should I do if a leaf is too thick for a standard book?
Thicker leaves or those with woody stems can be difficult to press in a standard book. For these, it is better to use a dedicated wooden flower press with cardboard layers, or simply place them between two heavy boards with several large books stacked on top. The extra weight helps flatten the thicker structures without requiring the space of a single book.