- Seated hip abduction targets the gluteus medius, a critical muscle for pelvic stability and preventing lateral falls.
- Consistency over intensity: Performing this movement with controlled resistance 3-4 times a week is more effective than sporadic high-intensity training.
- Safety first: Always use a stable, non-rolling chair and maintain a neutral spine to avoid secondary strain on the lower back.
Understanding Pelvic Stability in Later Life
As we navigate our 60s, 70s, and beyond, the mechanics of our movement change. Pelvic stability is not just about “strong hips”; it is the foundation of our ability to walk, climb stairs, and maintain balance when we encounter uneven surfaces. The pelvis acts as the hub for the kinetic chain, connecting the power of the legs to the stability of the torso.
When the muscles responsible for stabilizing the pelvis—specifically the gluteus medius and minimus—begin to lose their tone, the result is often a “waddling” gait or a tendency to lean toward the side of the supporting leg during walking. This instability is a primary contributor to falls, particularly when stepping off a curb or navigating crowded areas. Seated hip abduction is an accessible, low-impact exercise designed to wake up these stabilizer muscles without the high risk of joint compression found in standing or weighted exercises.
Why the Gluteus Medius Matters
The gluteus medius is often called the “hip stabilizer.” Unlike the gluteus maximus, which provides the explosive power needed to stand up from a chair, the medius prevents your pelvis from dropping on one side when you are standing on one leg. Every single step we take is essentially a series of controlled, one-legged balances. If your gluteus medius is weak, your pelvis tilts, forcing your lower back to compensate. Over time, this leads to chronic lower back pain and a decreased confidence in your own balance.
The Mechanics of Seated Hip Abduction
Seated hip abduction is a movement where you push your knees outward against resistance while seated. This action directly isolates the abductor muscles. By performing this in a chair, you eliminate the need for complex balance, allowing you to focus entirely on the muscular engagement of the outer hip.
Step-by-Step Execution
To perform this movement effectively, follow these specific steps to ensure you are targeting the right muscles:
- Setup: Use a sturdy, non-swivel chair. Sit toward the front edge of the seat, keeping your feet flat on the floor, shoulder-width apart.
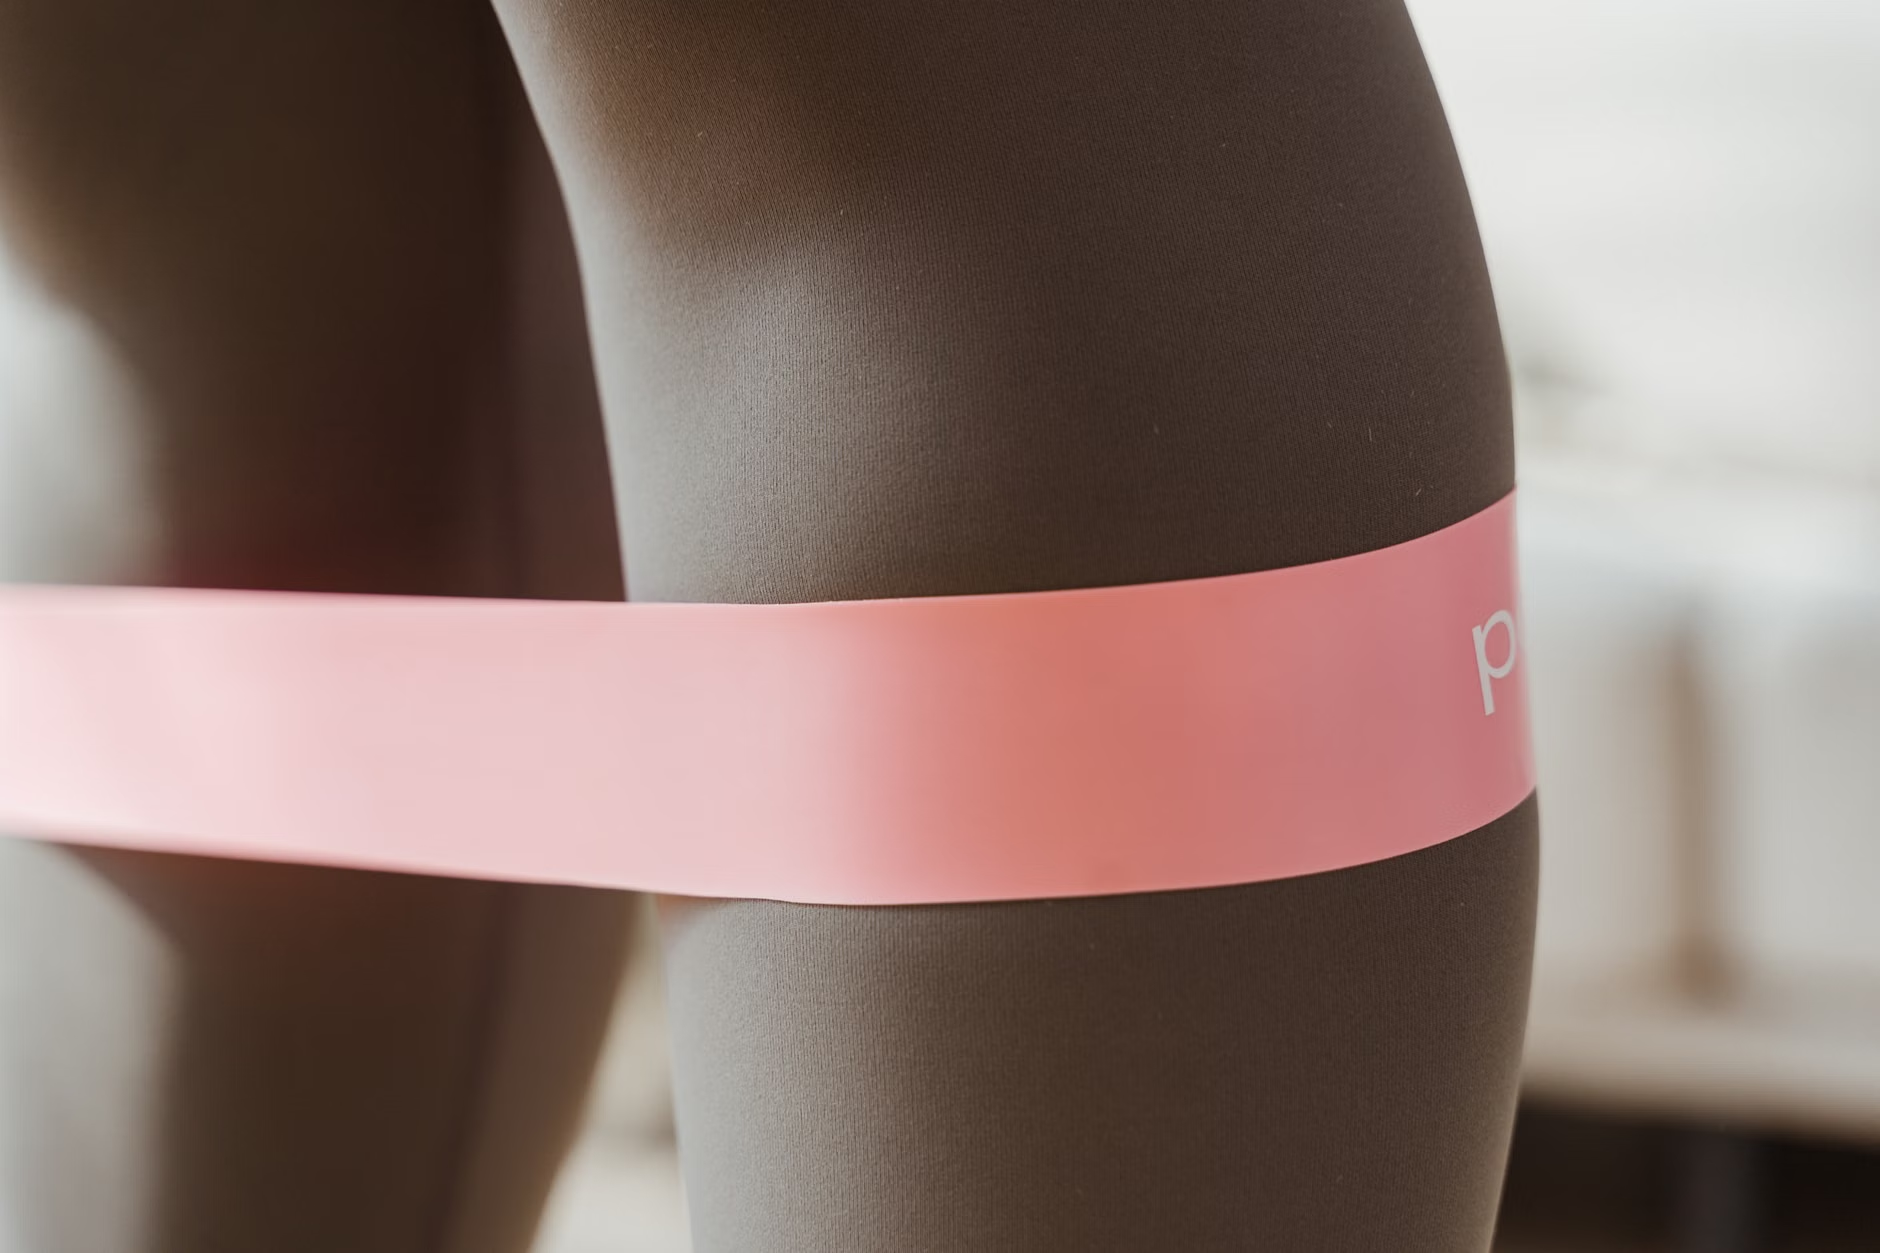
- Resistance: If you are a beginner, start without equipment. For progression, place a fabric resistance band (loop band) just above your knees.
- Engagement: Sit tall. Imagine pulling your belly button slightly toward your spine to engage your core.
- The Movement: Slowly push your knees outward, away from each other, against the resistance of the band. Focus on the effort coming from the sides of your hips, not your feet or ankles.
- The Return: Return to the starting position slowly. Do not let the band “snap” your knees back together; control is key.
Common Mistake: Many individuals try to “swing” their legs by using their feet. If you feel the tension in your ankles or knees rather than your hips, stop and reset. Ensure your feet remain firmly planted and the movement happens exclusively at the hip joint.
Frequency and Intensity Guidelines
For those aged 60-80, the goal is to build endurance and neurological connection, not hypertrophy (muscle size). Aim for 3 sets of 12-15 repetitions. If you are using a resistance band, choose a “light” or “medium” tension to begin. If you can complete 15 reps with perfect form, it is time to move to a slightly higher resistance, not necessarily more repetitions.
| Level | Resistance | Suggested Volume |
|---|---|---|
| Beginner | Body weight only | 2 sets of 10 reps |
| Intermediate | Light resistance band | 3 sets of 12 reps |
| Advanced | Medium resistance band | 3 sets of 15 reps |
Integrating Stability into Daily Life
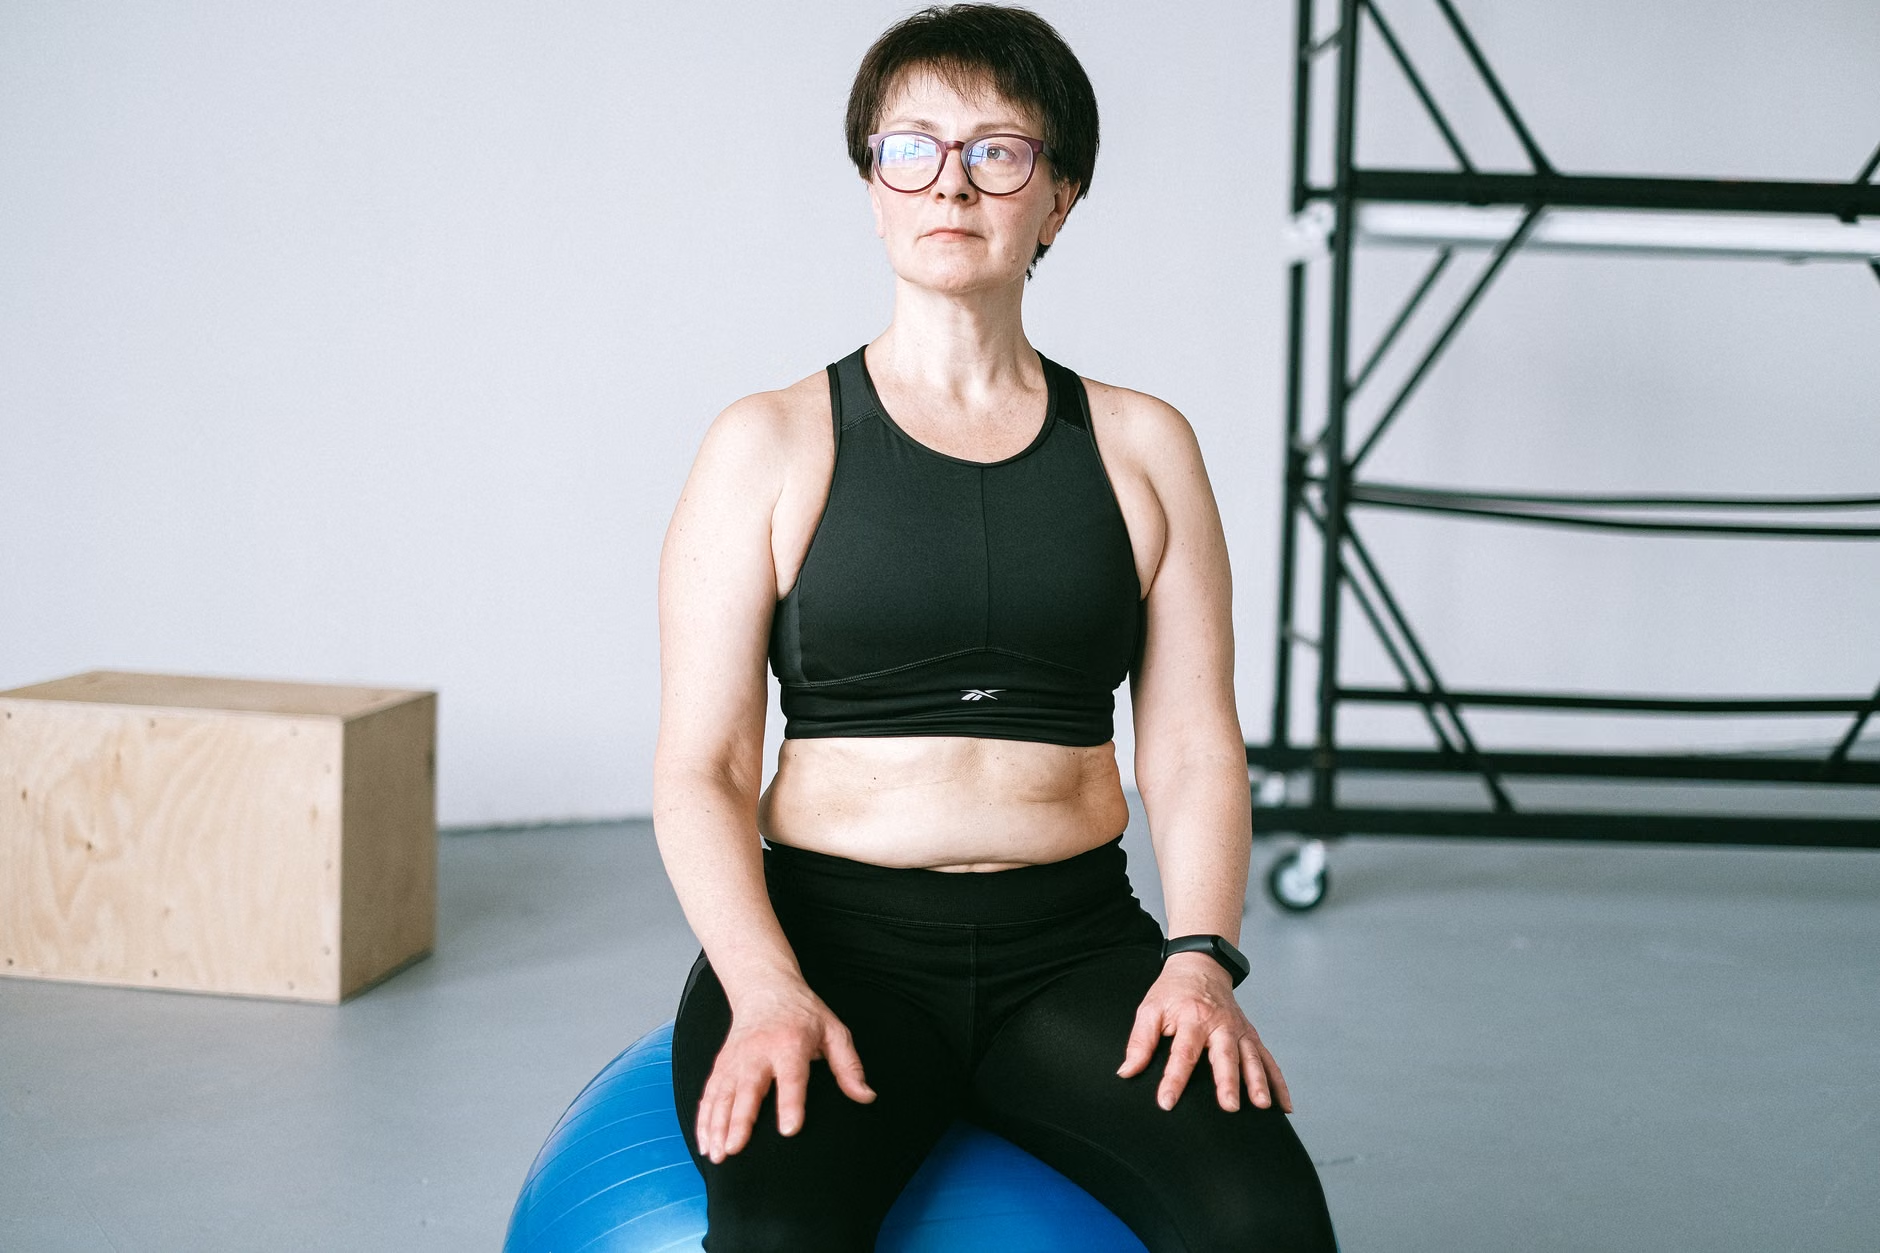
Exercises are only useful if they translate into real-world function. The strength gained from seated hip abduction should manifest in your daily routines. For example, when you stand up from a chair, focus on keeping your knees tracking directly over your toes rather than letting them collapse inward. This “knee-out” awareness is a direct application of the strength built through abduction exercises.
Identifying Warning Signs for Professional Consultation
While this exercise is generally safe, it is important to know when to pause and seek professional advice from a physical therapist or physician:
- Sharp, localized pain: If you feel a “stabbing” sensation in the hip joint or lower back, stop immediately.
- Numbness or tingling: This may indicate nerve compression, which is not a normal response to exercise.
- Persistent swelling: If your joints are swollen before or after exercise, it may indicate an underlying inflammatory condition that requires medical clearance.
If you have had a hip replacement or surgery, consult your surgeon specifically about the range of motion allowed for your hip joint before beginning any abduction program, as some surgical protocols restrict certain angles of movement.
Advanced Considerations: Beyond the Chair
Once you are comfortable with the seated version, you may want to transition to exercises that challenge your balance more dynamically. However, never rush this process. The transition from seated to standing requires a significant increase in core recruitment. Always keep a sturdy surface like a kitchen counter nearby when practicing standing abduction.
Understanding the “Hidden” Variables
One often overlooked factor in pelvic stability is footwear. Even when exercising at home, wearing supportive shoes (rather than socks or slippers) can change how your hip stabilizers fire. Friction between your feet and the floor is necessary for proper hip engagement. If you are sliding, your hips cannot stabilize effectively. Always ensure you are on a non-slip surface.
Additionally, hydration and electrolyte balance play a role in muscle function. Cramping during these exercises is often a sign of mild dehydration, which is common in older adults who may have a reduced thirst sensation. Ensure you are adequately hydrated throughout the day.
Conclusion
Pelvic stability is the cornerstone of independent living. By dedicating just a few minutes a day to seated hip abduction, you are investing in the mechanics that allow you to walk with confidence, navigate stairs safely, and maintain an active lifestyle. Remember that consistency is your greatest ally. Focus on the quality of the movement, listen to your body’s signals, and prioritize controlled, deliberate action over intensity. Your future mobility depends on the foundation you build today.
Frequently Asked Questions
- Can I do this exercise every day?
While the muscles can handle daily activity, it is often better to aim for 3-4 times a week to allow for tissue recovery, especially if you are using resistance bands that create significant tension. - What if I don’t have a resistance band?
You can perform the exercise by placing your hands on the outside of your knees and providing your own resistance by pushing your knees out against your hands. This is an excellent way to gauge your own strength. - Will this fix my chronic lower back pain?
While pelvic stability is a major factor in back health, chronic pain is often multi-factorial. If your pain persists, this exercise should be part of a broader consultation with a physiotherapist to address your specific postural needs.
For further information on senior health and fall prevention, please visit the CDC’s official guidance on Fall Prevention.