- Botanical sketching is a low-cost, accessible practice that enhances cognitive focus and provides a meditative way to observe nature in public parks.
- Success depends on preparation: choosing the right gear that minimizes physical strain and selecting park locations with adequate seating and accessibility.
- The goal is not artistic perfection, but the “process of seeing”—a deliberate practice that reduces stress and encourages sensory engagement with your environment.
Botanical sketching is more than just drawing plants; it is a deliberate, mindful practice that invites you to slow down and observe the intricate details of the natural world. For adults aged 60 to 80, this hobby offers a unique combination of cognitive stimulation, gentle physical movement, and profound psychological relaxation. By visiting local public parks, you turn a simple walk into a structured creative session that sharpens your focus and provides a sense of accomplishment.
Understanding the Mindful Approach to Sketching
Mindfulness in art is the practice of focusing entirely on the present moment, rather than the end result. When you sit in a park to sketch a flower, a leaf, or the bark of a tree, you are engaging in a form of “active observation.” This differs from casual sightseeing because it requires your brain to process textures, light, shadows, and growth patterns.
Research into cognitive health suggests that engaging in complex visual-spatial tasks—such as translating a 3D object onto a 2D page—can help maintain neural plasticity. It forces the brain to solve problems, such as how to represent the curve of a petal or the overlapping veins of a leaf. Crucially, because botanical sketching is a solitary and quiet activity, it serves as a powerful antidote to the noise and sensory overload of modern daily life.
The “Process of Seeing” vs. Artistic Talent
Many people hesitate to start sketching because they believe they “cannot draw.” In botanical sketching, this is a misconception. The objective is not to produce a masterpiece for an gallery, but to capture your personal interaction with the subject. If you spend 30 minutes carefully observing the way a fern curls, you have succeeded, regardless of what the final lines on the paper look like. The “process of seeing” involves:
- Noticing: Identifying the primary shape of the plant.
- Analyzing: Observing how light hits the surface (is it matte or shiny?).
- Translating: Attempting to recreate those observations through pencil marks.
Essential Gear for Comfort and Mobility
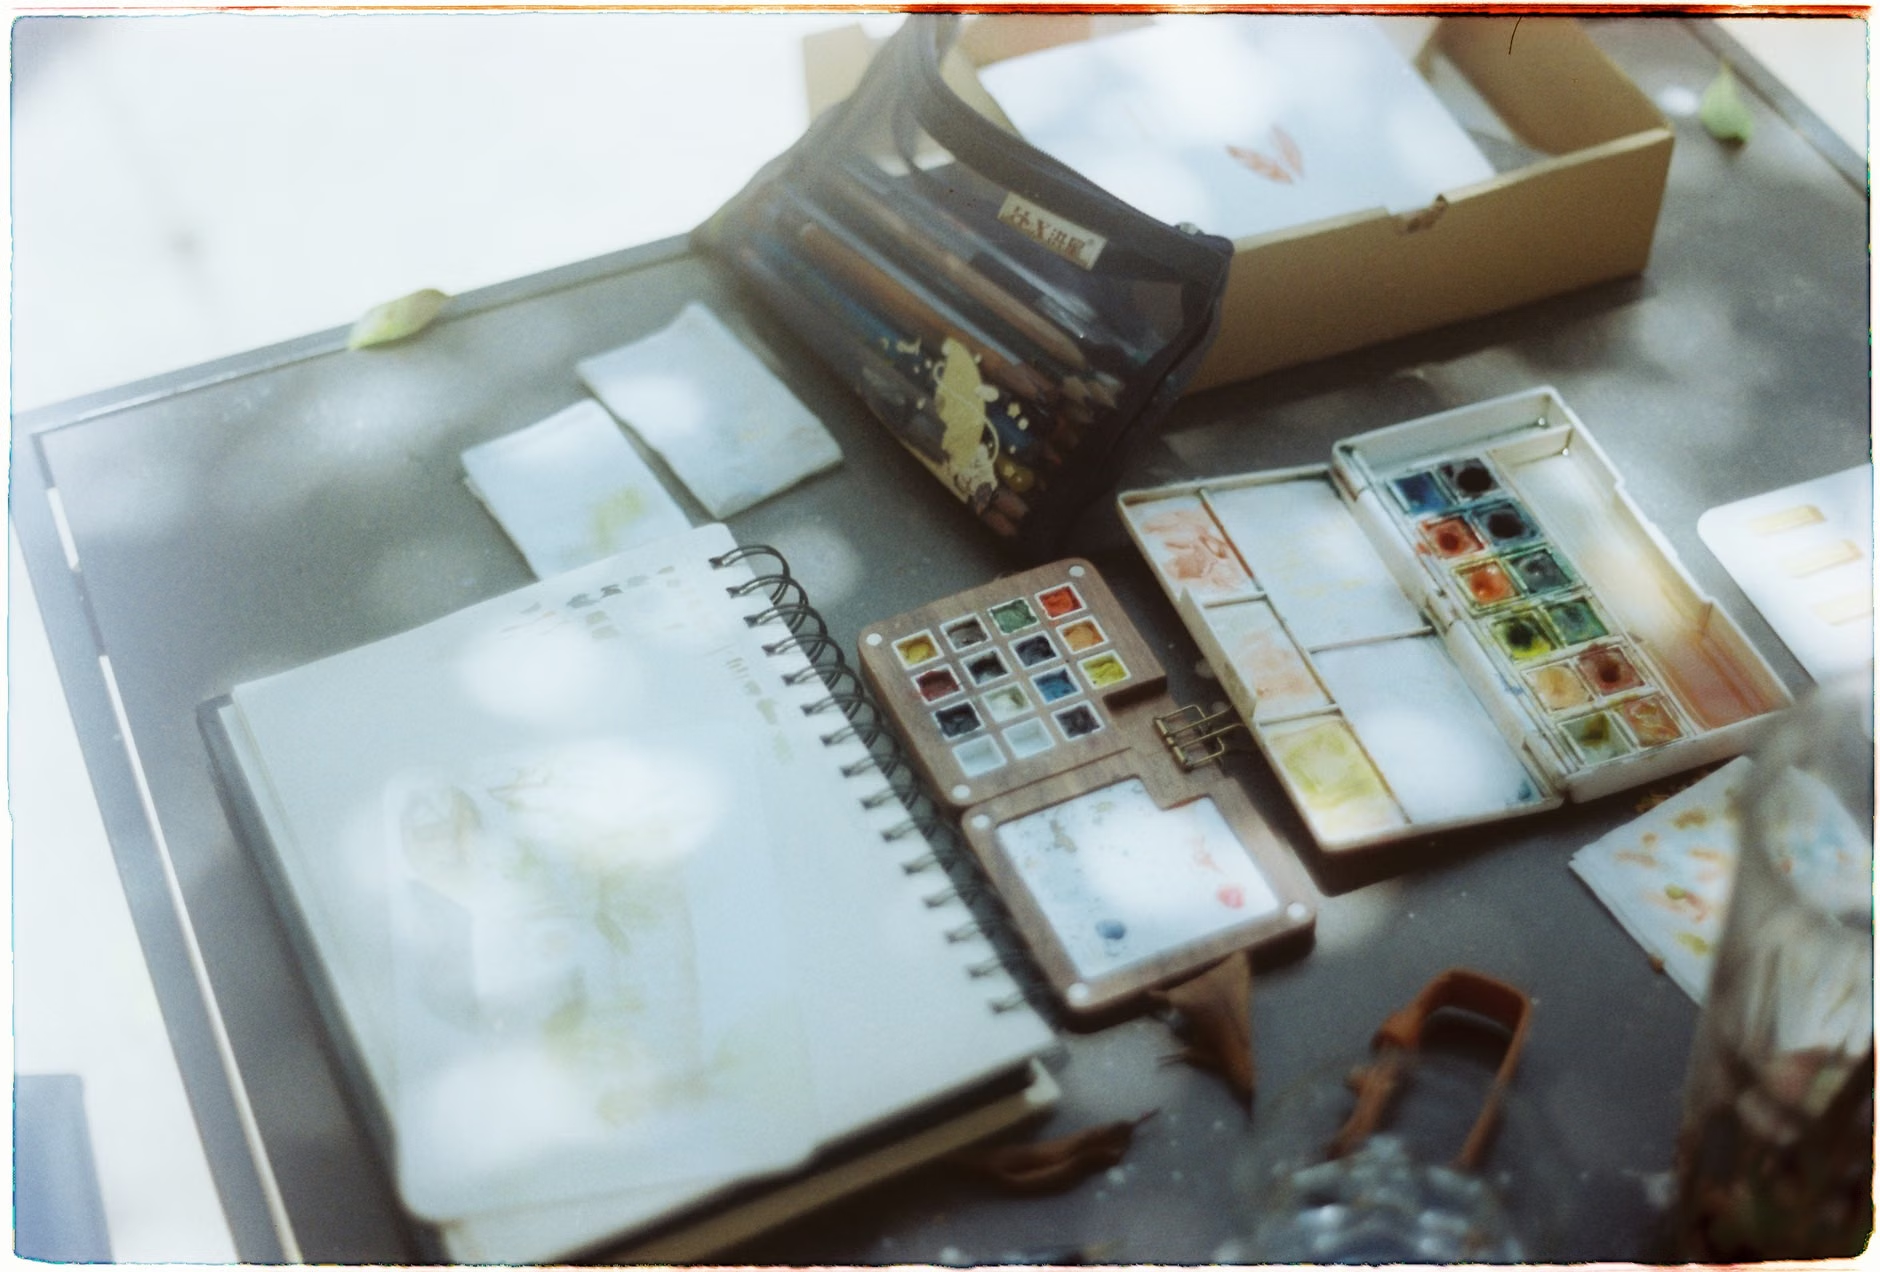
One of the greatest barriers to outdoor hobbies is the weight and complexity of equipment. To keep this hobby sustainable and enjoyable, your kit must be lightweight, portable, and easy to manage. Carrying a heavy easel or an oversized bag will only lead to fatigue. Instead, focus on a “minimalist kit” approach.
| Item | Recommendation | Why it matters for seniors |
|---|---|---|
| Sketchbook | A5 size, hardbound, 120gsm paper | Small enough for a handbag or pocket; hardbound provides a stable surface if a table isn’t available. |
| Pencils | HB, 2B, and 4B graphite pencils | HB is for light outlines; 2B/4B allow for softer, darker shading without pressing hard, reducing hand strain. |
| Sharpener | Small metal canister sharpener | Keeps shavings contained, keeping your bag clean and protecting park grounds. |
| Seating | Lightweight, collapsible tripod stool | Ensures you are comfortable regardless of whether the park has available benches. |
A note on hand comfort: If you experience joint stiffness or arthritis, consider using “jumbo” or triangular-shaped pencils. These are easier to grip and require less pressure to produce a mark. Using a soft grip sleeve—often found in the stationery section—can also significantly reduce the strain on your fingers during longer sessions.
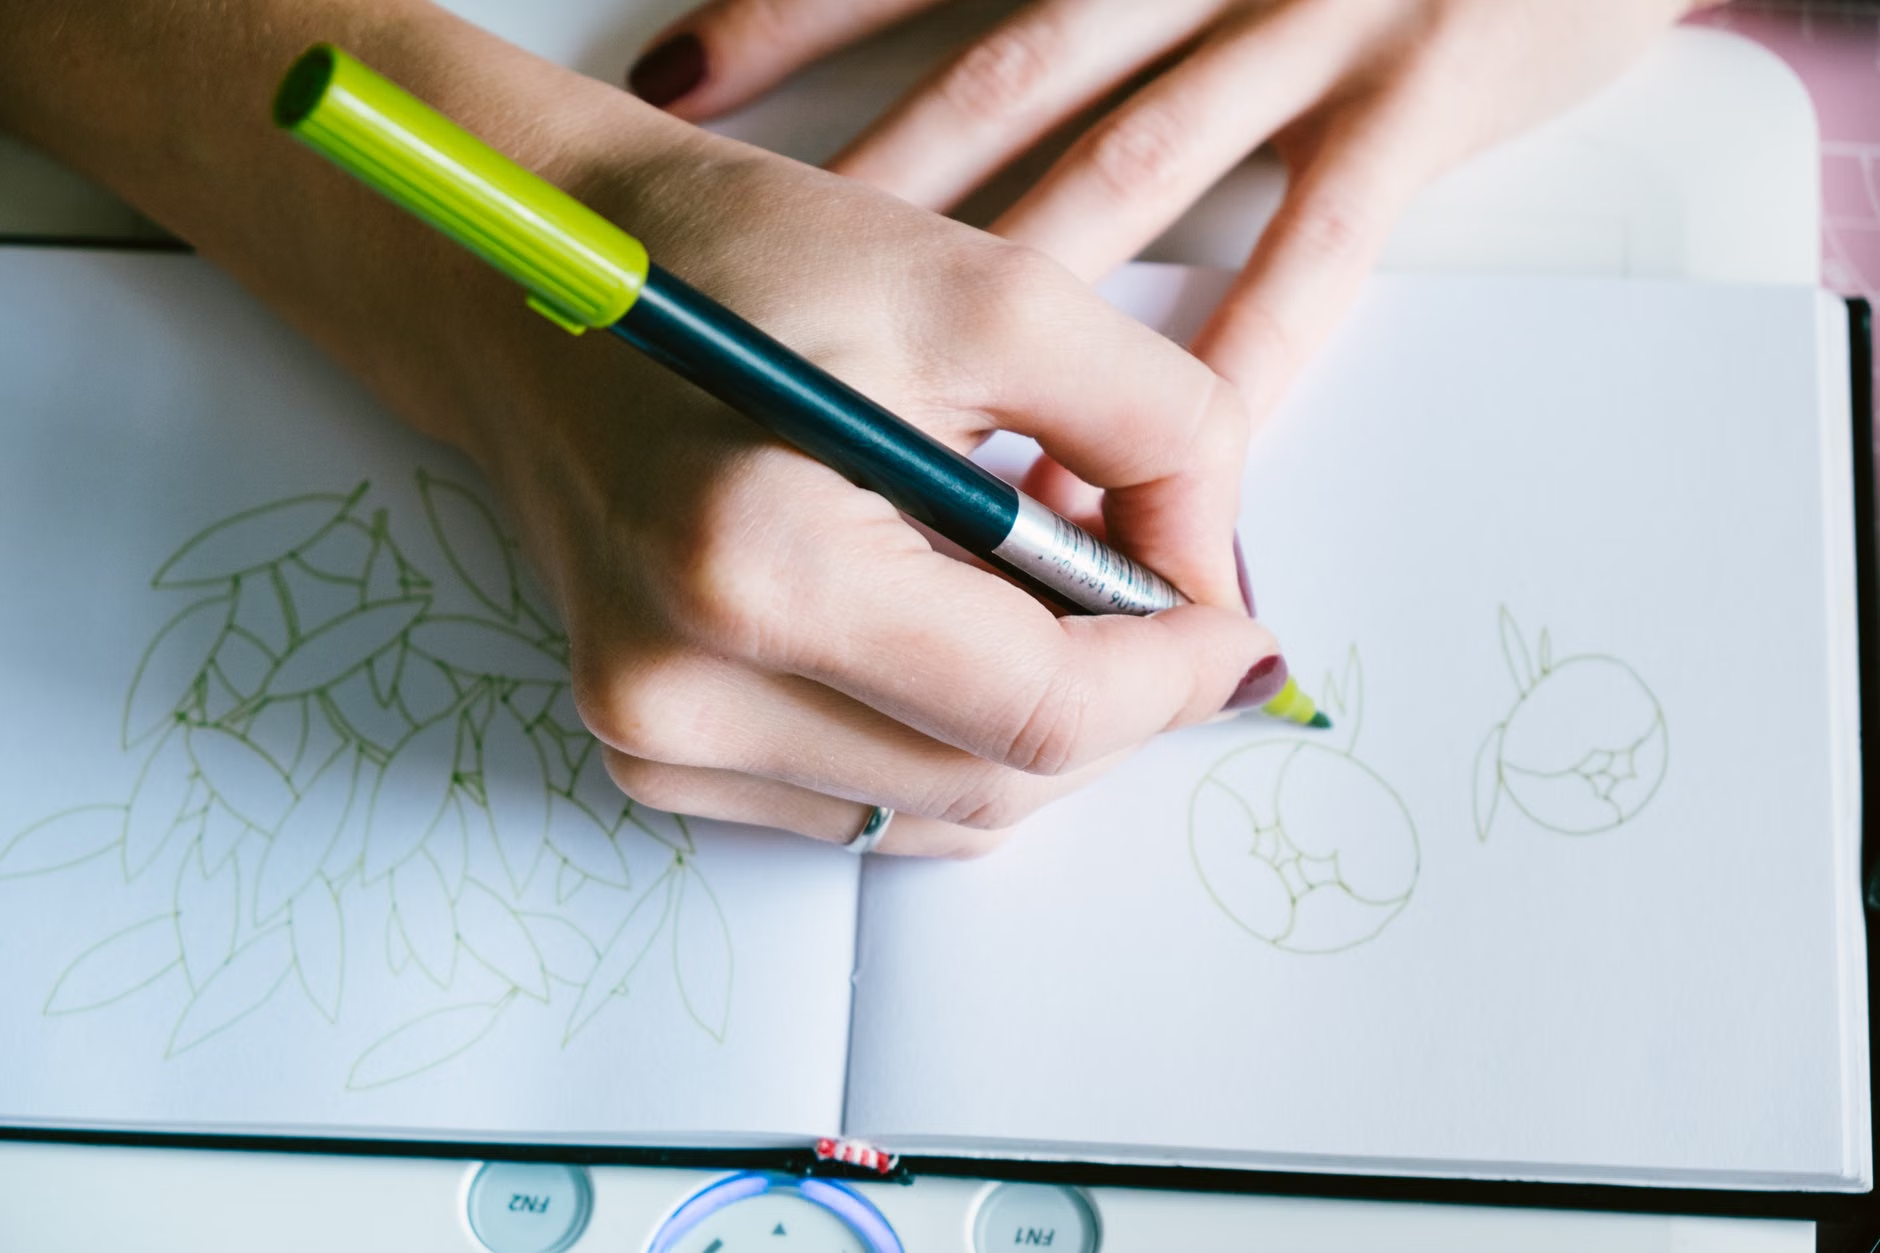
Selecting the Right Public Park
Not all parks are created equal when it comes to a sketching session. When choosing a location, prioritize accessibility and “micro-environments.” A sprawling, noisy playground is less conducive to mindfulness than a quiet corner of a botanical garden or a town arboretum.
Criteria for a Sketching-Friendly Park
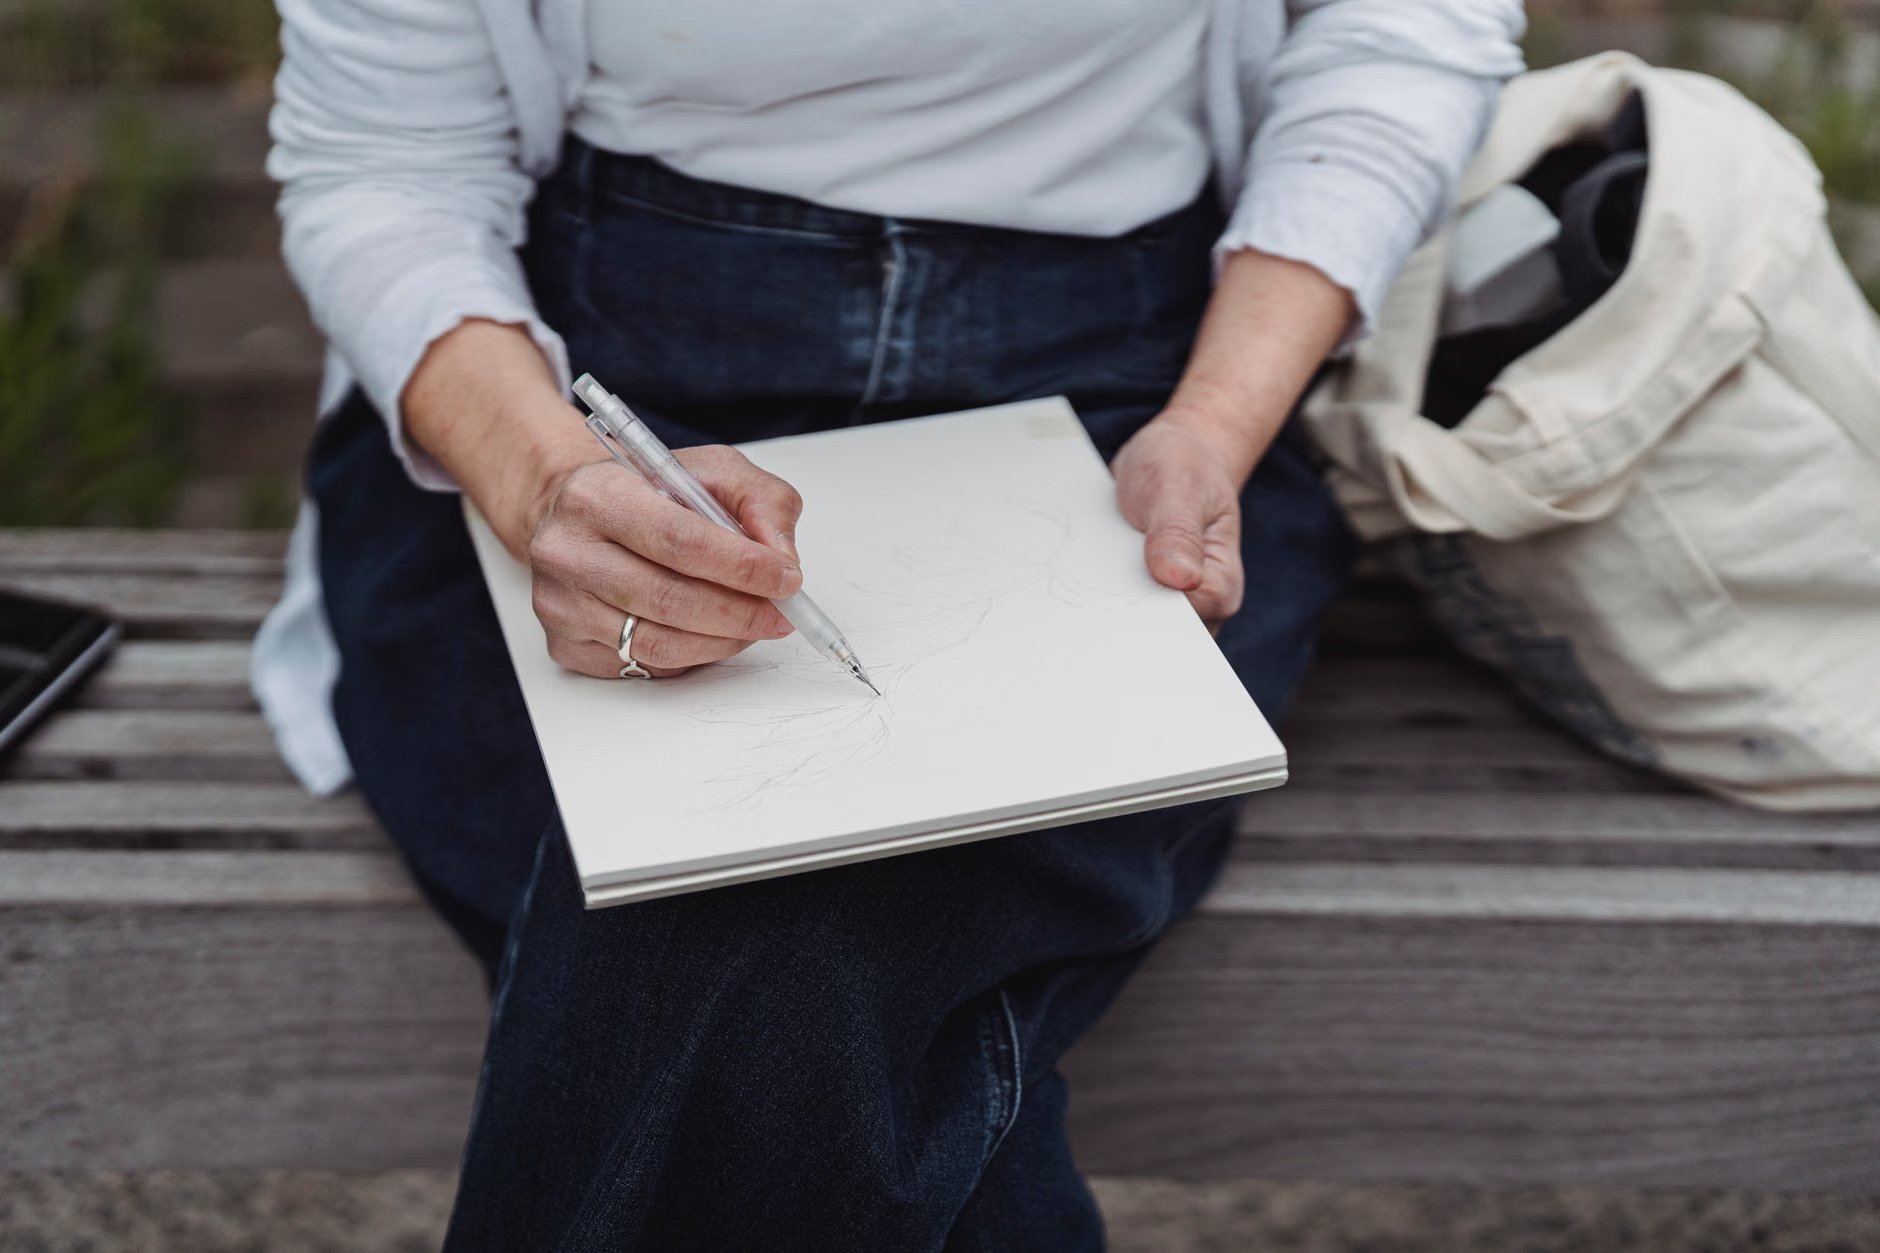
- Seating Availability: Look for parks with benches that have back support. If you plan to bring your own stool, check for flat, level ground. Avoid steep inclines or soft, muddy areas that could pose a trip hazard.
- Accessibility: Ensure the park has paved or well-maintained gravel paths. You should not have to traverse difficult terrain to find a quiet spot.
- Shade and Temperature: Aim for locations with filtered shade. Sitting in direct, harsh sunlight for an hour can lead to overheating and eye strain. Always check the weather forecast and look for parks with tree canopies.
- Facilities: Proximity to accessible toilets is a practical requirement for any outdoor session. Knowing where the amenities are located allows you to relax and focus on your sketching without anxiety.
If you live in a city, check local council websites for “quiet zones” or “heritage gardens.” Many major cities provide maps of public gardens that emphasize quiet enjoyment and biodiversity, which are perfect for botanical sketching.
Step-by-Step: Your First Sketching Session
When you arrive at the park, do not feel pressured to start drawing immediately. The transition from travel to the park is part of the mindfulness process. Follow this sequence to set yourself up for success:
1. The Orientation Phase (10 Minutes)
Sit down and simply look. Do not take your pencil out yet. Listen to the sounds of the park—the wind in the trees, birds, or distant traffic. This helps your nervous system settle. Choose a subject that is “still.” A large tree, a stationary flower bed, or even a single fallen leaf on the ground is better than a moving subject like a bird or a swaying branch.
2. The Outline Phase (15 Minutes)
Use your HB pencil to create a very faint outline. Do not worry about detail. Focus on the “envelope” or the overall shape of the plant. If you make a mistake, simply draw over it or ignore it. In botanical sketching, “mistakes” are often just evidence of your evolving understanding of the object.
3. The Shading Phase (20 Minutes)
Once the shape is established, look at where the light is hitting your subject. Use your 2B or 4B pencil to add light shading. Focus on the texture. Is the leaf smooth? Is the bark rough? Use light, circular motions for soft textures and short, jagged lines for rough surfaces.
4. The Reflection Phase (5 Minutes)
Put your pencil down. Look at your sketch, then look back at the original subject. Notice something you didn’t see when you started—perhaps the way the stem connects to the branch or the subtle color variations. This final step cements the cognitive benefit of the exercise.
Overcoming Common Challenges
It is common to feel frustrated if your drawing does not look “realistic.” Remember that realism is not the goal. If you find your hand cramping, stop immediately and stretch your fingers. Gentle hand stretches—opening and closing your fists, rotating your wrists—are essential. Never push through physical pain.
If the wind is moving your subject, do not fight it. Instead, take a photograph of the plant with your phone and use the photo to finish the details. While sketching from life is the gold standard for mindfulness, using a reference photo to bridge the gap when conditions change is a perfectly acceptable and practical adaptation.
Safety Note: Always be aware of your surroundings. If you are sketching in a public park, keep your bag and belongings within your line of sight. If you are in a remote or heavily wooded area, ensure you have a fully charged mobile phone and have informed a family member or friend of your location and expected return time.
The Role of Family and Caregivers
If you are a family member or caregiver supporting someone who wants to start this hobby, you can play a vital role in removing logistical barriers. You might help by:
- Scouting locations: Researching parks in the area that have benches, easy parking, and flat, paved paths.
- Managing the kit: Helping to pack a lightweight bag with the necessary supplies so the artist can focus on the creative aspect.
- Sharing the experience: Consider joining them in the park. You don’t have to sketch yourself; you can read a book or enjoy the quiet while they work. Having a companion can make the outing feel safer and more enjoyable.
If the senior has mobility issues, look for parks that offer “mobility-friendly” paths. Many botanical gardens provide maps that highlight routes suitable for wheelchairs or walkers. You can often find this information by searching for the “accessibility statement” on the park’s official website.
Maintaining Consistency and Growth
The benefits of botanical sketching are cumulative. The more often you practice, the more you will notice your ability to concentrate improves. You might consider setting a “park date” once a week. This creates a routine, which is one of the most effective ways to ensure a new hobby becomes a long-term habit.
Do not feel obligated to sketch for hours. A 30-minute session is often more effective than a two-hour session that leaves you exhausted. The goal is to return home feeling refreshed and mentally clear, not physically drained. Over time, you will build a collection of sketches that serve as a personal diary of your time spent in nature—a visual record of seasons changing, flowers blooming, and your own quiet, persistent growth.
Conclusion
Botanical sketching is a gentle yet powerful tool for maintaining mental clarity and emotional wellbeing in our later years. By stepping into a local park with nothing more than a pencil and a sketchbook, you engage in a practice that honors your need for both creativity and tranquility. Whether you are a complete beginner or someone returning to art after decades, the focus should always remain on the joy of observation. Start small, choose a comfortable spot, and allow yourself the grace to simply look, draw, and breathe.
Frequently Asked Questions
Q: I have arthritis in my hands. Is botanical sketching still suitable for me?
A: Yes, it can be. Using larger, triangular-shaped pencils or adding a foam grip to your existing pencils can significantly reduce the pressure required to draw. Always prioritize frequent breaks to stretch your fingers and stop if you feel any discomfort. Focus on light, flowing lines rather than heavy, detailed shading.
Q: Should I use colored pencils or stick to graphite?
A: For beginners, graphite is recommended because it is easier to manage and requires less equipment. Once you feel comfortable with the process, you can easily add a small set of watercolor pencils or colored pencils to your kit. However, graphite is excellent for learning to see light and shadow, which is the foundation of all botanical art.
Q: How can I find accessible parks in my area?
A: Most municipal government websites have a “Parks and Recreation” section that lists public parks. Look for keywords like “accessible paths,” “paved trails,” or “botanical gardens.” If you are traveling, check national park or regional garden websites, which almost always provide an “Accessibility” or “Visitor Information” page detailing slopes, seating, and restroom facilities.
Official resources for further exploration:
– National Park Service (USA) Accessibility Information
– Royal Horticultural Society (UK) Garden Accessibility Guide