- Prioritize Infrastructure: Always verify if a viewing platform is “ADA-compliant” (or equivalent local standard) rather than just “scenic” to ensure it meets your specific mobility needs.
- The 30-Minute Rule: When planning, choose platforms located within 30 minutes of accessible restrooms and parking to maintain comfort and safety throughout your visit.
- Equipment Matters: Utilize high-quality, lightweight optical gear like 8×42 binoculars to minimize physical fatigue while observing wildlife.
National parks offer some of the most rewarding experiences for travelers aged 60 to 80, providing a chance to connect with nature at a slower, more intentional pace. However, the excitement of wildlife viewing—seeing a grizzly bear in the distance or a rare bird in flight—should not be overshadowed by concerns regarding mobility, exhaustion, or lack of facilities. Selecting the right wildlife viewing platform is the cornerstone of a successful trip.
Understanding Accessibility Standards in National Parks
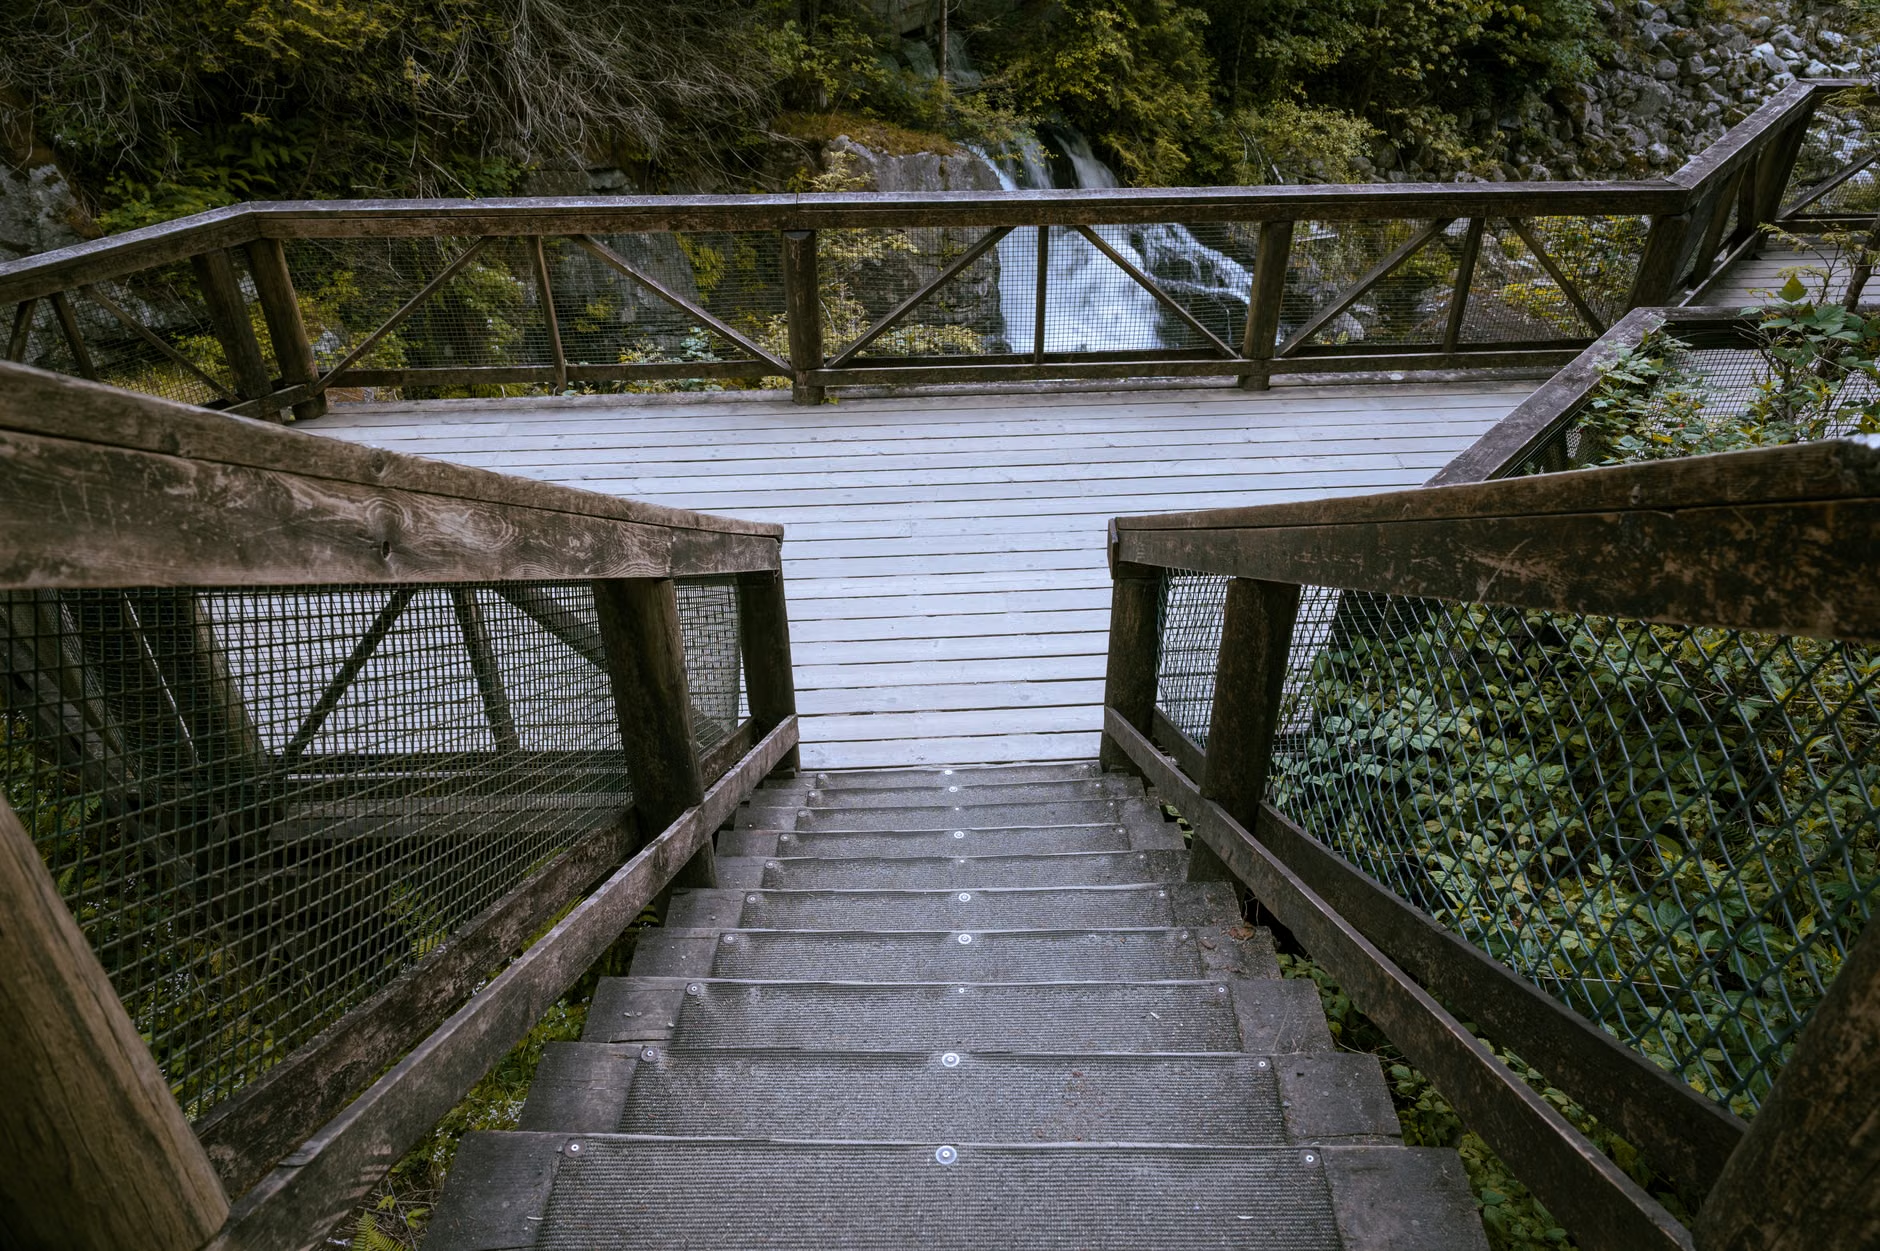
Not all viewing platforms are created equal. When park authorities describe a trail or platform as “accessible,” they are often referring to specific engineering standards designed to accommodate individuals with varying levels of mobility, including those using canes, walkers, or wheelchairs.
What “Accessible” Actually Means
In the United States, the National Park Service (NPS) generally adheres to the Americans with Disabilities Act (ADA) guidelines. Internationally, countries like Canada (via Parks Canada) and Australia (via Parks Australia) have their own mandates. The common denominator is slope, surface, and width.
- Slope: A path or ramp leading to a platform should generally not exceed a 1:12 gradient (for every inch of rise, there is 12 inches of length).
- Surface: Look for firm, stable, and slip-resistant surfaces like boardwalks, concrete, or compacted crushed stone. Avoid loose gravel or sand, which significantly increase the energy expenditure required for walking.
- Clearance: A minimum width of 36 inches (approx. 91 cm) is standard, allowing for comfortable passage for those using mobility aids.
The Hidden Variable: The “Approach”
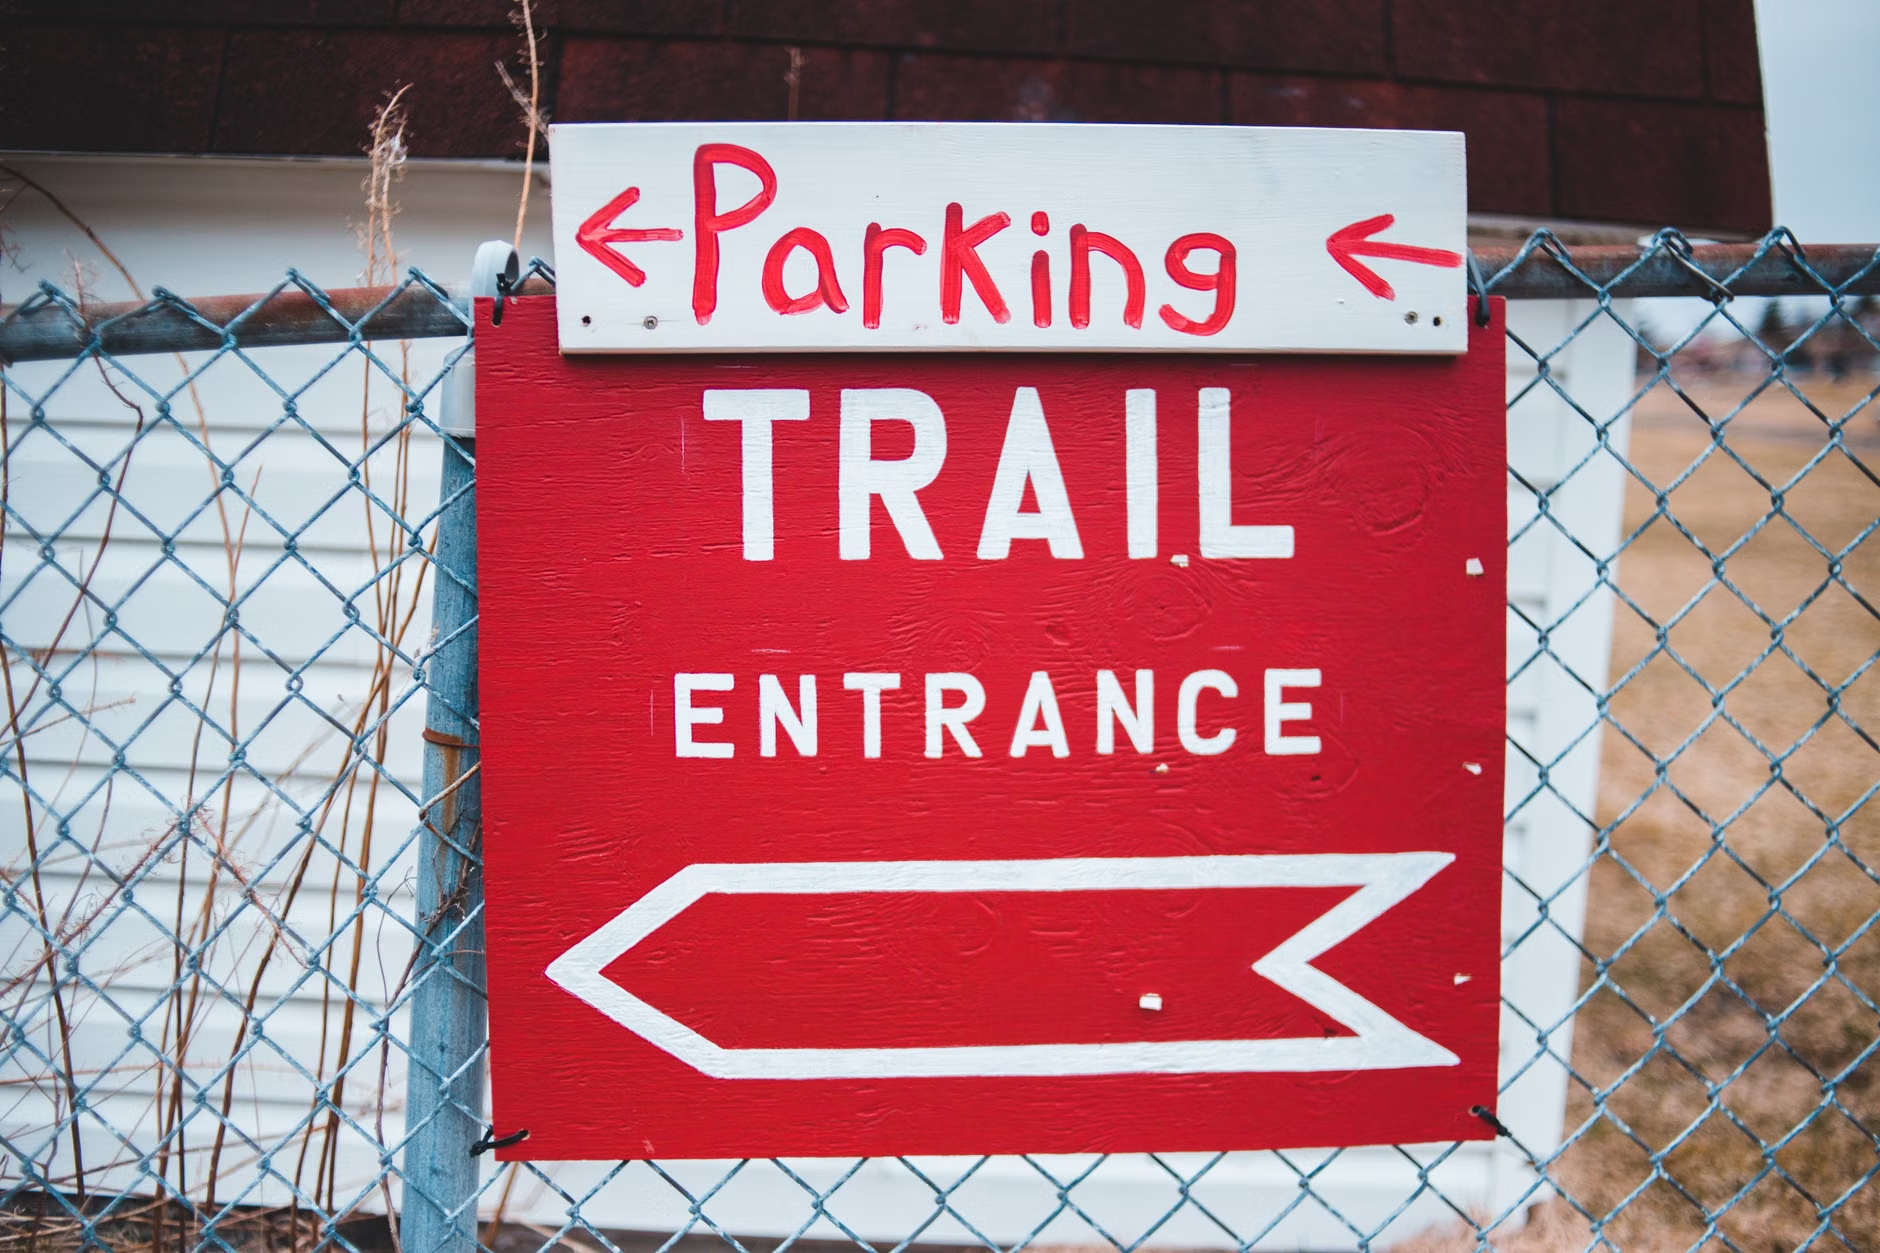
A common mistake is focusing solely on the platform itself. You might find a perfectly accessible viewing deck, but if the path leading to it is a steep, half-mile uphill trek, it may not be suitable for your stamina levels. Always check the park’s official website for “accessibility maps” which specifically detail the distance from the parking lot to the feature.
Planning Your Wildlife Viewing Itinerary
Effective planning for the 60-80 age bracket involves balancing the desire for discovery with the reality of physical recovery. Wildlife is most active during the “golden hours”—dawn and dusk—but these times are often when temperatures are lowest and lighting is poor, which can impact safety.
The Pacing Strategy
Instead of attempting to visit three different platforms in one day, focus on one high-quality location. This reduces the time spent transitioning between sites and maximizes the time available for quiet observation. By staying in one spot, you are also more likely to see wildlife that might be spooked by constant foot traffic.
| Platform Type | Best For | Accessibility Level | Stamina Required |
|---|---|---|---|
| Boardwalk Loop | Bird watching/Wetlands | High | Low |
| Drive-Up Overlook | Large Mammals | Very High | Minimal |
| Short-Trail Deck | Forest/River observation | Moderate | Moderate |
Interpretation: If you are managing chronic joint pain or fatigue, prioritize “Drive-Up Overlooks” or “Boardwalk Loops.” These options provide the best balance of safety and ease of use.
Equipping Yourself for Success
Physical comfort is directly tied to the gear you bring. When viewing wildlife, the goal is to observe without needing to physically strain your neck or arms for long periods.
Optical Gear Selection
Heavy, professional-grade camera lenses or large binoculars can be detrimental to your posture and stamina. Opt for 8×42 binoculars. They provide a wider field of view (making it easier to track movement) and are generally lighter than 10x or 12x alternatives, which are harder to hold steady without a tripod.
The Importance of Seating
Never assume a viewing platform will have built-in seating. A lightweight, collapsible tripod stool can be a game-changer. It allows you to sit while waiting for wildlife to appear, conserving your energy for when you need to stand and observe. Ensure the stool has a wide, stable base to prevent tipping on wooden platforms.
Traveling to remote national parks requires a proactive approach to health management. Before you depart, create a “Park Health Kit.”
Essential Checklist for Your Park Kit
- Medication Schedule: Keep your medications in their original containers, but keep a secondary list of dosages and times in your daypack.
- Emergency Contact Info: Carry a card detailing any allergies, medical conditions, and an emergency contact number.
- Hydration and Nutrition: Natural wildlife areas often lack food services. Carry more water than you think you need, especially in high-altitude parks where dehydration occurs faster.
- Sun and Temperature Protection: Use layers. Even in summer, wildlife viewing areas near water or mountains can turn cold rapidly.
Evaluating “Senior-Friendly” Claims
When you see a destination advertised as “senior-friendly,” treat it as a starting point, not a guarantee. Look for the following indicators on official park websites:
- Restroom Availability: Are there accessible, flush-toilet facilities at the trailhead, or are they primitive pit toilets?
- Shuttle Services: Does the park offer a shuttle? Shuttles often drop passengers closer to the main attractions than private vehicle parking lots.
- Auditory/Visual Aids: Are there large-print guides or audio descriptions available for the wildlife viewing area?
Deep Dive: Managing Stamina and Recovery
Even for the most active seniors, the combination of travel fatigue and outdoor terrain can be taxing. The key is to incorporate recovery periods. A common mistake is to “push through” the afternoon to see one more site. Instead, aim for a 2:1 ratio: for every two hours of activity, dedicate one hour to resting—ideally in a climate-controlled environment or a quiet, seated area.
Recognizing Early Warning Signs
It is vital to listen to your body. Do not wait for exhaustion to set in. If you notice increased shortness of breath, sudden lightheadedness, or persistent joint stiffness, these are indicators that you have reached your limit for that session. Move to a seated position, hydrate, and assess your next step. If your heart rate does not return to normal within 10-15 minutes of resting, consider ending the outdoor portion of your day early.
Conclusion: The Joy of Prepared Observation
Selecting accessible wildlife viewing platforms is not about limiting your adventure; it is about ensuring that you have the energy and comfort to fully experience the beauty of the natural world. By focusing on infrastructure, pacing, and appropriate gear, you can turn a potentially stressful trip into a series of memorable, peaceful encounters with nature. Remember to check the official websites for the specific national park you intend to visit, as conditions can change due to weather or seasonal maintenance. Your next great wildlife discovery is just one well-planned step away.
Frequently Asked Questions
- How can I find out if a specific platform is wheelchair accessible before I arrive?
Most national park websites have an “Accessibility” tab. Look for “Facility Accessibility” or “Trail Accessibility” links. If you are unsure, call the park’s visitor center directly and ask, “Is the [Name of Platform] accessible for someone using a walker?” - What is the best time of day for seniors to view wildlife?
Early morning (shortly after sunrise) or late afternoon (before sunset) are best. These times are cooler, which helps with stamina, and wildlife is typically more active. Avoid the peak heat of midday. - Should I bring a trekking pole even if the path is paved?
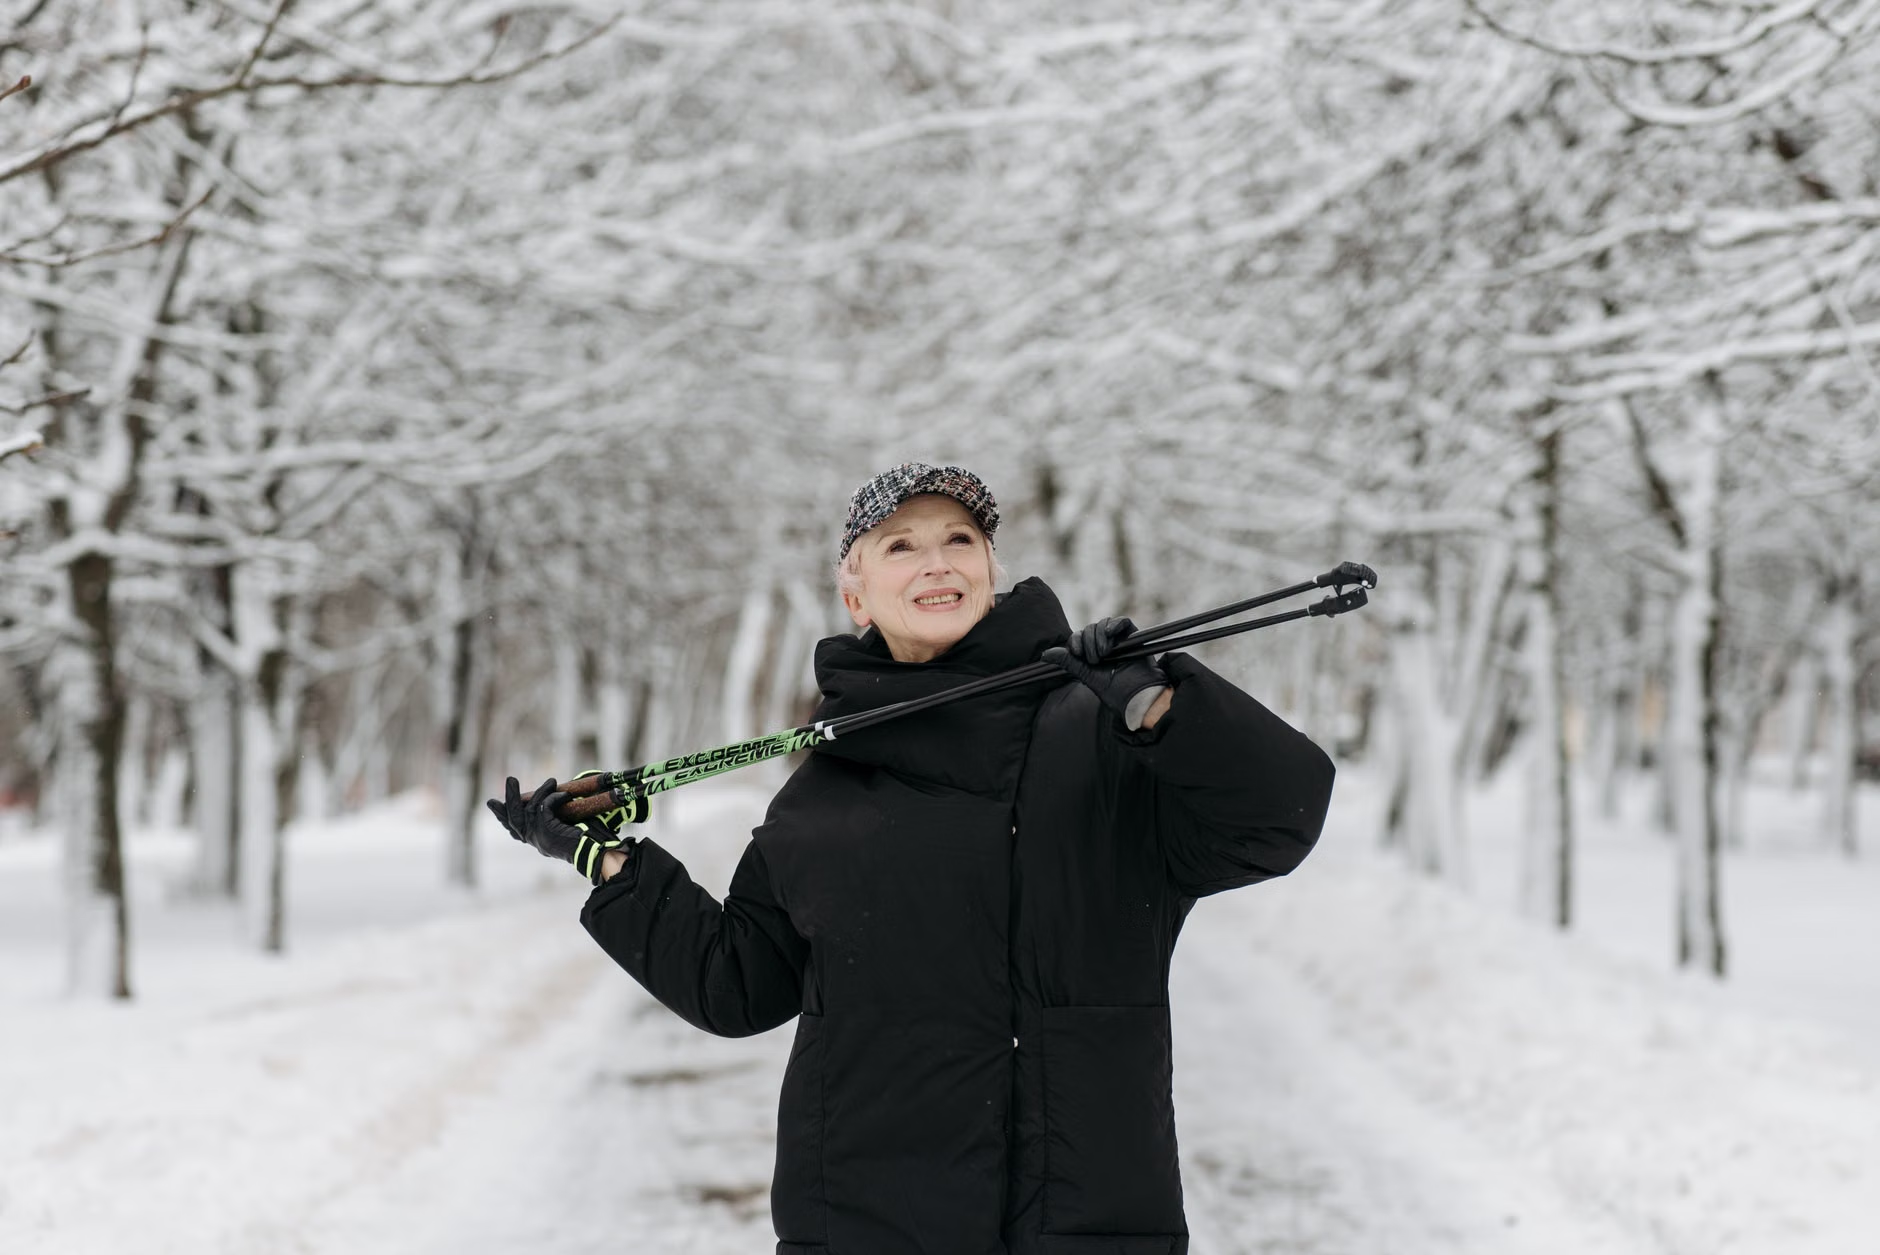
Yes. Even on paved surfaces, trekking poles provide extra stability and help distribute weight, reducing the strain on your knees and hips. Look for poles with rubber tips to prevent slipping on smooth boardwalk surfaces.
Official resources for further planning:
Note: This guide is intended for informational purposes. Always consult with your healthcare provider regarding your specific physical limitations before planning strenuous travel.