Key Takeaways:
- Optimal Preservation: Air-drying in a cool, dark, and well-ventilated space is the most effective way to retain the essential oils and flavor profiles of your herbs.
- Safety First: Proper drying prevents mold growth; always ensure herbs are completely brittle before storage to avoid moisture-related spoilage.
- Mindful Practice: Treating herb drying as a deliberate, slow-paced hobby enhances sensory engagement and provides a rewarding, cost-effective connection to your kitchen.
Drying herbs is a timeless practice that transforms a simple garden harvest or a grocery store surplus into a year-round pantry staple. For many, this process is more than a culinary task; it is a mindful ritual that encourages patience, attention to detail, and a deeper appreciation for the ingredients we use every day. Whether you are preserving hardy woody herbs like rosemary or delicate leafy ones like basil, the principles of drying remain grounded in science, safety, and sensory observation.
Understanding the Science of Herb Drying
At its core, drying is the process of removing moisture from plant material to inhibit the growth of bacteria, yeast, and mold. When you dry herbs correctly, you are essentially “locking in” the volatile oils that give herbs their characteristic aroma and flavor. If the drying process is too fast, such as using excessive direct heat, these oils evaporate prematurely, leaving you with brittle, flavorless leaves. If it is too slow, or if the environment is too humid, the herbs may spoil before they are fully preserved.
The goal is a gentle, steady removal of water. By controlling the environment—specifically light, temperature, and airflow—you maintain the structural integrity of the plant cells. This ensures that when you crush a dried leaf months later, it releases a burst of freshness that mimics the original state of the plant.
Selecting and Preparing Your Herbs
The quality of your dried product is directly proportional to the quality of the fresh material you start with. Harvesting at the right time is the first step in the “mindful” approach.
When to Harvest
The best time to harvest most herbs is mid-morning, after the dew has evaporated but before the intense midday sun causes the plant to wilt. At this time, the concentration of essential oils is typically at its peak. Avoid harvesting immediately after a rainstorm, as excess surface moisture significantly increases the risk of mold during the drying process.
The Selection Process
Inspect your herbs carefully. Look for signs of pests, spots, or discoloration. Discard any damaged leaves, as these can harbor decay that spreads to the entire bundle. If you are purchasing herbs from a market, choose bunches with firm stems and vibrant, healthy-looking leaves. Avoid bundles that look limp or show signs of browning at the edges, as these have already begun to degrade.
| Herb Type | Drying Method | Key Considerations |
|---|---|---|
| Woody (Rosemary, Thyme, Sage) | Air-drying in bundles | Stems are sturdy; best for hanging. |
| Leafy (Basil, Mint, Parsley) | Single-layer tray drying | High moisture content; prone to mold. |
| Seed-based (Cilantro, Dill) | Paper bag method | Prevents seeds from scattering. |
This table serves as a guide for your decision-making process. Woody herbs are generally easier for beginners because their low moisture content makes them less susceptible to spoilage. Leafy herbs with high water content, like basil, require more airflow and space to ensure they dry evenly before rot sets in.
The Air-Drying Method: A Step-by-Step Guide
Air-drying is the traditional, low-energy method that remains the gold standard for home preservation. It requires minimal equipment and utilizes the natural environment of your home.
1. Preparation and Cleaning
Gently rinse your herbs in cool, running water to remove dust or soil. Shake them firmly, but gently, to remove excess water. Lay them flat on a clean kitchen towel and pat them dry. Do not skip this step; residual water is the primary cause of mold during the initial drying phase.
2. Bundling
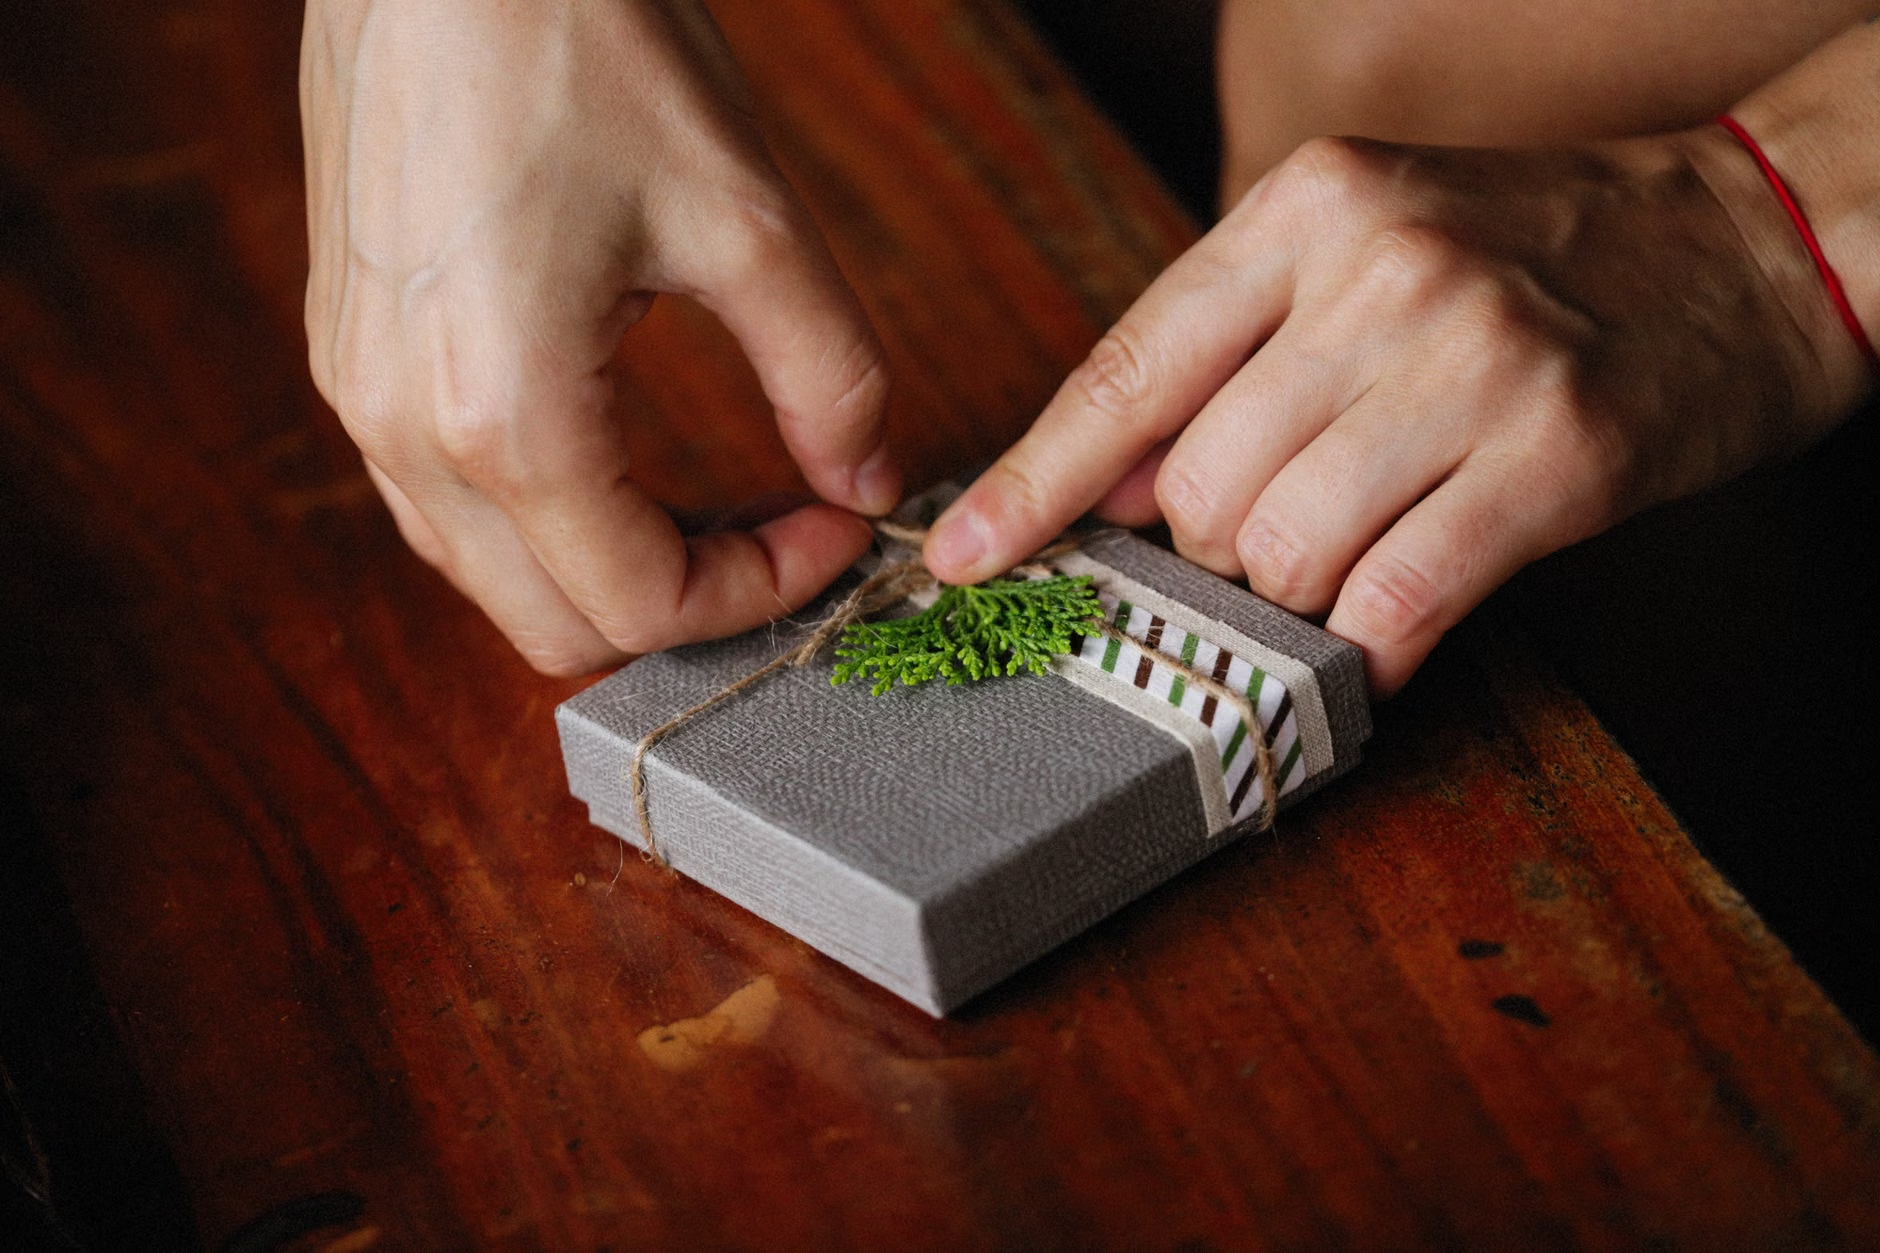
Gather 5 to 10 stems into a small bundle. Use a piece of kitchen twine or a rubber band to secure the base of the stems. Note: As the stems dry, they will shrink. A rubber band is often superior to string because it maintains tension as the stem diameter decreases, preventing the herbs from slipping out of the bundle.
3. Hanging
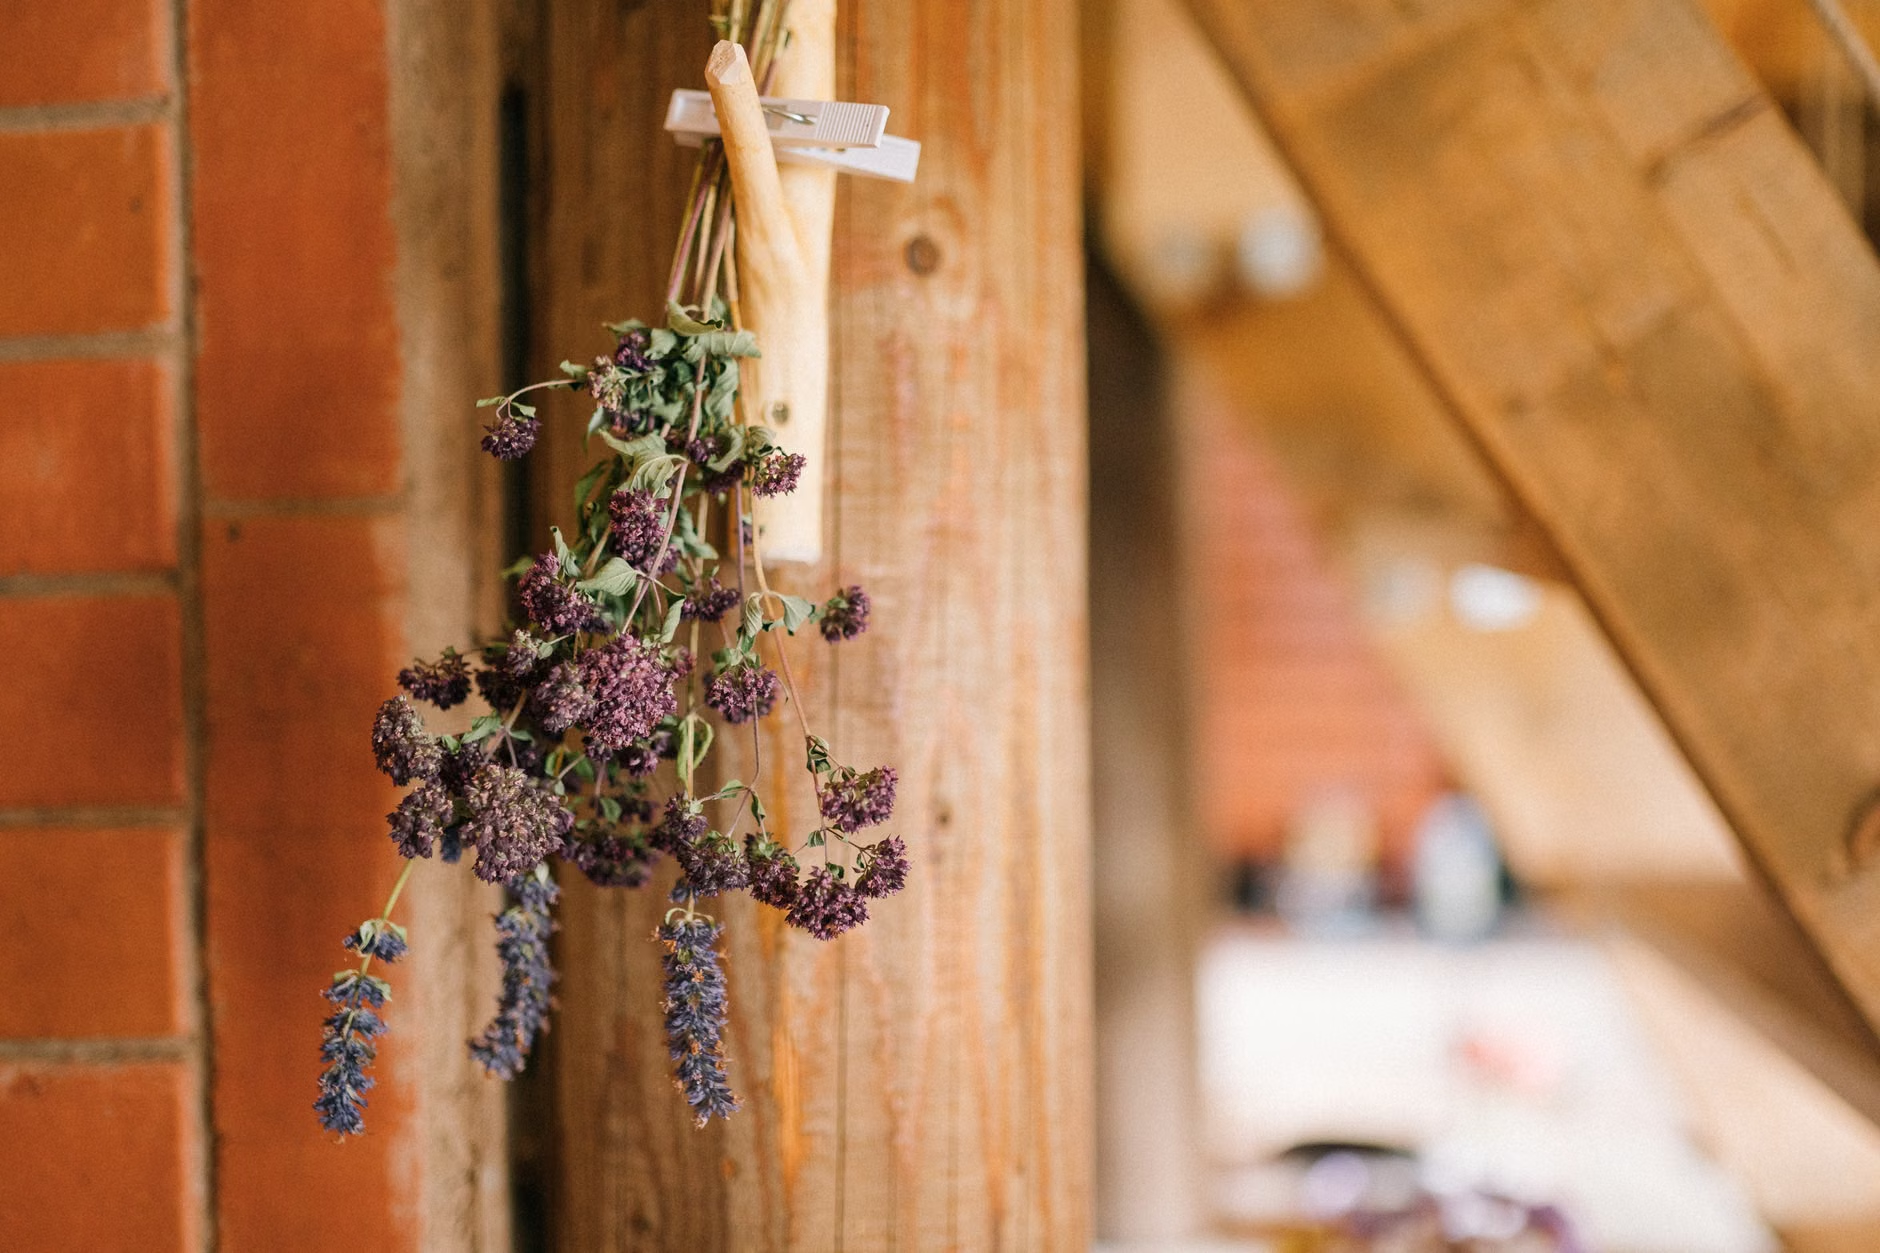
Hang your bundles upside down in a warm, dry, and well-ventilated area. A kitchen corner or a pantry area is ideal, provided it is out of direct sunlight. Direct sunlight acts as a bleaching agent, causing the herbs to lose their vibrant color and, more importantly, degrading the essential oils.
4. The Paper Bag Technique
If you live in a dusty area or want to protect your herbs from insects, place the bundle inside a paper bag. Poke several holes in the sides of the bag to encourage airflow. The bag will catch any leaves or seeds that fall off during the process, ensuring no waste.
Managing the Environment: Humidity and Airflow
The success of your drying project depends heavily on your local climate. In arid regions, herbs may dry in as little as three to five days. In humid or coastal areas, the process may take two weeks or more. If you live in a high-humidity environment, you may need to use a small fan to keep air circulating around the bundles. This prevents the “stagnant air” trap where moisture lingers in the center of the bundle.
A common mistake is placing herbs in an oven or microwave to “speed up” the process. While these methods exist, they often result in a “cooked” flavor rather than a preserved one. If you must use heat, use a food dehydrator set to the lowest possible temperature (usually around 35°C or 95°F). This mimics the slow, gentle process of air-drying while providing more control over the environment.
Determining When Drying is Complete
Patience is the final ingredient in the drying process. You will know your herbs are ready when the leaves feel completely brittle and crumble easily between your fingers. The stems should “snap” rather than bend when you try to break them. If the stems bend, there is still moisture present, and if you store them now, they will likely develop mold within a few days.
Test a sample leaf from the center of the bundle. The outer leaves often dry faster than the inner ones. If the center is still pliable, give it another 24 to 48 hours of drying time. It is better to wait an extra day than to risk the entire batch.
Storage and Preservation
Once your herbs are fully dried, remove the leaves from the stems. You can store them whole or lightly crushed. Whole leaves retain their potency for longer because less surface area is exposed to air. When you are ready to use them, crush them in the palm of your hand to release the oils just before adding them to your dish.
Choosing the Right Containers
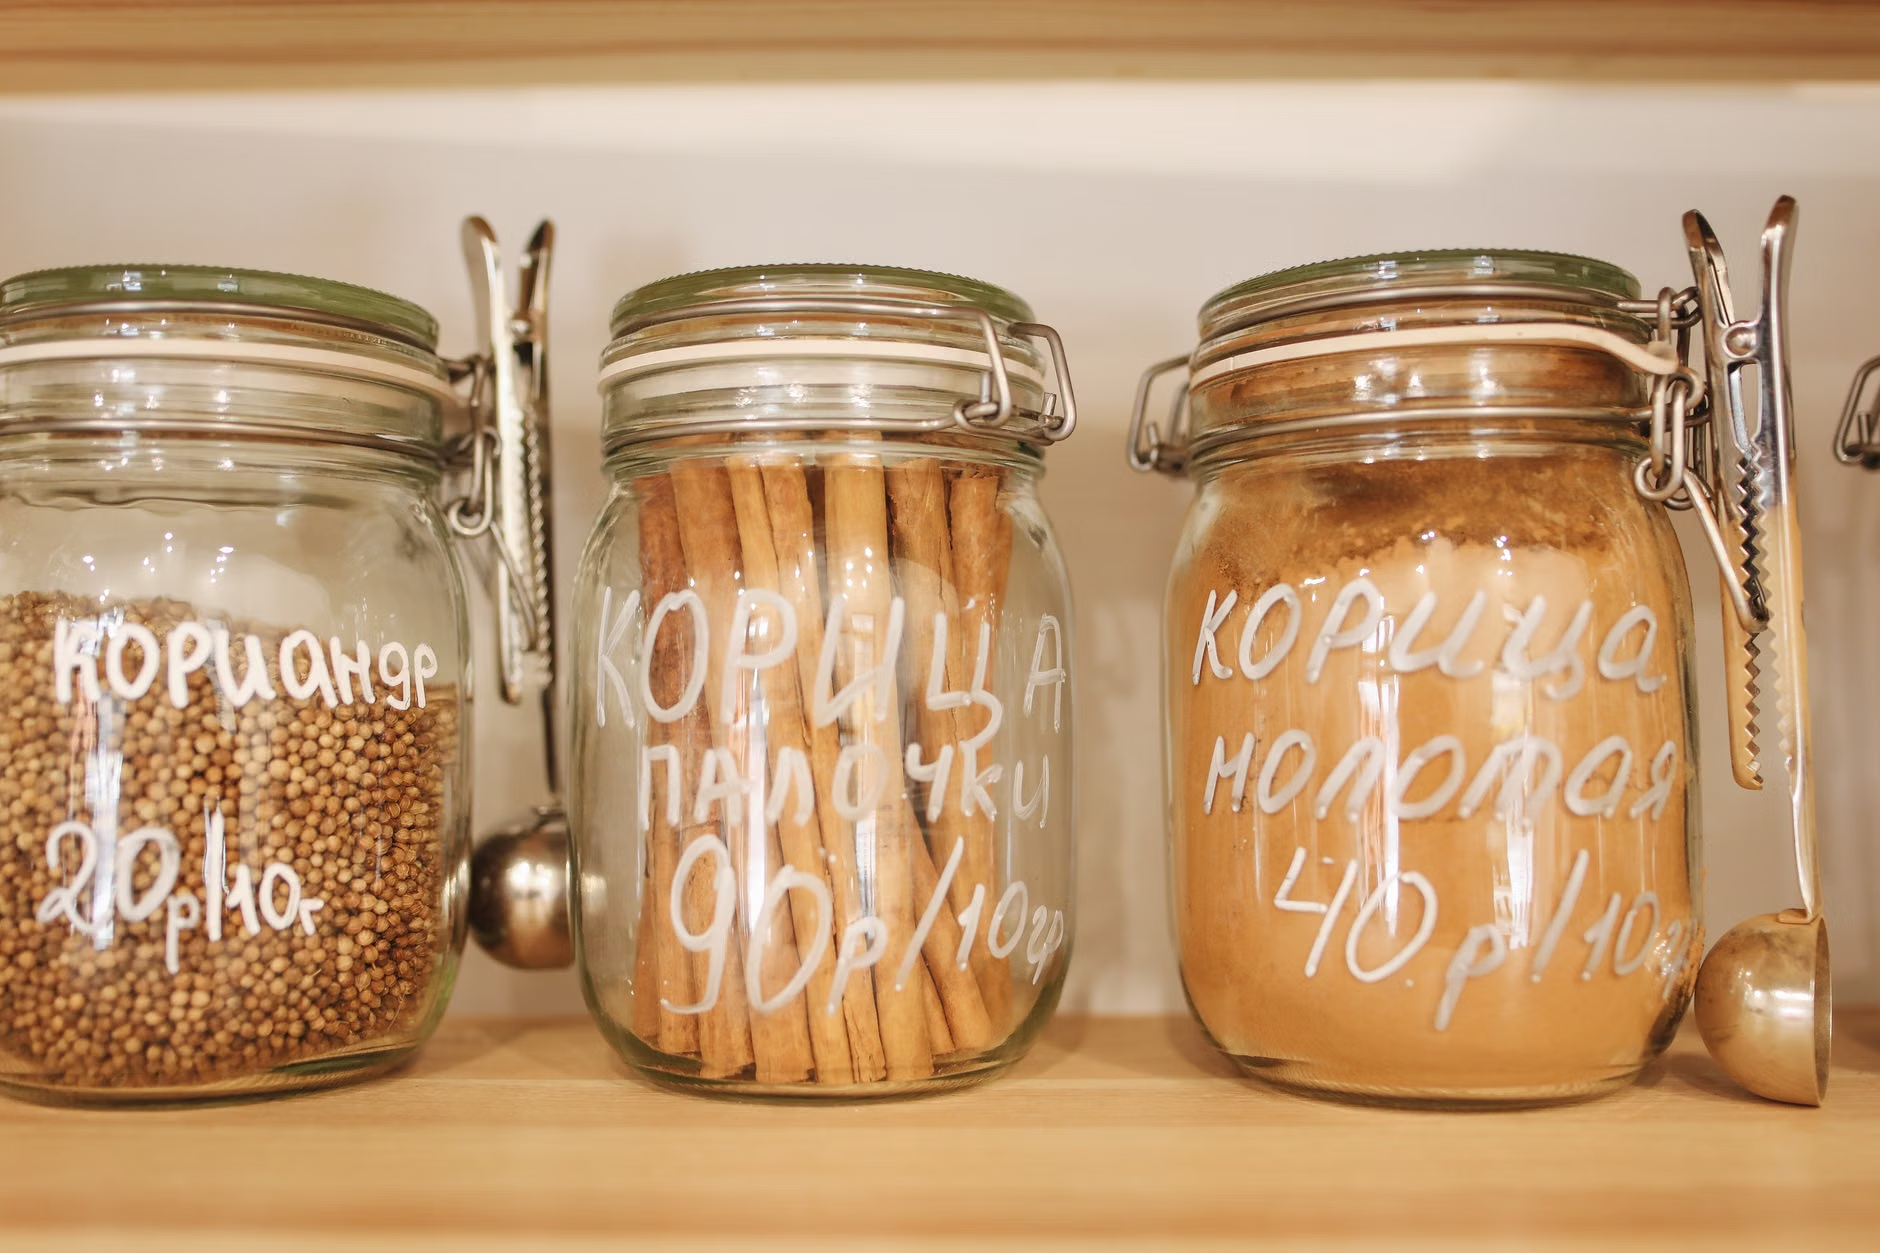
Store your dried herbs in airtight glass containers. Clear glass is acceptable if you keep your pantry dark, but amber or dark glass jars are better for blocking light, which is the enemy of dried herb potency. Label each jar with the herb name and the date of harvest. While dried herbs don’t “expire” in a dangerous sense, they do lose their flavor over time. Aim to use them within 12 months for the best culinary experience.
Practical Tips for Success
- Keep it Clean: Always work on a sanitized surface to prevent cross-contamination.
- Avoid Humidity: Never store your dried herbs in the bathroom or above the stove, where steam and temperature fluctuations are common.
- The “Sniff Test”: If your dried herbs have no scent, they have likely been exposed to too much heat or light and have lost their potency. They are safe to use, but they will add little flavor to your cooking.
- Rotation: Arrange your jars so that the oldest herbs are at the front of your shelf, encouraging you to use them first.
Integrating Mindfulness into the Process
The act of drying herbs offers a rare opportunity to slow down. In our modern, fast-paced world, we are accustomed to instant access to ingredients. By growing, harvesting, and drying your own, you engage in a cycle that is measured in weeks and months rather than seconds. This shift in perspective can be incredibly grounding.
Consider the tactile experience: the smell of the rosemary as you tie the string, the sound of the dry leaves crinkling in your hands, the visual beauty of a wall of hanging herbs. These sensory inputs are a form of active meditation. It is a hobby that requires no special technology, no screen time, and no significant financial investment—only the willingness to pay attention to the natural rhythm of your kitchen.
Advanced Considerations: Troubleshooting Common Issues
Even with the best intentions, things can go wrong. Understanding these common pitfalls helps you troubleshoot and adjust your technique for future batches.
What if you see mold?
If you notice any white, fuzzy growth on your herbs, discard the entire bundle immediately. Do not attempt to “wash it off” or “cut around it.” Mold spores are microscopic and will have contaminated the entire bundle, even if they aren’t visible elsewhere. This is a safety issue; consuming mold-contaminated food can cause respiratory irritation or allergic reactions.
What if the herbs lose their color?
Color loss is a sign of light exposure. While it doesn’t necessarily mean the herb is unsafe, it does indicate a loss of volatile oils. If your dried mint looks like brown dust, it will likely taste like dust as well. Next time, ensure the drying area is strictly out of direct sunlight and consider using a paper bag to provide extra protection.
What if the herbs are “leathery”?
Leathery herbs indicate that the drying process was interrupted by a period of high humidity or that the herbs were bundled too tightly. You can often rescue these by placing them on a tray in a very low-temperature oven (the lowest setting, with the door slightly ajar) for 15 to 30 minutes to finish the process. However, this should be a last resort, as it can diminish the quality of the final product.
Safety and Health Context
While herbs are a wonderful way to add flavor without relying on excessive salt or sugar, it is important to remember that they are not substitutes for medical care. If you are managing specific health conditions, such as high blood pressure, using herbs to enhance flavor is a great strategy to reduce your sodium intake. However, always be mindful of any potential interactions if you are taking prescribed medications. Some herbs, when consumed in very large quantities (far beyond culinary use), can have pharmacological effects.
For the vast majority of people, using dried herbs in standard culinary amounts is perfectly safe and highly beneficial. If you are ever unsure about a particular plant’s safety, always verify its identity using a reliable botanical guide before consuming it. Never forage for herbs in the wild unless you are 100% certain of the species, as some look-alikes can be toxic.
Conclusion: The Reward of the Pantry
There is a unique satisfaction in reaching for a jar of home-dried oregano in the middle of winter, knowing that you preserved the essence of a summer harvest yourself. It represents a bridge between the seasons and a commitment to quality in your daily meals. By following these methodical, mindful steps, you ensure that your efforts are rewarded with a pantry that is not only well-stocked but also deeply personal.
Start small. Try drying one bundle of a hardy herb like thyme or rosemary this week. Observe how the drying time changes based on the weather in your home, and learn the specific nuances of your environment. Over time, you will develop a rhythm that feels intuitive and rewarding, turning a simple kitchen chore into a cherished hobby.
Frequently Asked Questions (FAQ)
1. How long can I keep my home-dried herbs?
For the best flavor and potency, store your dried herbs in a cool, dark place and use them within 12 months. After this period, they are generally still safe to consume, but their flavor profile will likely be significantly diminished.
2. Can I dry herbs in the microwave to save time?
While technically possible, microwave drying is not recommended for high-quality results. Microwaves heat water molecules rapidly, which can “cook” the herbs and cause a significant loss of the delicate essential oils that provide their flavor. Air-drying or using a low-temperature dehydrator is much more effective for preserving quality.
3. Is it necessary to wash herbs before drying them?
Yes, it is important to wash herbs to remove dust, soil, or garden debris. However, the most critical step is ensuring they are completely dry before you begin the hanging process. Use a clean kitchen towel to pat them dry thoroughly; any remaining surface moisture is the primary cause of mold growth during the drying phase.
For further information on food safety and home preservation, please consult official resources such as the National Center for Home Food Preservation, which provides evidence-based guidelines for drying and storing various food items safely.