- Model ship building improves fine motor skills and cognitive focus, serving as a meditative practice that requires patience and sustained attention.
- Starting with a pre-cut “kit” model is essential for beginners to understand structural assembly before moving to scratch-building.
- Ergonomic considerations, such as proper lighting, magnification, and posture, are vital to preventing physical strain during long sessions.
Model ship building is more than a simple pastime; it is a meticulous intersection of history, engineering, and fine art. For many adults aged 60 to 80, this hobby provides a structured environment that encourages cognitive engagement, sharpens hand-eye coordination, and offers a profound sense of accomplishment upon completion. Unlike passive leisure activities, model ship building requires the builder to navigate complex diagrams, manage microscopic components, and employ steady precision.
This guide explores how to approach this hobby with a focus on safety, ergonomic health, and long-term enjoyment, ensuring the process remains therapeutic rather than physically taxing.
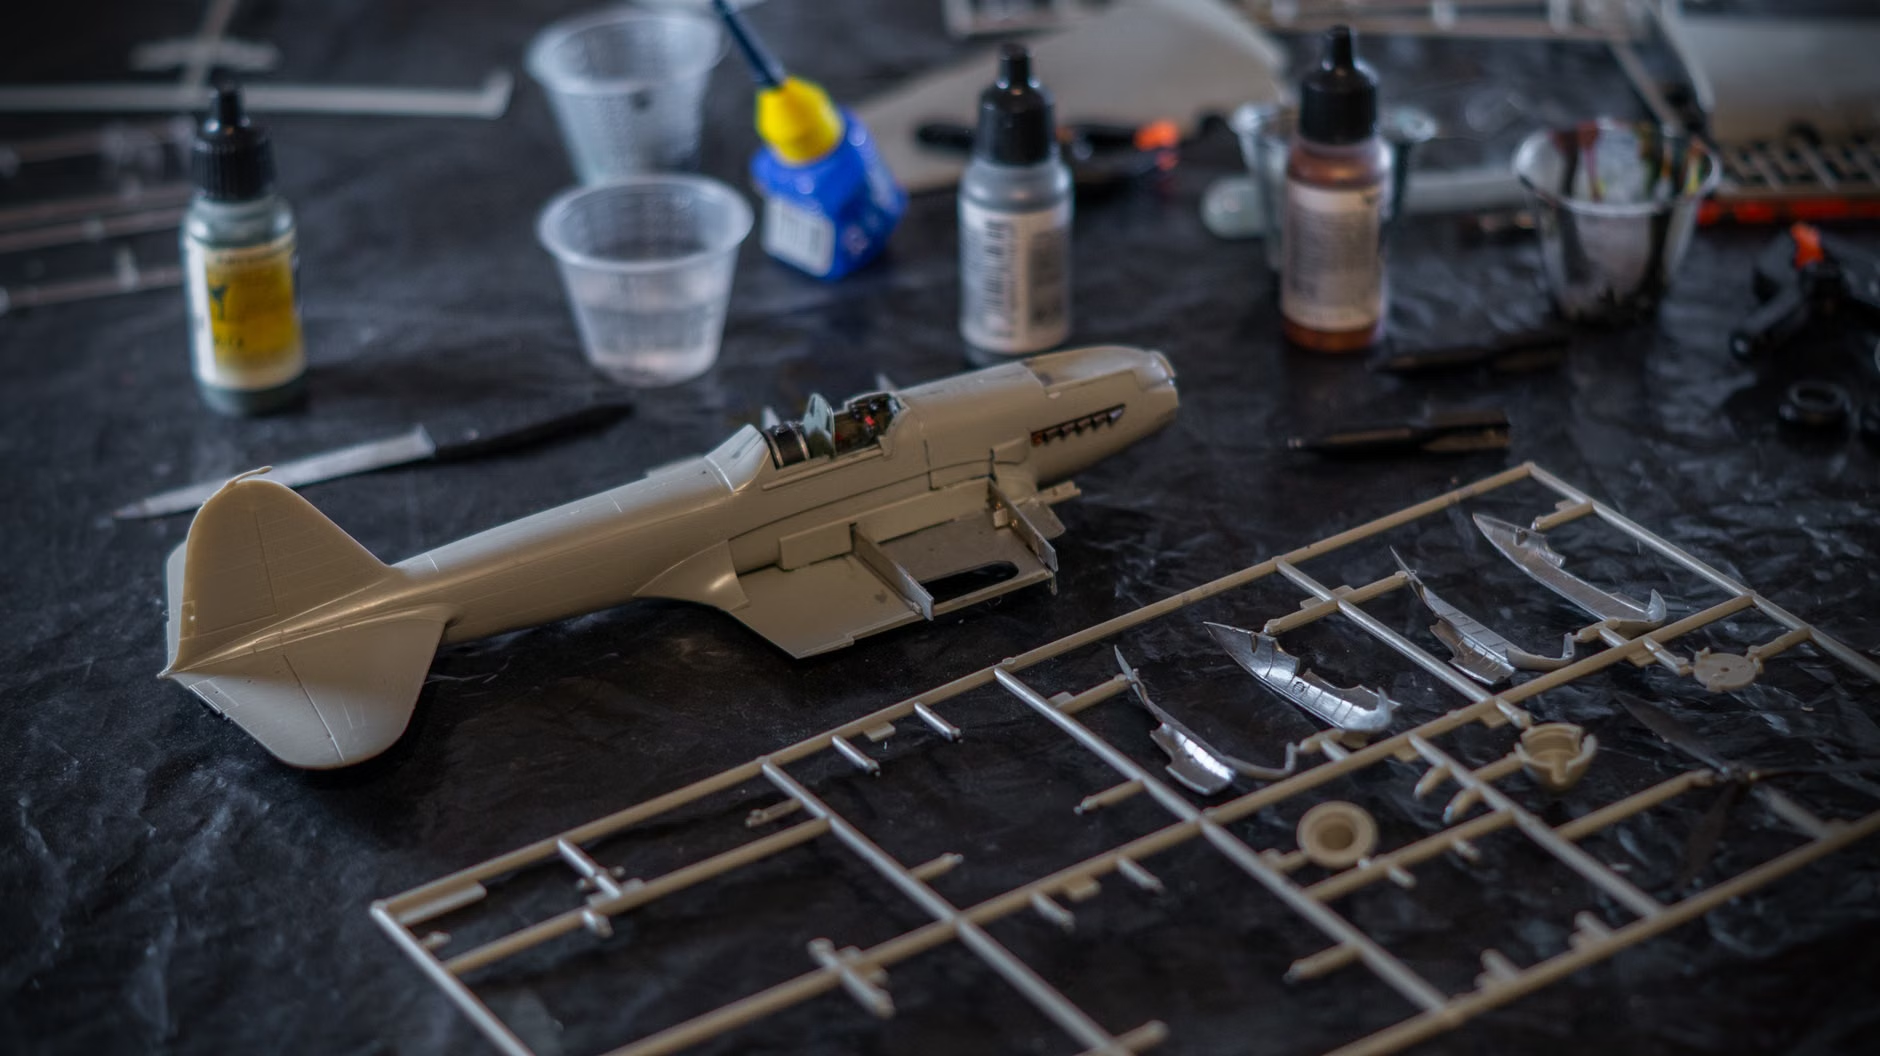
Understanding the Therapeutic Value of Model Crafting
The primary benefit of model ship building lies in its demand for “flow”—a psychological state where a person becomes fully immersed in a task. When you are focused on sanding a hull or rigging a tiny mast, the background stressors of daily life tend to recede. This is not merely a distraction; it is a form of active mindfulness that engages the brain’s executive functions.
From a physiological perspective, the hobby serves as a consistent exercise for fine motor skills. The act of manipulating small objects, applying precise amounts of adhesive, and threading rigging lines requires neuro-muscular control that helps maintain dexterity in the hands and fingers. Furthermore, the necessity of interpreting 3D blueprints from 2D images provides a unique cognitive workout that supports spatial reasoning.
However, it is important to recognize that this hobby is not a race. It is a slow-paced endeavor. The therapeutic value is found precisely in the time spent—the hours dedicated to a single section of the deck or the patient waiting for glue to cure. If you approach the hobby with the intent to finish quickly, you negate the meditative benefits. The goal is the process, not just the final display piece.
Choosing Your First Project: Kits vs. Scratch-Building
For those new to the hobby, the sheer volume of options can be overwhelming. The most critical decision is between a “kit” and “scratch-building.”
Model kits include pre-cut parts, detailed instructions, and often the necessary hardware. These are designed to teach you the sequence of construction—from the internal frame (the “skeleton”) to the outer planking and final rigging. For your first project, it is highly recommended to select a kit labeled as “Beginner” or “Level 1.”
Scratch-building, conversely, involves creating parts from raw lumber or sheets of material based on plans alone. This is an advanced practice requiring significant experience with power tools, specialized wood-cutting equipment, and historical research. Attempting this as a first project often leads to frustration and the abandonment of the hobby.
| Feature | Beginner Kit | Advanced Kit/Scratch-Build |
|---|---|---|
| Parts | Pre-cut and labeled | Raw materials/unformed |
| Instructions | Step-by-step with photos | Blueprint based (minimal) |
| Time Commitment | 20–50 hours | 200+ hours |
| Skill Level | Entry | Expert |
Choosing a beginner kit allows you to gauge your interest and physical stamina without the pressure of needing to manufacture individual components from scratch. Look for kits that emphasize “plank-on-frame” construction, as this provides a foundational understanding of how ships were historically built.
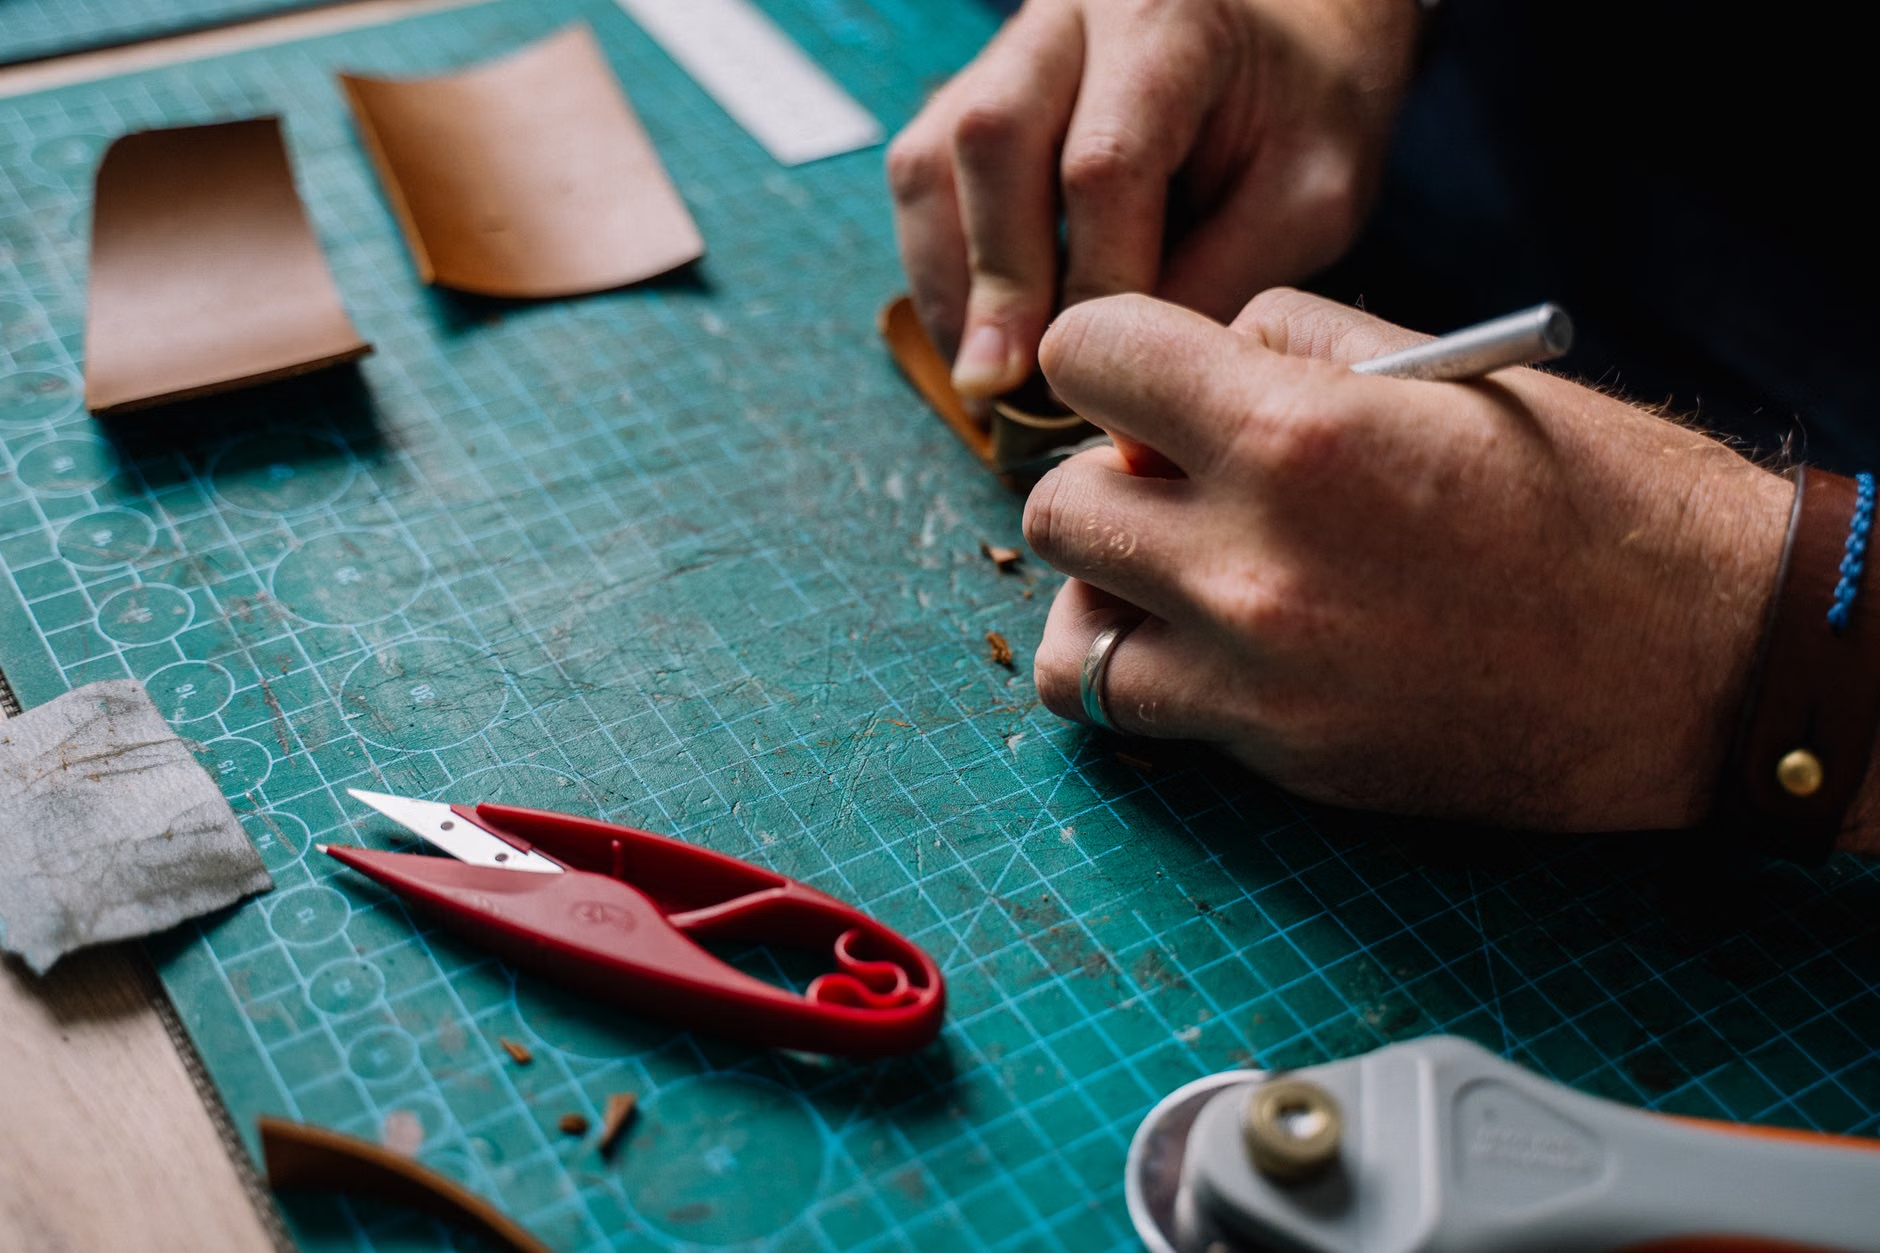
Ergonomics and Safety: Protecting Your Health While You Build
The most common complaints from older hobbyists involve eye strain, back pain, and joint stiffness. Because model building is a sedentary activity, you must configure your workspace to support your physical well-being.
Lighting and Magnification
Even with excellent vision, the fine details of model rigging are taxing. A high-quality LED desk lamp with adjustable color temperature (to mimic daylight) is essential. Pair this with a dedicated magnifying lamp or a pair of high-quality “optivisors” (head-mounted magnifiers). This allows you to work with both hands free, reducing the need to hunch over the desk to see small parts.
Ergonomic Workspace Setup
Your chair should provide adequate lumbar support. Avoid working at a kitchen table or a surface that is too low, as this forces the neck and shoulders into a constant state of tension. Your elbows should be supported by the table surface to prevent shoulder fatigue. If you are using a standard table, consider using a specialized “hobby mat” that provides a non-slip surface and prevents glue from damaging your furniture.
Chemical Safety and Ventilation
Many adhesives and paints used in modeling release fumes. Always work in a well-ventilated area. If you are sensitive to chemical odors, look for water-based acrylic paints and non-toxic wood glues, which are increasingly available and perform just as well as traditional solvent-based products for most applications.
Essential Tools for the Modern Hobbyist
You do not need an entire workshop to begin. A modest, high-quality set of tools will serve you better than a large collection of cheap, disposable items. The following checklist covers the essentials for a beginner:
- Precision Hobby Knife: A standard handle with a variety of blade shapes (e.g., #11 blades). Keep a supply of spare blades; a dull blade is dangerous because it requires more force, leading to slips.
- Tweezers: Invest in a set of high-quality, fine-tipped stainless steel tweezers. These are essential for placing tiny parts like deadeyes or blocks.
- Needle Files: A set of small, fine files is necessary for smoothing out edges where parts have been cut from their frames.
- Clamps and Pins: When glue is setting, you need a way to hold pieces in place. Spring clamps and specialized modeling pins are invaluable.
- Cutting Mat: A self-healing mat protects your table and keeps your blade sharp for longer.
Warning: Always cut away from your body. When using a hobby knife, ensure your non-cutting hand is never in the path of the blade. If a piece of wood is stubborn, do not force it; use the knife to score the wood repeatedly until it separates naturally.
The Step-by-Step Assembly Process
Building a ship is a process of hierarchical assembly. You start with the internal structure, then add the skin, the deck, and finally, the rigging.
1. Preparing the Hull
The hull is the most critical part of the ship. The “bulkheads” (the vertical cross-sections) must be perfectly aligned with the “keel” (the backbone of the ship). If these are not square, the entire ship will be twisted, and the outer planks will not fit correctly. Use a framing jig if your kit provides one, or build a simple square base to ensure the hull remains straight while the glue dries.
2. Planking the Hull
Planking requires patience. Wood strips often need to be soaked in warm water to become flexible enough to bend around the hull’s curves. Never force a dry plank into a sharp curve; it will snap. Instead, soak it for 10–15 minutes, bend it into shape, and hold it in place with pins until it dries. Once dry, the wood will retain the shape, making it much easier to glue.
3. Decking and Fittings
Once the hull is planked and sanded, you move to the deck. This is where you begin to see the “personality” of the ship. Take your time with the deck planks—the pattern should be consistent. Use a sharp pencil to simulate the “caulking” between the planks by drawing along the edges of each strip before gluing it down.
4. The Rigging
Rigging is the final and most complex stage. This involves running thin threads (the “lines”) through tiny blocks and pulleys. Do not attempt the entire rigging in one day. Break it down into sections: masts first, then stays, then shrouds. If you find your hands shaking or your focus wavering, stop for the day. Precision is lost when fatigue sets in.

Hidden Nuances of Long-Term Success
One of the most overlooked variables in model building is the influence of humidity and temperature on your materials. Wood is a natural, porous material that expands and contracts with changes in the environment. If you build your ship in a room that is very humid and later move it to a very dry, air-conditioned room, the wood may shrink, leading to cracks in the hull or paint. Try to build your model in the room where it will ultimately be displayed to ensure the wood acclimates to that specific environment.
Another common mistake is the “all-or-nothing” approach to paint. Many beginners feel they must paint every square inch of the model. However, the beauty of wooden models often lies in the natural grain of the wood. Consider using clear varnishes or wood stains for the hull and decks, and reserve paint only for decorative trim or specific historical features. This adds a level of realism that solid, opaque paint often hides.
Finally, keep a “build log.” This is not a formal requirement, but simply a notebook where you record the steps you took, the brands of glue or paint you liked, and any challenges you faced. Over time, this becomes a valuable reference guide for your future projects, helping you avoid repeating previous mistakes.
Conclusion
Model ship building is a journey of patience, precision, and personal growth. It provides a unique opportunity to slow down, engage deeply with your hands, and create something of lasting beauty. By focusing on ergonomic comfort, quality tools, and a steady, methodical pace, you can transform this hobby into a lifelong practice that supports both your cognitive health and your creative spirit. Start with a manageable kit, prioritize your comfort in the workspace, and remember that every small piece placed is a success in its own right.
Frequently Asked Questions
1. How much space do I need to start building model ships?
You do not need a dedicated workshop. A space roughly the size of a standard kitchen table is sufficient. The most important requirement is a stable, well-lit surface where you can leave your project undisturbed for a few days at a time, as some assembly steps require glue to cure completely without being moved.
2. Is this hobby suitable for someone with arthritis or limited hand dexterity?
Many hobbyists with mild arthritis find that the slow, deliberate nature of the work is actually beneficial, as it acts as a form of low-impact physical therapy. However, if you have significant pain, it is best to use specialized ergonomic tools with thicker, rubberized grips and to take frequent breaks to stretch your fingers and wrists. Using a magnifying lamp also reduces the need for the “tight” gripping often associated with trying to see small parts.
3. Where can I find reliable instructions if my kit’s manual is unclear?
The model building community is very active online. Websites such as Model Ship World host extensive forums where experienced builders share tips, build logs, and troubleshooting advice. You can often find “build-along” threads for specific kits that include high-resolution photos of every step, which can be far more helpful than the printed manual included in the box.
Disclaimer: This article is for informational purposes only and does not constitute medical advice. If you experience persistent pain or physical discomfort while pursuing hobbies, consult with a healthcare professional or an occupational therapist to discuss ergonomic adjustments suitable for your specific needs.