Key Takeaways:
- Optimal Preservation: Air-drying is the most energy-efficient and gentle method for preserving the volatile oils and flavors of hardy herbs like rosemary, sage, and thyme.
- Safety First: Proper airflow and low humidity are critical to preventing mold; if you see any signs of discoloration or dampness, discard the batch immediately to ensure food safety.
- Mindful Integration: Beyond culinary use, the process of harvesting and drying herbs serves as a rhythmic, low-impact activity that encourages daily mindfulness and sensory engagement.
Introduction: The Rhythmic Calm of Herb Preservation
For many, the kitchen is more than a place for meal preparation; it is a sanctuary of creativity and routine. Engaging in the art of drying herbs offers a unique intersection of gardening, culinary skill, and mindful practice. Unlike high-heat industrial drying, which can deplete the delicate essential oils that provide herbs with their character, the traditional air-drying method allows for a slow, gentle transition from fresh plant to pantry staple.
This hobby is particularly well-suited for those who appreciate the quiet satisfaction of self-sufficiency. It requires minimal equipment, modest physical exertion, and provides a tangible reward that enhances every meal you cook. By understanding the science of moisture removal and the nuances of plant anatomy, you can create a collection of dried herbs that far surpasses the quality of store-bought alternatives.
Understanding Herb Anatomy: Why Some Dry Better Than Others
Not all herbs are created equal when it comes to the preservation process. The primary factor in determining success is the water content of the leaves. Herbs with high moisture content—such as basil, cilantro, and mint—tend to darken and lose flavor when air-dried, often developing a “hay-like” taste or, worse, molding before they can dry completely.
The Hardiness Categorization
To ensure success, categorize your herbs based on their structural resilience. This classification helps you decide which drying method to prioritize.
| Herb Type | Examples | Drying Suitability | Best Method |
|---|---|---|---|
| Hardy/Woody | Rosemary, Thyme, Sage, Oregano | Excellent | Air-drying (hanging) |
| Soft/High Moisture | Basil, Parsley, Cilantro, Dill | Difficult | Dehydrator or quick-freezing |
| Seed-based | Fennel, Dill seed, Coriander | Good | Paper bag method |
Practical Insight: For “soft” herbs, air-drying often results in a loss of volatile oils. If you find yourself with an abundance of basil, consider freezing the leaves in ice cube trays with a little olive oil rather than drying them. This preserves the bright, herbaceous notes that are otherwise lost to evaporation.
The Step-by-Step Process of Mindful Air-Drying
The process of drying herbs is a lesson in patience. You are not just preserving a plant; you are managing a biological process. The goal is to remove moisture quickly enough to prevent decay, but slowly enough to retain the plant’s structural integrity and flavor profile.
1. Harvesting at the Right Moment
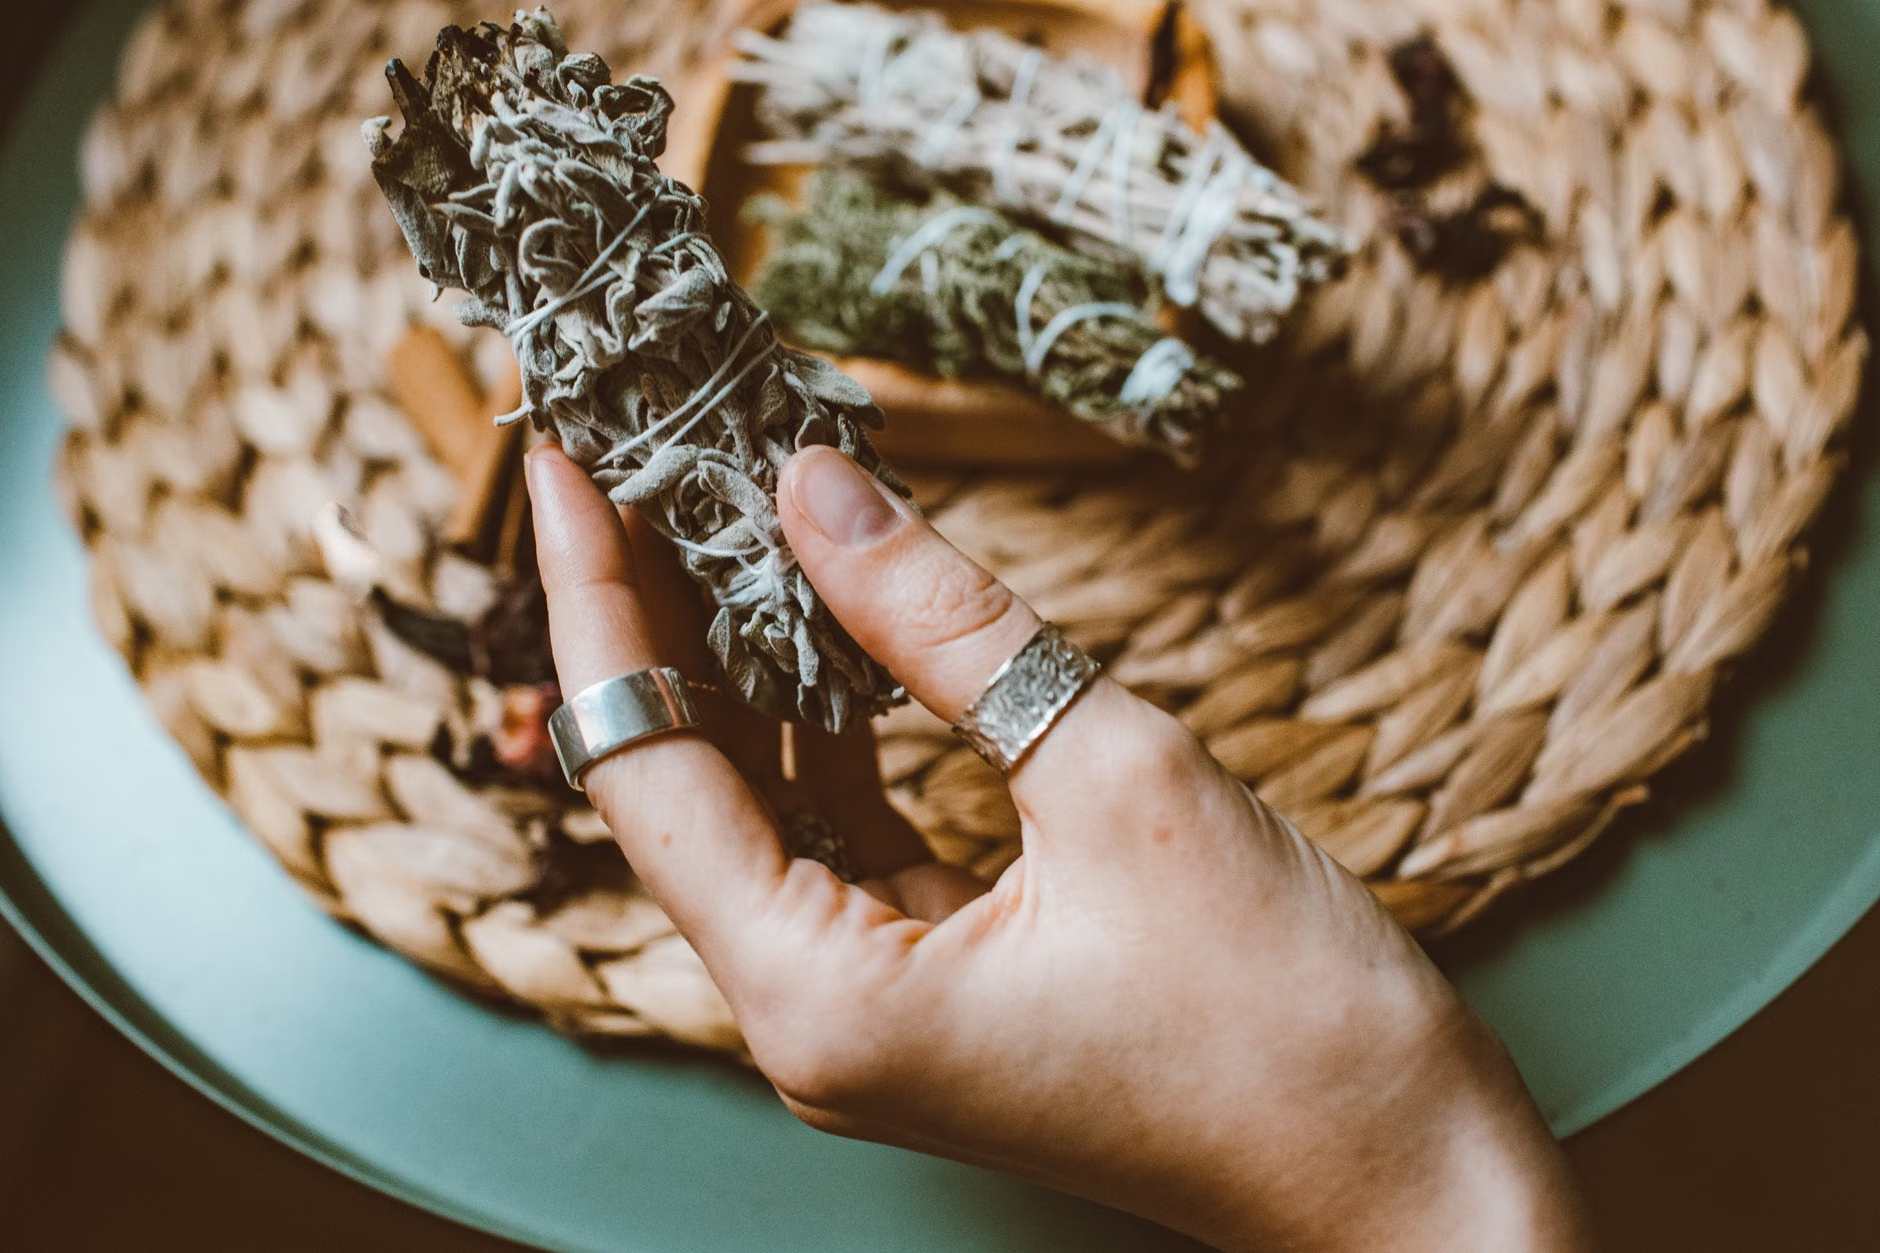
The best time to harvest herbs is in the mid-morning, after the dew has evaporated but before the intense heat of the afternoon sun draws the essential oils out of the leaves. Use sharp, clean garden shears to avoid crushing the stems, which can cause premature browning. Choose stems that are vibrant and free of pests or disease. If you see spots, yellowing, or signs of insects, leave those stems in the garden—they are not suitable for drying.
2. Preparation and Cleaning
Gently shake the bundles to dislodge any insects or garden debris. Avoid washing your herbs if they are clean. If you must wash them due to heavy soil, pat them completely dry with a lint-free cloth or a salad spinner. Any residual surface moisture is the primary enemy of the drying process and will almost certainly lead to mold.
3. Bundling and Hanging
Gather the stems into small bundles—no more than 5 to 7 stems per bundle. Using a larger bundle restricts airflow, creating a humid microclimate in the center that invites fungal growth. Use a natural fiber string or twine to secure the base of the stems. Avoid rubber bands, as they shrink as the stems dry, potentially cutting through the plant tissue.
Optimizing the Environment: The Science of Airflow
The environment in which you dry your herbs is more important than the method itself. You need a space that is warm, dry, and dark. Exposure to direct sunlight will cause the leaves to bleach and lose their potency rapidly.
Why Darkness and Airflow Matter
- Light Degradation: UV rays break down the chlorophyll and essential oils in the plant. Drying in a dark cupboard or a shaded corner of a well-ventilated room preserves the color and chemical potency.
- Air Circulation: Stagnant air leads to localized humidity. If you are drying in a room without a breeze, consider using a low-speed oscillating fan in the vicinity—not pointed directly at the herbs, but nearby to keep the air moving.
- Temperature Stability: A temperature between 65°F and 75°F (18°C–24°C) is ideal. Avoid humid areas like kitchens (near the stove) or bathrooms, as the ambient humidity will prevent the herbs from reaching a crisp, dry state.
Recognizing When the Process is Complete
A common mistake is rushing the storage phase. Herbs must be “bone dry” before they are sealed in jars. If even a trace of moisture remains, it will condense inside the jar, leading to mold and the ruin of the entire batch.
The “Snap Test”: Take a leaf from the center of the bundle. If it bends or feels leathery, it needs more time. If it snaps cleanly and crumbles easily between your fingers, it is ready. This is a sensory experience; the scent should be intensified and aromatic. If the scent is faint or smells “musty,” the herbs have likely been dried too slowly or in an environment that was too humid.
Storage and Long-Term Quality Control
Once dried, herbs should be stripped from their stems. It is best to store them whole rather than crushed. Crushing them releases the essential oils, which then oxidize and lose their potency over time. Keep them in airtight, light-resistant glass jars. Label each jar with the herb name and the date of harvest.
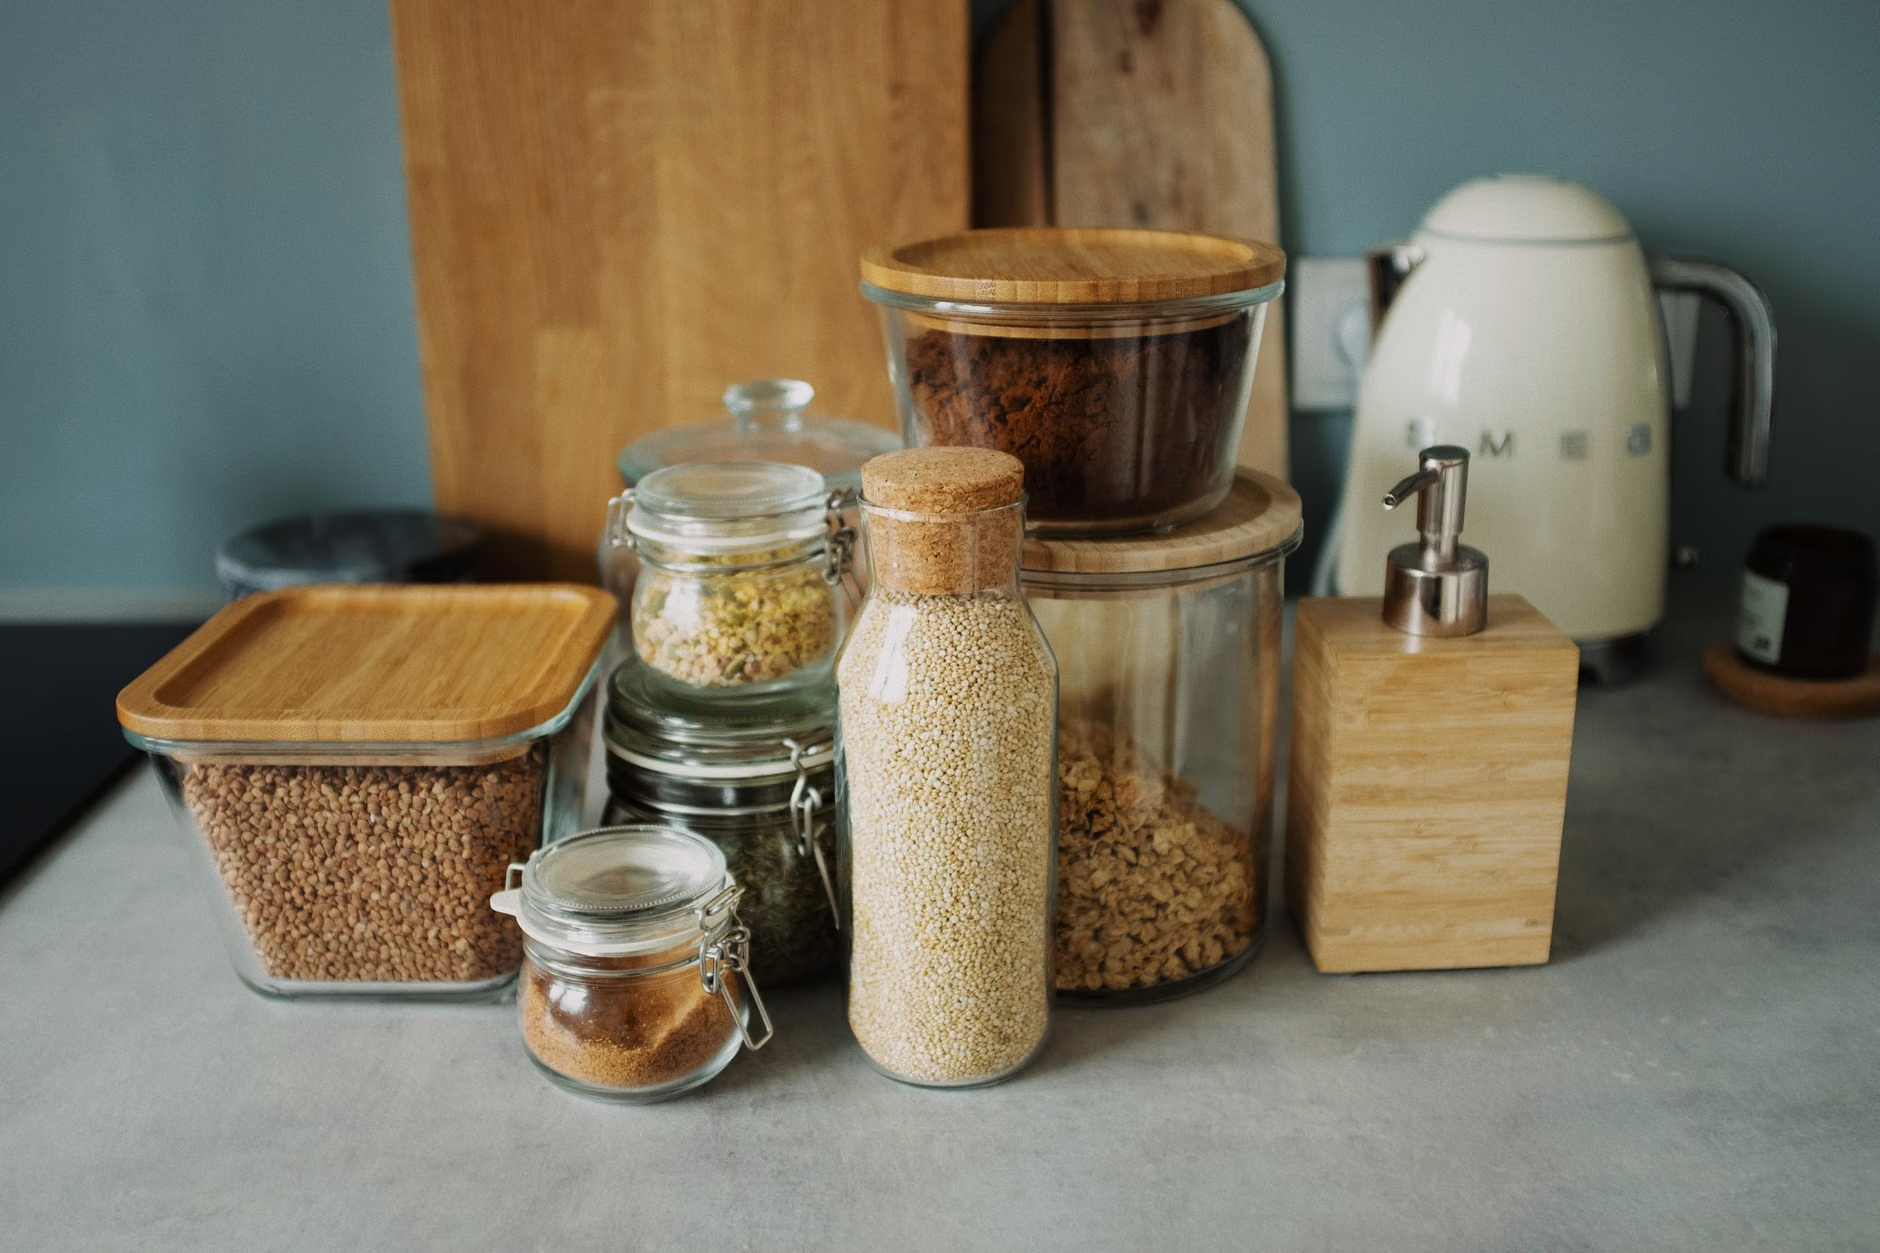
Shelf-Life Expectancy: While dried herbs don’t necessarily “spoil” in a way that causes illness after a year, they do lose their culinary value. Use the following guide for peak quality:
| Herb Form | Peak Flavor Life | Storage Condition |
|---|---|---|
| Whole Leaves | 12 months | Dark, cool cupboard |
| Crushed/Powdered | 6 months | Airtight, opaque jar |
Pro-tip: If you find your dried herbs have lost their vibrancy, you can often “wake them up” by gently heating them in a dry pan for a few seconds before adding them to your dish. This releases the remaining oils.
Mindfulness as a Daily Practice
The act of tending to your herbs—checking the bundles, monitoring the moisture, and eventually processing them—is an exercise in being present. It is a slow hobby in a fast-paced world. For many, this routine helps maintain a sense of purpose and connection to the natural cycle of the seasons. It encourages you to observe the subtle changes in your garden and your kitchen environment, fostering a deeper appreciation for the simple ingredients that make up a healthy diet.
If you find the process of drying herbs physically demanding, consider setting up a dedicated “processing station” at a comfortable table height. Having your tools—shears, twine, paper bags, and labels—organized in advance reduces the need for repetitive reaching or bending. This makes the activity sustainable and enjoyable regardless of your physical energy levels on any given day.
Addressing Safety and Potential Risks
While herb drying is generally safe, it is important to be aware of the risks of improper technique. Mold is the primary concern. If you notice any fuzzy growth, white or grey patches, or a sour smell on your drying herbs, discard them immediately. Do not attempt to “salvage” parts of the batch. The spores from mold are pervasive and once a batch is contaminated, it is best to start fresh.
Furthermore, ensure that the plants you are drying are clearly identified. It is easy to confuse similar-looking plants, especially if you are harvesting from a diverse garden. If you are ever in doubt about the identity of a plant, do not dry or consume it. Always rely on positive identification through a reputable gardening guide or local botanical resource.
Conclusion: The Reward of Patience
The art of mindful herb drying is a rewarding pursuit that bridges the gap between the garden and the dining table. By following these methodical steps—harvesting at the right time, ensuring proper airflow, and storing with care—you can enjoy the fruits of your labor for months to come. This practice not only provides you with superior ingredients but also invites a quiet, rhythmic calm into your daily routine. Start small with a single bundle of rosemary or thyme, and observe the process as it unfolds. You will soon find that the effort invested in this hobby pays dividends in the depth and complexity of the meals you share with family and friends.
Frequently Asked Questions (FAQ)
Q: Can I dry my herbs in the oven to speed up the process?
A: While it is possible, it is not recommended for most herbs. Ovens, even at their lowest settings, are often too hot and can “cook” the herbs, destroying the delicate essential oils and changing the flavor profile. If you must use heat, a dedicated food dehydrator set to the lowest setting (usually 95°F–105°F) is a much safer and more effective alternative.
Q: How do I know if my herbs are safe to store?
A: The “snap test” is your best indicator. If the leaves crumble to a powder with minimal pressure and there is no hint of flexibility or dampness in the stem, they are sufficiently dry. If you are unsure, store them in a paper bag for an additional 24 hours before transferring them to a glass jar. If moisture appears on the inside of the jar after a few hours, the herbs were not fully dry and should be removed immediately.
Q: Is it better to store herbs in plastic or glass containers?
A: Glass is superior for long-term storage because it is non-porous and does not retain odors or chemicals. Plastic can degrade over time and may allow air or moisture to permeate, shortening the shelf life of your dried herbs. Always use airtight, dark-colored glass jars or store clear jars in a dark pantry to protect the herbs from light degradation.
For more information on food safety and home preservation, you may refer to the National Center for Home Food Preservation, which provides comprehensive, research-based guidance on drying methods.