- Seated hip abduction strengthens the gluteus medius, a critical muscle for pelvic stability and balance during walking.
- Consistency is more important than intensity; performing these movements daily helps maintain functional independence and reduces fall risk.
- Using a resistance band adds necessary tension to challenge your muscles, but always prioritize proper form over the level of resistance.
Pelvic stability is the silent foundation of your independence. As we move through our sixties, seventies, and beyond, the muscles surrounding our hips—specifically the gluteus medius—often lose the strength required to keep the pelvis level while we walk. This instability is a primary contributor to gait changes and an increased risk of falls. Seated hip abduction is a highly effective, low-impact exercise that allows you to target these stabilizer muscles without the stress of standing exercises that may be difficult for those with balance concerns.
Understanding the Role of the Gluteus Medius in Daily Movement
The gluteus medius is a muscle located on the outer surface of your hip. While the larger gluteus maximus is responsible for powerful movements like standing up from a chair, the gluteus medius acts as a stabilizer. Every time you take a step, your body shifts its weight onto one leg. The gluteus medius on that standing leg must fire instantly to keep your pelvis from dropping on the opposite side.
When this muscle is weak, you may notice a “waddling” gait, or you might find yourself leaning heavily on handrails or furniture to compensate for a lack of balance. This is not a natural part of aging; it is a mechanical deficit that can be addressed through targeted, regular movement. By strengthening this muscle while seated, you create a stable “base” for your pelvis, which translates directly into steadier walking and greater confidence when navigating uneven surfaces.
Why Seated Exercises are Ideal for Older Adults
Standing exercises are excellent, but they require a baseline of balance that some individuals may not currently possess. Seated hip abduction eliminates the fear of falling while performing the movement. It allows you to isolate the hip muscles without worrying about your equilibrium. This makes it an ideal starting point for anyone recovering from an injury, managing chronic joint pain, or simply looking to build a safer foundation for more complex physical activities.
Step-by-Step: Mastering the Seated Hip Abduction
The beauty of this exercise lies in its simplicity, but effectiveness depends entirely on your technique. Follow these steps to ensure you are engaging the correct muscles rather than relying on momentum.
- Choose the right chair: Use a stable, armless chair with a firm seat. Avoid chairs with wheels or soft cushions that sink, as you need a solid base to maintain your spine alignment.
- Positioning: Sit toward the front edge of the chair. Keep your feet flat on the floor, hip-width apart. Your knees should be bent at a 90-degree angle.
- Posture: Engage your core slightly. Keep your chest lifted and your shoulders relaxed. Avoid slouching, as this changes the angle of the hip joint and reduces the effectiveness of the exercise.
- The Movement: While keeping your feet in contact with the floor, slowly push your knees outward against resistance (if using a band) or simply move them outward as far as your range of motion allows.
- Control: The return movement is just as important as the outward movement. Bring your knees back to the starting position slowly, resisting the urge to let them snap back together.
Common Mistake: Many people use their back or lean their torso to help move the legs. If you find yourself rocking back and forth, you are using your core to compensate for hip weakness. Keep your torso perfectly still throughout the entire movement.
Integrating Resistance for Progressive Strength
Once you are comfortable with the movement, your muscles will eventually adapt, and the exercise will become too easy. To continue seeing benefits, you must introduce progressive resistance. A fabric or latex resistance band is the most effective and affordable tool for this.
| Tool | Best For | Practical Consideration |
|---|---|---|
| No equipment | Beginners/Rehab | Focus on form and mind-muscle connection. |
| Light resistance band | Intermediate | Ensures constant tension throughout the range of motion. |
| Ankle weights | Advanced | Adds gravity-based resistance; requires careful joint monitoring. |
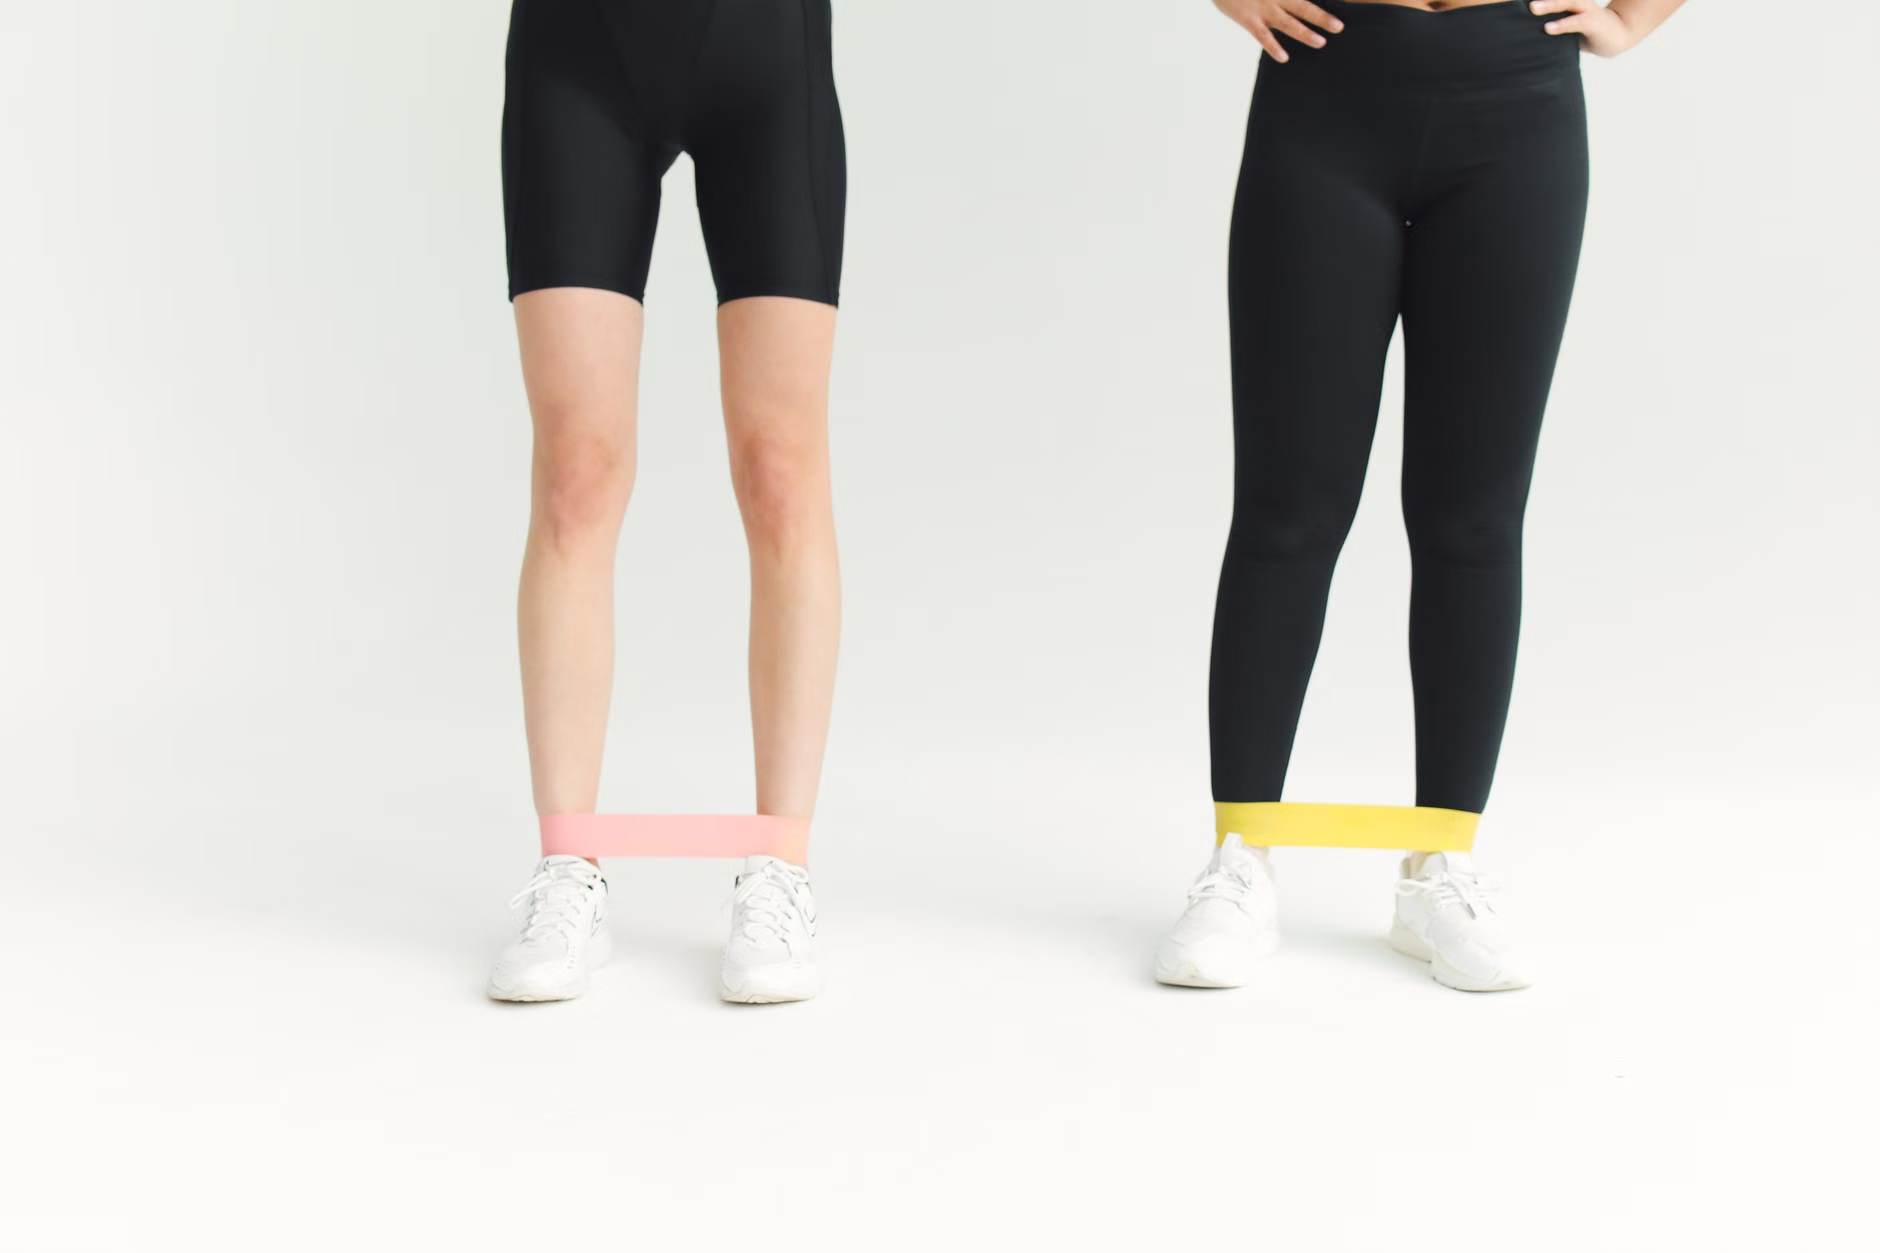
Using a band requires placing it just above your knees. As you push your knees outward, the band creates resistance that forces the gluteus medius to work harder. Warning: If you feel sharp pain in the knee joint or the hip socket, reduce the resistance or stop the exercise immediately. Discomfort in the outer hip muscle is normal (this is the muscle working), but joint pain is a sign to adjust your technique.
How to Structure Your Routine for Long-Term Results
Consistency beats intensity. You will see more progress by doing five minutes of movement every day than by doing a grueling 30-minute session once a week. The goal is to “remind” your nervous system how to activate these stabilizer muscles during your daily routine.
Recommended Weekly Schedule
- Week 1-2: Focus on form. Perform 2 sets of 10 repetitions daily without resistance.
- Week 3-4: Introduce a light resistance band. Perform 3 sets of 10 repetitions.
- Week 5+: Increase to 3 sets of 15 repetitions or move to a slightly higher resistance band.
Think of this as “maintenance” for your body. Just as you perform regular maintenance on your home or your vehicle, your musculoskeletal system requires consistent input to function at its best. If you miss a day, do not try to “double up” the next day. Simply return to your routine the following morning.
Addressing Potential Barriers and Safety Concerns
Some individuals may experience specific conditions that make standard exercises challenging. For those with hip replacements or severe osteoarthritis, it is essential to consult with a physical therapist before starting a new regimen. They can provide specific modifications, such as limiting the range of motion or adjusting the angle of the seat, to ensure the exercise is safe for your specific anatomy.
Signs that you may need professional guidance:
- Persistent pain that lasts more than 24 hours after exercising.
- Swelling or inflammation in the hip joint.
- A feeling of “catching” or locking in the hip during movement.
- Any change in your baseline balance that leads to a fall.
If you experience any of these, schedule an appointment with a physical therapist. Prepare for your visit by keeping a brief log of when you experience pain, what movements trigger it, and what your current daily activity level looks like. This data helps a professional distinguish between muscle fatigue and structural issues.
The Hidden Link Between Stability and Travel
Many older adults dream of travel, but the reality of long airport terminals, uneven cobblestone streets, and crowded train stations can be daunting. Pelvic stability is the hidden variable that determines how much you can enjoy these experiences. When your hips are stable, you can walk longer distances with less fatigue. You are also less likely to experience the “trip-and-stumble” moments that occur when your stabilizer muscles fatigue mid-day.
Before planning a trip, test your stability by taking a “walking tour” of your local neighborhood. If you find yourself needing to stop every 100 meters, your pelvic stabilizers may need more targeted attention. By spending a month on a consistent seated hip abduction program, you can significantly increase your “functional radius”—the distance you can comfortably walk before needing a prolonged rest.
Conclusion: Building a Foundation for Active Living
Your physical independence is built on the strength of your supporting muscles. Seated hip abduction is not merely an exercise; it is a proactive strategy to maintain your quality of life. By dedicating a few minutes each day to this simple movement, you are investing in your ability to walk, travel, and remain active for years to come. Start slowly, prioritize your form, and listen to your body as you build the stability you need to move through the world with confidence.
For more information on general fall prevention and senior mobility, consult resources like the Centers for Disease Control and Prevention (CDC) Fall Prevention guide, which provides comprehensive data and safety strategies for adults 65 and older.
Frequently Asked Questions (FAQ)
1. Can I do this exercise if I have already had a hip replacement?
In many cases, yes, but you must get clearance from your orthopedic surgeon or physical therapist first. They will likely have specific “range of motion” restrictions for the first 6-12 months post-surgery. Never exceed the movement range recommended by your medical team.
2. How long will it take to notice an improvement in my balance?
Most people notice a difference in their “walking confidence” within 4 to 6 weeks of consistent daily practice. Remember that balance is a combination of muscle strength, vision, and inner ear health; while hip strength is a major component, it works best when combined with overall physical activity.
3. What if I feel more tired after doing these exercises?
It is normal to feel muscle fatigue, as you are working muscles that may have been underutilized. However, if you feel exhausted or experience significant energy drops, you may be overdoing the intensity. Try reducing the number of repetitions or the resistance of the band until your body adjusts to the new workload.