- Optimal Preservation: Air-drying is the most energy-efficient and gentle method for preserving the essential oils and flavor profiles of most herbs.
- Safety First: Proper airflow and complete moisture removal are critical to prevent mold growth, which can render dried herbs unsafe for consumption.
- Storage Strategy: Dried herbs should be stored in airtight containers away from direct light and heat to maintain their potency for up to 12 months.
The practice of drying herbs is a timeless bridge between the garden and the kitchen. For many, it offers a meditative rhythm—a chance to slow down, engage the senses, and prepare for the seasons ahead. Beyond the culinary benefits of having high-quality, home-dried ingredients at your fingertips, the process itself is a rewarding hobby that encourages mindfulness and connection to the natural cycle of plant growth.
This guide provides a comprehensive approach to herb drying, focusing on safety, efficiency, and the practical skills required to turn fresh harvests into pantry staples. Whether you are working with a small windowsill garden or a larger backyard plot, these methods ensure your herbs retain their color, aroma, and flavor.
Understanding the Science of Herb Drying
Drying is essentially the process of removing moisture from plant material to prevent the growth of bacteria, yeasts, and molds. When you dry herbs correctly, you are concentrating the essential oils—the compounds responsible for the plant’s unique scent and taste. If the process is too fast or involves excessive heat, these volatile oils evaporate, leaving you with bland, brittle leaves.
The “mindful” approach to this process involves observing the plants as they grow, harvesting at the peak of their vitality, and handling them with the care required to preserve their integrity. It is not merely about storage; it is about extending the life of your harvest through patient, deliberate action.
Step 1: The Art of Harvesting
The quality of your dried herbs starts long before you hang them up. Harvesting at the right time ensures the highest concentration of essential oils.
- Time of Day: The best time to harvest is mid-morning, after the dew has evaporated but before the sun reaches its peak intensity. This is when the plant’s essential oil content is at its highest.
- Growth Stage: For most herbs, you want to harvest just before the flower buds open. If a plant has already flowered, its energy has shifted from leaf production to seed production, often resulting in a stronger, slightly bitter flavor.
- Condition: Only harvest healthy, vibrant plants. Avoid leaves that show signs of pest damage, yellowing, or disease.
Checklist for Harvesting
| Task | Actionable Step |
|---|---|
| Inspect | Check for insects or soil debris on the underside of leaves. |
| Cut | Use clean, sharp garden shears or scissors to avoid crushing stems. |
| Clean | If washing is necessary, use cool water and pat dry immediately with a clean towel. |
| Sort | Group herbs by type; don’t mix woody herbs with soft, leafy ones. |
Step 2: Choosing Your Drying Method
The method you choose depends on the type of herb and the environment of your home. The goal is to remove moisture while maintaining the structural integrity of the leaf.
Air-Drying: The Gentle Standard
Air-drying is ideal for low-moisture herbs like rosemary, thyme, oregano, and sage. It is energy-efficient and requires no special equipment.
The Process:
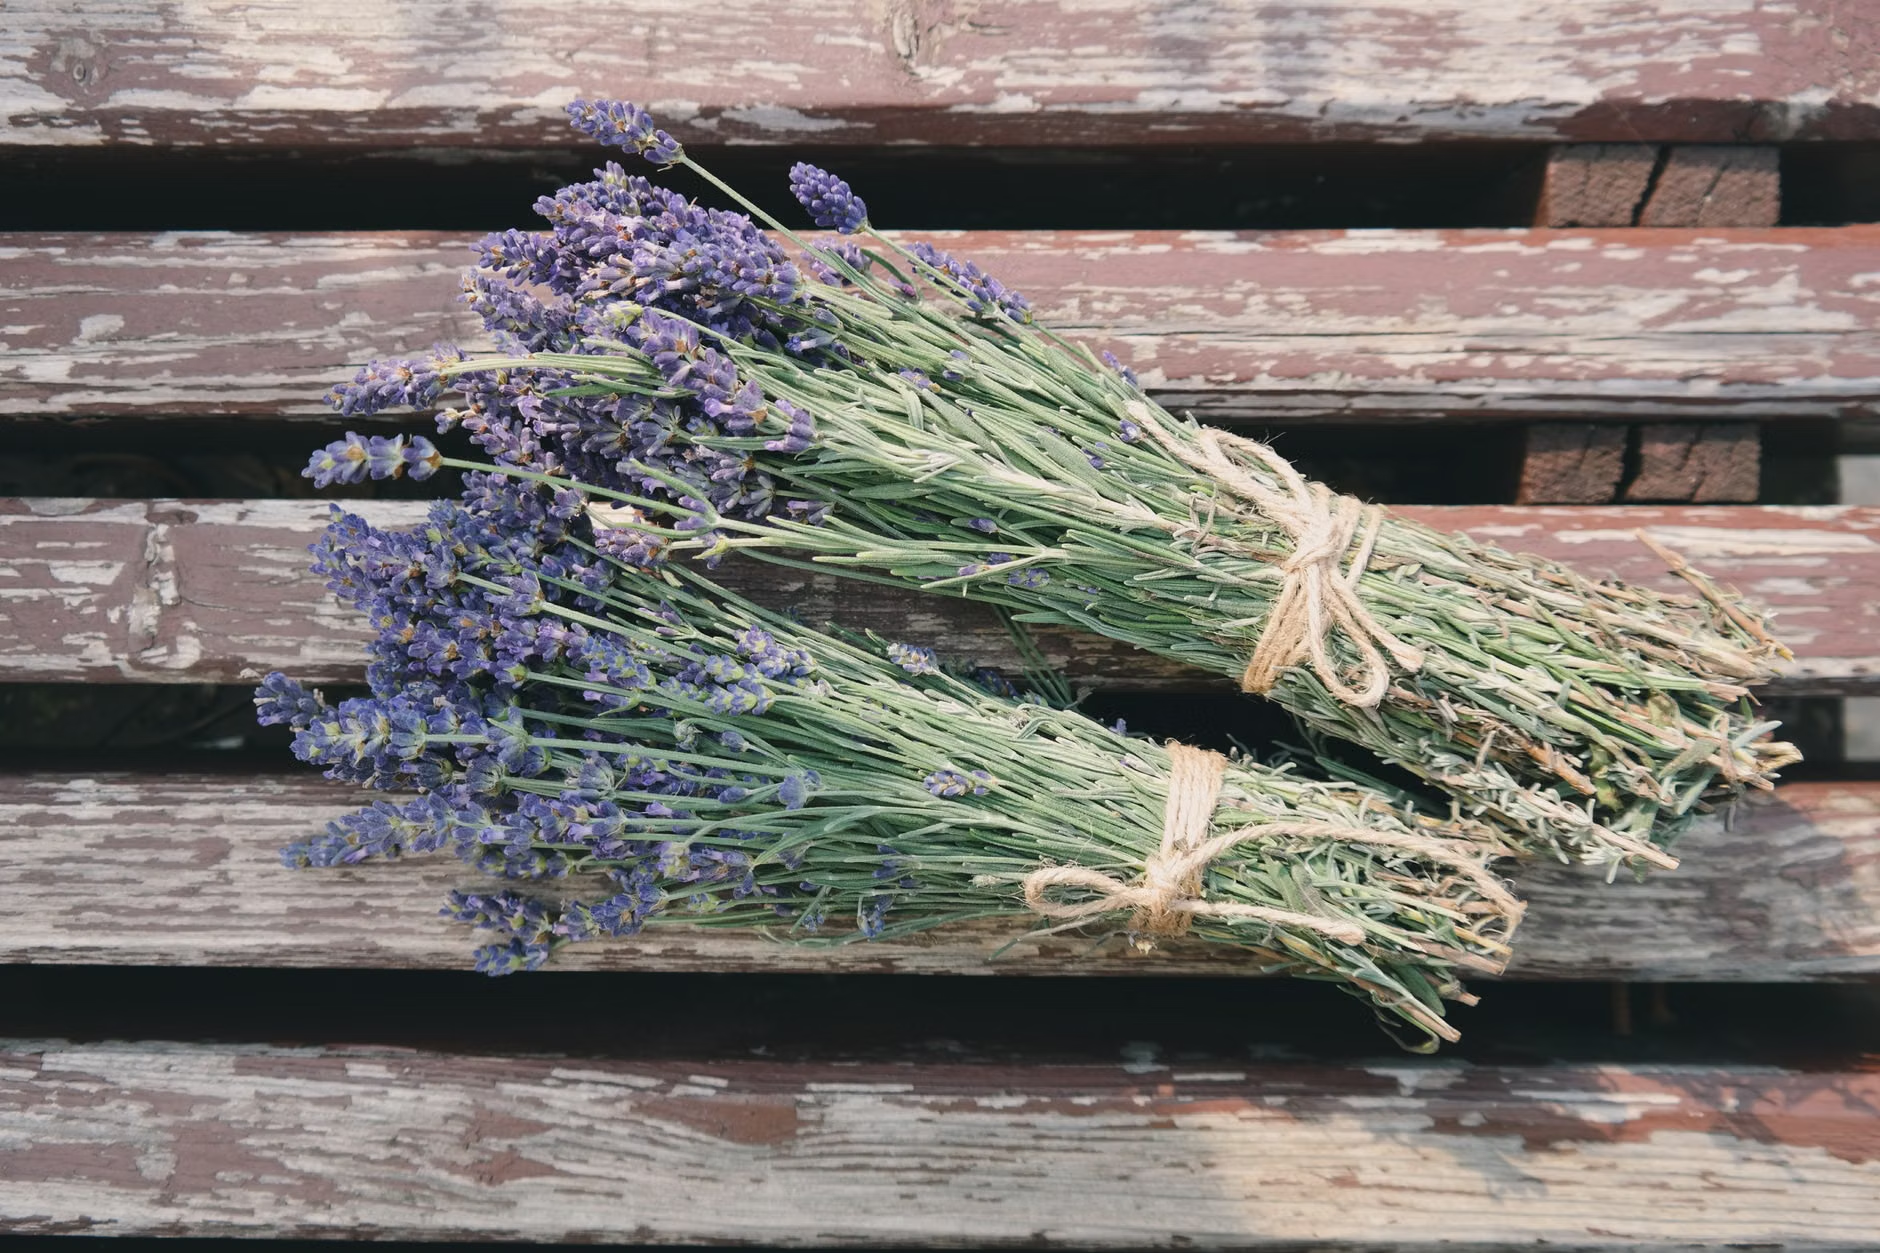
- Bundle 5–10 stems together using a rubber band. Rubber bands are superior to twine because they contract as the stems shrink during drying, preventing the bundle from loosening and falling.
- Hang the bundles upside down in a warm, dry, and well-ventilated area away from direct sunlight. Direct sun will bleach the color and degrade the oils.
- Ensure there is adequate airflow between bundles to prevent moisture buildup.
Dehydration and Screen Drying
For high-moisture herbs like basil, mint, or parsley, air-drying can sometimes be too slow, leading to mold before the stems dry. In these cases, a flat-drying method is better.
Lay the leaves in a single layer on a drying screen or a clean, porous cloth. Place these in a warm area with good circulation. Turning the leaves once a day ensures even drying and prevents them from sticking to the surface.
Step 3: Evaluating Readiness and Storage
Herbs are ready when they are completely dry to the touch and crumble easily. If you encounter any “leathery” or bendy stems, they are not ready. Storing herbs with even a trace of moisture can lead to mold, which will ruin the entire container and pose a health risk.
Storage Best Practices
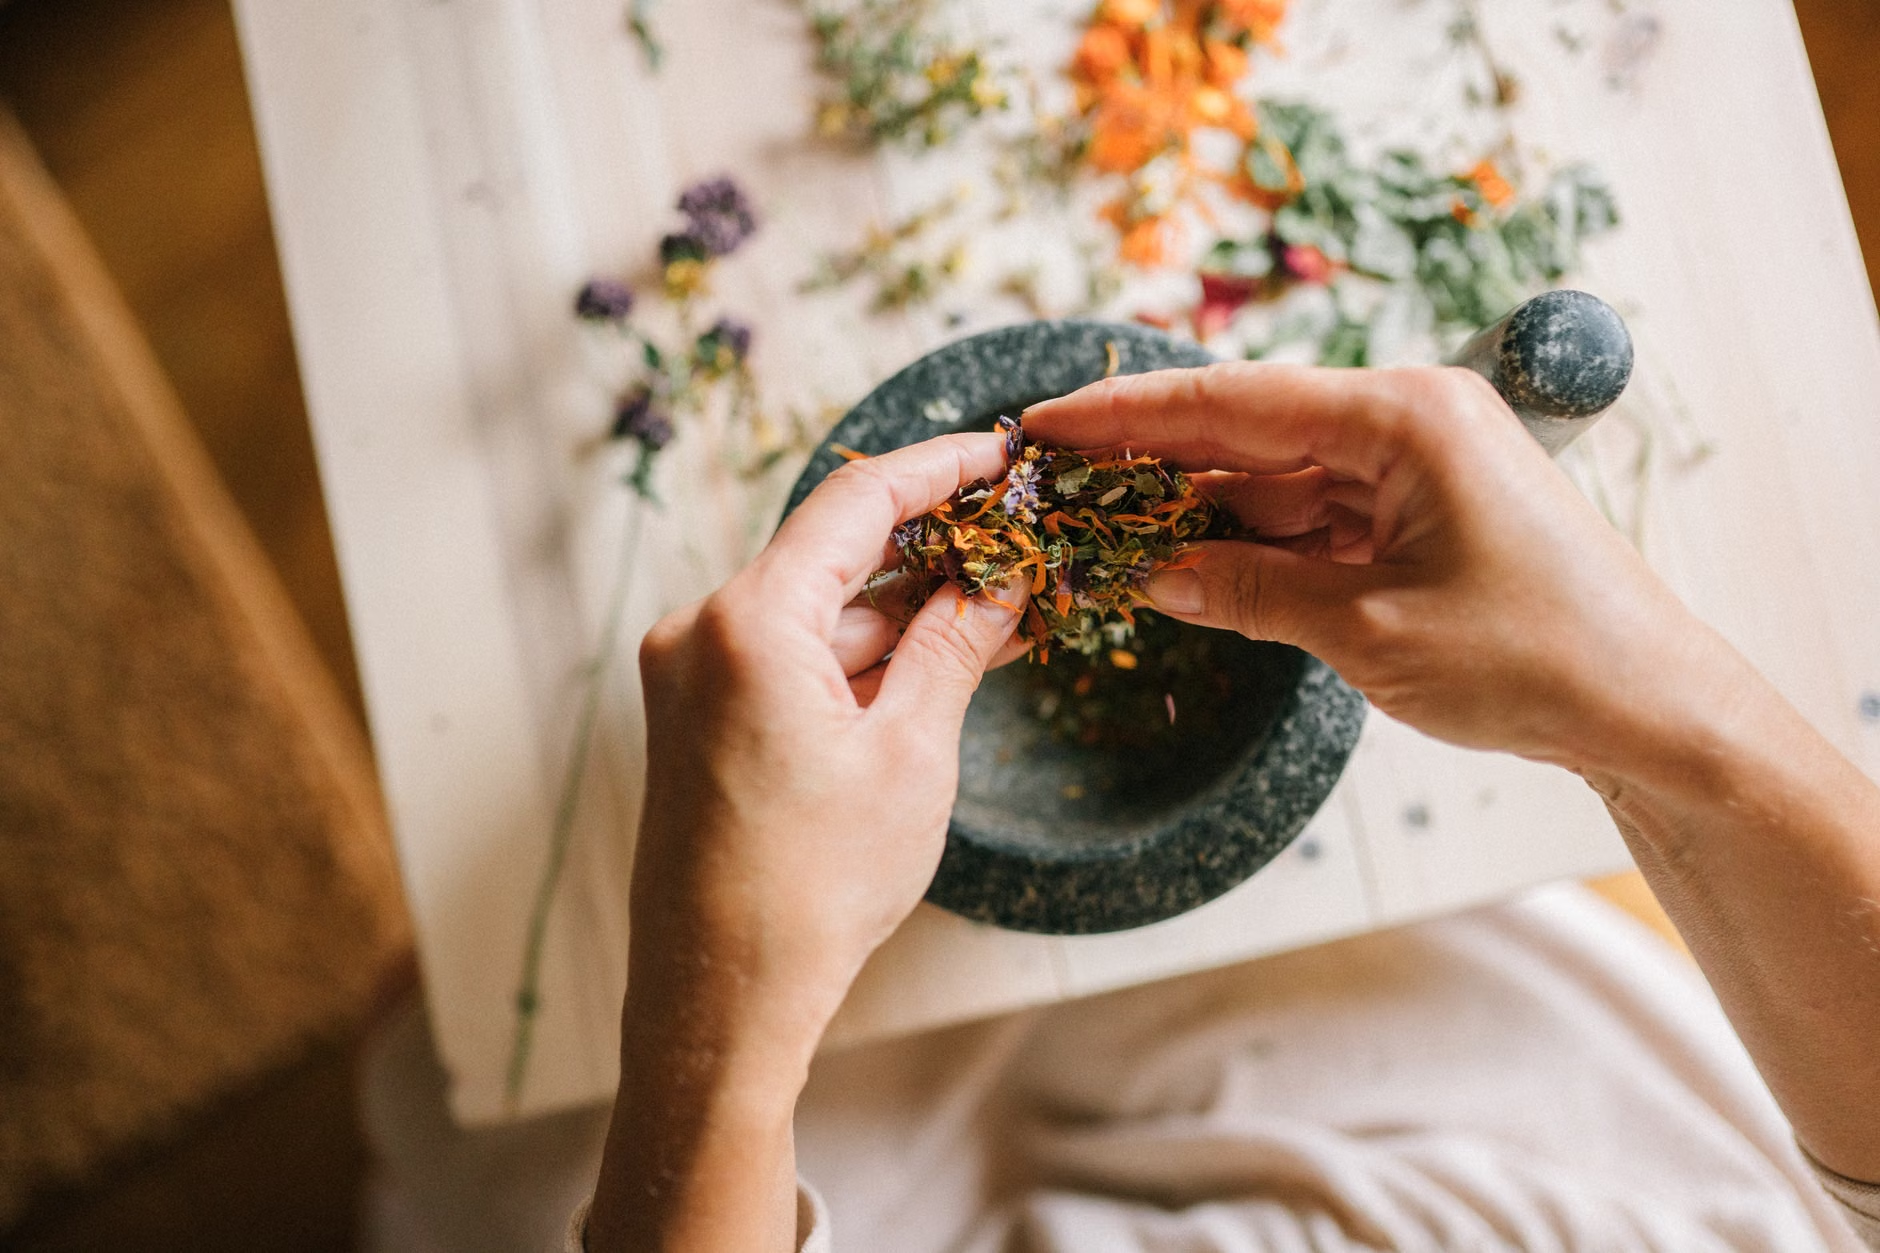
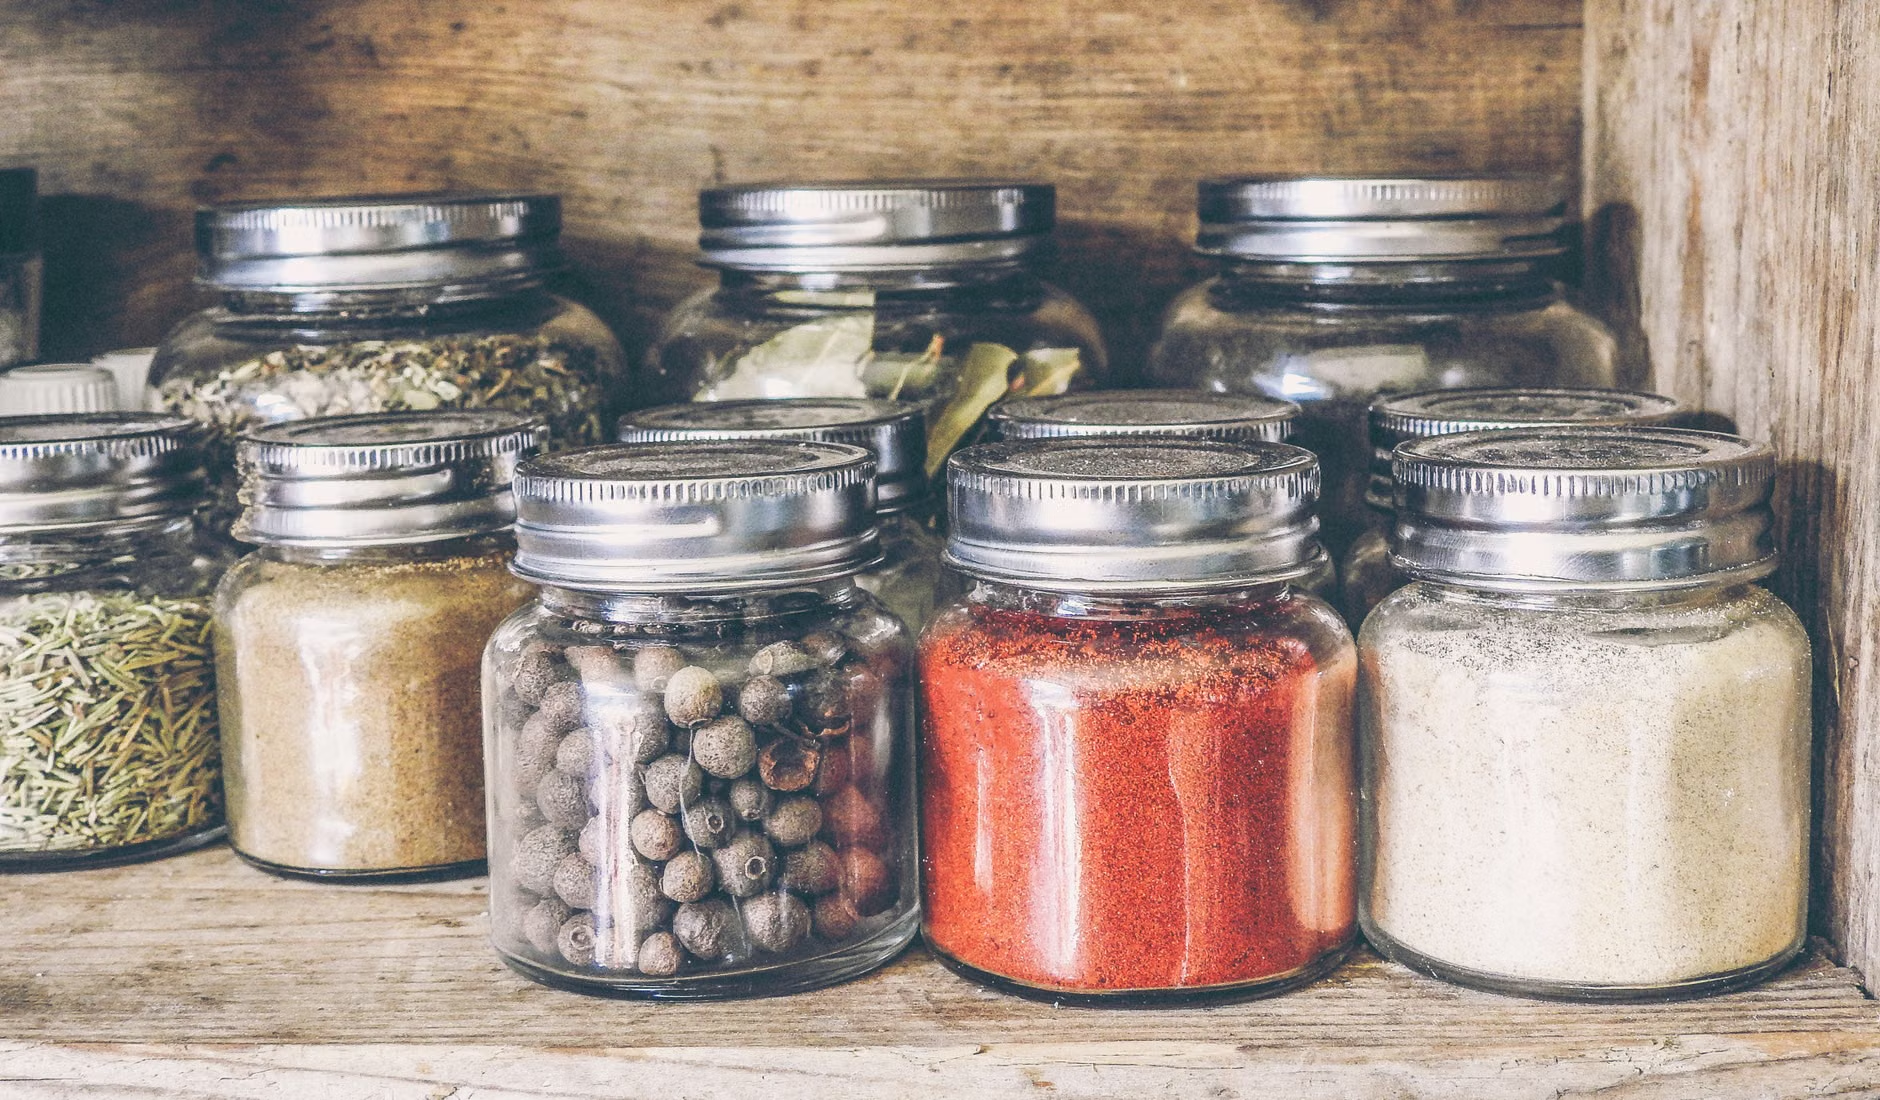
Once dried, remove the leaves from the stems. Store them in airtight glass jars. While clear glass is aesthetically pleasing, amber or colored glass provides better protection against light degradation. Keep your jars in a cool, dark pantry.
Key Insight: Label your jars with the name of the herb and the date of harvest. Even with perfect storage, most dried herbs lose their peak potency after 12 months. Treating this as a yearly cycle helps you clear out old stock and make room for the new season’s harvest.
Addressing Common Challenges
Even with experience, challenges can arise. Below is a comparison of common issues and how to navigate them.
| Issue | Potential Cause | Practical Solution |
|---|---|---|
| Mold on leaves | Too much humidity, poor airflow | Discard affected herbs immediately; increase ventilation or use a dehydrator. |
| Loss of color | Excessive light or heat | Move drying bundles to a darker, cooler location. |
| Bland flavor | Harvested too late or dried too fast | Ensure future harvests occur before flowering; avoid using ovens for drying. |
When you encounter mold, the only safe action is to dispose of the batch. Never attempt to “rescue” moldy herbs by heating or washing them, as mold spores and mycotoxins can remain even after the visible growth is gone. Safety is paramount when preparing food at home.
The Mindful Perspective: Why It Matters
In a world of instant gratification and pre-packaged goods, the act of drying herbs is a deliberate return to basics. It requires patience—a virtue that is often overlooked in modern life. By tending to your herbs, you are participating in a cycle that rewards attention to detail and long-term planning.
This hobby also fosters a sense of accomplishment. Whether you are using your own dried oregano in a pasta sauce or brewing a tea with home-dried mint, you are consuming something you nurtured from start to finish. This creates a tangible connection to the food on your plate and the environment around you.
Managing Your Herb Collection
As you grow more confident, you may find yourself with a surplus. Consider the following when managing your collection:
- Accessibility: Store your most frequently used herbs at eye level. If you have mobility concerns, ensure your storage area is reachable without needing a step stool or ladder.
- Safety: Always ensure your drying racks are secured firmly. Avoid hanging them in high-traffic areas where they might be bumped or knocked over.
- Budget: Drying herbs is an incredibly low-cost hobby. You do not need expensive machines. A few rubber bands, some paper bags for dust protection, and clean glass jars are often all that is required.
Advanced Techniques: Infused Oils and Vinegars
Once you have mastered drying, you might explore infusing oils or vinegars. Important Note: When infusing oils with dried herbs, always ensure the herbs are completely dehydrated. Moisture in the oil can create an environment for Clostridium botulinum, the bacteria that causes botulism. For beginners, infusing vinegar is generally considered safer and easier to manage than oil-based infusions.
If you choose to experiment with infusions, start with small batches and keep them refrigerated. If you notice any unusual cloudiness, bubbling, or off-odors, discard the mixture immediately. These are warning signs of bacterial growth that should not be ignored.
Conclusion
The art of mindful herb drying is a journey of small, consistent steps. By focusing on the quality of your harvest, the conditions of your drying environment, and the proper storage of your finished product, you can enjoy the fruits of your labor throughout the year. Remember that this is a practice meant to be enjoyed; take the time to appreciate the aroma as you work, and don’t be discouraged if your first few batches aren’t perfect. With each harvest, you will become more attuned to the needs of your plants and the rhythms of your own home.
For those interested in the botanical specifics of the herbs they are growing, the Royal Horticultural Society (RHS) provides excellent resources on herb cultivation and care that can help you improve your yields year after year.
Frequently Asked Questions
1. Can I use a microwave to dry herbs faster?
While some sources suggest using a microwave, it is generally discouraged for high-quality results. Microwaves heat unevenly and can “cook” the herbs rather than drying them, leading to a loss of essential oils and a burnt flavor. Air-drying or using a low-temperature dehydrator provides far superior results.
2. How can I tell if my dried herbs have gone bad?
Beyond the 12-month window, look for signs of color loss (fading to grey or brown), the absence of aroma when you crush a leaf, or any signs of clumping or mold. If they look or smell “off,” it is safer to compost them and start fresh.
3. Is it necessary to wash herbs before drying?
It depends on the source. If you grow your own herbs in a clean environment, they may not need washing. However, if they have been exposed to dust, pets, or outdoor pollutants, a gentle rinse in cool water is recommended. If you do wash them, you must ensure they are completely patted dry before hanging, as excess surface moisture is the primary cause of mold during the drying process.