Key Takeaways for Accessible Historic Travel
- Prioritize “Retrofit” over “Authentic”: Look for sites that have integrated modern accessibility features like elevators and smooth pathways, as these are safer than raw, unmaintained historic ruins.
- The 30-Minute Rule: When planning, ensure there is a guaranteed seating or rest area at least every 30 minutes of walking to maintain stamina and prevent fatigue-related falls.
- Verify Before You Book: Use official site accessibility guides rather than general travel blogs, and specifically check for “step-free access” and “disabled-accessible toilets” (often called ADA or Universal Access compliant).
Historic architecture offers a window into the past, but for travellers aged 60 to 80, the beauty of ancient stone can sometimes be marred by uneven terrain, steep stairs, and poor lighting. Choosing the right tour requires more than just picking a destination; it requires a strategic assessment of how a site manages the balance between heritage preservation and modern physical accessibility. This guide provides the framework for evaluating historic tours to ensure your trip remains enjoyable, safe, and physically sustainable.
1. The Anatomy of an Accessible Historic Tour
A “senior-friendly” historic tour is not just about having a ramp at the entrance. It is about the entire experience, from the moment you arrive until you depart. When selecting a tour, you must look for specific infrastructure that supports mobility and stamina.
Infrastructure vs. Aesthetic
Many historic sites are protected by heritage laws that prevent major structural changes. This creates a “hidden” barrier for older adults. When evaluating a tour provider, look for the following “Accessible Indicators”:
- Continuous Paths: Does the tour route avoid loose gravel or deep cobblestones? Smooth, flat stone or paved paths are essential for stability.
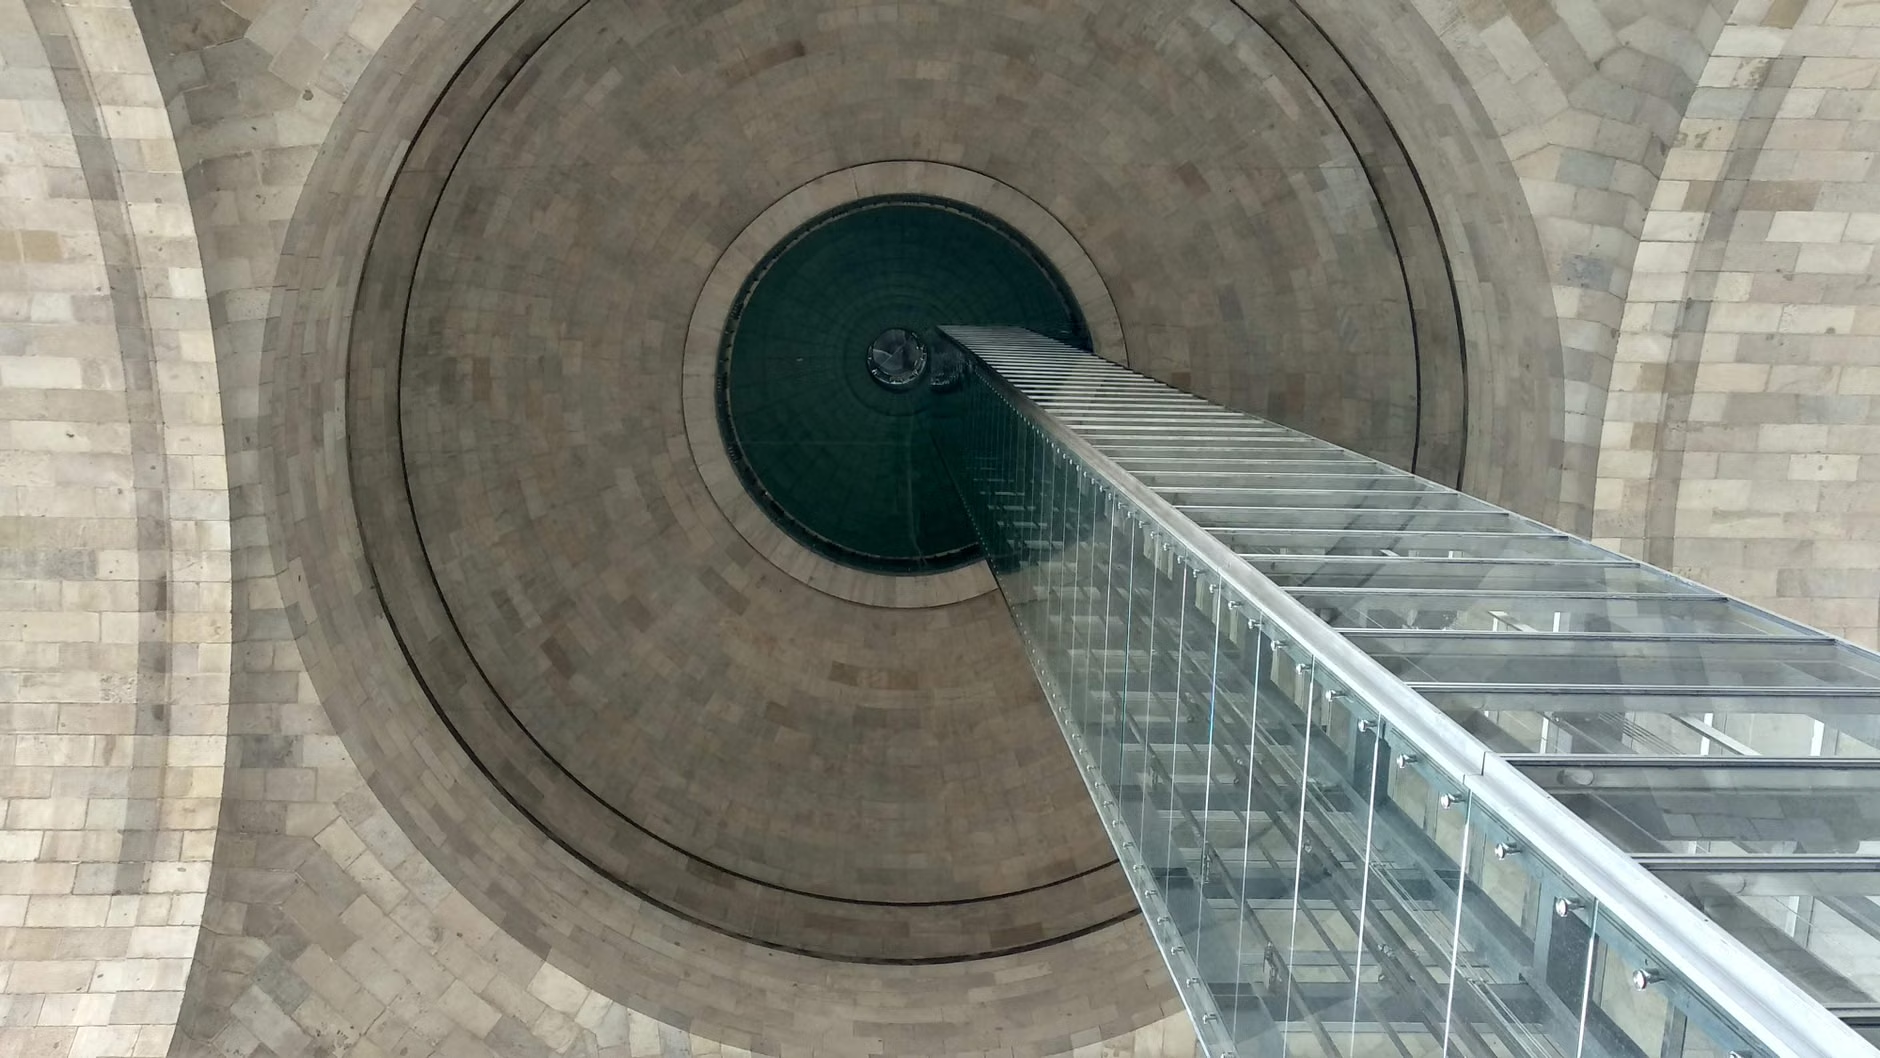
- Integrated Accessibility: Look for sites that have installed modern, discreet elevators or lifts. If a tour mentions “many stairs,” it is likely not suitable regardless of the visual appeal.
- Resting Points: A high-quality tour operator will explicitly mention scheduled rest breaks or provide portable stools for participants.
Practical Decision Rule: If a tour operator cannot provide a map indicating the location of elevators, accessible restrooms, and benches, assume the site is not fully accessible. Do not rely on verbal assurances like “it’s mostly flat.” Ask for specific details regarding the floor surface materials.
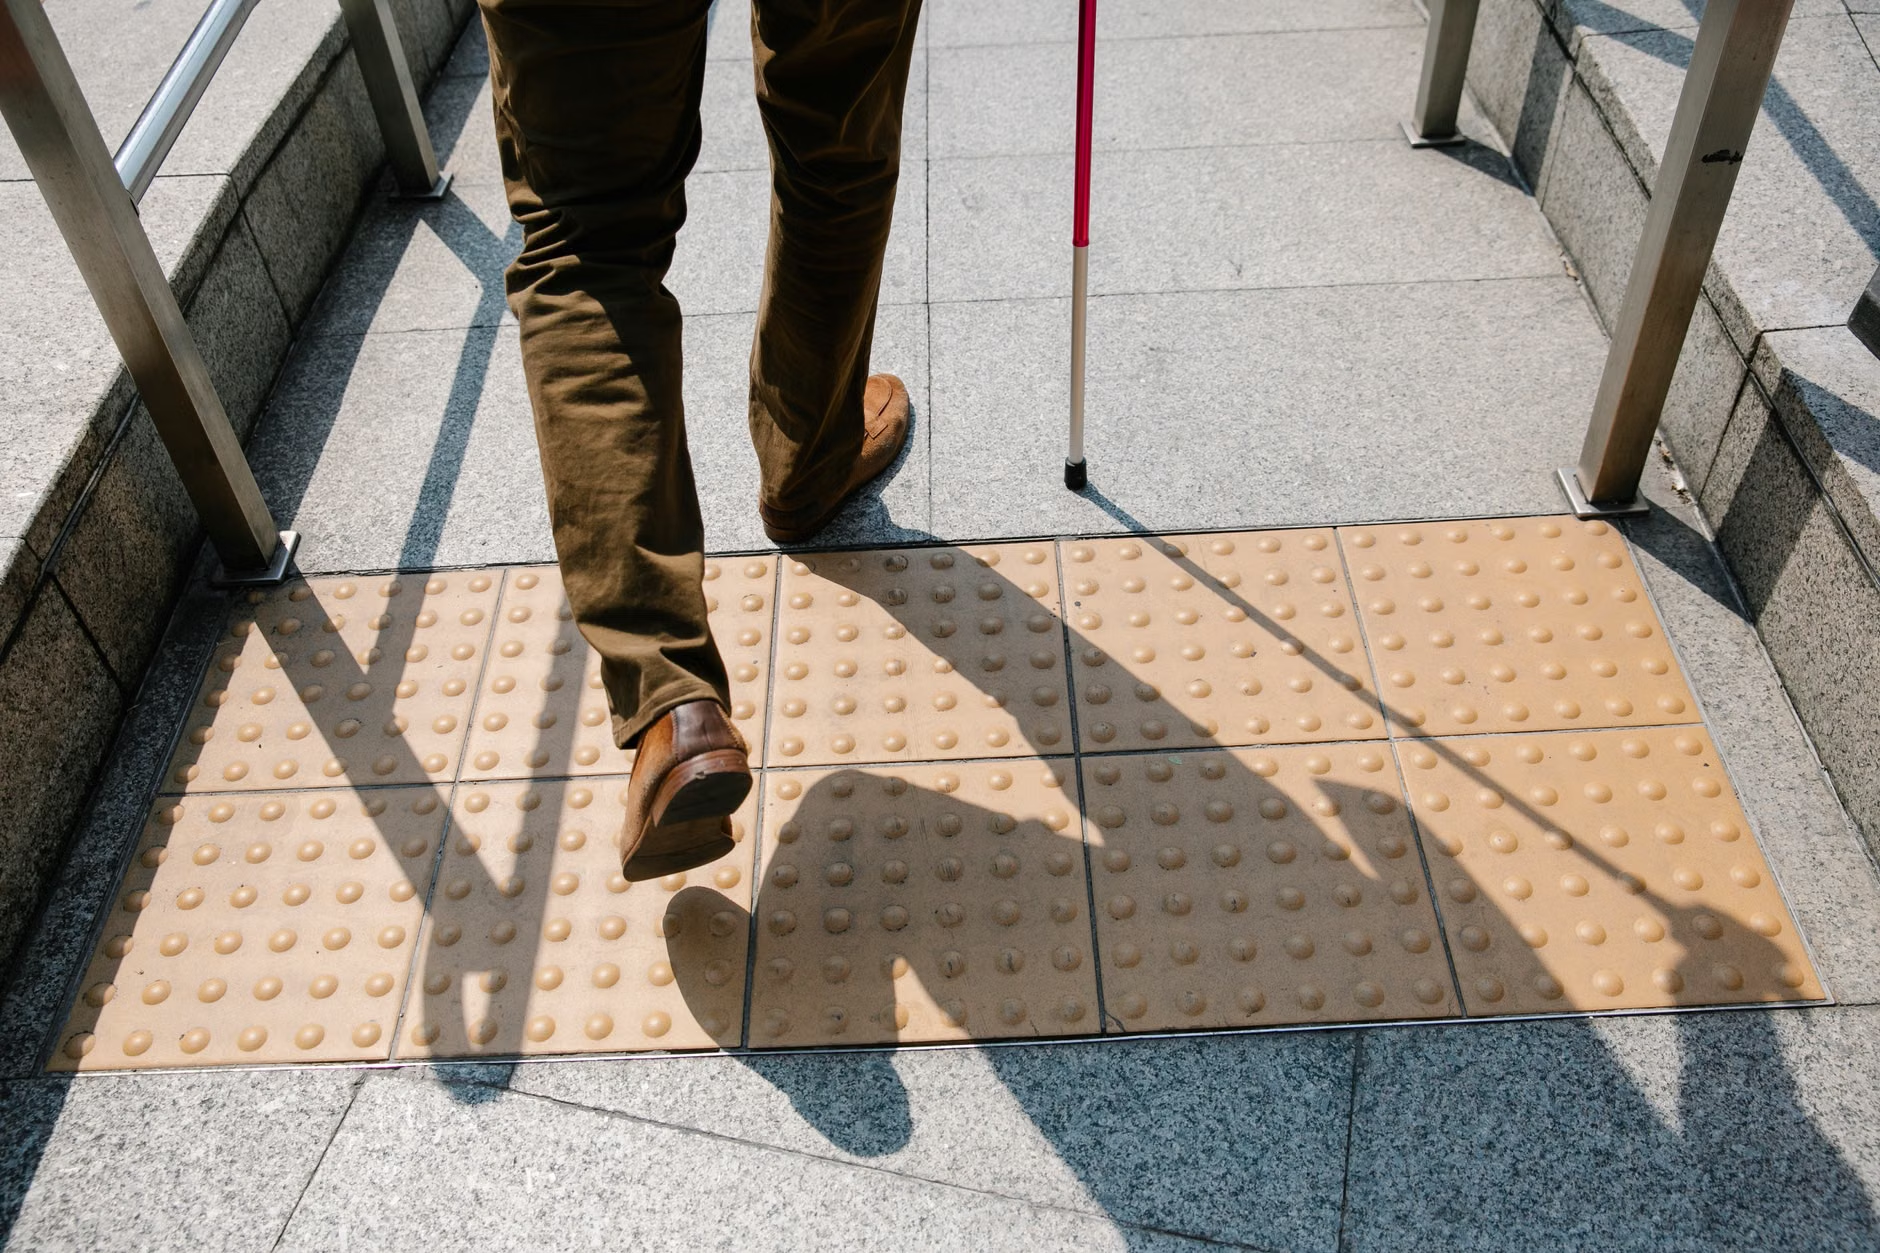
2. Evaluating Physical Stamina and Pacing
One of the most common mistakes in senior travel is overestimating daily stamina. Historic sites often involve significantly more walking than modern museums because they are spread out across large landscapes or complex building layouts.
The Pacing Framework
To keep your energy stable, use the “3-2-1” Rule for historic architecture tours:
| Timeframe | Action |
|---|---|
| 3 Hours | Maximum duration of a guided tour, including rest breaks. |
| 2 Hours | Maximum continuous walking time before a mandatory seated break. |
| 1 Hour | Minimum recovery time needed after a site visit before starting the next activity. |
This framework is not just for physical preservation; it is for cognitive engagement. When you are physically exhausted, you lose the ability to appreciate the architectural details and history you travelled to see. By pacing yourself, you ensure that the final hour of your tour is as enjoyable as the first.
3. The Role of Modern Technology in Heritage Access
Digital accessibility is a game-changer for older adults. Many historic sites now offer high-quality digital guides, tablets, or even virtual reality (VR) experiences that allow you to see the interior of a structure without physically climbing stairs.
Why Digital Alternatives Matter
In many cases, the most “historic” part of a building—such as an attic or a basement crypt—is physically inaccessible due to narrow, winding staircases. Instead of risking a fall or missing out, look for tours that offer:
- Digital Kiosks: High-definition screens at ground level showing 360-degree views of inaccessible areas.
- Audio-Visual Integration: Headphones that provide deep historical context while you sit comfortably in a courtyard.
- Tactile Models: Some world-class sites provide 3D-printed models of buildings, allowing you to understand the architecture through touch.
What to look for: Check the official website for “Digital Accessibility” or “Virtual Tours.” If a site offers these, it demonstrates an inclusive mindset, which usually extends to the physical design of the site as well.
4. Transportation and Logistics: The “Last Mile” Problem
The “last mile” refers to the distance between your transport (bus, taxi, or train) and the actual entrance of the historic site. In many historic districts, buses are not allowed to pull up to the front door.
Planning for the Last Mile
When selecting a tour, ask the provider: “What is the exact walking distance from the drop-off point to the ticket office?”
If the distance exceeds 200 meters, or if the path is uphill, consider these alternatives:
- Private Transfer: Many cities offer “Blue Badge” or specialized tourist taxis that have permits to enter pedestrian-only zones.
- Golf Cart Tours: Many large historic estates now offer electric shuttle services that transport visitors from the parking lot to the building entrance.
- Timed Entry: Always book for the earliest possible slot. Not only is the site less crowded, but the weather is usually cooler, and your energy levels are at their peak.
5. Managing Health Risks: Preparation and Prevention
Travel is an exciting endeavor, but it introduces variables that can affect your health. Being prepared is the best way to ensure that a minor issue does not turn into a medical emergency.
Creating Your “Travel Health Kit”
Before leaving, assemble a small, portable kit specific to architecture tours:
- Medication Log: A simple card listing your current medications, dosages, and any allergies. Keep this in your wallet, not your luggage.
- Hydration/Electrolytes: Historic sites are often stone-heavy, which reflects heat. Carry a collapsible water bottle.
- Footwear: Wear shoes with non-slip rubber soles. Many historic floors, especially those made of polished marble or worn stone, become extremely slippery when dusty or damp.
If you experience chronic joint pain or balance issues, do not be afraid to use mobility aids. Using a cane or a lightweight, foldable seat-cane is a proactive strategy, not a sign of frailty. It allows you to stand in place for longer periods while listening to a guide, reducing the stress on your knees and lower back.

6. Understanding Local Accessibility Laws
Accessibility standards vary significantly by country. It is a common misconception that all developed nations have the same level of architectural accessibility.
Global Comparison of Accessibility Standards
- United States (ADA Compliance): The Americans with Disabilities Act (ADA) is strict. Most public historic sites will have standardized ramps and lifts. You can generally expect high levels of physical accessibility.
- European Union (EN Standards): While the EU has strong accessibility goals, many historic cities (like Rome or Prague) are protected by heritage status. This means some buildings may have “exceptions” to accessibility rules. Always check the specific site’s “Accessibility” page, not just general country information.
- Japan: Japan has made significant strides in “Universal Design.” Many historic temples now feature reinforced paths and well-maintained elevators, though some remote mountain shrines remain challenging.
Practical Action: Before visiting a site in a foreign country, search the official government tourism website for that specific city. Look for terms like “Universal Access” or “Barrier-Free Tourism.” For example, the official VisitBritain or VisitScotland websites provide specific accessibility guides for major historic attractions.
7. The “Hidden” Variable: Weather and Microclimates
Historic buildings act as heat sinks or cold traps. A stone castle that is cool in the summer can be damp and freezing in the autumn. Conversely, an open-air Roman ruin can become dangerously hot in direct sunlight.
Adapting to Microclimates
Check the weather forecast for the specific microclimate of the site. If the site is high on a hill or deep in a valley, the temperature can differ by 5 degrees or more from the city center. Always bring layers. A lightweight, windproof jacket is often more valuable than a heavy coat, as it provides protection without adding unnecessary bulk that could hinder your movement in tight, historic corridors.
8. Selecting the Right Guide
The guide can make or break your experience. A good guide for a senior group is one who understands the need for pacing and comfort.
When booking, ask if the guide is “senior-certified” or if they have experience leading groups with varying mobility levels. A skilled guide will:
- Identify seating areas before starting a long explanation.
- Speak clearly without shouting, ensuring everyone can hear over ambient noise.
- Check in with the group every 20 minutes to assess energy levels.
- Carry a small kit of essentials, such as extra water or a first-aid kit.
Conclusion: Prioritizing Your Experience
Selecting an accessible historic architecture tour is about minimizing physical barriers so you can focus on the cultural and historical significance of the destination. By prioritizing sites that have invested in modern accessibility, pacing your visits with the “3-2-1” rule, and verifying the “last mile” logistics, you can enjoy these architectural wonders without compromise.
Remember, the goal is not to see everything, but to see what matters to you in a way that respects your health and comfort. Start by checking the official accessibility guidelines of your chosen site, and always choose quality of experience over the quantity of locations visited.
Frequently Asked Questions
Q: Should I bring my own wheelchair or mobility scooter to a historic site?
A: It depends on the site. Many historic locations offer manual wheelchairs for rent, but they are often limited in number. If you have a personal, lightweight, folding mobility aid, it is generally safer to bring it to ensure you have a device that fits your specific needs. Always check if the site has “step-free” routes, as some historic paths are too narrow or steep for larger motorized scooters.
Q: How can I find out if a historic building has an elevator before I arrive?
A: Do not rely on third-party travel blogs. Go directly to the official website of the historic site. Look for a section titled “Accessibility,” “Visitor Information,” or “Plan Your Visit.” If the information is missing, use the “Contact Us” email or phone number to ask specifically: “Is the entire tour route accessible via elevator or ramp?”
Q: What if I feel tired in the middle of a tour?
A: Always identify the exit points and rest areas on the site map before the tour begins. Do not hesitate to inform your guide that you need a break. A professional guide will have pre-planned “escape” routes or resting spots precisely for this purpose. Prioritizing your physical wellbeing is the most important part of any travel plan.