Mountain Day-Trip Mastery: A Comprehensive Packing and Planning Guide for Mature Travelers
- Physiological Pacing: Altitude and temperature changes require a slower, more deliberate approach to movement to conserve stamina and prevent fatigue.
- Strategic Layering: Packing for mountain weather is about managing moisture and body temperature through a base, middle, and outer layer system.
- Safety Infrastructure: Always prioritize digital and physical backups, such as offline maps and a physical list of emergency contacts, regardless of how familiar you are with a region.
Successful mountain day trips for adults aged 60 to 80 are defined by preparation rather than endurance. When venturing into higher altitudes or uneven terrain, the objective is to enjoy the environment while maintaining energy reserves and minimizing physical strain. This guide provides a systematic approach to packing, pacing, and planning to ensure your mountain excursion remains a highlight of your leisure time.
The Physiology of Mountain Travel: Why Pacing Matters
Mountain environments present unique challenges that differ significantly from urban walking or flat-trail hiking. At higher altitudes, the air pressure is lower, which can slightly reduce the oxygen available to your muscles. For older adults, this means your cardiovascular system works harder to maintain the same pace you might achieve at sea level.
The “Energy Bank” Concept: Think of your stamina as an energy bank. Every step taken on an incline or uneven surface withdraws from this account. If you withdraw too quickly by walking too fast or skipping rest periods, you risk “bankruptcy”—a state of exhaustion that makes the return trip dangerous or physically impossible. The goal is to maintain a “steady-state” pace where you can comfortably hold a conversation while walking. If you find yourself breathless, your pace is too high.
Managing Joint and Muscle Load
Downhill travel is often more taxing on the knees and hips than climbing. Gravity accelerates your movement, and your joints must act as shock absorbers. To mitigate this:
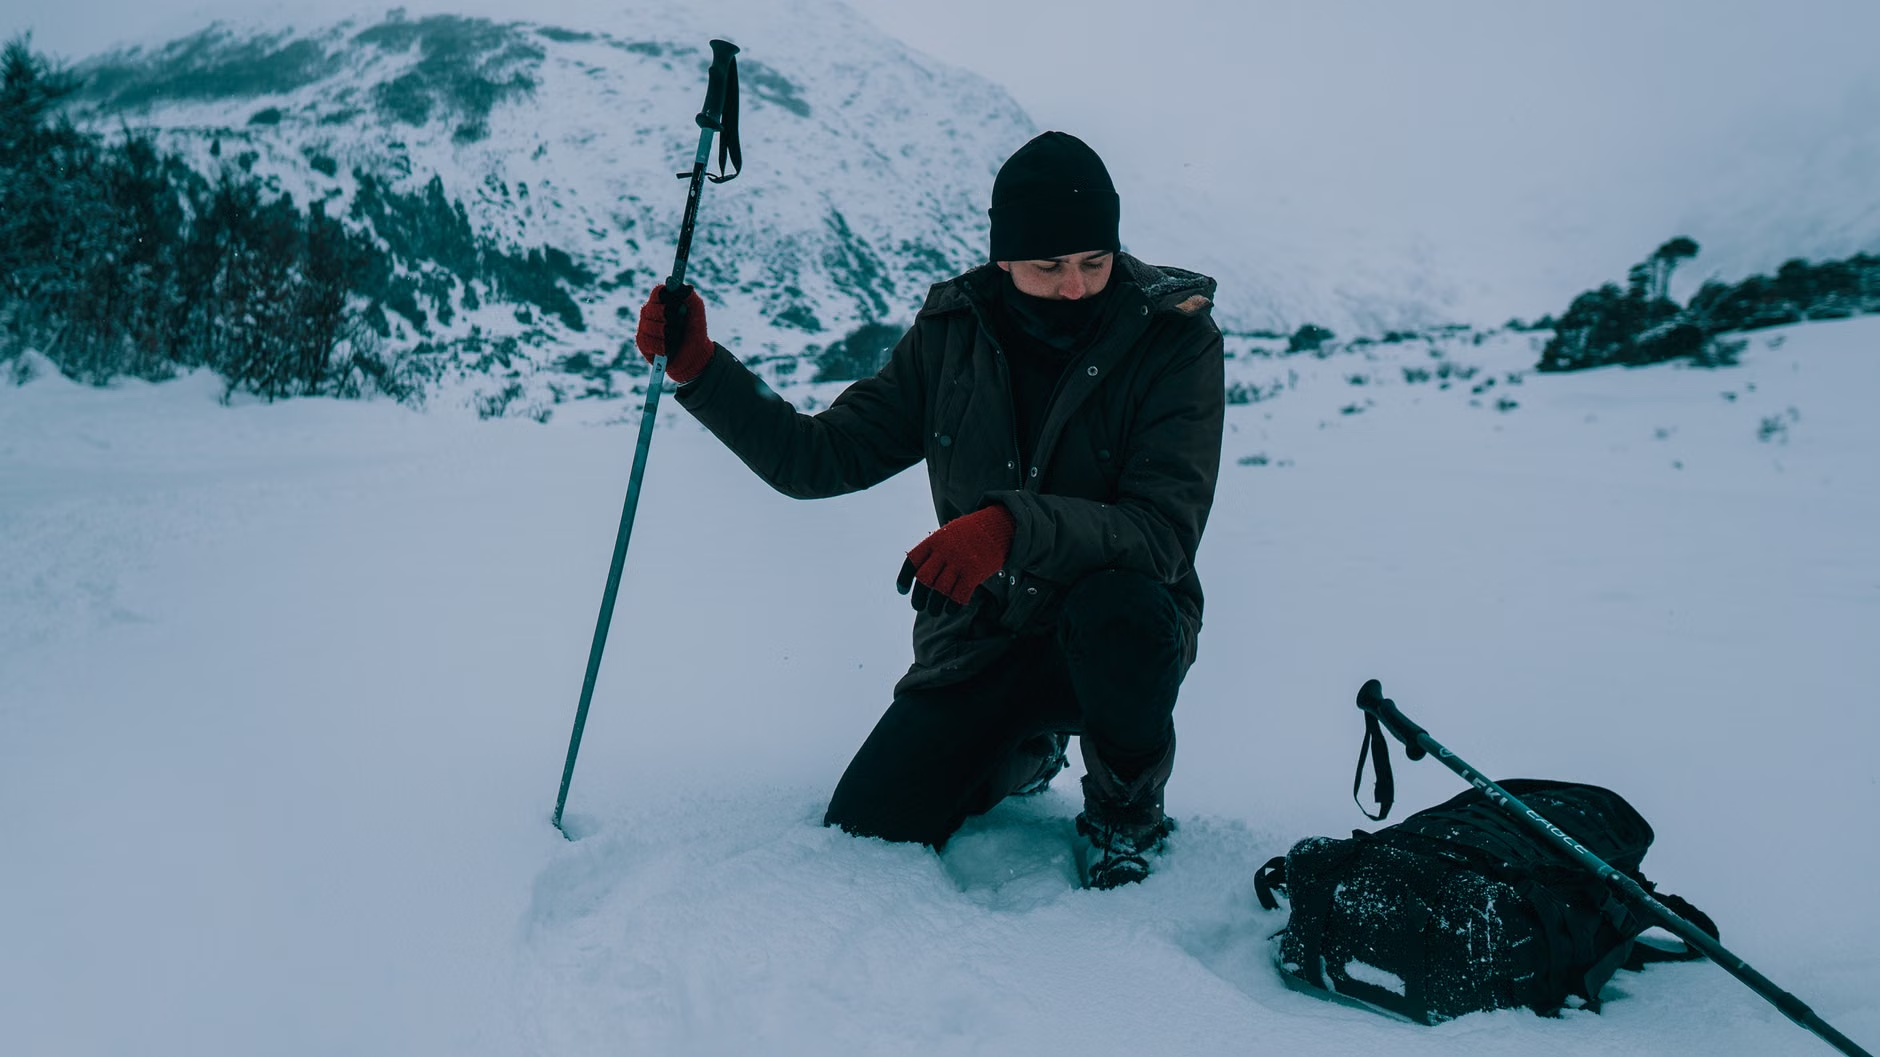
- Use Trekking Poles: Poles are not just for stability; they redistribute up to 25% of the weight from your lower body to your upper body. Ensure they are adjusted so your elbow is at a 90-degree angle when the tip is on the ground.
- Shorten Your Stride: Taking smaller, more frequent steps on descents reduces the impact force on your patellar tendons.
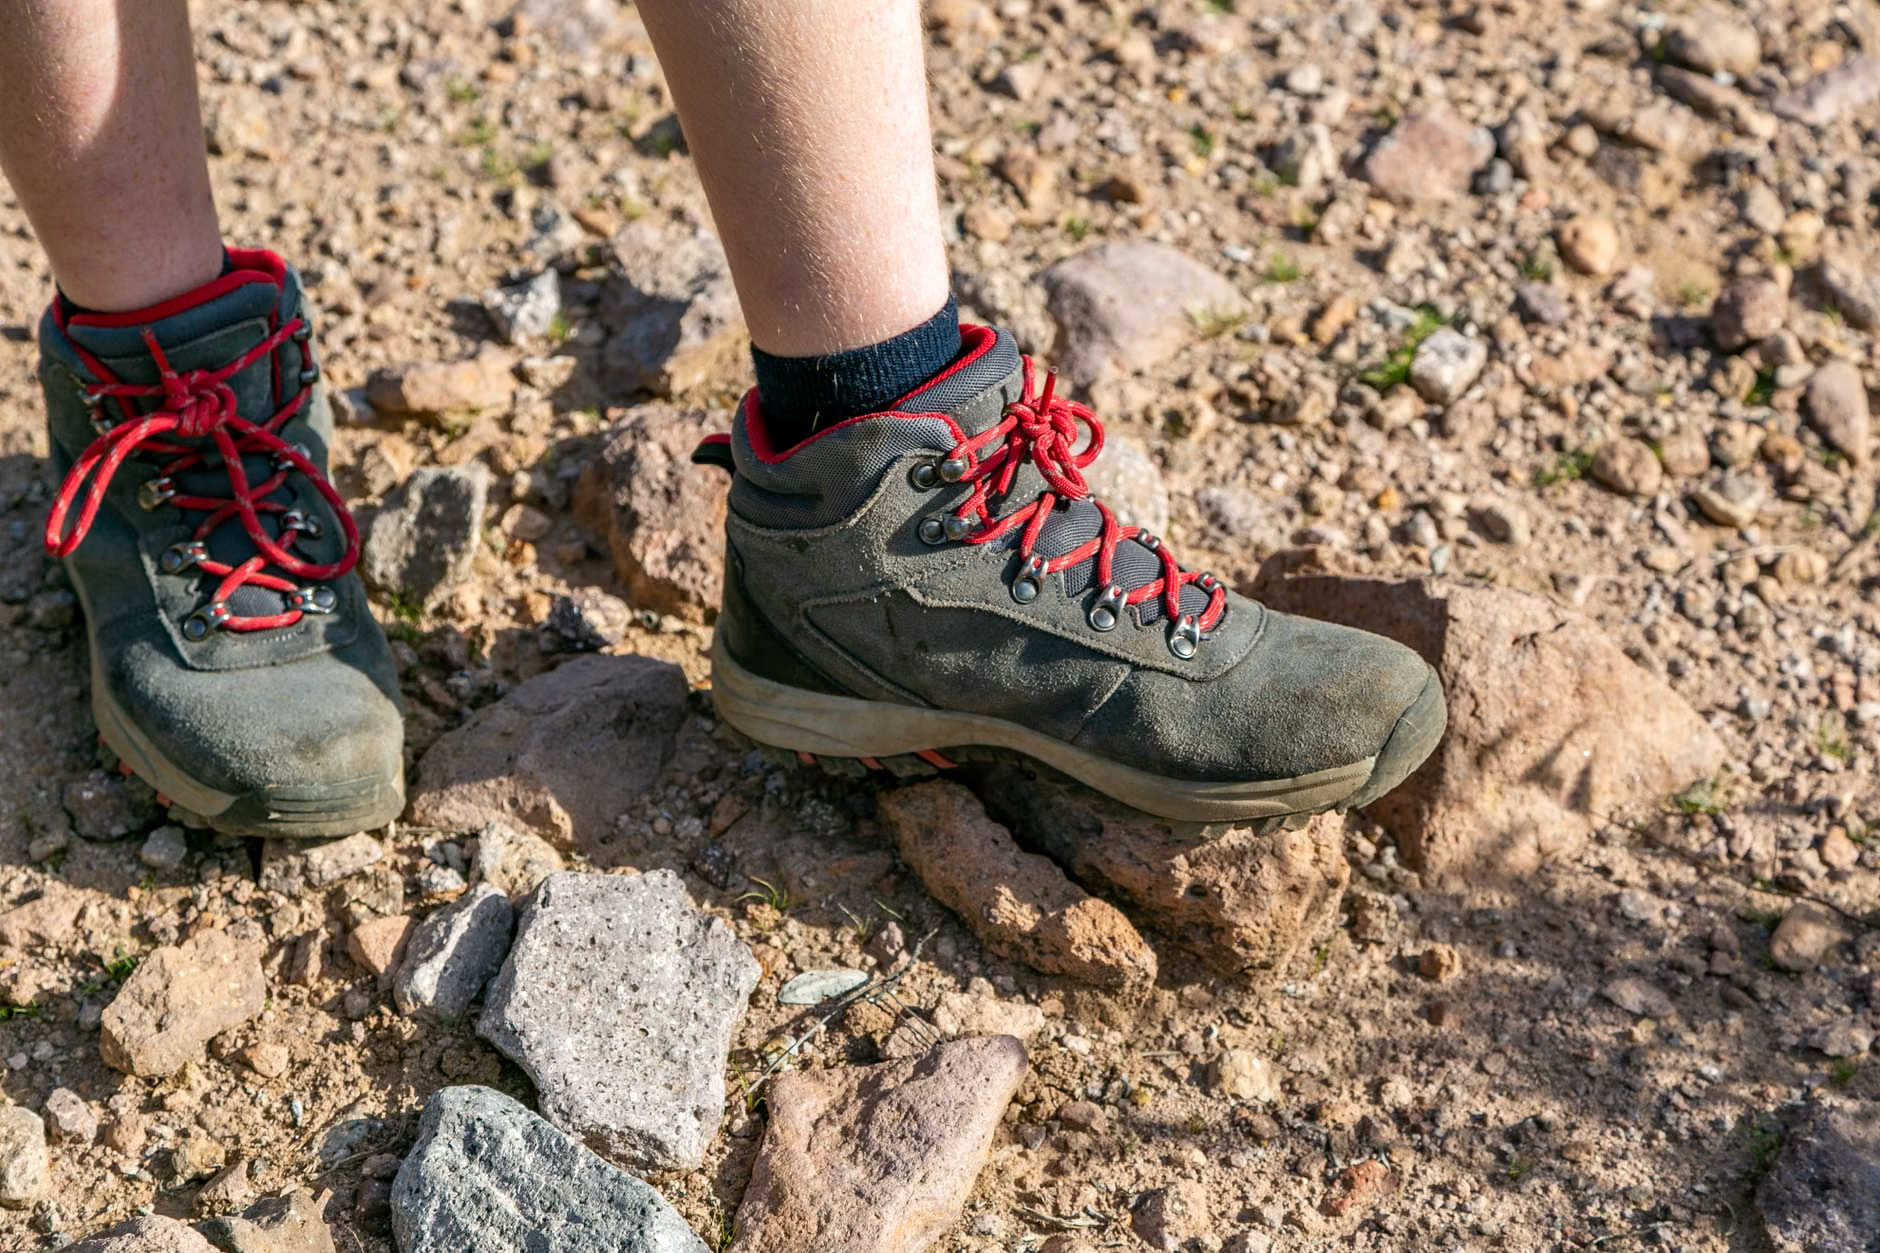
- Footwear Choice: Choose boots with a stiff sole and high ankle support to prevent lateral rolls on loose rocks.
The Strategic Packing List: Essential Gear
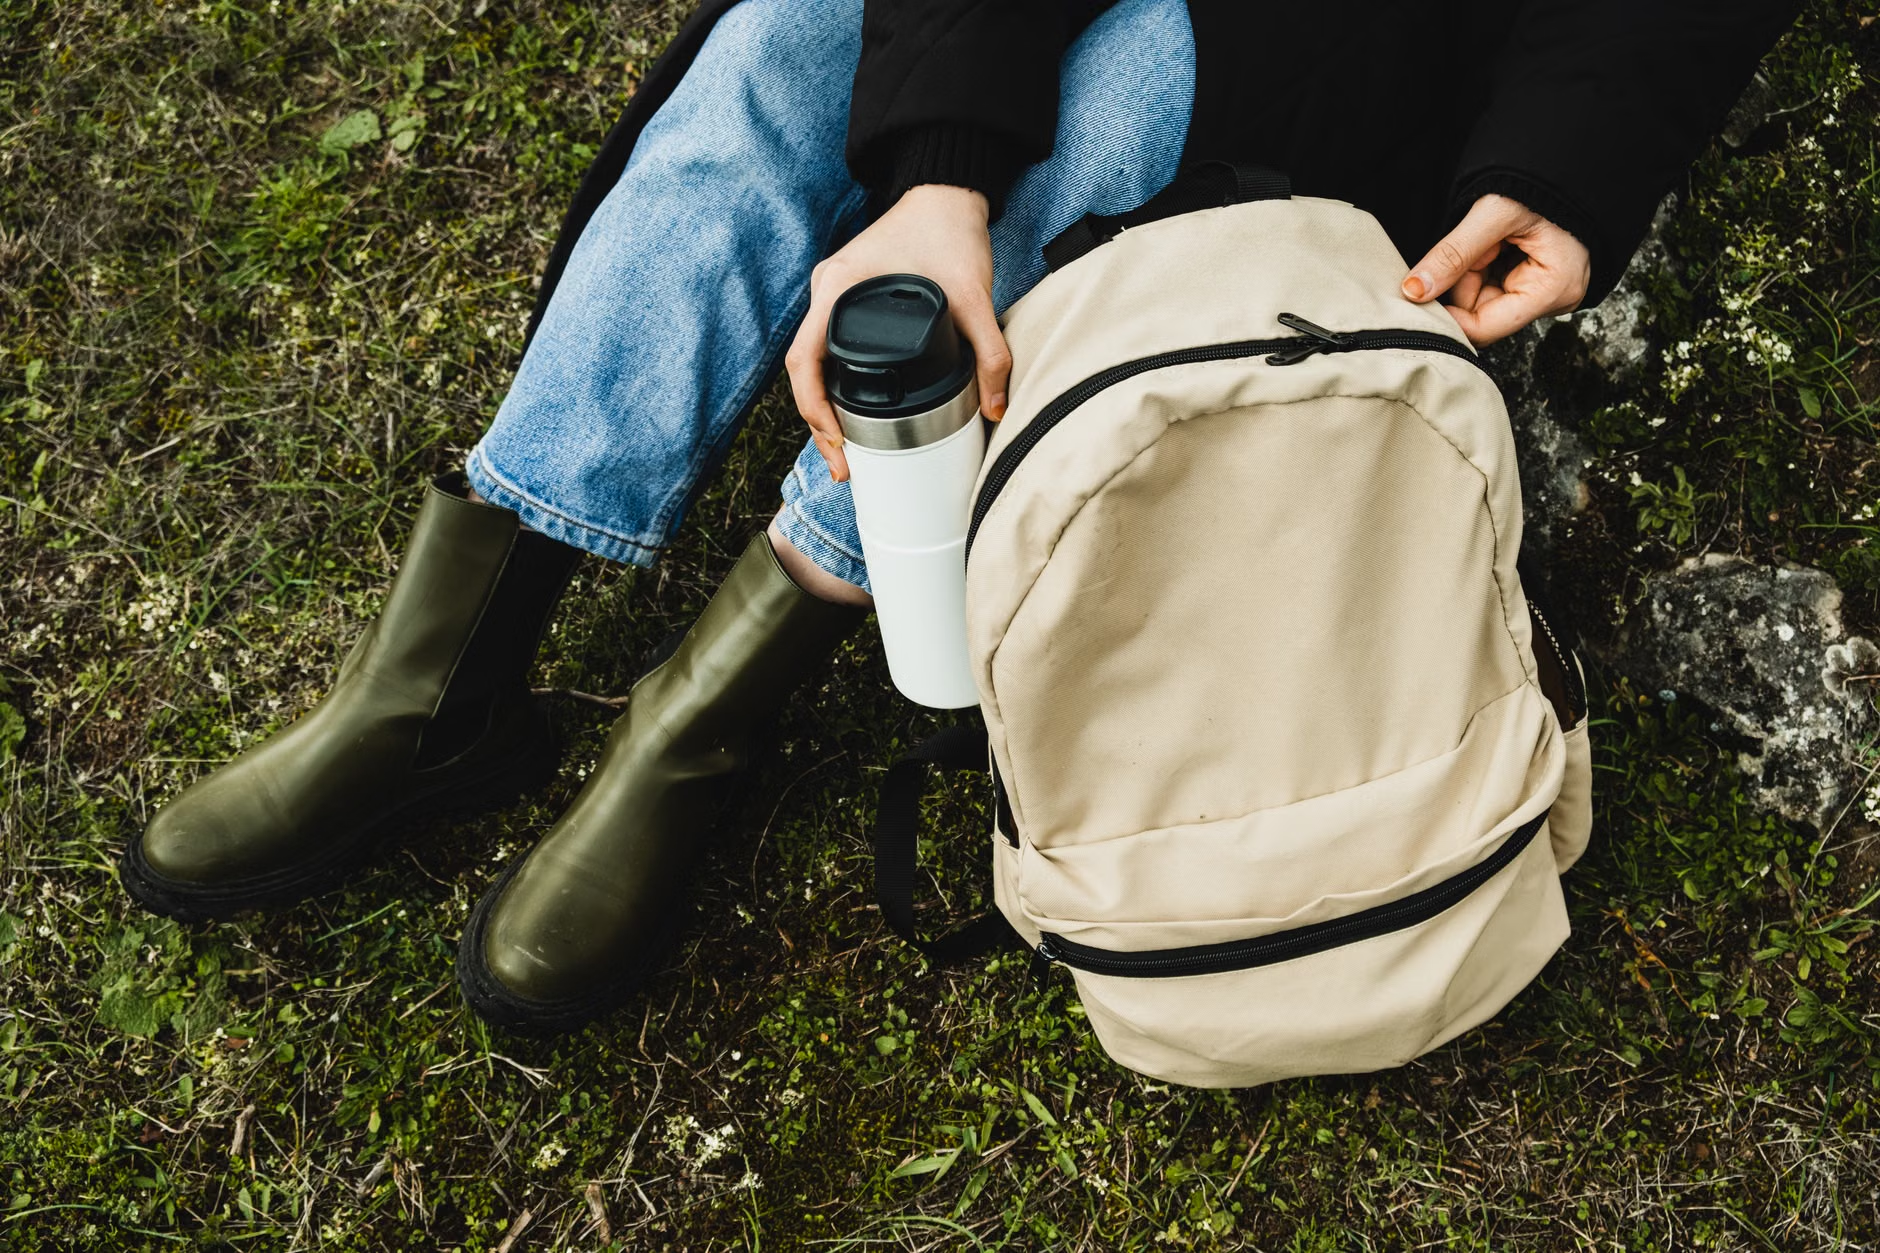
Packing for a mountain day trip requires a balance between utility and weight. A heavy pack increases fatigue, but an under-prepared pack increases risk. Use the following table to organize your essentials.
| Category | Item | Why it Matters |
|---|---|---|
| Protection | Windproof/Waterproof Shell | Mountain weather changes in minutes; a shell prevents hypothermia. |
| Navigation | Physical Map + Compass | Batteries fail; paper maps do not require signal or power. |
| Hydration | Insulated Water Bottle | Dehydration is often missed in cool mountain air; insulate to prevent freezing or overheating. |
| Energy | High-Protein Snacks | Stable blood sugar prevents dizziness and “bonking” (sudden fatigue). |
Beyond the basics, consider the “10 Essentials” framework adapted for the 60+ traveler. This includes a small personal first-aid kit containing blister pads (moleskin), antiseptic wipes, and any personal medications you take daily. Never leave your medications in your car; they must be on your person in a waterproof container.
Layering: The Science of Temperature Management
The most common mistake in mountain travel is overdressing or underdressing. The key is the “three-layer system,” which allows you to adjust your body temperature dynamically.
- Base Layer: A moisture-wicking synthetic or merino wool shirt. Avoid cotton, as it retains moisture, which can lead to rapid cooling if you stop moving.
- Mid Layer: An insulating fleece or down vest. This layer traps your body heat. It should be easy to remove without taking off your backpack.
- Outer Layer: A wind-resistant, breathable jacket. This is your shield against the elements.
Pro-Tip: Adjust your layers before you feel cold or sweaty. If you are starting a steep incline, remove your mid-layer immediately. If you stop for lunch, put it back on before your body temperature drops.
Many mountain regions have inconsistent cellular reception. Relying solely on a smartphone for GPS can leave you stranded. Use a tiered approach to navigation:
- Download Offline Maps: Use apps like AllTrails or Google Maps to download the region’s topography while you are on Wi-Fi.
- The “Check-In” Protocol: Always share your planned route and expected return time with a family member or the hotel/guesthouse front desk. Include the make, model, and license plate of your vehicle.
- Battery Management: Keep your phone in airplane mode to save battery, but ensure it is fully charged before leaving. Carry a lightweight power bank.
Assessing Accessibility and Trail Difficulty
Not all mountain trails are created equal. When researching a destination, do not rely on labels like “easy” or “moderate,” as these are subjective. Instead, look for concrete data:
- Elevation Gain: A 5km trail with 500m of elevation gain is significantly harder than a 10km trail with 100m of gain.
- Terrain Type: Is it paved, gravel, dirt, or boulder-strewn? For those with balance concerns, look for “groomed” or “well-maintained” trails.
- Facility Availability: Check for the presence of toilets and benches. Knowing there is a rest stop at the 2km mark can change your confidence level and pacing strategy.
If you are traveling with family or caregivers, discuss your physical limits openly before the trip. It is perfectly acceptable to choose a “scenic viewpoint” trail rather than a “summit” trail. The quality of the experience is defined by your comfort and enjoyment, not by the altitude reached.
Health Considerations: Prevention and Monitoring
Before any trip to a mountainous region, consider your personal health baseline. If you have concerns about cardiovascular or joint health, a pre-trip visit to your primary healthcare provider is a wise step. When you visit, bring a specific list of your planned activities, including the expected altitude and duration of the trip.
Warning Signs to Watch For: While we do not diagnose, be aware of these indicators that suggest it is time to turn back or seek assistance:
- Persistent Dizziness: This can be a sign of dehydration, low blood sugar, or mild altitude sensitivity.
- Sharp Joint Pain: Unlike general muscle fatigue, sharp, localized pain in a knee or ankle is a warning sign of potential injury. Stop and rest immediately.
- Unusual Shortness of Breath: If your breathing does not return to normal after a 5-minute rest on a flat surface, do not continue climbing.
Emergency services vary by country. In the European Union, the number 112 is a universal emergency contact. In the United States and Canada, it is 911. In Australia, it is 000. Before you leave, save the local emergency number in your phone and write it on a physical card in your wallet.
If you are using public transport to reach the mountain, check the last departure times carefully. Missing the final bus or train can lead to stressful, unplanned situations. Always have a backup plan, such as the number of a local taxi service or a ride-share app, and ensure you have enough cash for an emergency fare.
Conclusion: The Art of the Enjoyable Excursion
Mountain travel for the 60-to-80 demographic is about shifting the focus from “conquering” the mountain to “experiencing” it. By respecting your body’s signals, using the right gear, and planning for contingencies, you create an environment where you can focus on the scenery rather than the struggle. Remember, the mountain will be there tomorrow; the smartest decision is often to turn around when you are still feeling strong and energized, ensuring you have the capacity to enjoy your next adventure.
Frequently Asked Questions
1. How do I know if a trail is too difficult for my current fitness level?
Look for the “Elevation Gain” statistic rather than the total distance. Any trail with an elevation gain exceeding 300 meters over a short distance should be approached with caution. Search for recent user reviews on hiking forums, specifically looking for comments from other seniors regarding “steepness” or “loose footing.”
2. Should I use hiking boots or trail running shoes?
For most mountain day trips, a mid-cut hiking boot is superior because it provides lateral ankle support, which is critical for preventing sprains on uneven terrain. Trail running shoes are lighter but offer less protection against sharp rocks and less support for the foot over long, rocky descents.
3. What is the most important thing to do if I feel exhausted halfway through a trail?
The most important action is to stop immediately, find a shaded or protected spot, and consume a snack and water. Do not try to “push through” to the end. Assess your situation: if you are still feeling lightheaded or in pain after 15 minutes of rest, turn back. Your primary goal is to reach the trailhead safely, not to complete the entire loop.
Disclaimer: This article is for informational purposes only and does not constitute medical advice. Always consult with a healthcare professional before beginning a new exercise regimen or engaging in strenuous physical activity.
Official Resources for Further Planning: